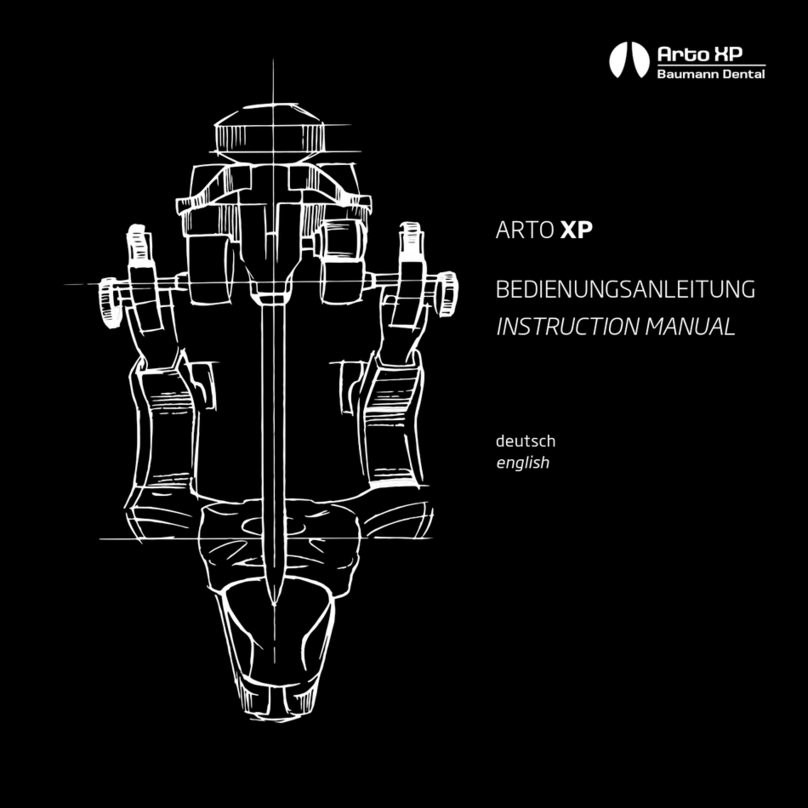
Baumann Dental FINO ARTO XP 2 User manual

ARTO XP 2
BEDIENUNGSANLEITUNG
INSTRUCTION MANUAL
deutsch
english
Fino GmbH // Mangelsfeld 18 // 97708 Bad Bocklet
Tel.: +49 (0) 9708 - 90 94 20 // www.no.com
Arto XP 2 // made by
Baumann Dental

ARTO XP // 2
Zentrikschlösser
Entriegeln und Verriegeln
des Zentrikschlosses mit dem
Daumen.
Die Kondylenkugeln aus Polymer
sind selbstschmierend.
Bei entriegeltem Zentrik-
schloss lässt sich das Oberteil
des Artikulators frei in der
Kondylenbahn bewegen.
Gleichzeitig verhindert das
entriegelte Schloss das
Herausfallen des Oberteils.
Führt man die Kondylenkugeln
des Artikulatoroberteils
in die tiefste Position der
Kondylenbahn und verriegelt
eines der Zentrikschlösser,
lässt die Kondylarachse nur eine
Rotationsbewegung zu.
Centric Locking
Upwards and downwards Locking /
Unlocking mechanism.
The condyle spheres made of
polymer are self-lubricating.
When the centric lock is unlocked,
the upper part of the articulator
can move freely in the condylar
path. The unlocked lock also
prevents the articulator upper
part from falling out.
Reposition the condylar ball in it´s
deepest position within it‘s path
then lock the mechanism rotation
movement only may be carried out.
Modell / Model Arto XP 2
Artikelnummer
Item number
16625
Bauweise
design type
Non-Arcon
Bauhöhe
Height
126 mm
Artex* kompatibel
Artex* compatible
√
Zentrik Schnellverschluss
Centric lock
√
Kondylenkugeln
Condylar spheres
Polymer
Bennettwinkel verstellbar
Bennett angle adjustable
0° - 20°
Kondylenbahnneigung fest
Condylar inclination xed
35°
Frontzahnführungsteller 0° (montiert)
Anterior guidance table 0° (mounted)
√
Frontzahnführungsteller 30° (mitgeliefert)
Anterior guidance table 30° (included)
√
Frotzahnführungsstift verstellbar
Anterior guidance pin adjustable
+ / - 6 mm
45° Tischabstützung integriert
45° tilt support integrated
√
* Artex und Splitex sind eingetragene Marken der Amann Girrbach GmbH, D-75177 Pforzheim
* Artex and Splitex are registered trademarks of Amann Girrbach GmbH, D-75177 Pforzheim
Arto XP 2 // made by
Baumann Dental

Um das Artikulatoroberteil
zu entfernen: werden beide
Zentrikschlösser entriegelt
und das Oberteil in die höchste
Position der Kondylenbahn
geführt. Durch Verriegeln der
Schlösser wird nun das Oberteil
freigegeben und kann nach hinten
entnommen werden.
To remove the upper part unlock
the mechanism on both sides move
the condylar ball within it‘s path to
the highest position for complete
removal. By locking the centric
locks the upper part is now being
released.
Bennettwinkel
Durch Lösen der Bennettstell-
schraube kann der Bennettwinkel
eingestellt werden. Die Schraube
nach dem Einstellen wieder
xieren. Der Bennettwinkel
ist von 0° bis 20° einstellbar
Bennett Angle
By loosening the screw the
Bennett angle can be variably
adjusted. Retighten screw after
angle adjustment. The Bennett
angle may be adjusted from 0°
to 20°
Kondylenbahnneigung
Der Arto XP 2 Artikulator
besitzt eine fest eingestellte
Kondylenbahnneigung von 35°.
Condylar Movement
The Arto XP 2 Articulator provides
a xed Condylar lnclination of 35°.
Tischabstützung
Die besondere Bauform des
Artikulators ermöglicht einen
angenehmen Blickwinkel bei
Schrägstellung.
Tilted Table Support
The special design of the
articulator allows a pleasant
viewing angle when tilted.
XP Artikulatoren werden mit einem
achen Frontzahn Führungsteller
ausgeliefert. Ein 30° Führungstel-
ler liegt als Zubehör bei.
Bitte beachten Sie, dass Sie bei
einem Wechsel des Führungstellers
Ihre Gleichschaltung überprüfen
müssen.
XP articulators are factory tted
with a at anterior guidance table.
A 30° guidance table is included.
Please note that if you change the
guidance table, you must check
your synchronization.
ARTO XP // 2 Arto XP 2 // made by
Baumann Dental

Zentrikjustage beim Arto XP 2
Bemerken Sie bei geschlossenen
Zentrikschlössern ein laterales
Spiel in den Achsen, gehen Sie bitte
wie folgt vor: önen Sie mit einem
2 mm lnnensechskantschlüssel
die Madenschrauben der beiden
Halbachsen.
Richten Sie das Artikulator-
oberteil mittig aus und drücken
die Halbachsen bis zum Anschlag
nach außen. Anschließend die
beiden Madenschrauben handfest
anziehen.
Hinweis: Überprüfen Sie
nach Reparaturen stets die
Gleichschaltung und erneuern
diese gegebenenfalls.
Centric Adjustment Arto XP
If you notice a lateral movement
of the condylar axis, while the
centric locks are closed, the centric
position must be adjusted as
below: loosen the screws by using
a 2 mm Allen key.
Adjust the top to center. Pull out
the semiaxis till stop and fasten
the screws nger tight.
Notice: If you had calibrated the
articulator it may be necessary to
recalibrate after repairs.
Kurzanleitung
Gleichschaltung Arto XP Artikulator
Quick Guide
Calibration Arto XP Articulator
Zur Vorbereitung, alle Komponenten auf Sauberkeit überprüfen. Alle Teile
müssen Fett-, Schmutz- und Staubfrei sein. Der hier beschriebene Prozess
gilt für alle verwendbaren Magnetplattensysteme.
To prepare, check all components for cleanliness. All parts must be free
of grease, dirt and dust. The process described applies to all available
magnetic plate systems.
Zentrikschlösser schließen.
Frontzahnführungsstift auf 0
stellen. Bennettwinkel auf 0°
stellen. Obere Sockelplatte mit der
Senkkopfschraube befestigen.
Artikulator auf den Kopf stellen
und önen. Zentrierschlüssel in
der korrekten Position auf die
Sockelplatte setzen. Justiersockel-
platte auf den Zentrierschlüssel
setzen.
Close the centric locks. Set anterior
guidance pin to 0. Bennett angle
to 0°. Secure the upper baseplate
with the countersunk screw.
Turn the articulator upside down
and open. Place the calibration
key in the correct position on the
baseplate. Place the adjustment
baseplate on the calibration key.
ARTO XP // 2 Arto XP 2 // made by
Baumann Dental

Justierkleber mischen und auf die
Justiersockelplatte auringen.
Beim Schließen des Artikulators
den Zentrierschlüssel leicht nach
hinten kippen. Überschüssigen
Kleber vorsichtig entfernen.
Kleber für ca. 120 min. aushärten
lassen.
Nach dem Aushärten den Zen-
trierschlüssel aus dem Artikulator
entnehmen. Die zentrale Schraube
und die Sicherungsstifte entfer-
nen und beide Teile des Schlüssel
zurück in den Artikulator setzen.
Bei korrekter Gleichschaltung darf
kein Spalt oder Verschiebung am
Schlüssel sichtbar sein.
Mix the synchronize adhesive and
apply to the adjustment baseplate.
When closing the articulator,
slightly tilt the centering key back-
ward. Carefully remove excess
adhesive. Allow curing for about
120 minutes.
After curing, remove the calibrati-
on key from the articulator, remo-
ve the central screw and securing
pins, and return both parts of the
key back to the articulator. With
correct alignment, no gap or misa-
lignment between the two halves
of the key must be visible.
Zur Gleichschaltung der Arto XP
Artikulatoren benötigen Sie einen
Zentrierschlüssel und Justier-
kleber.
To synchronize the Arto XP
articulators, you need the
calibration key and synchronize
adhesive.
Alle Zubehörteile sind über DT&Shop erhältlich.
Achtung: Bei gleichgeschalteten Artikulatoren muss die korrekte Funktion der Gleichschaltung mittels
Zentrierschlüssel regelmäßig überprüft werden. Unter Umständen kann eine erneute Gleichschaltung des
Artikulators erforderlich werden.
Hinweise zur Reinigung und Pflege: Bitte reinigen Sie verschmutzte Kondylenkugeln, -Achsen und
die Führungsflächen regelmäßig um die einwandfreie Funktion des Artikulators dauerhaft zu erhalten.
Dampfen Sie die Teile gründlich ab und trocknen diese Bereiche anschließend mit Druckluft. Den Artikulator
anschließend gut abtrocknen.
Sicherheitshinweis: Bitte bringen Sie den Artikulator unter gar keinen Umständen in Kontakt mit
aggressiven Säuren und Laugen, wie z.B. Gipslöser. Diese Stoffe können die Oberflächenbeschichtung und
verschiedene Funktionsteile beschädigen oder zerstören. Bitte legen Sie unter gar keinen Umständen
den Artikulator oder Teile des Artikulators zur Reinigung in ein Ultraschallgerät. Dies kann den Artikulator
beschädigen. Die Missachtung der Verwendungs-, Sicherheits- und Pflegehinweise führt zum sofortigen
Erlöschen des Gewährleistungsanspruchs.
All accessories are available through DT & Shop.
Warning: lt is absolutely essential to frequently check calibrated articulators by using a calibration key.
Recalibrate the articulator in order to correct discrepancies by using the calibration key.
Cleaning and Care suggestions: Condylar ball and axis path cleanliness maintains reliability and accuracy.
Steam clean followed by pressured air is recommended. Allow to dry completely.
Note on Safety: Your Articulator must never come into contact with acid or any solvents, as this would
damage the surfaces and parts. Your Articulator must never be ultrasonically cleaned, this would disable its
functional use. The disregard of the use, safety and care instructions leads to the immediate termination of
the warranty claim.
Arto XP 2 // made by
Baumann Dental

Fino GmbH
Mangelsfeld 18
97708 Bad Bocklet – Deutschland
Tel.:+49(0)9708-909420
This manual suits for next models
1
Other Baumann Dental Dental Equipment manuals
Popular Dental Equipment manuals by other brands
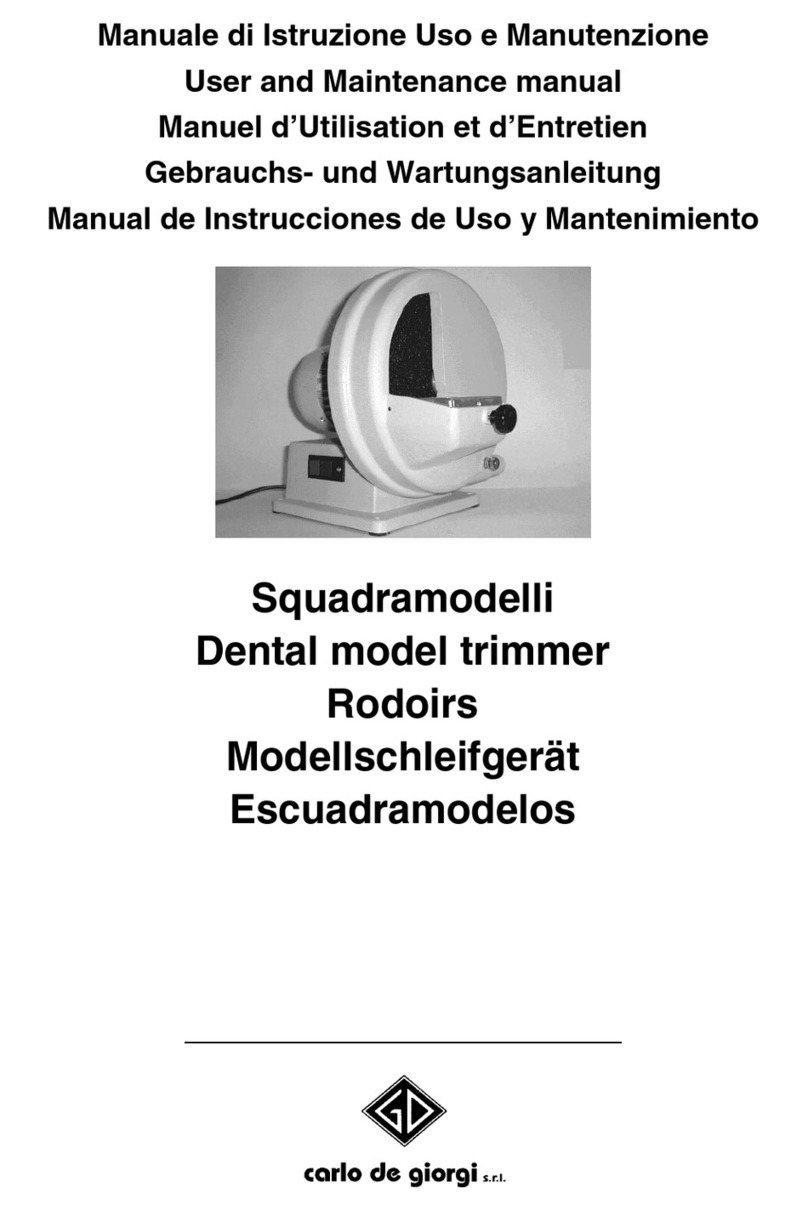
Carlo De Giorgi
Carlo De Giorgi TRIM User and maintenance manual

3M
3M NobelProcera quick start guide
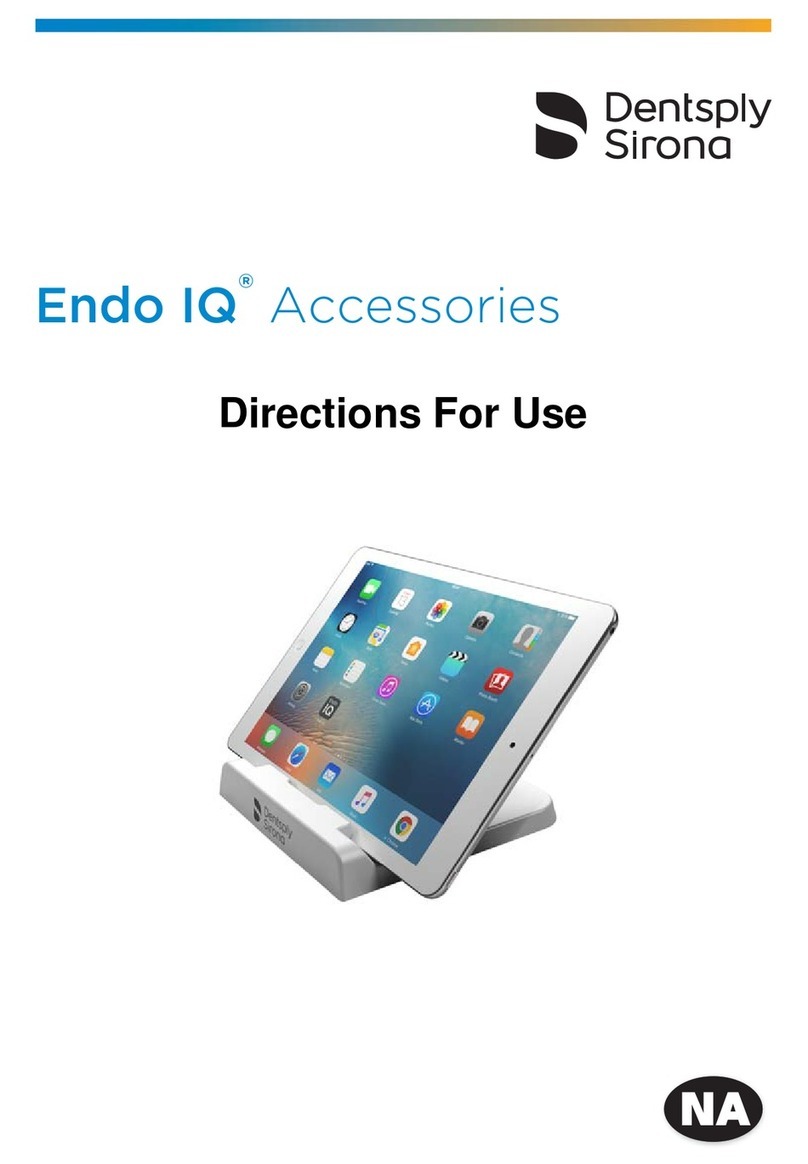
Dentsply Sirona
Dentsply Sirona Endo IQ Directions for use
Satelec Acteon
Satelec Acteon PIEZOTOME OLO user manual

CooperVision
CooperVision ProClear user guide

Dentsply Sirona
Dentsply Sirona inLab Profire operating instructions
Satelec
Satelec ProphyMax user manual
Durr Dental
Durr Dental VistaCam CL.iX Installation and configuration instructions

Denjoy
Denjoy iFinder user manual
mectron
mectron Piezosurgery flex Use and maintenance manual
Schick Dental
Schick Dental QUBE Original operating instructions
DENTAURUM
DENTAURUM Assistent 3000 Instructions for use
