Use of the oven
Before using the oven for the first time, heat it to the maximum
temperature for about 30 minutes to eliminate smokes and
unpleasant smells produced by internal components.
Manual ignition of the burner
Open the oven door and bring a light match near the central hole
A placed on the oven bottom.
413
Fig. 5
These rules are very important.If they are not followed there will
be a great loss of heat and energy, and the heat not absorbed by
the saucepan will spread to the hob, frame and surrounding
cabinet.
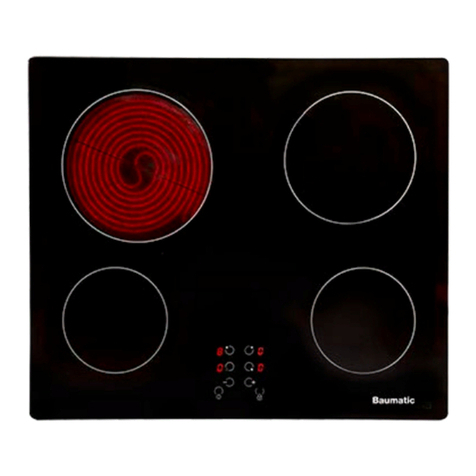
Using the cooking hob.
The first few times the hob is used, it may give off acrid, burning
smells.These will disappear completely with repeated use.
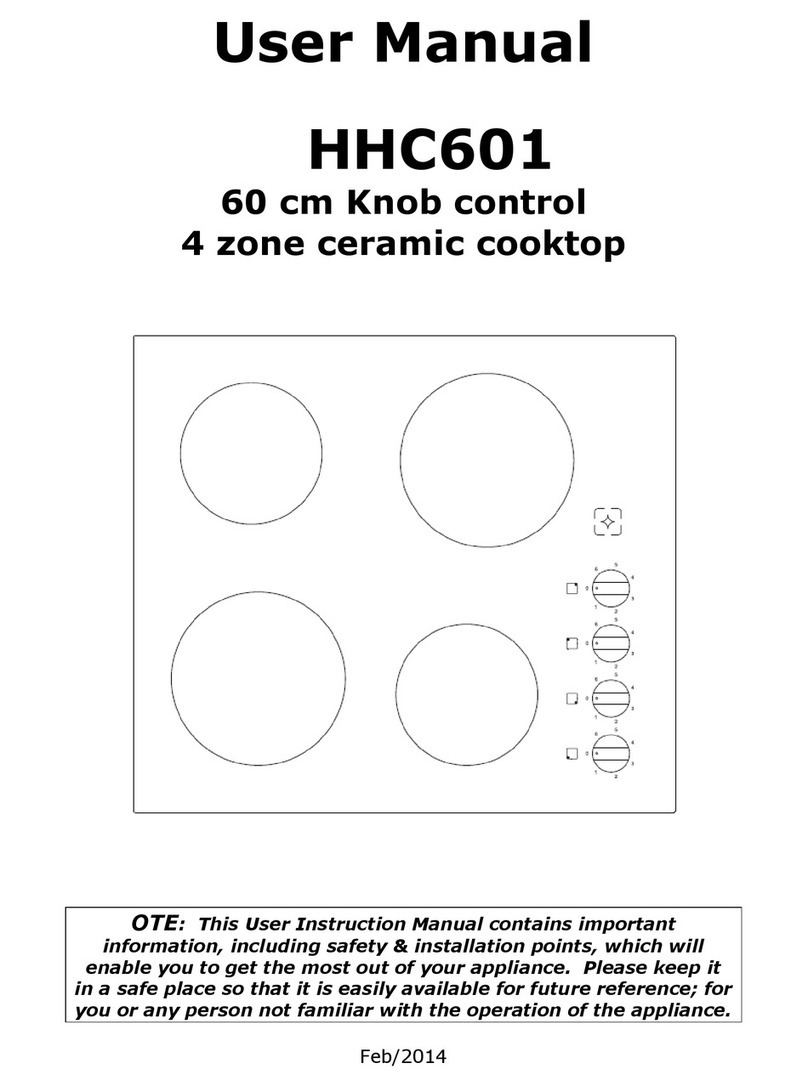
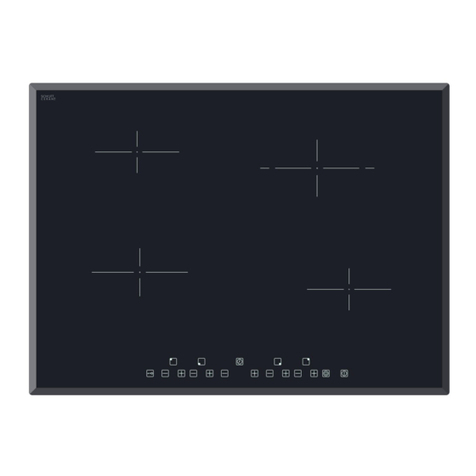
Each cooking area has a selector knob on the appliance control
panel for setting different temperature levels.
For normal cooking, place the saucepan on the desired area of
the hob and set the knob to the maximum heat.
A warning light on the control panel will inform you if the cooking
area is on or off.
Some of the cooking work-tops have an indicator light between
the two front cooking areas, which lights up when one or more of
the cooking areas goes above the temperature of 60°C.
The indicator light switches off only when the temperature of the
cooking areas goes below about 60°C.
After a few minutes, when the contents of the saucepan are boiling,
turn the knob to a lower position, depending on the quantity, so
that the saucepan does not splash over and there is no waste of
heat.
Important
Be very careful about the safety of children when using the ceramic
hob.
Attention
Although the hob surface is very tough, it is certainly not unbreakable
and it can be damaged, especially if pointed or hard objects fall
on it with a certain force.
Do not use the hob if the surface is broken or cracked;contact
the assistance service immediately.
GUIDELINETABLE
The actual settings depend on the quantity and quality of the food
and the type of saucepan.
Fig. 6
USE OFTHE GAS OVEN
TAB. A
Fig. 8
ROOMSVENTILATION
GAS CONNECTION
ELECTRICAL CONNECTION
FOOD TEMP.°C FOOD TEMP.°C
MEAT PASTRY
ROASTEDPORK 185-210 FRUITCAKE 220
ROASTEDBEEF 250 MARGHERITACAKE 190
ROASTEDVEAL 220 BRIOCHES 175
ROASTEDLAMB 220 SCONES 235
ROASTEDHARE 230 RING-SHAPEDCAKE 190
ROASTEDRABBIT 235 PUFF-PASTE 200
ROASTEDTURKEY 220 GRAPESCAKE 200
ROASTEDGOOSE 235 STRUDEL 180
ROASTEDDUCK 225 SAVOIABISCUIT 290
ROASTEDCHICKEN 235 APPLEFRITTER 200
ROAST-BEEF 200-225 PUDDING 200
FISH 200-225 TOAST 250
BREAD 230
This appliance shall be installed in accordance with the regulations
in force and only in a well-ventilated space.Read the instructions
before installing or using this appliance.
In the UK the regulations and standards are as follows:
in your own interest and that of safety, it is law that all gas appliances
must be installed by competent persons.
CORGI registered installers undertake to work to safe and
satisfactory standards. Failure to install the appliance correctly
could invalidate any warranty or liability claims and lead to
prosecution.The appliance must be installed in accordance with
all relevant British Standards / Codes of Practice, in particular BS
5540 Part 2:1989 and
• for natural gas – BS 6172:1990 and BS 6891:1988
• the Gas Safety (Installation and Use) regulations 1994
• the relevant Building / IEE regulations.
Provision for ventilation
The room containing the appliance should have and air supply in
accordance with BS 5540 Part 2:1989. All rooms require an
openable window or equivalent, while some rooms require a
permanent vent in addition to the openable window.
The appliance should not be installed in a bedsitting room with
volume less than 20m3.If it is installed in a room of volume less
than 5m3an air vent of effective area 100 cm2is required; if it is
installed in a room of volume between 5m3and 10m3, an air vent
of effective area 50cm2is required; while if the volume exceeds
11m3, no air vent is required.
However, if the room has a door that opens directly to the outside,
no air vent is required even when the room volume is between
5m3and 10m3.
If there are other fuel burning appliances in the same room, BS
5540 Part 2:1989 should be consulted to determine the requisite
air vent requirements.
Remember that the quantity of air necessary for combustion must
never be less than 2m3/h for each kW of power (see total power
in kW on the appliance data plate).
Location of appliance
The appliance may be installed in a kitchen/kitchen diner but NOT
in a room containing a bath or shower.
We recommend to check wether the appliance has been foreseen
for the kind of gas distributed.
The appliance must be connected to the gas piping in a workmanlike
way and in conformity with the regulations in force which lay down
the installation of a safety valve at the end of the piping.
For butane and propane a pressure reducer conforming to the
standards in force may perform this task.
The seal gaskets must be in accordance with rules.
Once the gas appliance has been connected, check the connection
seal by means of soapy water.
The end of the attachment is threaded.
The possible connections are:
Fig. 34
1/2”
- by rigid pipe in iron or copper
- by flexible tube in stainless steel with continuing wall, with
mechanical connection in accordance with rules.
The tube must be directly connected to the manifold elbow (see
Fig. 34).
If the connecting tube must be passed behind the appliance,
observe the regulations of the picture, making sure in the last
case that the tube is kept in support A.
0Off
1Very slow
2Low
3Medium-
Low
4Medium
5High
6Very high
For melting butter, chocolate, etc.
For heating small amounts of liquid.
For heating larger amounts of liquid.
For preparing slow-cooking creams and sauces.
For thawing frozen foods and cooking stews, cooking
at boiling or lower temperatures.
For boiling foods, roasting delicate meats and fish.
For braising chops and steaks, for large meat soups.
For boiling large amounts of water and frying.
Pos. Heat Use
Intensity
Turn the corresponding knob anti-clockwise, placing the index on
the maximum position.
Burner with safety device
For burners fitted with safety device, it it necessary to keep on
pressing the concerned knob for about 10 seconds after the
ignition. In this way the safety valve will be started up. If for any
reason the burner flame goes out, repeat the procedure as
described above.
When you will be sure that the burner is on, close softly the oven
door.
To obtain the desired temperature, turn the knob index to the
Wait at least 15 minutes before introducing the food, in order to
reach the desired temperature. Below you will find an indicative
cooking table (TAB.A).
Knob position Temperature °C
1140 °C
2150 °C
3160 °C
4170 °C
5190 °C
6210 °C
7230 °C
8250 °C
Fig. 9
Fig. 7
A
1
8
= CLOSED
= MIN.
= MAX
= GRILL
1
28
34567
1
28
34567
BACK SIDE
Fig. 36
170
Inflexible tube entry
A
Flexible tube entry
WARNING:THIS APPLIANCE MUST BE EARTHED.
All external wiring must comply with the IEE Regulations for the
Electrical Equipment of Buildings.The electrical supply can be by
either a plug and socket or a permanently wired connection via
a double – pole switch.Should the plug (where supplied) not fit
the socket in your home, it should be removed and replaced with
a suitable plug.
Note: If a moulded plug is fitted which is not suitable, it must be
cut off and disposed of properly.To avoid the risk of electrocution,
the moulded plug must not be left where children might find it and
plug it into a supply socket. It must not be used for any other
appliance.
Three pin plugs to BS1363 with a capacity of not less than 13A
must be used and fitted with a 13 amp fuse ‘ASTA’approved to
BS 1362.
With moulded plugs, after replacing the fuse the cover must be
refitted. If the cover is lost, the plug must not be used until a
replacement cover has been obtained from your supplier.The
colour of the correct fuse cover is that of the coloured insert in
the base of the fuse recess, or stated elsewhere on the plug.
Always state this colour when ordering a replacement fuse cover.
IMPORTANT
The wires in the mains lead are coloured in accordance with the
following code:
GREEN ANDYELLOW -------------------- EARTH
BLUE ------------------------------------------ NEUTRAL
BROWN --------------------------------------- LIVE
The wires should be connected into the terminal of your plug as
follows:
EARTH: to the terminal marked E, or coloured GREEN or
GREEN/YELLOW.
NEUTRAL: to the terminal marked N, or coloured BLACK or BLUE.
LIVE: to the terminal marked L, or coloured RED or BROWN.
When wiring the plug ensure that all strands of wire are retained
in each terminal.
The flexible mains lead, plug and socket must not be in contact
with hot surfaces.The lead must not be trapped or pulled taut
when the appliance is fitted. Plug in the appliance. Turn on the
electricity supply.

