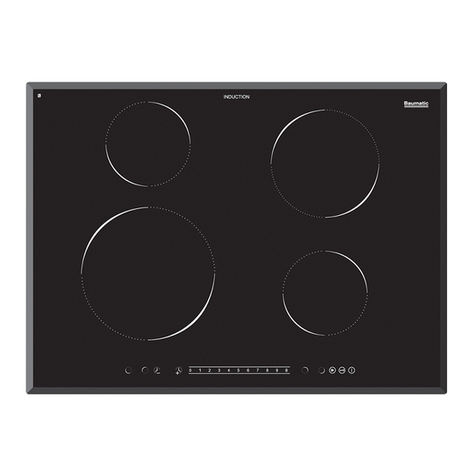
hotplate (2) to select it and then the
clock (11). You may then read and
change the time.
DISCONNECTION OF THE TIMER
If you want to stop the timer before
the programmed time is up
1First select the hotplate and then
press clock touch key (11).
2Use the touch key (4) to recude
the time to 00. The clock is cancelled.
Safety switch off function
If due to an error one or several hot
plates do not switch off, the appliance
will be automatically disconnected
after a set amount of time (see table
2).
When the "safety switch off" function
has been triggered, a 0is displayed if
the glass surface temperature is not
dangerous for the user or an Hif there
is a burn risk.
To reconnect the appliance, switch it
off by pressing the on/off key (1)
and then switch it on again.
Keep the control panel of the
heating areas clean and dry at all
times.
In the event of operating
problems or incidents not
mentioned in this manual,
disconnect the appliance and
contact the TEKA technical service.
Recommendation of pots &
pans for ceramic cooktops
* Use pots or pans with thick,
completely flat bottoms.
* Pans with a smaller diameter than
the shown heating area are not
recommended.
* Do not slide pots and pans over the
glass as they may scratch it.
* Although the glass can withstand
knocks from large pots and pans
without sharp edges, try not to
knock it.
* To prevent damage to the ceramic
glass induction surface, try not to
slide the pots and pans over the
glass, and keep the bottoms of the
vessels clean and in good condition.
Try not to spill sugar or
products containing sugar on the
glass as while the surface is hot
these could damage it.
Cleaning and maintenance
To keep the appliance in good
condition, clean it using suitable
products and implements once it has
cooled down. This will make the job
easier and avoid the build-up of dirt
Never use harsh cleaning products or
tools that could scratch the surface, or
steam-operated equipment.
Light dirt not stuck to the surface can
be cleaned using a damp cloth and a
gentle detergent or warm soapy water.
However, for deeper stains or grease
use a special cleaner for ceramic hot
plates and follow the instructions on the
bottle. Dirt that is firmly stuck due to
being burned repeatedly can be
removed using a scraper with a blade.
Slight tinges of colour are caused by
pots and pans with dry grease residue
underneath or due to grease between
the glass and the pot during cooking.
These can be removed using a nickel
scourer with water or a special cleaner
for ceramic hot plates. Plastic objects,
sugar or food containing a lot of sugar
that have melted onto the surface must
be removed immediately using a
scraper.
Metallic sheens are caused by
dragging metal pots and pans over the
glass. They can be removed by
cleaning thoroughly using a special
cleaner for ceramic glass hot plates,
although you may need to repeat the
cleaning process several times.
Warning:
Handle the glass scraper
carefully. The blade could cause
injury!
If you use the scraper
incorrectly, the blade could break
and a fragment could get caught
between the surrounding trim and
the glass. If this happens, do not try
to remove it using your hands,
carefully use tweezers or a knife
with a fine edge. (See fig. 3)
Only use the blade on the
ceramic surface, avoiding the
scraper casing coming into contact
with the glass because this could
scratch it.
Use blades in perfect
condition. Immediately replace the
blade if it is damaged in any way.
After you have finished with
the scraper, withdraw the blade and
lock it. (See fig. 4)
A pot or pan may become
stuck to the glass due to a product
having melted between them. Do not
try to lift the pot while the hot plate is
cold! This could break the glass.
Do not step on the glass or
lean on it as it could break and
cause injury. Do not use the glass
as a surface for placing objects.
Home Appliances Pty Ltd reserves
the right to make changes to its
manuals that it deems necessary
or useful, without affecting the
product's essential features.
fig. 3
fig. 4
Blade protected Blade unprotected
Using the scraper
1
2
3
4
5
6
7
8
9
Table 2
10
5
5
4
3
2
2
2
1
Selected
power
level
MAXIMUM OPERATION
TIME
(in hours)
