manuals.online logo
Brands
  1. Home
  2. •
  3. Brands
  4. •
  5. Baxton Studio
  6. •
  7. Indoor Furnishing
  8. •
  9. Baxton Studio BECKER F/T DAYBED User manual

Baxton Studio BECKER F/T DAYBED User manual

STEP 1
STEP 3
BECKER F/T DAYBED
BECKER Q/T DAYBED
Please do not tighten the hardware until the entire assembly is completed.
Begin assembly by attaching each Leg (6) to the bottom of the
Side Panel (2) & (3) securing with 2 Allen Bolt (B) per panel using
L-key (I).
STEP 2
Attach the Front Rail (4) and Back Rail (5) to the Side Panel (2) & (3)
by aligning holes and securing with 2 Allen Bolts (A) per each end using
L-key (J). (DO NOT FULLY TIGHTEN BOLTS FOR THIS STEP)
Attach the Back Rest (1) to each Side Panel (2) & (3) by aligning the
hole and securing with 2 Allen Bolts (C), 2 Spring Washer (D), 2 Flat
Washer (E) per each end using L-key (I) as picture below.
(DO NOT FULLY TIGHTEN BOLTS FOR THIS STEP)
STEP 4
Secure 2 Support Leg (9) to the Center Support (8) as shown on step 4.1.
Tighten the Support Leg (9) clockwise until secure. Insert the pre-set
metal on Center Support (8) to the metal bracket on each side of Side
Panel (2) & (3) as step 4.2. Then securing the metal bracket as shown in
step 4.3 with 1 Screw (H) each side using Phillips Head Screwdriver
(NOT INCLUDED)
NO PART LIST QTY
BACK REST 1PC
SIDE PANEL
(L)
FRONT
SIDE RAIL
LEG
ITEM HARDWARE QTY
JCBB SCREW
M8 x 20MM
L - KEY
M5 x 65MM
1PC
1PC
4PCS
20PCS
4PCS
1
2
3
4
5
6
SIDE PANEL
(R)
7
1PC
8
SLAT 2 SET
JCBC SCREW
M6 x 35MM
SPRING WASHER
FLAT WASHER
(BIG)
FLAT WASHER
(SMALL)
L - KEY
M4 x 100MM
SCREW
M4 x 32MM
SCREW
M4 x 16MM
4PCS
12PCS
24PCS
16PCS
22PCS
1PC
1PC
A
B
16PCS
JCBC SCREW
M6 x 50MM
C
D
E
F
G
H
I
J
K
9
7pcs
2PCS
2PCS
BACK
SIDE RAIL
1PC
1PC
CENTER
SUPPORT
SUPPORT
LEG
STOPPER
10
11
12
13
14
15
1PC
1PC
TRUNDLE
FRONT RAIL
TRUNDLE
BACK RAIL
TRUNDLE
SIDE RAIL 2PCS
TRUNDLE
SLAT
5pcs
2 SET
TRUNDLE
SUPPORT 3PCS
6PCS
CASTOR
L
I6
B
3
R
2
3
2
4
5
A
J
I
CDE
3
1
2
4
5
STEP 4.2
STEP 4.3
8
H
STEP 4.1 8
9
3
1
2
4
5
STEP 5 STEP 6
STEP 7
Please do not tighten the hardware until the entire assembly is completed.
Tighten All Bolts from step 1 to step 4 by using L-key (I) & (J) that has been provided.
Attached Slat (7) to Front Side Rail (4) & Back Side Rail (5) by unrolling and securing
with 6 Screw (H), per set using Phillips Head Screwdriver. Securing Slat (7) to Back Side
Rail (5) with 2 Screw (H) as step 5.1. Following by step 5.2, using 1 Screw (F) to secure
Slat (7) to Front Side Rail (4). Repeat the same step to attach another set of Slat (7).
STEP 5.1
H
7
STEP 5.2
H
7
Attach the Stopper (K) to the front side of Side Panel (2) & (3) each side by
securing with 2 Allen Bolt (A) using L-key (J) to avoid trundle pull out.
4
5
7
ASSEMBLY
COMPLETE
J
K
4
A
3
1
2
Please do not tighten the hardware until the entire assembly is completed.
J
3
4
4
TRUNDLE
FULL SET ASSEMBLY
COMPLETE
Begin with attaching Trundle Side Rail (12) to Front Rail (10)
& Back Rail (11) using 2 Bolts (A) per corner.
Tighten bolts with Allen Key (J) provided.
Attach Trundle Support (14) to Front Rail (10)
& Back Rail (11) using 2 Bolts (C),
2 Spring Washers (D) and 2 Flat
Washer (F) on each end of each
Slat Support (14). Tighten bolts with
Allen Key (I).
Attach Trundle Slat (13) to Front Rail (10) & Back
Rail (11) using 4 Screws (H) per set.
Tighten screws with Phillips screwdriver
(NOY INCLUDED)
STEP 8
STEP 10
STEP 9
STEP 11
12
10
11
12
A
J
12
10
12
14
I
C
D
F
10 13
13
H
Attaching 2 Castors (15) to the bottom of Trundle Support (14)
according to the pre-mark line. Securing with 4 Screws (G)
per each Castor (15) using Phillips screwdriver (NOT PROVIDED).
5
14
G
15

This manual suits for next models

3

Other Baxton Studio Indoor Furnishing manuals

Baxton Studio Sawyer 3 Drawers Chest User manual

Baxton Studio

Baxton Studio Sawyer 3 Drawers Chest User manual

Baxton Studio 0021-2 User manual

Baxton Studio

Baxton Studio 0021-2 User manual
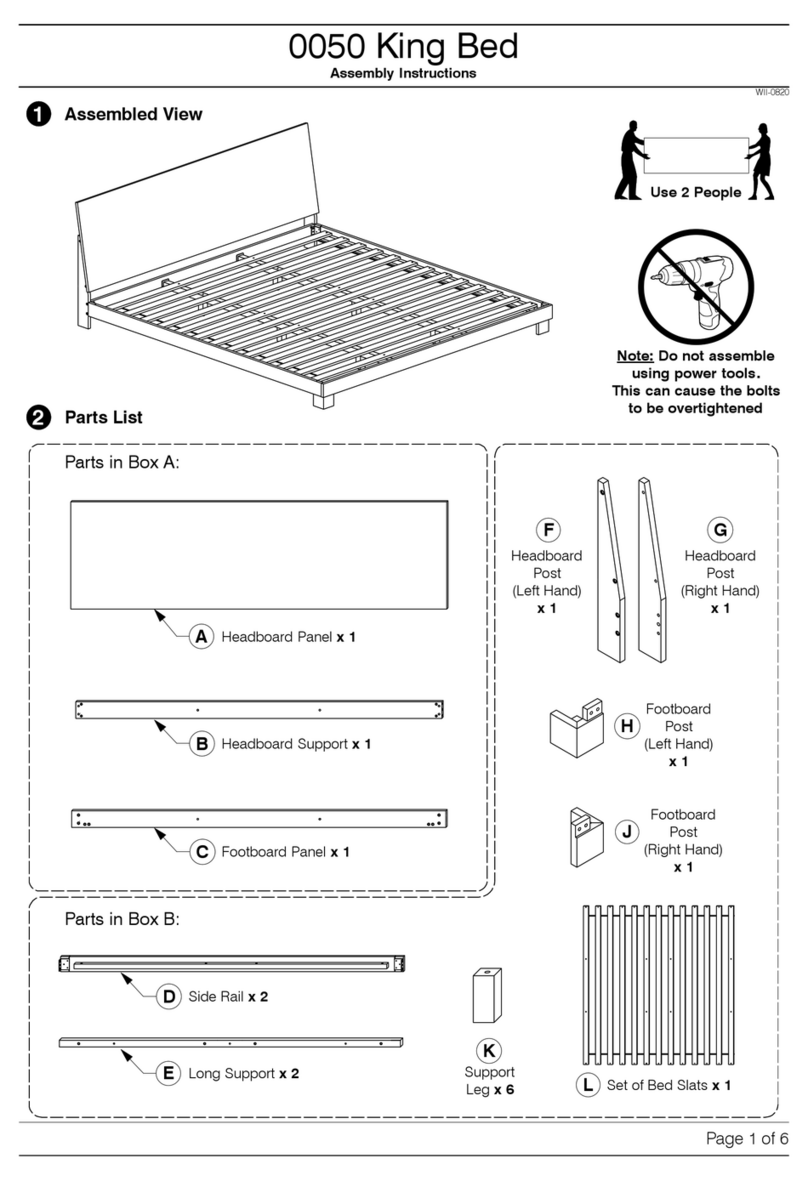
Baxton Studio King Bed 0050 User manual
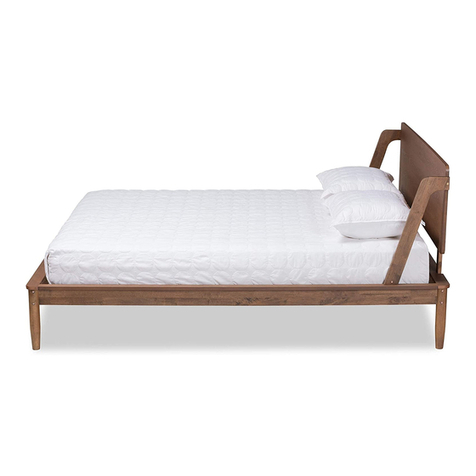
Baxton Studio

Baxton Studio King Bed 0050 User manual

Baxton Studio 0047-9 User manual

Baxton Studio

Baxton Studio 0047-9 User manual
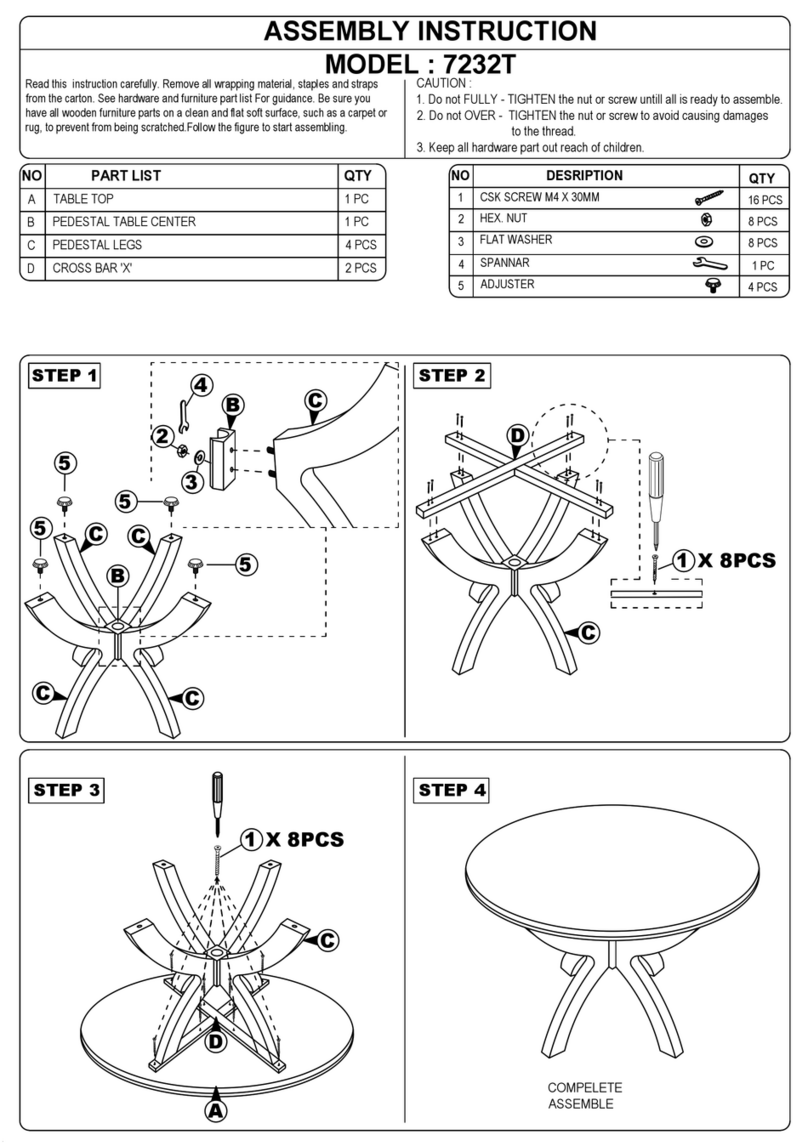
Baxton Studio 7232T User manual

Baxton Studio

Baxton Studio 7232T User manual
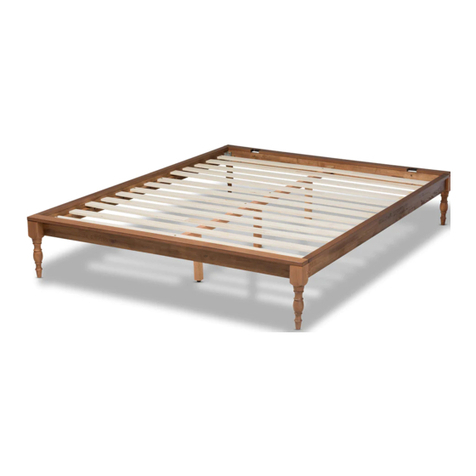
Baxton Studio MG0005 User manual

Baxton Studio

Baxton Studio MG0005 User manual

Baxton Studio Full Bed 0013 User manual

Baxton Studio

Baxton Studio Full Bed 0013 User manual

Baxton Studio 0047-9 User manual

Baxton Studio

Baxton Studio 0047-9 User manual
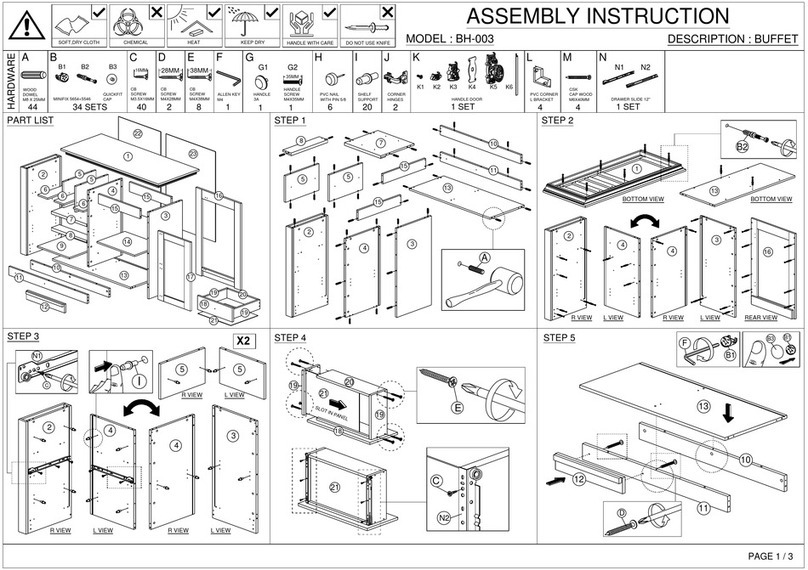
Baxton Studio BH-003 User manual

Baxton Studio

Baxton Studio BH-003 User manual
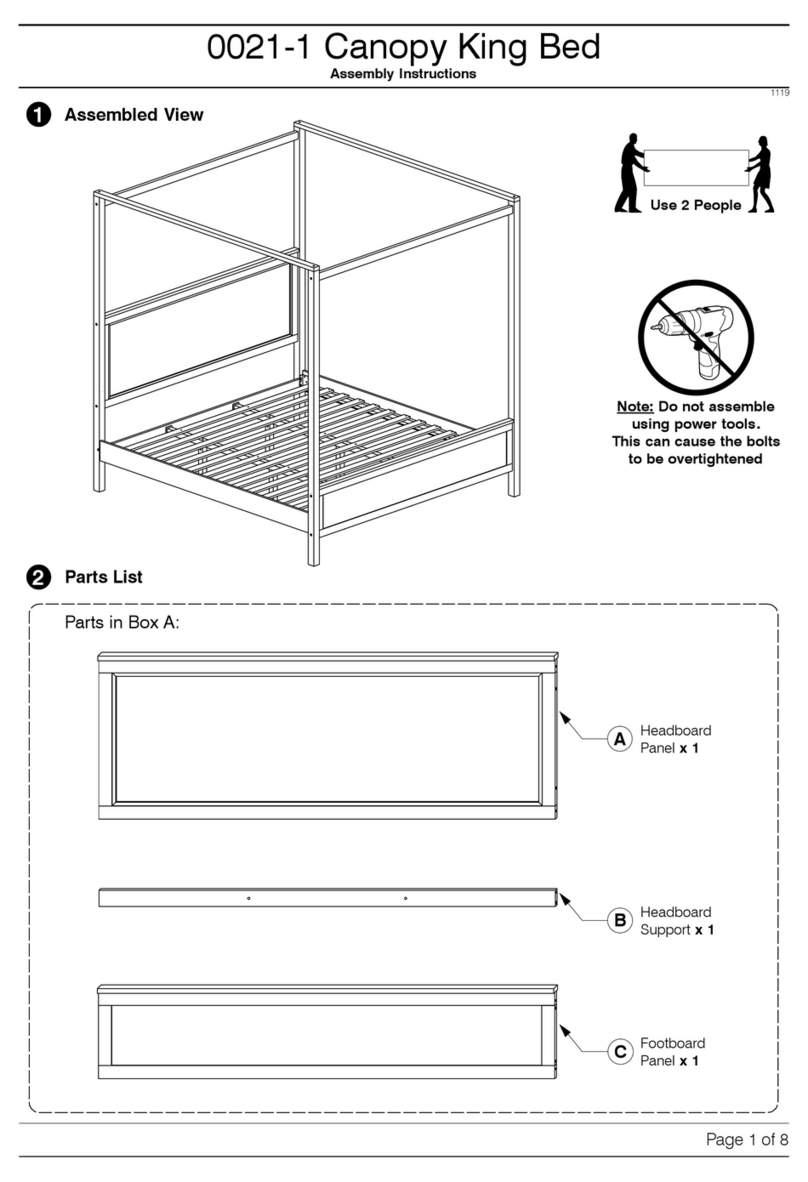
Baxton Studio 0021-1 User manual

Baxton Studio

Baxton Studio 0021-1 User manual

Baxton Studio FMA0298COATHANGER User manual
Baxton Studio

Baxton Studio FMA0298COATHANGER User manual

Baxton Studio MG97132 User manual

Baxton Studio

Baxton Studio MG97132 User manual
Baxton Studio Queen Bed 0021-4 User manual
Baxton Studio

Baxton Studio Queen Bed 0021-4 User manual

Baxton Studio 0094 User manual

Baxton Studio

Baxton Studio 0094 User manual
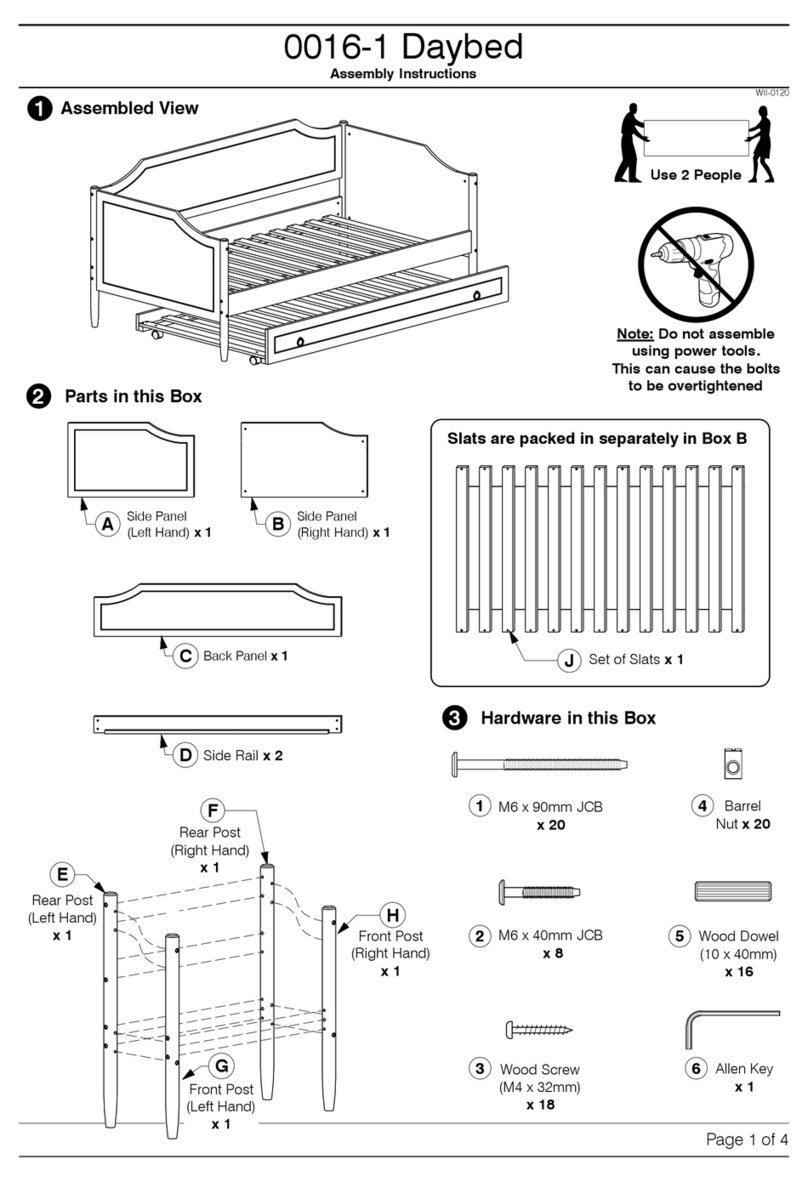
Baxton Studio 0016-1 User manual

Baxton Studio

Baxton Studio 0016-1 User manual

Baxton Studio LYA20-103 User manual

Baxton Studio

Baxton Studio LYA20-103 User manual

Baxton Studio FM203-008-NATURAL WOODEN-CABINET User manual
Baxton Studio

Baxton Studio FM203-008-NATURAL WOODEN-CABINET User manual

Baxton Studio 97151 User manual

Baxton Studio

Baxton Studio 97151 User manual
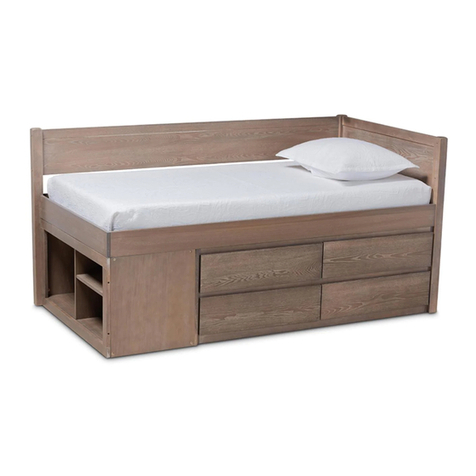
Baxton Studio 0042 Twin Captain's Bed User manual
Baxton Studio

Baxton Studio 0042 Twin Captain's Bed User manual

Baxton Studio LC21020907RATTAN2DWCONSOLETABLE User manual

Baxton Studio

Baxton Studio LC21020907RATTAN2DWCONSOLETABLE User manual

Baxton Studio Sakuro BD-03 User manual

Baxton Studio

Baxton Studio Sakuro BD-03 User manual

Baxton Studio 256C User manual

Baxton Studio

Baxton Studio 256C User manual

Baxton Studio 7028T User manual

Baxton Studio

Baxton Studio 7028T User manual

Baxton Studio 0004 User manual

Baxton Studio

Baxton Studio 0004 User manual

Popular Indoor Furnishing manuals by other brands

Regency LWMS3015 Assembly instructions

Regency

Regency LWMS3015 Assembly instructions

Furniture of America CM7751C Assembly instructions

Furniture of America

Furniture of America CM7751C Assembly instructions

Safavieh Furniture Estella CNS5731 manual

Safavieh Furniture

Safavieh Furniture Estella CNS5731 manual

PLACES OF STYLE Ovalfuss Assembly instruction

PLACES OF STYLE

PLACES OF STYLE Ovalfuss Assembly instruction

Trasman 1138 Bo1 Assembly manual

Trasman

Trasman 1138 Bo1 Assembly manual

Costway JV10856 manual

Costway

Costway JV10856 manual

moss DESIGN Caisson Credenza Assembly instructions

moss DESIGN

moss DESIGN Caisson Credenza Assembly instructions

Aquaglide FULL DECK 15.0 owner's manual

Aquaglide

Aquaglide FULL DECK 15.0 owner's manual

AREBOS AR-HE-SW30 user manual

AREBOS

AREBOS AR-HE-SW30 user manual

Till-Hilft Fulda 87005.330 Assembly instructions

Till-Hilft

Till-Hilft Fulda 87005.330 Assembly instructions

Twoey Outside 2010 quick start guide

Twoey Outside

Twoey Outside 2010 quick start guide

Hettich Easys 200 operating instructions

Hettich

Hettich Easys 200 operating instructions

The bedboss RELAX 404 Series owner's manual

The bedboss

The bedboss RELAX 404 Series owner's manual

Oeseder Möbelindustrie Bern 991 720 Assembly instructions

Oeseder Möbelindustrie

Oeseder Möbelindustrie Bern 991 720 Assembly instructions

Costway HW68469 user manual

Costway

Costway HW68469 user manual

Next ALIX A27743 Assembly instructions

Next

Next ALIX A27743 Assembly instructions

BROSA Hans Assembly guide

BROSA

BROSA Hans Assembly guide

Prodigg MINIKA PBA015T-FUR installation manual

Prodigg

Prodigg MINIKA PBA015T-FUR installation manual

manuals.online logo
manuals.online logoBrands
  • About & Mission
  • Contact us
  • Privacy Policy
  • Terms and Conditions

Copyright 2025 Manuals.Online. All Rights Reserved.