4 |
Please retain these instructions for future reference.
NOTICE
•This machine is intended for indoor use only.
•Use with caution in the presence of children as it may startle or hurt them.
•Periodically check the connection between the recharger and socket to ensure that it is properly
plugged in.
•To prolong battery life, recharge machine for at least 12 hours after the first use or after a long
idle period.
•Before use, clear the floor of obstacles and objects that are prone to damage – such as glass, fabric,
fringes or loose cables.
•Be aware that if a room is too large the unit may not automatically return to the charging dock when
batteries are low.
•The run time of this machine varies depending on floor surface, initial charge time, frequency of use,
furniture, and room layout.
•Although this machine is designed for automated use, it requires regular cleaning and maintenance.
•Although this machine can detect edges, it is recommended that it is used in an enclosed space with
walls or railings to reduce the chance of falling o edges. Be aware that it only detects stairs that are
higher than 4 inches.
•Use of a battery or charger other than the supplied rechargeable battery and charger may cause a fire
or explosion.
•Only use the supplied battery, adaptor, and charging dock. Use of other accessories could damage the
machine and risk fire or electric shock.
•If any parts are missing, broken, damaged, or worn, stop using this item until repairs are made and/or
factory replacement parts are installed.
•Do not use this item in a way inconsistent with the manufacturer’s instructions as this could void the
product warranty.
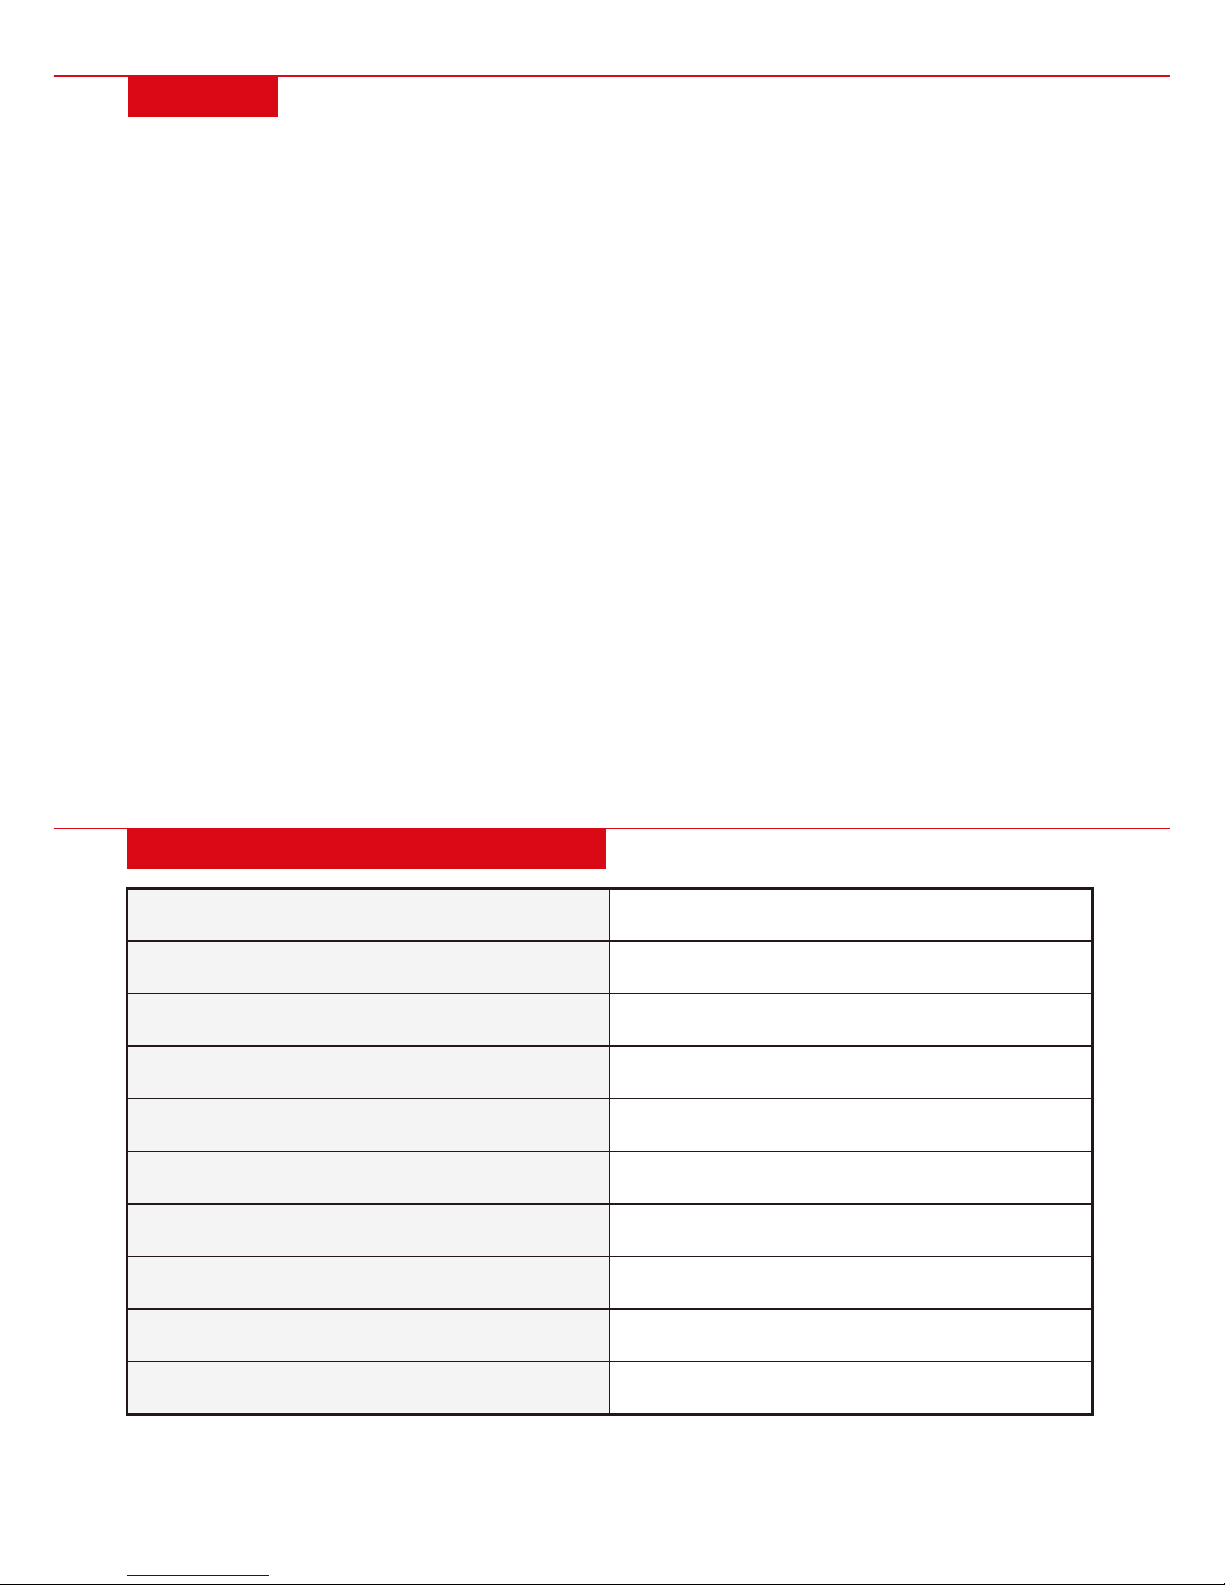
TECHNICAL SPECIFICATIONS
RUN TIME
1-1.5 hours
CHARGE TIME
RATED VOLTAGE
4-6 hours
DC 14.8V
RATED POWER
30W
OPERATING TEMPERATURE RANGE
14°F – 113°F
INPUT VOLTAGE/CURRENT
DC 24V/0.5A
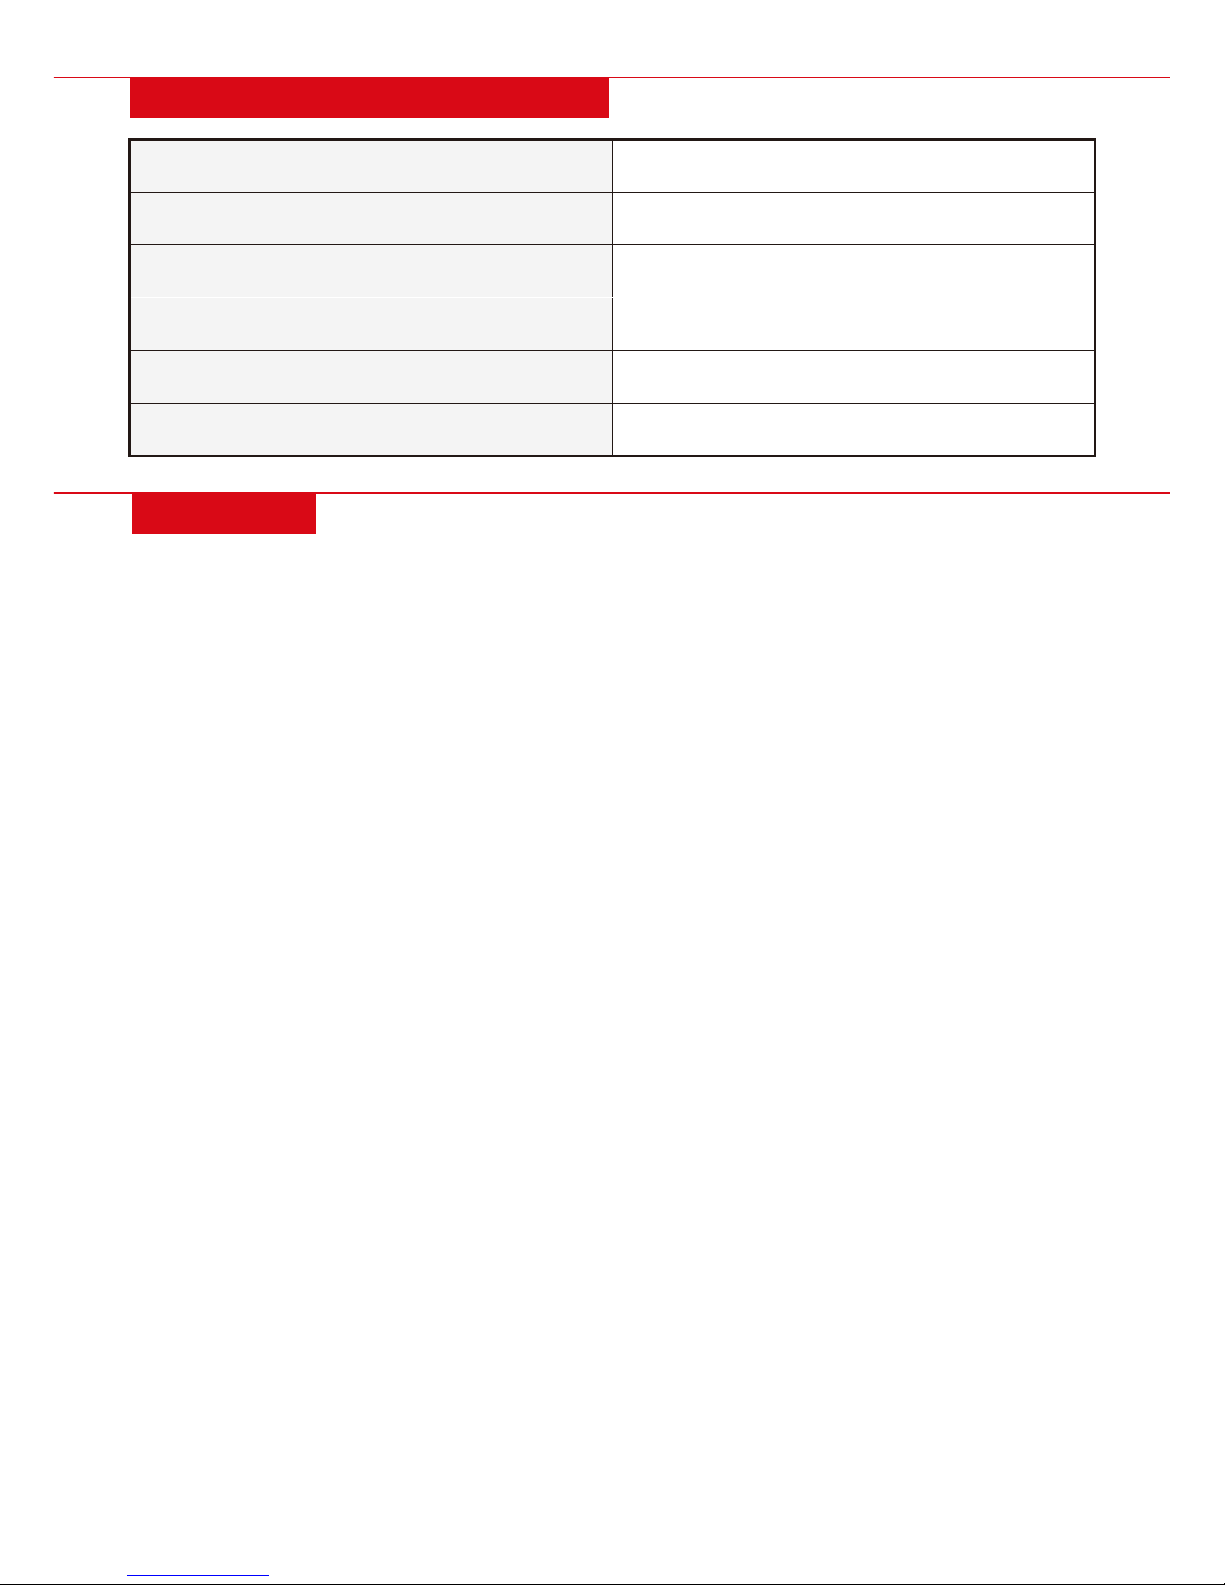
INFRARED REMOTE CONTROL
38KHZ
REMOTE CONTROL DISTANCE
16 ft.
WEIGHT
6.4 lbs.
INITIAL CHARGE
12 hours