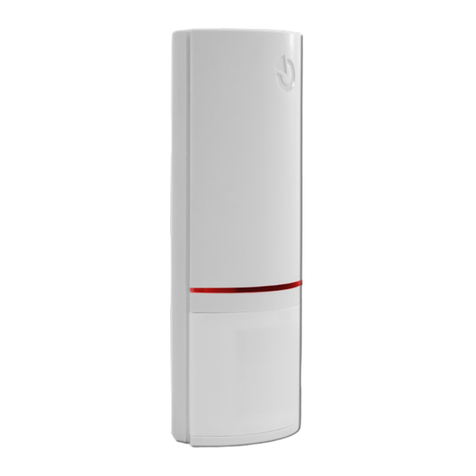
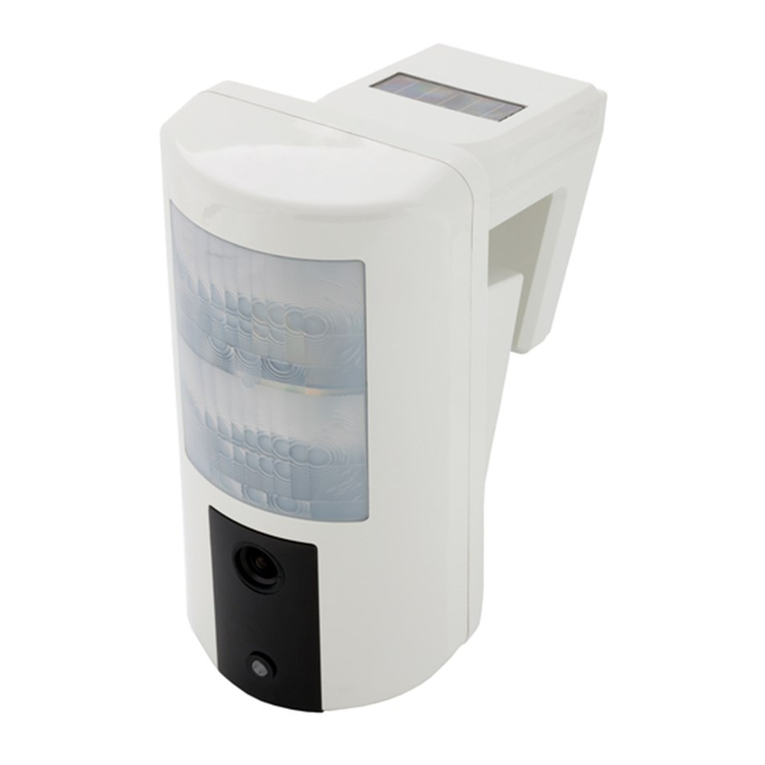
BeeSecure LoRa RB11E User manual

PA G E |1
B e e S ec u r e |LORA “R B 1 1 E ”GE T T I N G ST A R T E D
Contents
Part A: Account Activation..................................................................... 2
Part B: Device Activation ...................................................................... 2
Step 1: Log in to the App ...................................................................................................2
Step 2: Create an Asset to Track ...................................................................................... 2
Step 3: Pair your BeeSecure Hardware with your Asset.................................................. 3
Part C: Set Location of Device in App................................................... 4
Part D: Power on your “RB11E”............................................................ 5
Step 1: Power on the RB11E............................................................................................. 5
Step 2: Replacing the Batteries ........................................................................................ 5
Step 3: First Time Connecting........................................................................................... 5
Help..................................................................................................................................... 5
Part F: Device Operation....................................................................... 6
Part G: Track Your Assets ..................................................................... 6
Track your BeeSecure-Guarded Assets ............................................................................6

PA G E |2
B e e S ec u r e |LORA “R B 1 1 E ”GE T T I N G ST A R T E D
Part A: Account Activation
Please see the BeeSecure Setup Guide at beesecure.ca/getting-started to setup your
account on app.beesecure.ca.
Part B: Device Activation
Step 1: Log in to the App
i) Open the BeeSecure app that you added to your phone’s home screen, or go to
app.beesecure.ca on your computer, and sign in
Step 2: Create an Asset to Track
Here we will create an asset that you are going to use the sensor for. For example, this could
be a shop, shed, beehive, etc.
i) Click the user icon in the top-right corner of the screen and navigate to ‘ASSETS’
→‘LISTING’
ii) Click the (+) icon at the top-right next to ‘Asset’ to create an asset
iii) Give your asset a Name; optionally, add a description and photo. Common
descriptions include asset make, model, colour, and license plate number (when
applicable). This information can help law enforcement recover your stolen assets
if you choose to share the information.
iv) When you’re done, click ‘CREATE ASSET’

PA G E |3
B e e S ec u r e |LORA “R B 1 1 E ”GE T T I N G ST A R T E D
Step 3: Pair your BeeSecure Hardware with your Asset
i) Navigate back to ‘ASSETS’ →‘LISTING’by opening the side bar using the top-right
icon
ii) Click the hardware icon ( ) to the right of the
asset’s name:
iii) Enter the device ID of your sensor. The device ID is found on the label on the
bottom of your tracker. The number is different for different models of trackers:
(most common)
Motion/Temperature Sensors: “Dev EUI”
iv) Once entered, click ‘PAIR HARDWARE’ to activate your device.
Under ‘ASSETS’ →‘LISTING’, the black-box icon from before should now be green.
IMPORTANT: Please keep your device ID in a safe place. You will need this number to pair
your device again if you decide to unpair it or transfer it to a different asset. There should be
another device ID sticker in the box with your tracker. It is recommended to keep this and
remove the sticker from the bottom of your tracker.
Device ID

PA G E |4
B e e S ec u r e |LORA “R B 1 1 E ”GE T T I N G ST A R T E D
Part C: Set Location of Device in App
The “RB11E” does not have a GPS to find its own location, so in the BeeSecure app you will
have to manually set its location so it will show up properly on the map.
After pairing your device to an asset in the BeeSecure app, set the location of this asset by
manually creating an asset event:
i) Go to the “Assets” page in the BeeSecure app, and click the icon
ii) Click the icon on the top right to create an event
iii) Type in the GPS location (latitude, longitude) into the “GPS Location” box. If you are
standing at the location with your phone or computer, you can click the icon to
get your current location, then copy and paste it into the “GPS Location” box.
iv) Click “Create Asset Event” at the bottom of the page. Now you should see the
location of this device on the Asset Map.
i
)
ii
iii
iv

PA G E |5
B e e S ec u r e |LORA “R B 1 1 E ”GE T T I N G ST A R T E D
Part D: Power on your “RB11E”
Step 1: Power on the RB11E
i) The RB11E comes with batteries installed. To power on the sensor, press and hold
one of the two buttons on the side until the red light comes on.
ii) To power off the sensor, press and hold both buttons for 10 seconds, until the green
light starts flashing, or simply remove the back cover and take out the batteries.
Step 2: Replacing the Batteries
i) Please contact [email protected] if you require new batteries. The RB11E uses
special long-lasting batteries, and off the shelf AA batteries will not work!
ii) After replacing the batteries, press and hold one of the side buttons until the red
light turns on.
Step 3: First Time Connecting
i) When you turn on the device, the red light will flash ones. As soon as the device
connects to the BeeSeucre LoRa network through a LoRa Gateway, a green light will
flash once and the sensor will now communicate with the BeeSecure app.
ii) Make sure the device is within range of a LoRaWAN gateway.
iii) If it can’t connect to a LoRa Gateway (weak LoRa signal), this process will time out
after 10 minutes, and will start again the next time the device is powered off and on.
Help
If the device can’t get LoRa reception and isn’t sending data to the BeeSecure app, make
sure the device has an unobstructed view of a LoRa gateway. If metal or concrete is
between the tracker and gateway, the signal range will be reduced.

PA G E |6
B e e S ec u r e |LORA “R B 1 1 E ”GE T T I N G ST A R T E D
Part F: Device Operation
i) If no people are detected by the sensor, the device will report its battery status and
temperature once every 2 hours.
ii) When motion is detected, the device will transmit and alert to the BeeSecure app.
iii) A low battery alert will appear in the BeeSecure app if the battery is low. Note that
extreme cold temperatures or the use of incorrect types of batteries could set off this
alert prematurely.
Part G: Track Your Assets
Track your BeeSecure-Guarded Assets
i) You can customize the notifications you receive from your asset trackers via the
‘ASSETS’ →‘LISTING’screen –click the settings icon ( ) next to your asset
ii) Under ‘Notifications’ you can:
a. Flag your asset as stolen (only do so in the case of a confirmed theft). Coming
soon, law enforcement will be directly notified when your asset is stolen.
b. Edit the date your asset was stolen
c. Adjust the notification interval for when you will be notified that your asset has
started moving.
For example, if set to 1 hour, you will be notified that your asset started
moving only once it has been stationary for 1 hour. This helps prevent false
alarms and limits the number of text messages sent.
Don’t worry, your asset will still be tracked regardless of if you receive a
notification or not.

PA G E |7
B e e S ec u r e |LORA “R B 1 1 E ”GE T T I N G ST A R T E D
This manual suits for next models
1
Table of contents
Other BeeSecure Security Sensor manuals

