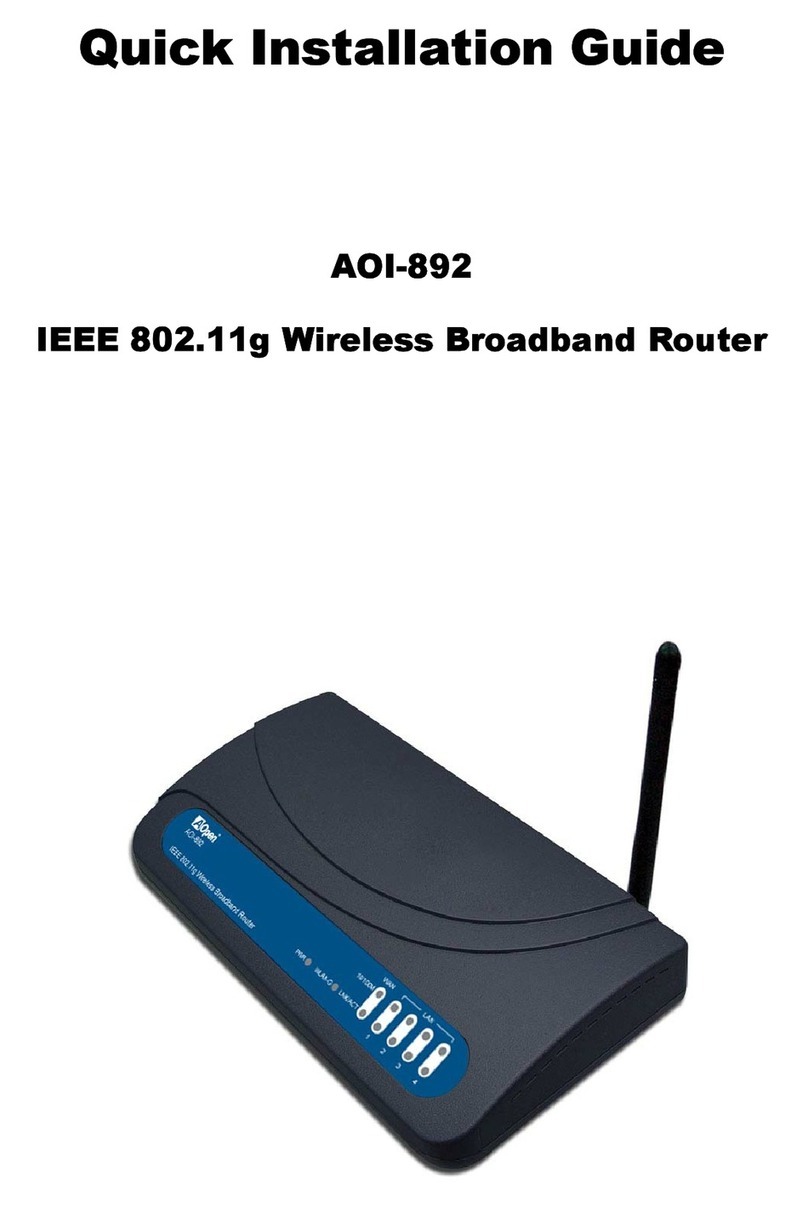
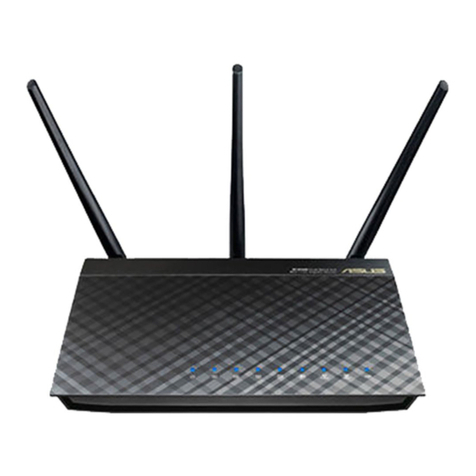
BEETEL 450TC3 User manual

1. Introduction...............................................................................................................................2
1.1 Specifications................................................................................................................2
2. Installation.................................................................................................................................4
2.1 Hardware installation....................................................................................................4
3. Connect to the router.....................................................................................................................5
3.1 Setup your local network ....................................................................................................5
3.2 Connect to the router...........................................................................................................8
4. Configuration..............................................................................................................................11
4.1 LAN Settings.....................................................................................................................11
4.1.1 LAN IP Setting.......................................................................................................11
4.1.2 DHCP Setting.........................................................................................................13
4.1.3 DHCP Static...........................................................................................................15
4.2 WAN Settings....................................................................................................................16
4.2.1 Channel configuration............................................................................................16
4.2.2 ATM setting............................................................................................................25
4.2.3 ADSL setting..........................................................................................................26
4.3 WLAN Settings.................................................................................................................27
4.3.1 Basic setting...........................................................................................................27
4.3.2 Security setting.......................................................................................................28
4.3.3Advanced setting....................................................................................................31
5. Advanced.....................................................................................................................................35
5.1 Firewall .............................................................................................................................35
5.1.1 IP/Port filter............................................................................................................35
5.1.2 MAC filter..............................................................................................................36
5.1.3 URL filter...............................................................................................................38
5.1.4ACL........................................................................................................................39
5.1.5 DoS ........................................................................................................................43
5.2 Service...............................................................................................................................45
5.2.1 IGMP proxy............................................................................................................45
5.2.3 DNS........................................................................................................................45
5.2.4 DDNS.....................................................................................................................46
5.3 Advanced...........................................................................................................................48
5.3.1 Route......................................................................................................................48
5.3.2 NAT........................................................................................................................50
5.3.3 QoS ........................................................................................................................56
5.3.4 CWMP ...................................................................................................................58
5.3.5 Port mapping..........................................................................................................60
5.3.6 Bridge setting.........................................................................................................62
5.3.7 Client limit .............................................................................................................63
6. Maintenance................................................................................................................................65
6.1 Firmware upgrade.............................................................................................................65
6.2 Backup/Restore.................................................................................................................65
6.3 Password...........................................................................................................................65
6.4 Reboot...............................................................................................................................66

6.5 Time ..................................................................................................................................67
6.6 Log....................................................................................................................................68
6.7 Diagnostics........................................................................................................................68
6.7.1 Ping ........................................................................................................................69
6.7.2 Tracert ....................................................................................................................69
6.7.3 OAM loopback.......................................................................................................71
6.7.4 ADSL diagnostics...................................................................................................72
6.7.4 Diag-test.................................................................................................................74
1. Introduction
The 450TC3 ADSL2+ Wireless/Ethernet Router is a device with routing capability, wireless
access point, multiple ADSL lines transmission mode (ADSL2+, ADSL2, T1.413, G.Dmt and
G.lite) and provides 10/100Base-T Ethernet interface. The ADSL Router supports wireless
802.11n/b/g and the following security protocols: WEP, WPA, WPA2 and 802.1x. Through the
ADSL access, the router can provides user with access to Internet.
This user manual is mainly used to guide the user to install and configure the ADSL Router from
WEB UI.
1.1 Specifications
Wireless AP, Router, 4 Port Switch and Firewall
Support ITU-T G.992.1 (G.dmt), ANSI T1.413, G.992.2 (G.Lite),ADSL2 andADSL2+
Support 802.11n, compatible with 802.11b and 802.11g
Up to 54 Mbps wireless operation rate
64/128 bits WEP for security
WPA and WPA2 support
4 10/100MBase-T Ethernet interface (LAN)
RFC-1483/2684 LLC/VC-Mux bridge/route mode
RFC-1577 Classical IP over ATM
RFC-2516 PPPoE
RFC-2364 PPPoA
ITU-T 1.610 F4/F5 OAM send and receive loop-back
802.1d Spanning-Tree Protocol
DHCP Client/Server/Relay
NAT
RIP v1/v2
DNS RelayAgent

Support DMZ, virtual server, ALG
IGMP Proxy/Snooping
Protection against Denial of Service attack
IP Packet filtering
MAC filtering
URL filtering
IP QoS
Dynamic DNS
UPnP support
System log support, can record the state of the router
Remote management
Firmware upgrade through FTP, TFTP and HTTP
Configuration backup/restore
Diagnostic tools

2. Installation
2.1 Hardware installation
To install the device correctly, you should prepare as follows:
A RTL867x board
12V DC power
RJ-45 Ethernet cable
RJ-11 ADSL line
COM Port cable (Optional)
Then you can follow the procedures to setup the device:
1. Connect RJ-45 cable from your PC to RTL867x Ethernet Port
2. Connect RJ-11 line from RTL867x to DSLAM
3. Connect PC‟s COM port to RTL867x COM port if you have COM port cable. You can
monitor the status of system and input control command from PC‟s HyperTerminal.
4. Connect the 12V DC power

3. Connect to the router
3.1 Setup your local network
1. Right click the “Network”icon on your desktop, select “properties”in the pop-up menu
2. In the following window, right click on the “Local connection”and select “properties”
3. In the pop-up dialog box, select the “Internet Protocol (TCP/IP)”, and then click the
“properties”button

4. In the subsequent opening of the window, you can select "obtain IP address automatically (O)
" or "Use the following IP address (S) "
a) Obtain IP address automatically (O)

b) Use the following IP address (S)
IP address: 192.168.1.xx (xx is between 2 and 254)
Subnet mask: 255.255.255.0
Gateway: 192.168.1.1
DNS Server: You can fill out your local DNS server address (ask your ISP provider) can
also be the router as a DNS proxy server.
Click “OK”to submit the current settings after setup is complete.

3.2 Connect to the router
1. Open IE browser, and input “http://192.168.1.1”in the address bar and press enter
2. Input username and password on the pop-up dialog to login the router

The router supports different privilege of user account. The supper user and normal user. The
client login with the supper user account can have the more higher privilege to management
the router, such as the supper user can configure WAN interface or some advanced settings,
but the normal user can just view the settings.
User:admin password: password
3. If the username and password is correct, then you will see the web management pages.


4. Configuration
4.1 LAN Settings
4.1.1 LAN IP Setting
4.1.1.1 LAN IP Settings
Go to the Setup->LAN page, you can configure the LAN interface of your ADSL Router. You may
change the setting for IP address, subnet mask, etc..
IP address
The IP address of the ADSL router‟s LAN interface, the default value is 192.168.1.1.
Subnet mask
The subnet mask of theADSLrouter‟s LAN interface, the default value is 255.255.255.0.
Secondary IP
If you enable the “Secondary IP”, you should configure another IP address and subnet mask
for the LAN interface.
IGMP Snooping
You can enable/disable the IGMP Snooping function by the select radio.
Note:
If you change the IP address of the LAN interface, you should use the new IP address to reconnect
to the web server.

The first IP and secondary IP must belong to different subnet.
4.1.1.2 Ethernet Link Speed/Duplex Mode
On LAN interface setup, you can also configure each Ethernet port‟s link speed/duplex mode.
LAN Port
specify the LAN port number of the switch, it can be LAN1, LAN2, LAN2 and LAN4
Link Speed/Duplex Mode
the mode of the selected LAN port, the default value is “Auto Negotiation”
You can select a LAN port to modify its link speed/duplex mode.
Note:
If you configure the LAN port to a new mode, such as “100Mbps/Full Duplex”, you must make
the same configuration on the PC‟s NIC which the LAN port is connected to, that is means you
should configure the mode on the PC‟s NIC to be “100Mbps/Full Duplex”.
4.1.1.3 MAC Address Control
The router supports the MAC address control on Ethernet port.

MAC Address Control
select the LAN interface on which you want to run MACAddress Control
New MAC Address
a MAC address to be added
Current Allowed MAC Address Table
it shows the current allowed MAC address list
If you enable the MAC address control on an interface such as “LAN1”, then the traffic from the
specified interface “LAN1”only whose MAC address matches the allowed list will be flowed,
otherwise the traffic will be dropped by the router.
4.1.2 DHCP Setting
Go to the Setup->LAN->DHCP page, you can configure the DHCP mode of your ADSL Router as
None, DHCP Relay or DHCP Server.
4.1.2.1 None
If the DHCP mode is “None”, the router will do nothing when the hosts request an IP address by
DHCP protocol.
4.1.2.2 DHCP Server
The DHCP Server is used to configure correct TCP/IP protocol related parameters for the
computer on your local network. If you enable the DHCP Server function of the ADSL router, you
can make the DHCP Server automatically configure the TCP/IP protocol parameters (such as IP
address, subnet mask, gate way and DNS servers) for the computer on your local network.

DHCP Mode
the DHCP mode can be DHCP Server, DHCP Relay and None.
Interface
you can specify which interface you want to enable DHCP Server.
IP Pool Range
the DHCP IP pool address
Default Gateway
the default gateway address
Max Lease Time
the time that the DHCP client is allowed to maintain a network connection.
Domain Name
a user-friendly name that refers to the group of hosts ( subnet ) that will be assigned

addresses from this pool
DNS Server
the IP address of DNS server used in option filed of DHCP message.
4.1.2.3 DHCP Relay
If you are using the other DHCP Server to assign IP address to your hosts on the LAN, you can set
the relay server‟s IP address.
Relay server
the IP address of the DHCP Relay server.
4.1.3 DHCP Static
DHCP Static IP table shows the IP address and MAC address the client obtained from the DHCP
Server. You can manually input IP and MAC address to make a static assignment. Router searches
the relevant entry in this table to assign IP address according to the client‟s MAC address. If the
router can‟t find a corresponding static entry, it will choose an unallocated IP address from DHCP
pool assign to the client.
Go to Setup->LAN->DHCP Static page, you can set the DHCP static rules.

Then the client with MAC address “00:00:00:00:00:01”will be assigned an IP address of
192.168.1.64 through DHCP.
4.2 WAN Settings
To enjoy the surfing, we should have the most basic configuration of the router at first. In this
chapter, you can set the basic network parameters required to access the Internet.
The router supports the following three common means to access:
Dynamic IP access: ISP (such as China Telecom) assigns IP address to users via DHCP.
Static IP access: ISP provides a static IP address to users.
PPPoE dial-up access (ADSL): use PPPoE virtual dial-up connection to the Internet.
4.2.1 Channel configuration
Go to Setup->WAN page, scroll to bottom & go to WAN interface table & select PPPoE change
the settings as per requirement &click modify.

There are many parameters on the channel configuration:
VPI
ATM VPI for the PVC channel
VCI
ATM VCI for the PVC channel
Encapsulation
AAL5 encapsulation mode for the PVC channel: LLC/SNAP or VC-mux

Channel mode
operation of the PVC channel, it can be 1483 Bridged, 1483 MER, PPPoE, PPPoA, 1483
Routed and IPoA
Enable NAPT
Enable or disable the NATP function of the PVC channel
Enable IGMP
Enable or disable the IGMP function of the PVC channel
User name
username of the PPP connection
Password
Password of the PPP connection
Type
The type of PPP dial-up: continuous, manual or connect-on-demand.
Idle time
The idle time of the PPP connection when the type is connect-on-demand.
WAN IP settings : Type
the type of the wan IP settings: fixed or DHCP
Local IP address:
the IP address of the router on the PVC channel
Remote IP address:
the gateway‟s IP address of the router on the PVC channel
Netmask
the subnet mask of the router on the PVC channel
Default route
the mode of the default route of the router.
1. Dynamic IP access
If the channel mode of the PVC channel is 1483MER DHCP, you can obtain an IP address from
your ISP service to access the Internet.

You should set the VPI/VCI correctly first and select „1483 MER‟option as the Channel mode. On
WAN IP settings, set the Type as DHCP, enable the Default Route, then click the “Add”button to
setup a new connection.

When the connection is setup, you can see the router will obtain an IP address.
2. Static IP access
If your means of access to the Internet is “Static IP”mode, enter the fixed IP address, mask,
gateway address the ISP gives you.
Table of contents
