5 Years Warranty
Each of Korenix’s product line is designed, produced, and tested with high industrial
standard. Korenix warrants that the Product(s) shall be free from defects in materials and
workmanship for a period of ve (5) years from the date of delivery provided that the Product
was properly installed and used.
is warranty is voided if defects, malfunctions or failures of the warranted Product are
caused by damage resulting from force measure (such as oods, re, etc.), other external forces
such as power disturbances, over spec power input, or incorrect cabling; or the warranted
Product is misused, abused, or operated, altered and repaired in an unauthorized or improper
way.
Attention! To avoid system damage caused by sparks, please DO NOT plug in power
connector when power is on.
e product is in compliance with Directive 2002/95/EC and 2011/65/EU of the European
Parliament and of the Council of 27 January 2003 on the restriction of the use of certain
hazardous substances in electrical and electronics equipment(RoHS Directives & RoHS 2.0)
Korenix Customer Service
KoreCARE is Korenix Technology's global service center, where our professional stas are
ready to solve your problems at any time Korenix global service center's e-mail is
KoreCARE@korenix.com.
For more information and documents download please visit our website:
http://www.korenix.com/downloads.htm
Support
Relay Output
JetNet Switch can go through the dry relay output with DC 24V/1A current
forwarding ability for Gigabit port and power event alarm. It can be enabled
by 4-pin DIP- Switch, and the default is o.
DIP-Switch #1: Flow Control for system (On: Enable / O: Disable)
DIP-Switch #2: Broadcast Storm Control (On: Enable / O: Disable)
DIP-Switch #3: Enable DO1 for power event monitoring
(On: Enable / O: Disable)
DIP-Switch #4: Enable DO2 for Gigabit uplink event monitoring
(On: Enable / O: Disable)
Note: DO 1 monitors power 1 and power 2.
DO 2 monitors Gigabit port 17 and port 18 (RJ-45/SFP).
Note: please do NOT use DIP-Switch#3 to enable DO 1 when applying negative power.
It may cause DO 1 malfunction.
!
is is a Class 1 Laser/LED product.
Don't look into the Laser/LED Beam.
ATTENTION
RX
TX
RX
TX
Cable Wiring(SC to SC)
RX A TX B
TX A RX B
Pin No. # Description
Power 1,2
Alarm
Green On: Power is applying
Red On: Event occurred, relay alarm output conductors short.
Green On (Link): Ethernet port link up
Green Blinking (Activity): Port is transmitting and receiving the data
Amber On (Full Duplex): Port link in full duplex mode
Amber Off (Half Duplex): Port link in half duplex mode
Green On (Link): Ethernet port link up
Green Blinking (Activity): Port is transmitting and receiving the data
Amber On: Port link in 1000Mbps speed mode
Amber Off and Green Blinking: Port link in 100Mbps or 10Mbps
speed mode.
Fast Ethernet
(# 1~#16)
Gigabit Ethernet
(RJ-45/SFP)
(#17,#18)
LED Indication
2. Connect the 10/100M Ethernet Port: Connect the network node to the switch with 4-pair
CAT5e UTP cable. e Fast Ethernet interface support auto MDI/MDIX.
3. Connect the Gigabit TX of combo ports: Connect the network node to Switch with 4-pair
CAT5e UTP cable. e Gigabit TX interface support auto MDI/MDIX as well.
4. Connects the SFP transceiver: Plug in SFP ber transceiver. It is recommended to use
Korenix certicated SFP mini GBIC transceiver. Cross-connect the transmit channel at each
end to receive channel at the opposite side end as illustrate in the gure below.
5. If you need to connect the Relay Output, please refer to the wiring method introduction in
the manual.
Accept 12-24 AWG wire.
The switch provides polarity reverse protection.
Power1 Power2
V-V+ V-V+
NO
1 2 43
JetNet 3018G Industrial 16+2G Gigabit Ethernet Switch
Quick Installation Guide V1.1
is quick installation guideline applies to the 16+2G Gigabit Ethernet Switch. e latest
introduction and product data sheet can be found in Korenix website and the catalogue. is
Ethernet switch is designed as rugged surface in aluminum housing with wide operating
temperature range (-40~75oC).
Overview
A Beijer Electronics Group Company
Power the unit and connect to network
1. Connect the PWR1/PWR2 and turn on the power supply. en, the power indicator –
LED PWR1/PWR2 will turn on (Green on).
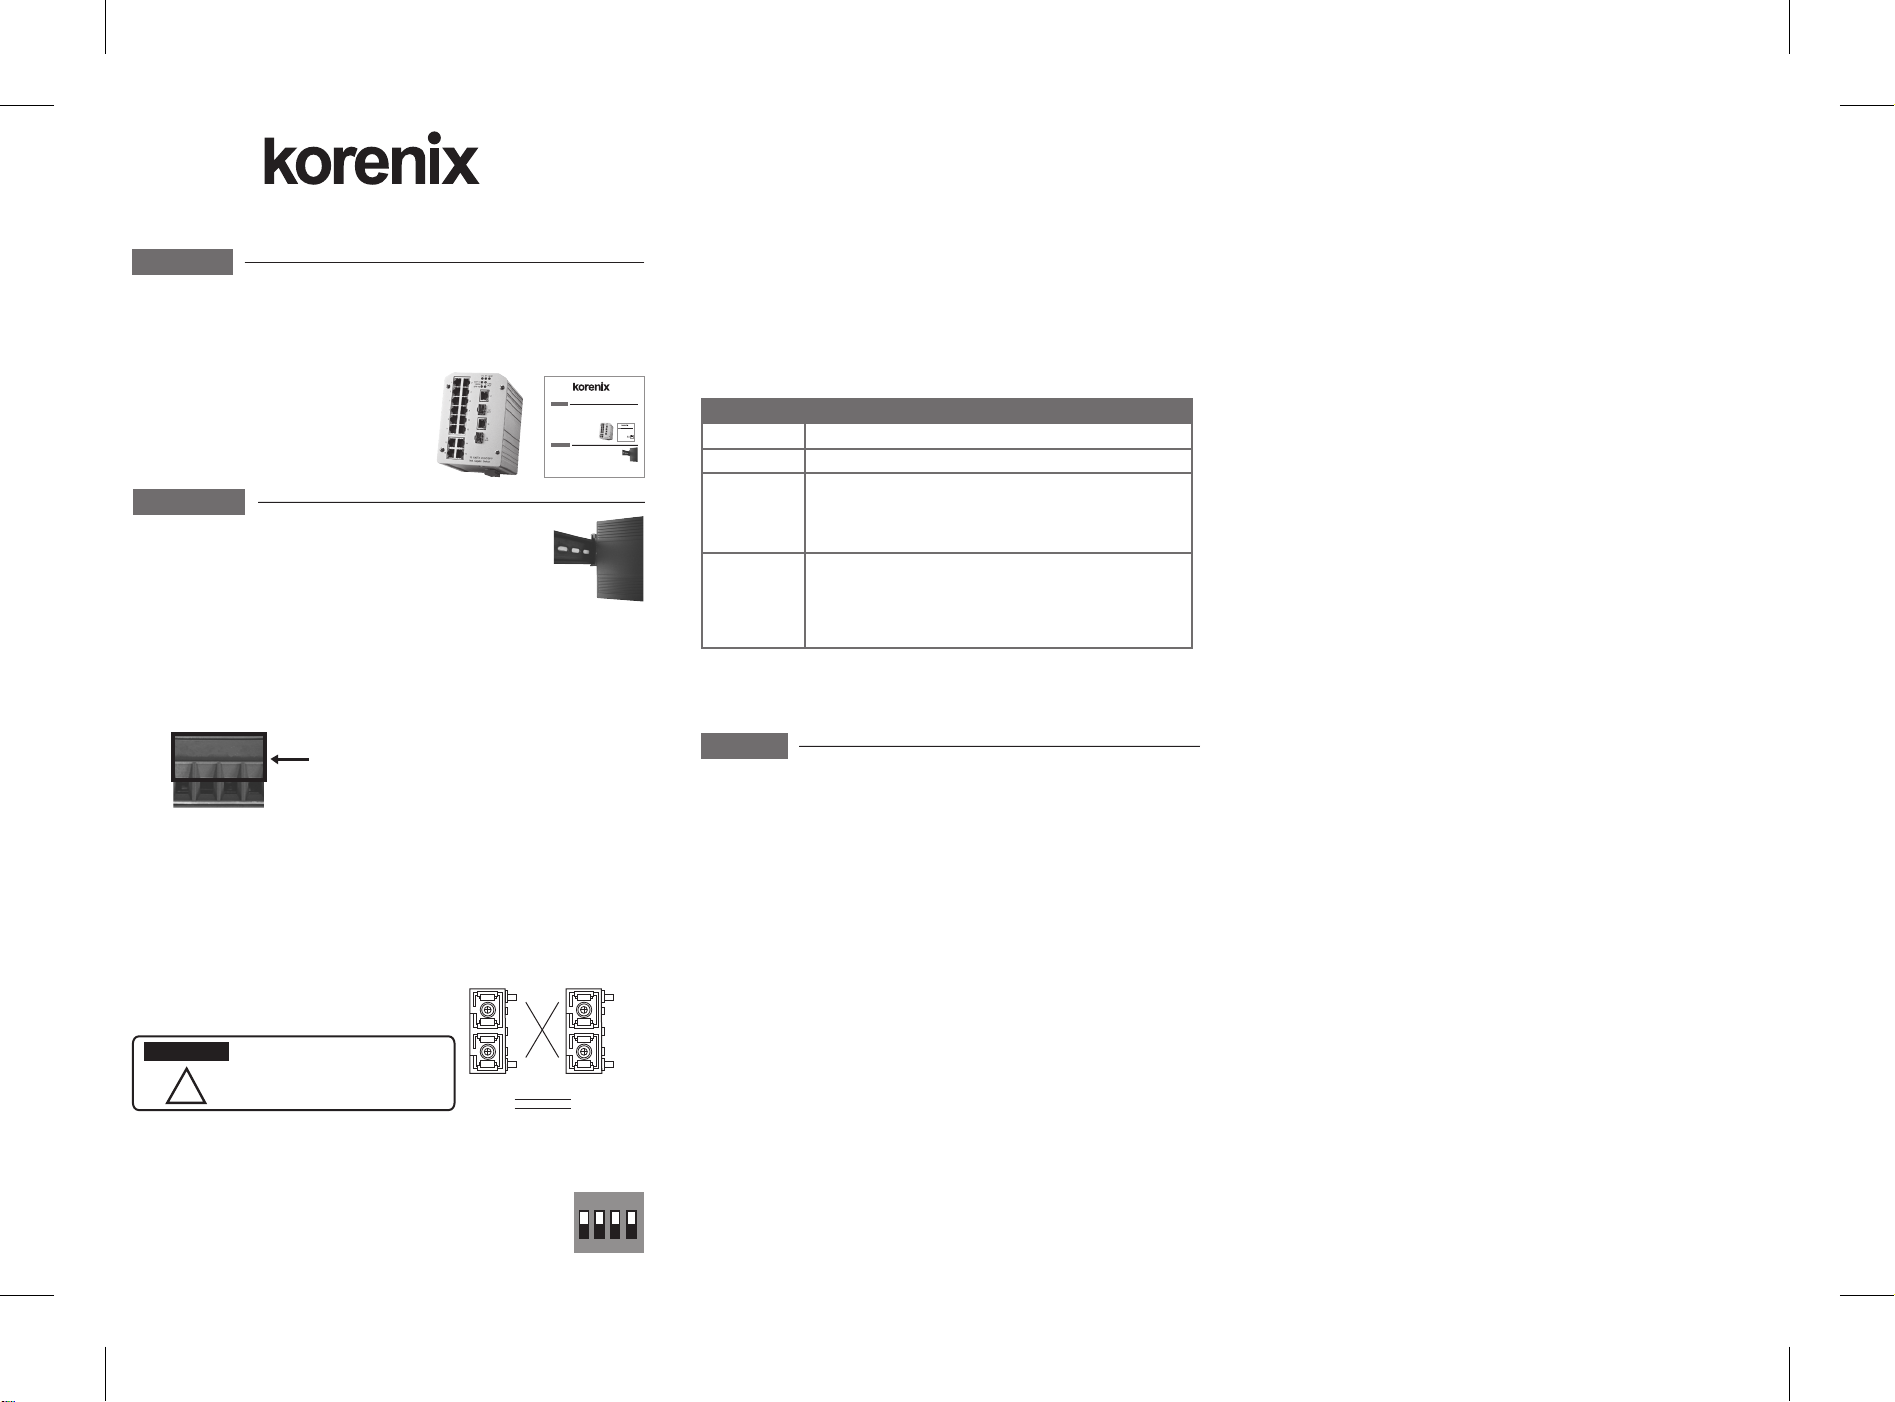
Package Check List
JetNet Industrial Switch
Quick Installation Guide
DIN Rail Mounting kit
Installation
Mount the unit
You can mount the DIN-rail chip on the rear of
JetNet Switch on the DIN rail.
JetNet 3018G Industrial 16+2G Gigabit Ethernet Switch
Quick Installation Guide V1.1
is quick installation guideline applies to the 16+2G Gigabit Ethernet Switch. e latest
introduction and product data sheet can be found in Korenix website and the catalogue. is
Ethernet switch is designed as rugged surface in aluminum housing with wide operating
temperature range (-40~75oC).
Overview
ABeijer Electronics Group Company
Power the unit and connect to network
1. Connect the PWR1/PWR2 and turn on the power supply. en, the power indicator –
LED PWR1/PWR2 will turn on (Green on).
Package Check List
JetNetIndustrial Switch
Quick Installation Guide
DIN Rail Mounting kit
PackageCheckList
JetNet3008/3008fSwitch
QuickInstallationGuide
ABeijerElectronicsGroupCompany
JetNet3008/3008fSeriesIndustrial Ethernet Switch
QuickInstallationGuideV1.5
JetNet3008/3008fIndustrialEthernetSwitch, supports 8 10/100Base TX (JetNet 3008) or
610/100TXplustwo 100FX Fast Ethernet ber ports in either multi-mode type (JetNet
3008f-m)orsingle-modetype(JetNet 3008f-s). e JetNet3008/3008f adopts rugged metal
casedesigntooperate in harsh environments (-40~75oC JetNet 3008-w/3008f-w); It also
providesIP-30standardprotection.It features one relay output to alarm users if a port link
failsorwiththe power fails. Alarms can be enabled/disabled by a 9-pin dip switch. JetNet
3008/3008fisrecommendedto be powered by DC 12V or 24V with 10~60V range from
the6-pinremovableterminalblock.
Overview
PackageCheckList
JetNet3008/3008fSwitch
QuickInstallationGuide
ABeijerElectronicsGroupCompany
JetNet3008/3008fSeriesIndustrialEthernetSwitch
QuickInstallationGuideV1.5
JetNet 3008/3008f
Industrial Ethernet
Switch,supports 8
10/100BaseTX(JetNet
3008)or610/100TXplus
two100FXFastEthernet
berportsin either
multi-modetype(JetNet
Overview
Installation
Mount the unit
Youcan mount the DIN-rail chip on the rear of
JetNetSwitch on the DIN rail.


