6
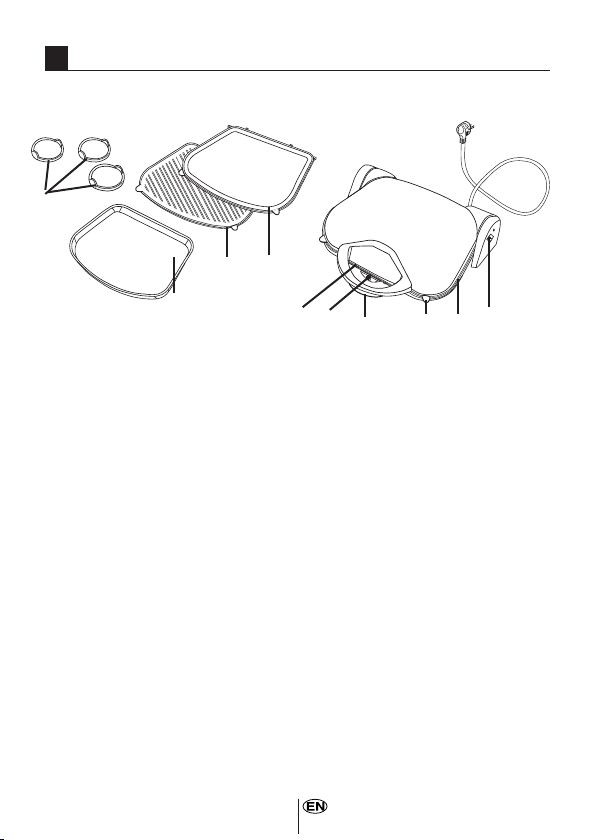
Interchanging the hot-plate
sides:
The hot-plates of your Contact Grill
has been designed to enable the use
of both sides. The grill side is mostly
used for grilling and toasting, while
the flat side can be used for all pur-
poses. (Eg. for making pancakes.)
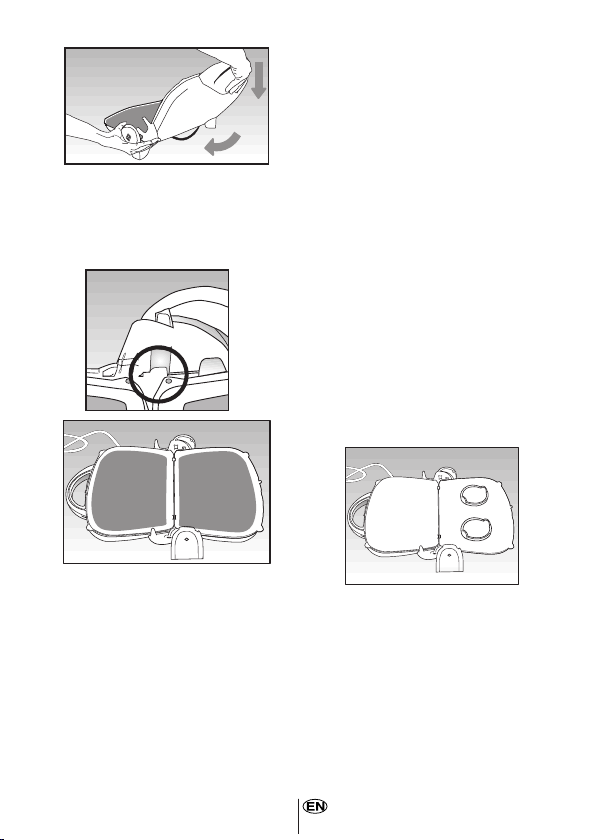
According to the type of food, the
grill side of one hot-plate and the flat
side of the other may be used at the
same time. For example, food can
be grilled in the barbecue mode on
the grill side of one plate, while at the
same time the circles may be used
on the flat side of other plate.
In order to remove the hot-plates or
to change sides, pull forward the loc-
king hook on the front and remove
the dislocated hot-plate.
In order to put the hot-plates back
in, first place down the plate’s inner
edge then press down and lock the
front side to the locking hook.
The changing process of the plates
must be carried out while the grill is
cold.
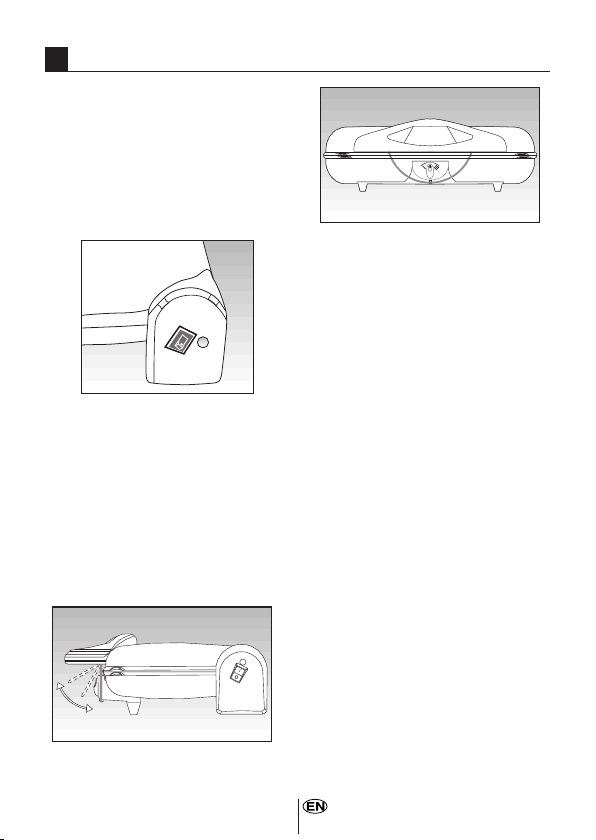
Thermostat levels:
The cooking temperatures of your
Contact Grill is controlled via a ther-
mostat knob located on the front of
the bottom cooking section.
I
II
III
I - Warm: Mostly used for heating
food or defrosting frozen foods.
II - Hot: Used for preparing panca-
kes, sausages,chicken, liver, etc.
III - Very hot: Recommended for
red meat, fish, toasts, etc.
These recommendations may vary
according to the thickness and
quantity of the food, the desired
cooking temperature and whether
the food is frozen or not.