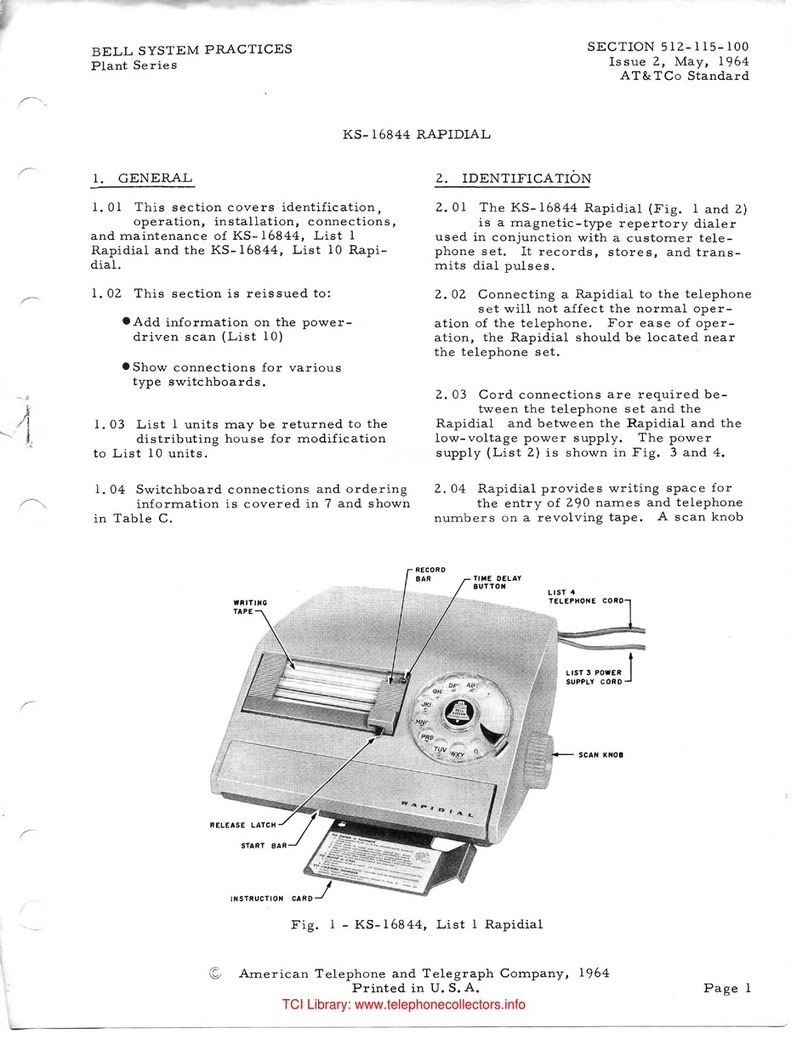
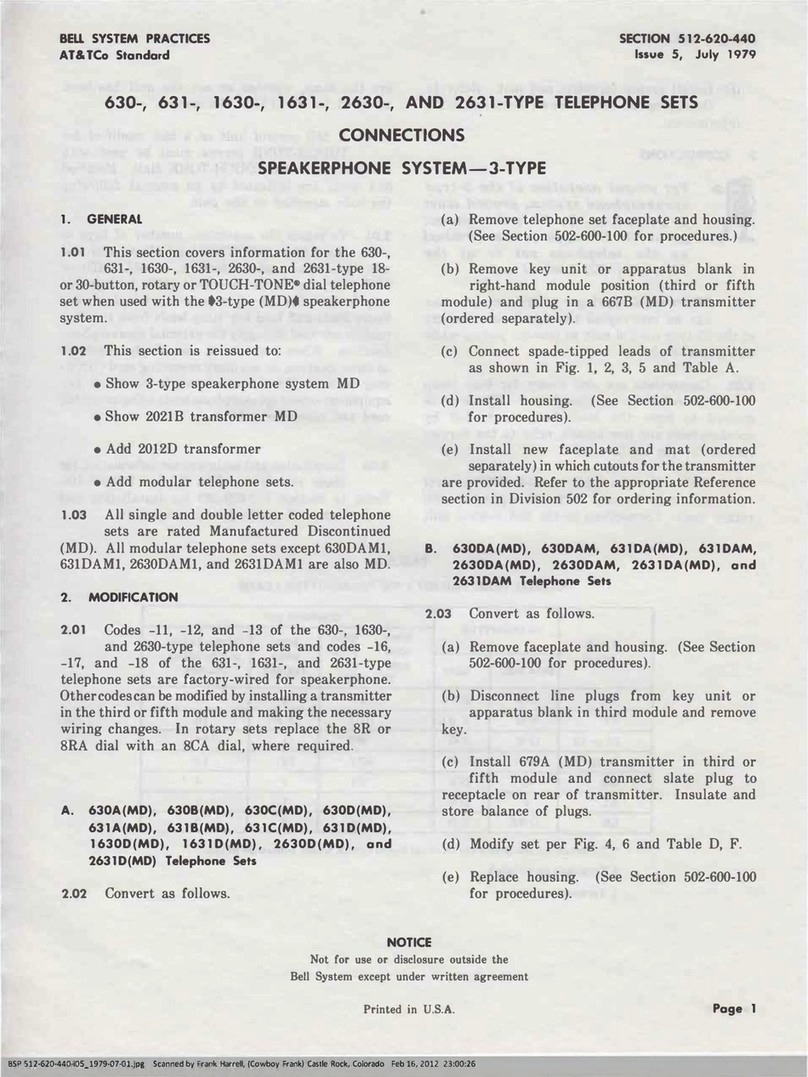
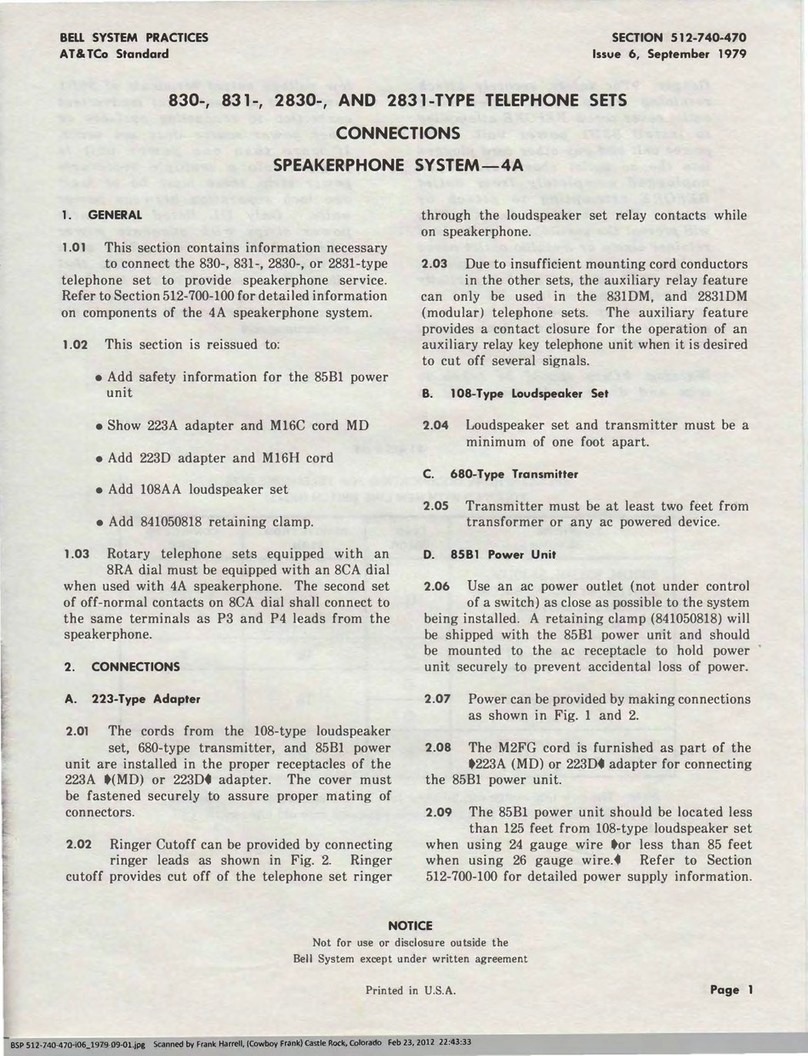
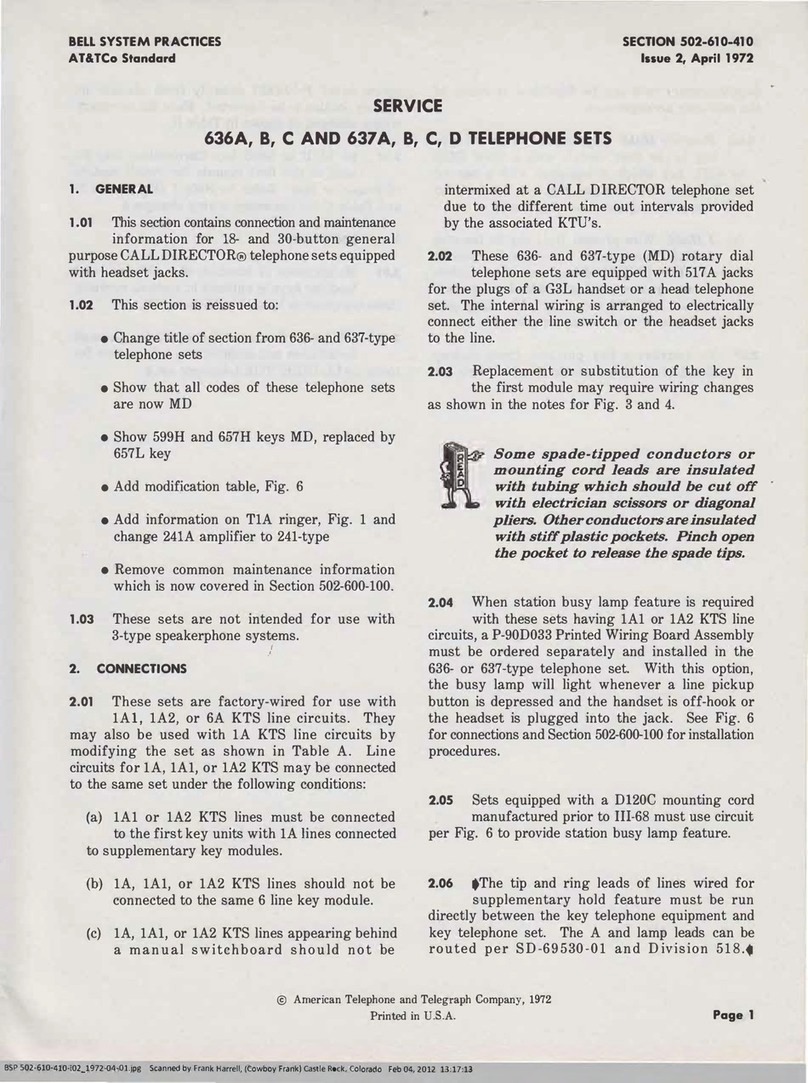
Bell System Practices 2563HB Assembly instructions

~~T~S:=A11VANCE
PRINTING
SERVICE
2563HB
TELEPHONE
SET
SECTION
502-543-400
Issue 2, December 1972
1.
GENERAL
1.01
This
section
provides
maintenance
and
connection
information
for
the
2563HB
telephone
set
equipped with
headset
jacks
and
12-button TOUCH·TONE® dial for use with optional
12-button headset.
1.02
This section
is
reissued
to:
•Include
KS·20419L1
buzzer, Fig. 1
•Show
T1A
ringer as replacement for
NIA
ringer, Fig.
-1
•Show
35Y3A
dial as replacement for 35A3A
dial.
2. MAINTENANCE
Replaceable Components
2.01
Field
replaceable
items
are
listed
under
identification
in
the appropriate
Refe~ence
section
in
Division
502.
2.02
Maintenance
of
handsets
and
ringers
is
outlined
in
sections covering these components.
UxJse Card
Retainers
2.03
The
P-25E803
and
P·269561
are nonadjustable
card
retainers.
The P-25E785
(MD)
card
retainer
is
replaced by P-25E803.
~.04
If
P-25E785
(MD)
card retainer becomes so
loose
on
the faceplate
that
the number card
or designation strip slips, they can be tightened
as follows:
(1)
Remove faceplate from set.
(2)
Remove card retainer from faceplate.
(3)
Bend the four arms of the retainer
so
that
mQre
pressure
will
be apPlied to the number
card and designation strip. The bends should
be made approximately 1I2·inch
in
from the tabs
on
the
ends
of
the
arms
and in
the
opposite
direction from the factory bent tabs.
(4)
Install the card
retainer
on the faceplate
and insert the number card and designation
strip.
(5)
Install faceplate
on
telephone set.
Note:
If
adjusting the arms of the retainer
does not
result
in sufficient holding power,
replace the card retainer.
Removing
and
Replacing
Housing
2.05
Sets without exclusion:
(a)
To
remove housing, loosen captive screws
in
base of set. Lift housing up and toward
front of set.
(b)
To
replace housing, guide lower
front
of
housing over pushbuttons, align housing with
base of set, and gently press housing into place.
Tighten captive screws
in
base of set.
2.06
Sets with exclusion:
(a)
To
remove housing, pull up exclusion plunger
to its operated position, loosen captive screws
in
base of set, and lift housing up and toward
the front of set.
(b)
To
replace housing, guide lower front portion
of housing over pushbuttons, align housing
with base
of
set, and gently press housing
in
place.
(c)
Depress
exclusion
plunger.
With
slight
pressure it should snap into its unoperated
position.
(d)
Operate exclusion plunger several times to
insure proper operation. Tighten captive
screws
in
base of set.
@)
America~
Telephone and Tfllegraph Company,
1972
Printed
in
U.S,A.
Page
1

SECTION
502-543-400
Exclusion
Switch
2.07 Perform
no
field maintenance on exclusion
switch
and
plunger
other
than
cleaning
contacts with a
265C
tool.
2.08 Replace
set
or exclusion switch assembly
if
any
of
the
following
exclusion
switch
requirements cannot be met:
(a)
Exclusion
plunger
should
remain
in
the
operated position when pulled up to the full
extent
of
its stroke.
(b)
The
plunger
should
return
to
the
fully
depressed
po~ition
when handset
is
replaced.
(c)
With
housing
removed,
normally
closed
contacts of the exclusion switch should have
perceptible follow when operated manually.
(d)
With housing removed, open contacts of the
exclusion
switch
should
have
minimum
separation
of
1/64-inch; gauge by eye.
Mounting
Cords
2.09
Cords,
designed
for
use
with
636A
key
assemblies,
feature
slotted
wafer
sections
for
each
line
appearance.
This
allows
easy
rearrangement of lines to pickup buttons.
fr
No
field
maintenance
should
be
1
performed
on
the
plug
of
plug-ended
mounting
cords.
Lamps
and
Pushbuttons
2.10
Replace
cracked
pushbuttons
or
collars.
Remove accumulated dirt
or
film from lamps,
collars, and pushbuttons with a
water
dampened
cloth.
DO
NOT
USE
SOL
VENTS
OF
ANY
KIND.
If
cleaning does
not
correct
binding
of
pushbuttons, replace button and collar assembly.
2.11
To
replace defective lamp:
(1)
Lift lamp from socket with KS-6320 orange
stick
(2)
Align lamp contact
surfaces
when placing
new lamp
in
socket
Page 2
2.12 The button and collar assembly should be
carefully aligned to avoid interference with
removal
or
replacement
of
housing.
Keys~6-Type
2.13 Field maintenance
of
these keys consist
of
cleaning contacts with a
265C
tool or adjusting
with a
363
tool.
2.14 Contact follow and separation is obtained
by using a
363
tool
at
apoint adjacent to
contact spring pile-up. When adjusting springs:
(a)
There should be aminimum spring clearance
of
1/64-inch
between
contact springs and
those
parts
of the key which
.do
not make contact
with springs.
(b)
Normally open contacts should make with
perceptible follow on locking keys before key
plunger assumes locked position.
2.15 Replace
set
if
the following requirements
cannot be met:
(a)
When depressed locking plunger should,
on
its downstroke, release any previously locked
plunger.
(b)
When any
pushbutton
plunger is released
from its operated position, it should return
with asnap to its nonoperated position.
(c)
An operated key plunger should not release
during downstroke of hold button.
(d)
An
operated key plunger should release from
its operated position
on
the upstroke of the
hold button.
241A
Amplifier
2.16 Used
in
telephone
sets
with headset jacks
to
amplify
the
output
of
the
headset
transmitter.
NO
FIELD
MAINTENANCESHOULD
BE
ATTEMPTED
ON
241A
AMPLIFIER.
2.17 Replace a241A amplifier if
it
is suspected
of
being defective (as evidenced by poor
or
no
transmission).

TOUCH-TONE
Dial
2.18 Oheck line polarity if no tones
are
heard
in
the
receiver when a
button
is depressed.
ft
The
3IJ-t
ype
.
disl
will
function
only
when
the
green
disl
lesd
is
positive
(+)
and
when
the
orange-blsck
lesd
is
n6/lstive
(-).
2.19 A
dial
hand
test
set
connected
to
line
terminations can be used to
test
for
defective
dials.
ft
Do
not
stt6mptrepsirofTOUCH-TONE
disls
in
the
field
Rep/sce
defective
dials.
HandlJets
2.20 When special conditions
exist
the
G1AR
or
G3AR may be replaced by
the
following:
_G6AR (MD)
or
G6B
handset
for
impaired
hearing
_
G7
AR
handset
for weak speech
_G8A
or
G8B
handset
for noisy locations
3. CONNECTIONS
3.01
These
sets
are
factory-wired
for
use
with
1A1
or
1A2 key telephone system line circuits;
155
2,
SECTION 502-543-400
they
can be modified for
use
with 1A key telephone
systems
as
shown in Fig. 3. The
sets
are
equipped
with a241-type amplifier providing headset operation.
A
52-
or
53-type headset
must
be ordered separately.
3.02 The optional kits
of
parts
providing polarity
guard
for
end-to-end
signaling
service and
station
busy
lamp
features
are
not
adaptable
to
the
present
design
of
2563HB telephone set. Station
busy
lamp indication, showing only
that
the handset
is off-hook
or
that
the
headset
key is in
the
ON
position, can be provided
for
1A1
or
1A2 KTS by
use
of
aKS-15724L1 diode which
must
be ordered
separately
and connected
as
shown in Fig.
2.
This
connection
will
not
indicate
that
aline pickup
pushbutton is depressed. Station
busy
for 1A KTS
is awiring option shown in Fig.
3.
3.03 The I
hold
feature
of
SD-69530-01 can be
incorporated with
these
sets
when used with
1A1
or
1A2 KTS. Telephone
set
wiring changes
are
shown
in Fig. 2
and
key
system
component
requirements
are
shown in SD-69530-01.
3.04 Line exclusion
feature
can be provided
by
installation
of
aD-179935 Kit
of
Parts
(ordered
separately). Connect
as
shown in Table
A.
3.05 The
set
ringer
may be connected
as
abridged
ringer
on any line
if
desired (Note
4,
Fig.
1)
3.06
.The
2563HB telephone
set
is factory-equipped
with aKS-20419L1
(10
volt
AC
only) buzzer
.•
Pag_ 3

II
II
It
II
it
*
II
II
II
II
II
ON
OH
00
0
ER
0
EH
0
EB
t
HS
(BR)
HS
FL
14
(R)
(G-BK)
9
\NOTES
2,4,5,
AND
6)
PU
636A
KEV
IR
06
(BL-W)
PART
or
050N
MTG
CORD
:
iw-~;
LI
~
43
(BL-R)
L2
LS
;(R-BL)
~
IB
(V)
(BR)
atb'
C
N
:(BR-R
)
~
(R-BR)
(O-BK)
L4
(V)
(O-BK )
:(BK-O)
~
H
/'
(V-BL)
n
(S-BK)
L5
:(RK-S)
~
(V-BL)
~
(BL-V)
(G-V)
6
(BL)
+EXCLUSI
:(V-G)
~
KS-20419LI
TO
(BL-W)
AC
BUZZER
TABLE
A(W-O)
S\iITC~
04
(V-D)
+
)O-W)
PU
(O-W)
'.
~O)
.....
IH ,
to!
EXCLUDED
(O-V)
+
(S-W)
'<.I
"rSTATION
(
II
/
I:
(NOTE
I)
PART
or
os
#Sl
~2H
(V-BR)
CLI P
NO.
I4TG
CORD
"-'
«G-R)
41
46
(
(V-BLl
II
(S-R)
AR-G)
r>.
C3H
"(BR) R
42
,
21
(IBl-V)
,
"-'
/
«BL-BK
)
IA-H
43 47 (
(V-O)
II
«BK-BL)
~
4H
44
.....
B22 ((O-V)
....,
'"
X
«BR-BK)
_
II
BZ
34
17
(IO-
Y)
)BK-BR)
~6H
(BR-BK)
BZI
33 ,42 (
IY-O)
....,
31
AV-s)
_RT
(BK)
41
«Y-BLl
~S-Y)
"-'RR
(S)
1A47 49 (
(V-BR)
0
SP
48
,24
(tBR-V)
06
~
SPARE
32
.....
«BR-V~G
TIA
~
16
«Bl-Y)
<2'K
RINGER
45
48
(
(v-G)
"
4-!-BR)
50
25 (
IS-V)
0149 50 (
IV-S)
46
.....
23
(IG-V)
.....
.....
r>.
. .
(W-BL)
~
'"
....,
I
.-
...
_IT
(BR-W)
~
_
2R
(S-V)
...
(W-DR)
'<.I
_2T
(O-R)
"-'
~
(G)
LS
(W)
~3R
3I
....
(
(R-O)
,..3T
de
-v.J
/
(S-R)
~4R
(R-S)
....
4T
(0X
(G-BK)
_
5R
(BK-G)
:5T
"
,
(G)
LI
(6)
43
18
40
5
30
8
33
3
28
6
31
9
34
12
37
15
II
36
14
39
45
20
9
4
2
27
26
4
29
7
32
10
35
13
38
(NOTE
I)
CLIP
NO.
R
(I
)2
T
(I
)I
R(2)
8~
T(2)
7
R(3)
14
,
T(3)
13
R(4)
20
.....
T
(4)
19
R(5)
26 ,
-.....
T
(5)
25
.....
L
(I
)6
LG(
I)
5
-.....
L(2)
12
,
LG(2)
II
,
L(3)
18
-<
LS(3
)
17
,
L
(4)
24
LG(4 )23 /
L
(5)
30
LG(5)
29 ,
"-
["
36
BZI 35 ,
AI-B
4
A-H 3
B
10
,
A-H 9
B
16
A-H-S-SI
15
B22
A-H-S-SI
21
, I
B28
A-H-S-SI
~
B-BI
39
R-RI 40
.....
)38
IG
G-SG
RD
SV
BL
37
MP
BUZZER
LEADS
BU
LA
T'
5
G
IA'-1A2
KTS
A
LEAD
tONNS
1
A'-'A2
KTS
LINE
CONNS
IAI-IA2
KTS
LAMP
COHNS
SECTION 502-543-400
Fig. l----i2563HB Telephone Set, Connections
(Sheet
1
of
2>.
Page
4

-----------------;;.55
2,
SECTION
502-543-400
,----------,
(O-BKI
PART QF 35Y3A DIAL I
(Rl
(STRAPI
,§
J
(BLI
!:I
(Rl
Tt
(RI
Bt
xwe y
(S-BKI
(51 7
(BKI
67
5
(S-Vl
48
(V-GI
58
(W
..
BRI
G3AR
HANDS£T
TRMTR
IBK-Sl
(R-GI
Rt
(W-GI
(STRAPI
B(G-Vi B
(WI
RCVR
(BICI
st
(WI
52-OR
53-TYPE
HEADSET
TRMTR
~
LW
v
d(.,R)
o0
3§
18K)
o ·
(BLI
(STRAP)
IRI
(V-Gl
LS
!lW-BL)
I
I
I
I
L
..J
(G)
RRt
(8K)
GHt
(WI
RCYR
2
6
o
3
1------+-0
4
425K
NETWORK
..--
~R
RR
8
241A
AMPliFIER,
SERIES
II.
(NOTE
91
C
0
L2
0
L1
0F
l=:!~~~~c::::~6N
06
0T
05
NOTES:
I.
66E-TYPE
CONNECTING
BLOCK
SHOWN.
MOUNTING
C~D
NAY
BE
PLUGGED
DIRECT~Y
'NTO
CONNECTOR
CABLE.
CORD
AND
PIN
NUMBERS
FOR
CONNECTOR
CABLE
ARE
·SAME
AS
MOUNTING
CORD.
2.
CQNNECTIONS
FOR
TIA
RINGER
SHOWN.
CONNECTIONS
FOR
NIA
RINGER
IDENTICAL
EXCEPT
INSU~TE
AND
STORE (S)
AND
IS-RI
LEADS.
3.
'F
EXCLUSION
FEATURE
IS
AOOED,
CONNECT
SWITCH
LEADS
PER
TABLE
A.
4.
FOR
BRIDGED
RINGER
ON
ANY
LINE
CONNECT
(R)
RINGER
LEAD
TO
II
or
NETWORK
ANQ
(BK)
RI~ER
LEAD
TO
TIP
or
LINE
INVOLVED.
CONNECT
(S)
STRAP
FRON
AOf
N£TWORK
TO
RING
Of
LINE
INVOLVED.
S.
IF
CAPACITOR
IS
NOT
REQUIRED
IN
RINGER
CIRCUIT,
NOVE
(R)
RINGER
LEAD
TO
A
OF
T
HE
NETWORK.
6.
TO
SILENCE
RINGER
PERMANENTLY
CONNECT
(R)
AND
(BK)
RINGER
LEADS
TO
K
OF
T"E
NET\IORK.
7.
LINE
SWITCH
SEQUENCE,
HANDSET
REMOVED:
b-c
MAKES
d-e
MAKES
f-g
BREAKS
8.
644A
KEY
SEQUENCE:
3
AND
4
MAKE
FIRST
I
AND
2
HAKE
SECOND
9.
SET
MUST
BE
EQUIPPED
WITH
A
241A
SERIES
II
AMPlIFIER
IF
EXCLUSION
FEATURE
IS
AOOED.
10.
IF
HOLD
POSITION
LAMP
IS
REQUIRED,
USE
SPARE
LEADS
AND
SPARE
TERMINALS
OR
0-161488
CONNECTORS.
*-
INSULATED
AND
STORED
t·
NETWORK
TERMINAL-UNOESIGNATED
TERMINALS
ARE
ON
KEV
TERMINAL
BOARD.
§ -
241A
AMPLIFIER
TERMINAL
PU-
PICKUP
KEY
.
H-
HOLD
KEY
LS-
LI
NE
Sill
TCH
HS-
HEADSET
ON~OFF
KEY
(644A)
FL-
FLASH
KEV
(644A)
Fig_
l-t2563HB
te.ephone
s.t,
Connections (Sheet 2of
2>.
Page 5

SECTION
502-543-400
(G-
BKI
HS
(BR)*
'("
(0-"
I,,,
t:
,B.,*
,
IB
LS
®
<
®I®
~
N
H
A.
WITHOUT
I;
HOLD
(G-BK)
HS
(BRa
44
(BL
(Y-BRI
,
LS
c
a
04
(BRIt
~
.
3_
(S-Y)
FL
(Rl*
NH
(GI
M~KI*
LS*
HS
(WI
(S-RI
9o.-.!!l*
.1
ct
\
(BRIt
HS
(G-BKlt
®1
B
(O-WI
IB
®®
(Ylt
b
-
0
" G
OR
SG
(BR-Y)
SG
,
®
2
19
44
(
,--
•.
no
*
6
®
®
AI
(O-WI
(Y)
.t
(BR)
*I
"
IB
LS
/
,BL
(Y-BR)
SP
(BR-V)*
4
"®
(o-BKI*
®
M""
ADD
STRAP
~
I
(Ylt
®
2
44
24
B.
WITH rHOLD
H-HOLD
KEY
HS-HEADSET
ON-OFF
KEY
LS
-LINE
SWITCH
® - WITHOUT
BUSY
LAMP
0-
WITH BUSY LAMp,
USE
KS-15724,
LI
DIODE
*
-LEADS
INVOLVED IN MODIFICATION
NOTE;
ALL TERMINALS
ARE
ON
KEY TERMINAL
BOARD.
H-
HOLD
KEY
FL-FLASH
KEY
HS-HEADSET
ON-OFF KEY
LS
-LINE SWITCH
®-WITHOUT
BUSY
LAMP
0-
WITH BUSY LAMP
t -
NETWORK
TERMINAL UNDESIGNATED TERMINALS
ARE
ON
KEY
TERMINAL BOARD.
*-LEADS INVOLVED
IN
MODIFICATION
Fig.
2-2563HB
Telephone
Set-1
A1
or
1
A2
Key
Telephone
System,
IHold
and/or
Station
Busy Lamp Modifications
Fig.
3-2563HB
Telephone Set Converted for 1A Key
Telephone System, With
or
Without Station
Busy Lamp
Page
6

ISS
2,
SECTION
502~543-400
TABLE
A
CONNECTIONS
FOR
LINE
EXCLUSION
KEY
EXCLUSION
KEY
LEADS
EXCLUSION
KEY
TEL
SYS
BL.W W-BL
O.W
W.O
V-BL BL.V
V-O
O-V
IA
R*
T*
IBt
H*
ET
ER
EH
EB
On
any
line
IAI
or
IA2
R*
T*
EB
H*
ET
ER
EH
EB
*Connect
to
terminal
of
line being excluded.
tWhen
other
than
Line Iis excluded in a
lA
key telephone
system,
remove
the
O-W
mounting
cord
conductor
from
terminal
IB,
insulate
and
store.
Connect
balance
lead cord
conductor
of
line in-
volved to
terminal
IE.
Note:
To
allow access to and operation of the exclusion switch plunger during headset operation,
handset
must
be
lifted and left
off
of
its cradle. Returning handset to on-hook position cancels
exclusion.
TABLE
B
PICKUP·SIGNAL
KEY
CONVERSION
CONVERTIBLE
KEY
LEADS
KEY
OPTIONS
Y-IR
IR
S.R
BR.BK
HPPPPP
MMMX
HPPPPS
MMMSG
HPPPSS
MMSG
.X
HPPSSS
MXSG X
HPPP*P*S*
MX5H
Nt
HPP':'P*P':'S* XX5H
Nt
,>
These pickup
ke~'
options use line switch or headset switch controlle'd ground through
the'
common signal
key and the Slead of the selected line to operate acommon signal
rela.l".
t1"01'
lA
KTS
connect to terminal
1.
Obtain common signal ground through
(Y)
line switch lead or (G-BKl
headset key connected to
SG
terminal.
Note
1:
All
convertible
key
positions
are
arranged
in
the
factory
as
pickup
positions.
To
convert
a
key
position
from
pickup
(locking)
to
signaling
(nonlocking),
remove
the
P-12A892
screw
detail
from
plunger
at
the
key
position
to
be
converted.
Make
necessary
connection
changes
as
shown
in
Table
B.
To
convert
a
key
position
from
nonlocking
to
locking,
in-
sert
P-12A892
screw
detail.
2:
When
keys
are
converted
for
signaling,
the
S
lead
of
key
involved
provides
the
signal
cir-
cuit
and
SG
lead
provides
the
common
signal
ground.
Page 7
7
Page.
Other Bell System Practices Telephone System manuals
Popular Telephone System manuals by other brands
HYBREX
HYBREX GDS-600 installation manual

HYBREX
HYBREX G1 8-24 manual

SpectraLink
SpectraLink 3000 MCU installation guide

Miracall
Miracall MC-416 user manual
Panasonic
Panasonic KX-F3500 operating instructions

General Telephone & Electronics
General Telephone & Electronics Automatic Electric P-A-X Maintenance manual
Nortel
Nortel Meridian Meridian 1 General maintenance information

Nortel
Nortel Norstar Modular ICS User's card
Talkaphone
Talkaphone KB-LC-2W Installation and operation instruction
NEC
NEC Aspire S manual
Panasonic
Panasonic Easa-Phone KX-T3281W operating instructions

Lucent Technologies
Lucent Technologies MERLIN LEGEND Release 6.0 Installation
