Init7 FRITZ!Box 5530 User manual

Init7 (Schweiz) AG
Technoparkstrasse 5
CH-8406 Winterthur
info@init7.net
www.init7.net
+41 44 315 44 00
Fragen? Questions? Questions?
https://www.init7.net/de/support/faq/
https://www.init7.net/en/support/faq/
https://www.init7.net/fr/support/faq/
FRITZ!Box 5530. Anleitung.
Manual.
Instruction.
Netzteil.
Power supply.
Bloc d’alimentation.
Ethernetkabel.
Ethernet cable.
Câble Ethernet.
Glasfaserkabel.
Fibre optic cable.
Câble à fibre optique.
Passwort.
Password.
Le mot de passe.
OTO-Dose.
OTO socket.
Prise OTO.
Lieferumfang. Delivery summary. Composition de la livraison.
Anleitung
Manual
Instruction
Fiber7
Crossover FRITZ!Box 5530

DE
02 | 2021 | Nr. 03Anleitung, Manual, Instruction | FRITZ!Box 5530 - Fiber7 - Crossover7
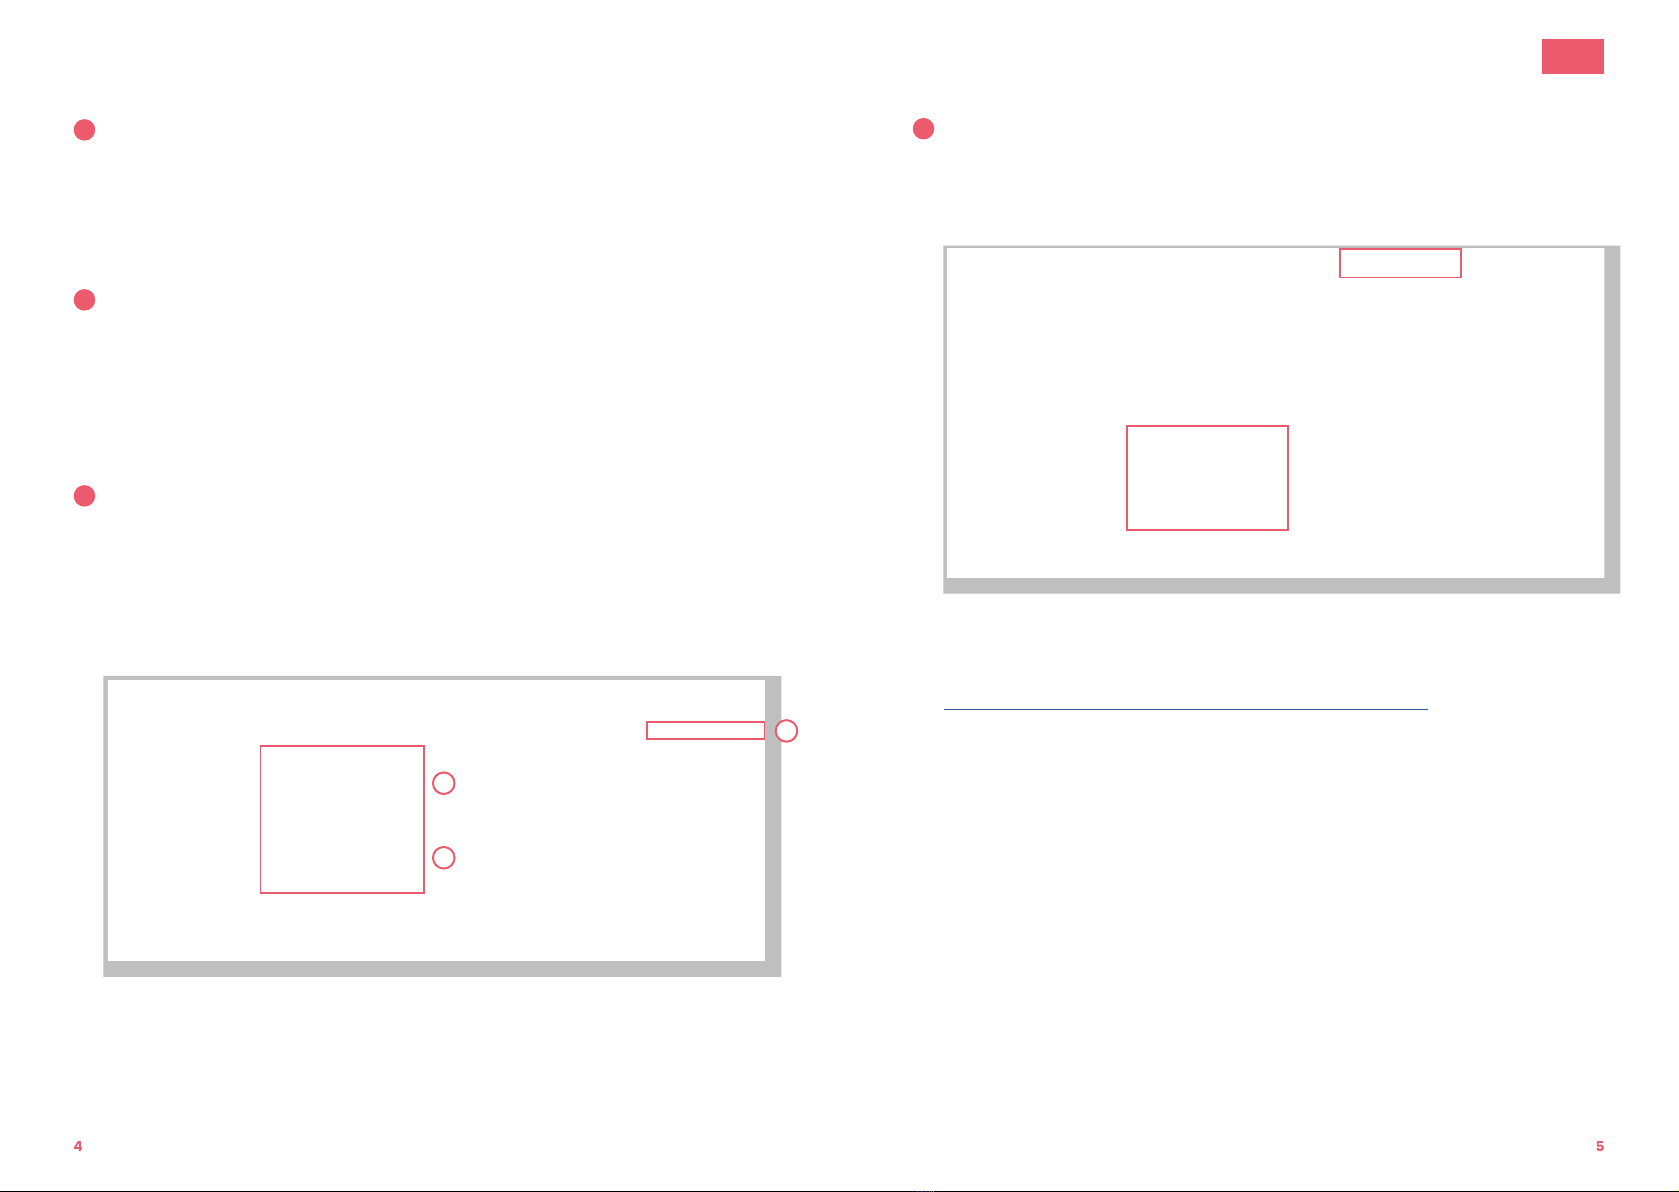
4IPv6 Einstellungen (optional)
1. Wechseln Sie nun in den Reiter «IPv6».
2. Aktivieren Sie IPv6 gemäss folgender Abbildung.
3. Speichern Sie die Einstellungen.
Die Installation ist nun abgeschlossen.
Informationen zur Verbesserung der WLAN-Verbindung finden Sie unter
https://www.init7.net/de/support/faq/wlan-optimierung/.
Installationsanleitung FRITZ!Box 5530
1Die Komponenten anschliessen
1. Schliessen Sie mit dem beigelegten Glasfaserkabel die FRITZ!Box
an die OTO-Dose an.
2. Verbinden Sie nun die FRITZ!Box mit dem Strom.
3. Schliessen Sie Ihren Computer mit einem Ethernetkabel an die FRITZ!Box an
oder verbinden Sie sich mit dem WLAN der FRITZ!Box.
2Grundkonfiguration der FRITZ!Box
1. Öffnen Sie jetzt einen Webbrowser und tippen Sie http://fritz.box in die
Adresszeile ein.
2. Sie werden nun aufgefordert, das Passwort Ihrer FRITZ!Box einzugeben.
Dieses finden Sie auf der Unterseite des Gerätes (siehe Abbildung Rückseite).
Achtung: Aufgrund von Firmwareupdates kann es sein, dass sich das Layout
der Übersichtsseite minimal ändert.
3Interneteinstellungen konfigurieren
1. Melden Sie sich erneut auf der Weboberfläche an (http://fritz.box).
2. Wählen Sie oben rechts im Fenster «Erweiterte Ansicht»
3. Wählen Sie in der linken Spalte «Internet» → «Zugangsdaten» aus.
4. Stellen Sie sicher, dass der Internetzugang über «Fiber» (Glasfaser) erfolgt.
5. Wählen Sie «Nein» bei «Werden Zugangsdaten benötigt?».
6. Speichern Sie die Einstellungen.
Schritt 1: Die Kom ponenten anschliessen
1. Schliessen Sie m it dem beigelegten Glasfaserkabel die FRITZ!Box an die
O T O D o s e a n .
2. V e r b in d e n S ie n u n d ie F R IT Z !B o x m it d e m S t ro m .
3. S c h lie s s e n S ie Ih r e n C o m p u t e r m it e in e m N e t z w e r k k a b e l a n d ie F R IT Z !
B o x a n .
Schritt 2: Grundkonfguration der FRITZ!Box
1. Ö fn e n S ie e in e n W e b b ro w s e r u n d t ip p e n S ie h t t p :/ / fr it z .b o x in d ie
Adresszeile.
2. E s e r s c h e in t e in S p r a c h w a h l- D ia lo g . W ä h le n S ie h ie r d ie g e w ü n s c h t e
Sprache aus.
3. Sie w erden nun aufgefordert, das Passw ort Ihrer FRITZ!Box einzugeben.
Dieses finden Sie auf der Unterseite des Gerätes.
4. N u n w ä h le n S ie b it t e „ S c h w e iz “ a ls L a n d a u s .
5. D ie F R IT Z !B o x ü b e rn im m t n u n d ie E in s t e llu n g e n u n d s t a rte t n e u . D ie s
k a n n c a . 2 M in u t e n d a u e r n .
Schritt 3: Internet Einstellungen konfgurieren
1. M elden Sie sich erneut auf der W eboberfläche an.
2. W ä h le n S ie in d e r lin k e n S p a lt e „ In t e r n e t “ → „ Z u g a n g s d a te n “ a u s .
3. S t e lle n S ie s ic h e r , d a s s d e r In t e r n e t z u g a n g ü b e r „ F ib e r (G la s fa s e r )“
e r f o lg t .
4. W ählen Sie „Nein“ bei „W erden Zugangsdaten benötigt?“.
5. Speichern Sie die Einstellungen.
DE
EN
FR
.2
.4
.5
02 | 2021 | Nr. 03Anleitung, Manual, Instruction | FRITZ!Box 5530 - Fiber7 - Crossover7
EN
Installation guidelines FRITZ!Box 5530
1Connecting the components
1. Use the provided fibre patch cable to connect the FRITZ!Box to
the OTO socket.
2. Connect the FRITZ!Box to the power supply.
3. Connect your computer to the FRITH!Box with an Ethernet cable or via
WLAN.
2Basic configuration of the FRITZ!Box
1. Open now a web browser and enter http://fritz.box.
2. Enter the password of your FRITZ!Box.You will find it on the bottom side
of the router (see illustration on the back).
Attention: Due to firmware updates, the layout of the overview page
may change.
3Configuration of the network settings
1. Reconnect you on http://fritz.box.
2. Chose in the right upper corner «Advanced View».
3. Select in the left-hand column «Internet» and then «Account Information».
4. Make sure that the Internet connection is provided via «Fiber optic».
5. Select «No» under «Is account information required?».
6. Save the settings.
Step 1: Connecting the com ponents
1. U s e t h e p r o v id e d fi b e r p a t c h c a b le t o c o n n e c t t h e F R IT Z !B o x t o t h e O T O
s o c k e t .
2. C o n n e c t t h e F R IT Z !B o x t o t h e p o w e r s u p p ly .
3. C o n n e c t y o u r c o m p u t e r t o t h e F R IT Z !B o x w it h a n e t w o rk c a b le .
S t e p 2 : B a s ic c o n fi g u r a t io n o f t h e F R IT Z !B o x
1. O p e n a w e b b ro w s e r a n d e n t e r h t t p :/ / fr it z .b o x .
2. C h o o s e y o u r la n g u a g e .
3. E n t e r t h e p a s s w o r d o f y o u r F R IT Z !B o x , y o u fi n d it o n t h e b o t t o m s id e o f
the device.
4. Choose „S w it z e r la n d “ o u t o f t h e lis t .
5. h e F R IT Z !B o x s a v e s t h e c o n fi g u r a t io n a n d r e s t a rt s , t h is t a k e s a p p r o x . 2
m in u t e s .
Step 3: Configuration of the netw ork settings
1. R e c o n n e c t y o u o n http ://fritz.box.
2. S e le c t in t h e le - h a n d c o lu m n „ In t e rn e t “ a n d t h e n „ A c c o u n t
Inform ation“.
3. M a k e s u re t h a t t h e In t e r n e t c o n n e c t io n is p r o v id e d v ia „ F ib e r o p t ic “ .
4. S e le c t „ N o “ u n d e r „ Is a c c o u n t in fo r m a t io n r e q u ir e d ? “ .
5. S a v e t h e s e t t in g s .
DE
EN
FR
.2
.4
.5
4IPv6 Settings (optional)
1. Change to the tab «IPv6».
2. Activate IPv6 according to the following illustration.
3. Save the settings.
The installation is now completed.
For information on improving the WLAN connection, see
https://www.init7.net/en/support/faq/wlan-optimierung/.
6. G o to In t e rn e t → A c c o u n t In fo r m a t io n → „ IP v 6 “ .
7. A c t iv a t e IP v 6 a c c o r d in g t o t h e fo llo w in g illu s t r a t io n :
8. S a v e t h e s e t t in g s .
9. S e le c t „ H o m e N e t w o r k “ in t h e le - h a n d c o lu m n a n d t h e n „ H o m e
N e t w o rk O v e r v ie w “ . G o t o t h e t a b „ N e t w o r k S e t t in g s “ a n d a c t iv a t e th e
„ P o w e r M o d e “ o f a ll fo u r L A N p o r ts , t h e n s a v e t h e s e t t in g s .

02 | 2021 | Nr. 03Anleitung, Manual, Instruction | FRITZ!Box 5530 - Fiber7 - Crossover7
FR
Manuel d’installation FRITZ!Box 5530
1Raccorder les composants
1. Branchez votre FRITZ!Box à la prise OTO par le câble optique ci-joint.
2. Puis, connectez votre FRITZ!Box à la prise électrique.
3. Branchez votre ordinateur à la FRITZ!Box par le câble Ethernet ou via WLAN.
2Configuration initiale de la FRITZ!Box
1. Ouvrez votre navigateur et allez sur http://fritz.box.
2. Saisissez le mot de passe de votre FRITZ!Box. Vous trouverez le mot de
passe sur la partie inférieure du routeur.
Attention: En raison des mises à jour de firmware, le présentation de la page
d’aperçu peut être légèrement modifiée.
3Configurer les paramètres Internet
1. Connectez-vous de nouveau sur http://fritz.box.
2. Sélectionnez en haut à droite de la fenêtre «Mode avancé».
3. Sélectionnez dans la colonne de gauche «Internet», puis «Données d’accès».
4. Vérifiez que l’accès à Internet est assuré via «fibre optique».
5. Sélectionnez «Non» dans «Données d’accès requises?».
6. Enregistrez les configurations.
É t a p e 1 : r a c c o r d e r le s c o m p o s a n t s
1. B r a n c h e z v o t re F R IT Z !B o x à la p r is e O T O p a r le c â b le fi b re o p t iq u e c i-
jo in t .
2. P u is , c o n n e c t e z v o t r e F R IT Z !B o x à la p r is e é le c t riq u e .
3. B r a n c h e z v o t re o r d in a t e u r à la F R IT Z !B o x p a r le c â b le ré s e a u .
É t a p e 2 : c o n f g u r a t io n in it ia le d e la F R IT Z !B o x
1. O u v r e z v o t r e n a v ig a t e u r e t e n t r ez http://fritz.box.
2. Sélectionnez votre langue.
3. E n t r e z le m o t d e p a s s e d e v o t r e F R IT Z !B o x , v o u s le tr o u v e r e z s u r la
p a rt ie in f é r ie u r e d e l'a p p a re il.
4. S é le c t io n n e z < S u is s e > d a n s la lis t e .
5. La FRITZ!Box enregistre les configurations et redém arre, cela prend
e n v ir o n 2 m in u t e s .
É ta p e 3 : co n f g u re r le s p a ram è tre s In te rn e t
1. Connectez-vous de nouveau sur http://fritz.b ox.
2. S é le c t io n n e z d a n s la c o lo n n e d e g a u c h e < In t e r n e t > , p u is < D o n n é e s
d'accès>.
3. V é r ifi e z q u e l'a c c è s à In t e r n e t e s t a s s u r é v ia fi b r e o p t iq u e .
4. S é le c t io n n e z < N o n > d a n s < D o n n é e s d 'a c c è s re q u is e s ? > .
5. Enregistrez les configurations.
DE
EN
FR
.2
.4
.5
4IPv6 Settings (optionnel)
1. Choisissez l’onglet «IPv6».
2. Activez IPv6 selon l’image suivante:
3. Enregistrez les configurations.
L’installation est terminée.
Pour plus d'informations sur l'amélioration de la connexion WLAN, voir
https://www.init7.net/fr/support/faq/wlan-optimierung/.
6. P a s s e z à l'o n g le t < Ip v 6 > .
7. A c tiv e z IP v 6 s e lo n l'im a g e s u iv a n t e :
8. Enregistrez les confgurations.
9. S é le c t io n n e z d a n s la c o lo n n e d e g a u c h e < R é s e a u d o m e s t iq u e > p u is
<Aperçu du réseau dom estique> et fnalem ent l'onglet <Confguration
ré s e a u “ . A c t iv e z le „ P o w e r m o d e “ p o u r t o u s le s p o r t s L A N e t e n r e g is t r e z
les confgurations :
Table of contents
Languages:
Other Init7 Telephone System manuals


