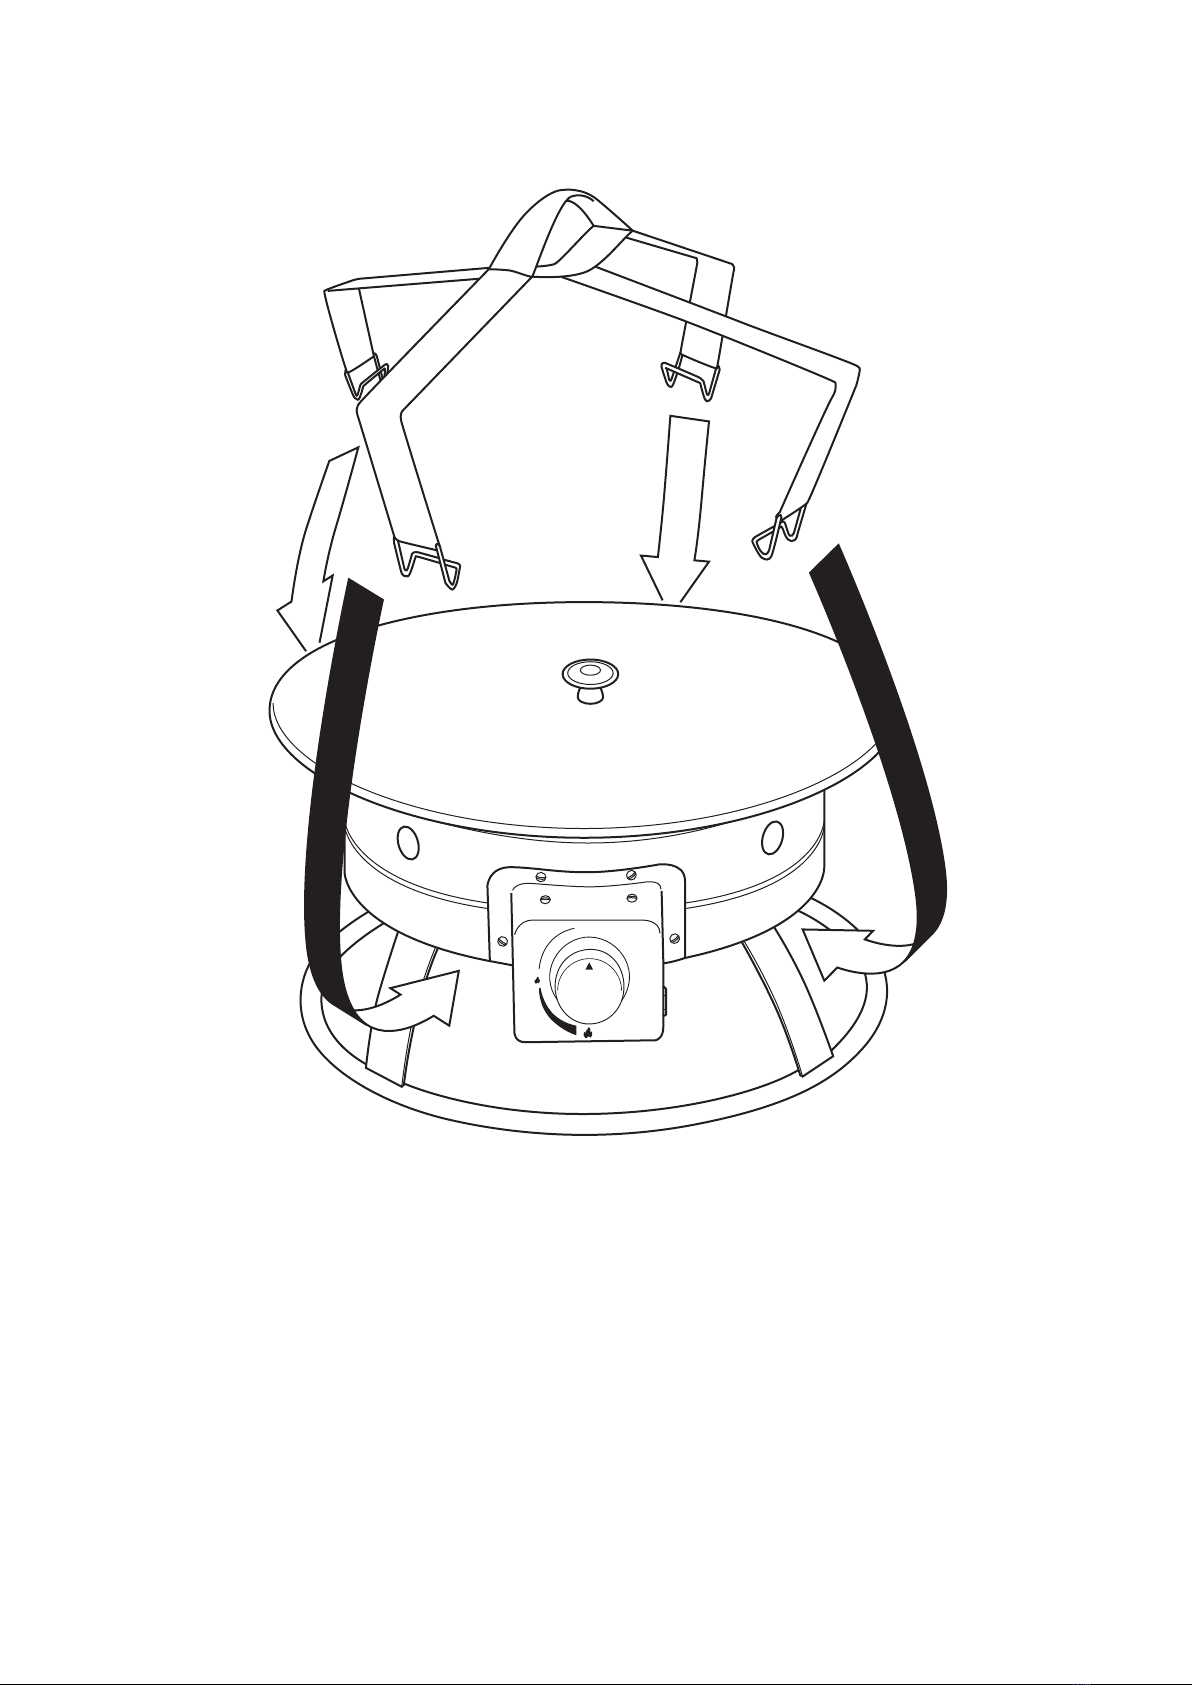
5
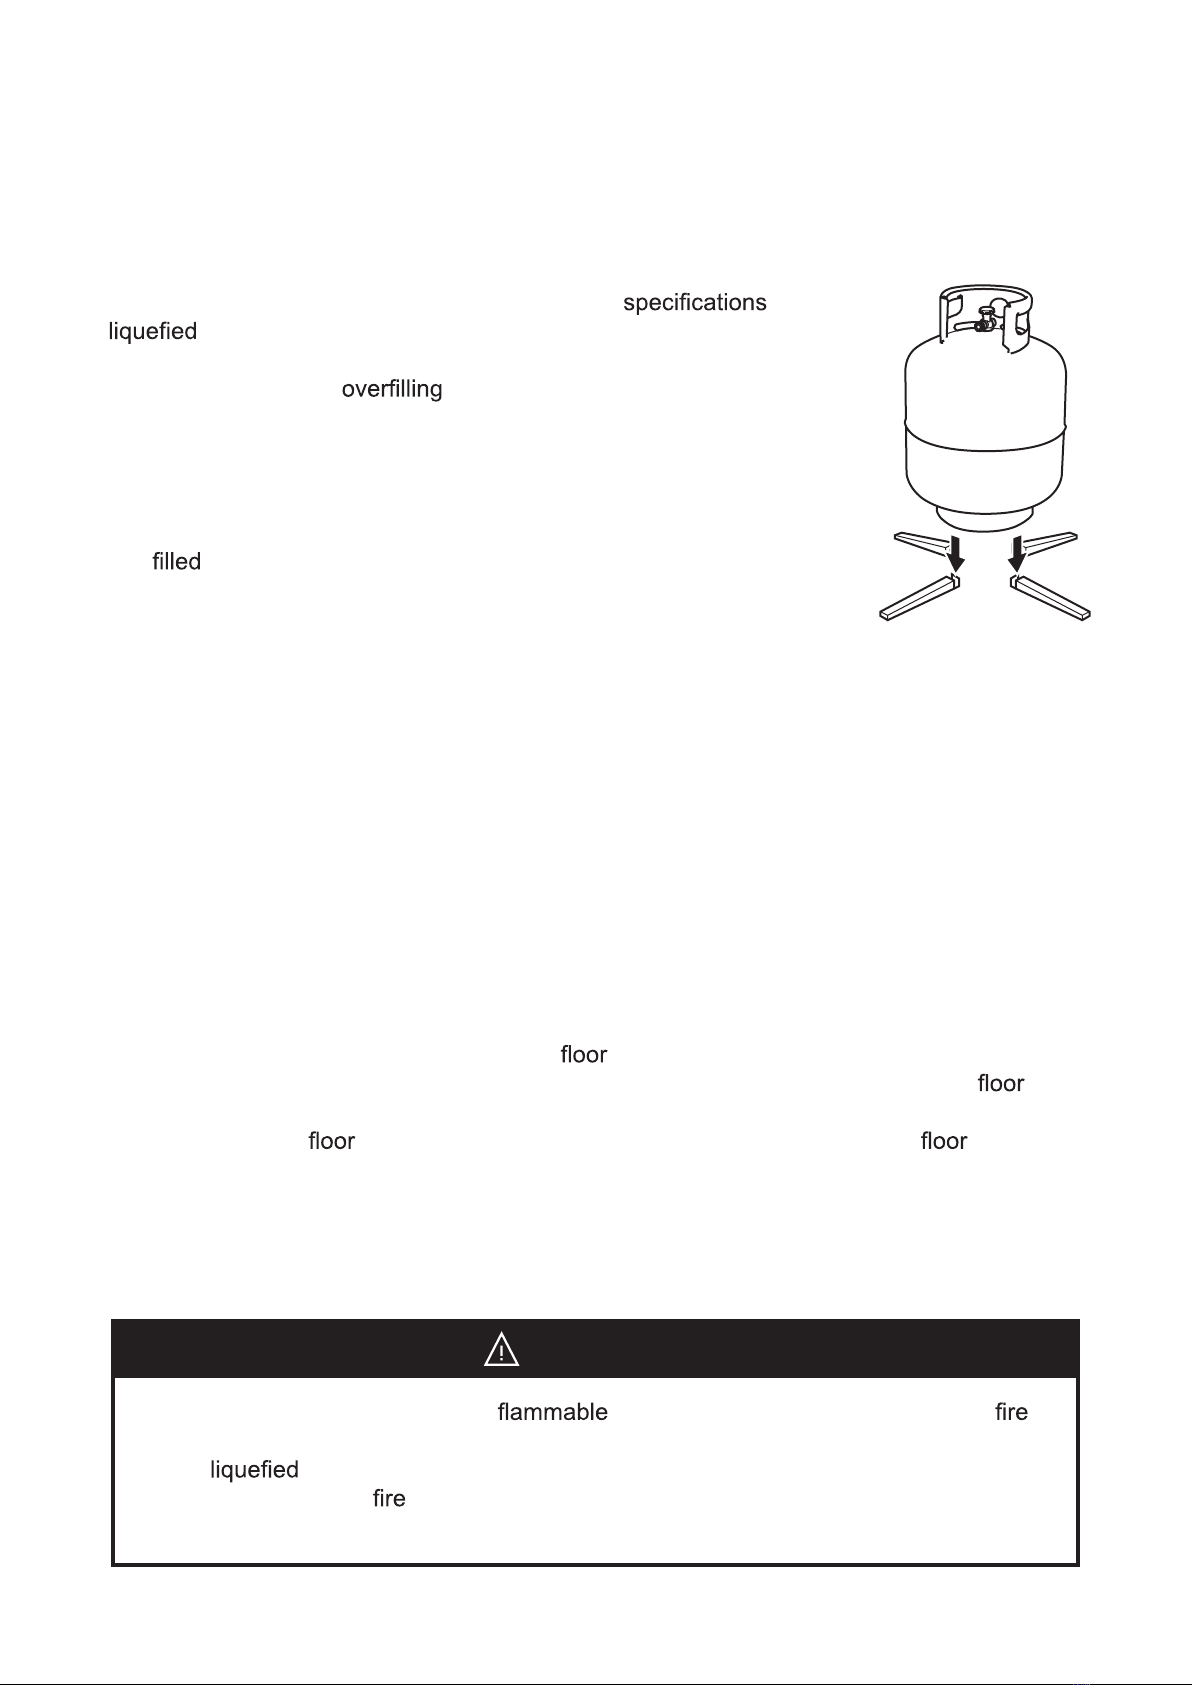
ASSEMBLY INSTRUCTION (LPG cylinder)
LPG cylinder used with the product must be:
• Constructed and marked in accordance with the for
petroleum gases standard, CAN/CSAB339, Cylinders,
Spheres, and Tubes for the Transportation of Dangerous Goods.
• Provided with a listed prevention device.
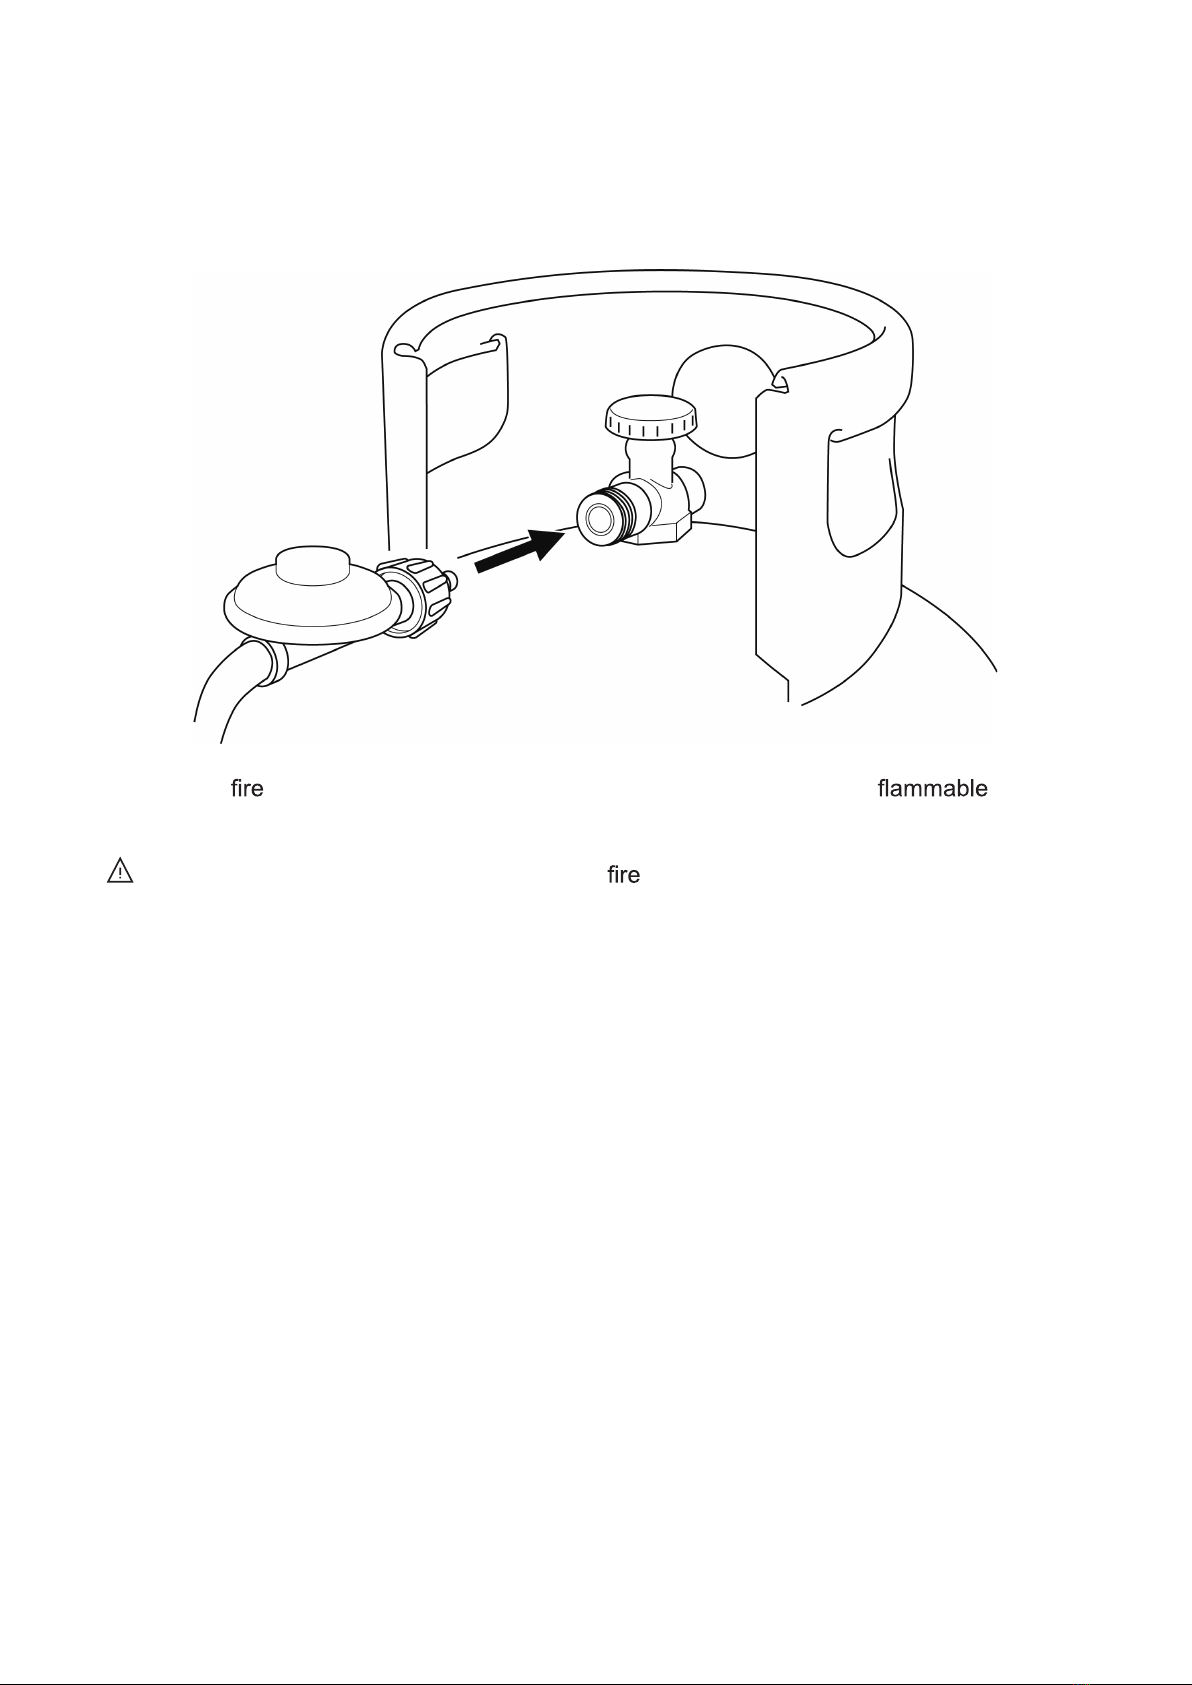
• Provided with a cylinder connection device compatible with the con-
nection for outdoor cooking appliances.
• Max capacity: 20lb.
• Max input: 58,000 BTU
• Max gas supply pressure: 250 PSI
• Not beyond 80% full
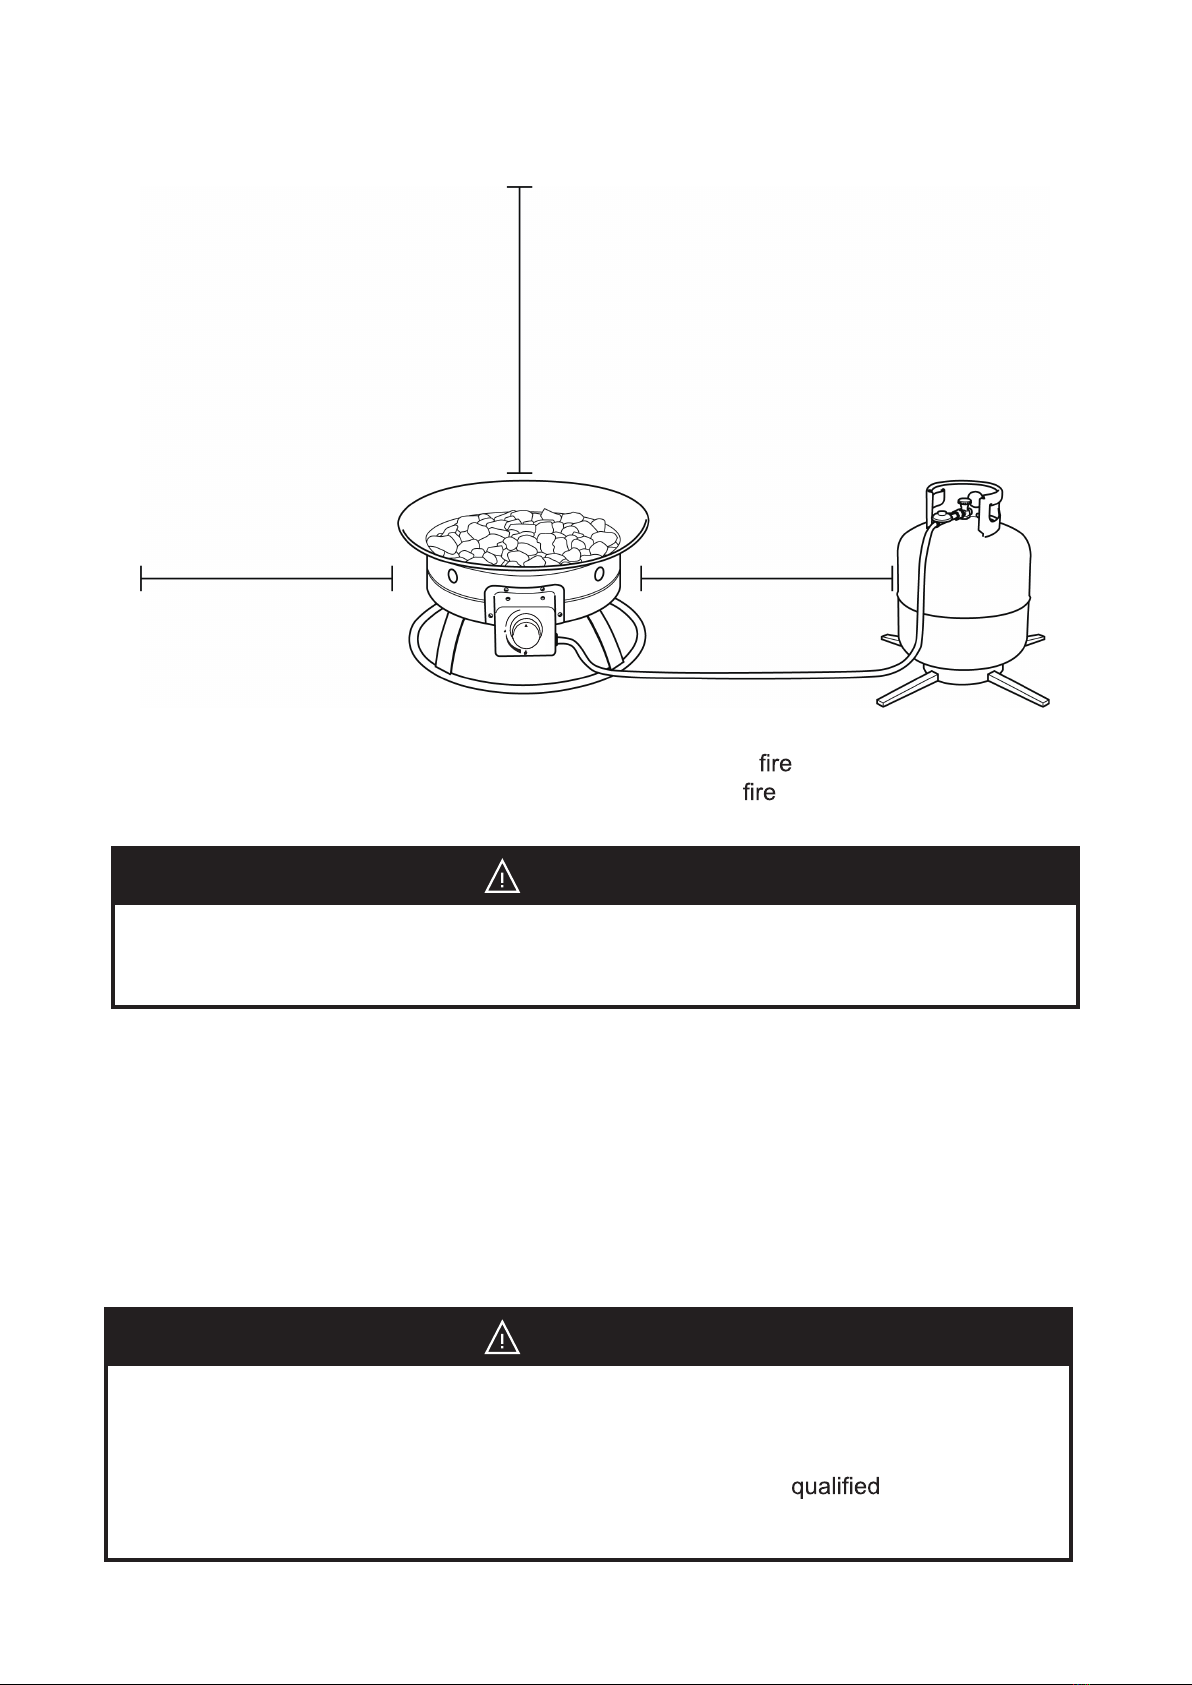
The use of an approved LPG cylinder stabilizing base is recommended in
order to prevent the LPG cylinder from tipping over.
Enclosures for Self-Contained LPG supply systems:
An enclosure for LPG cylinder shall be ventilated by openings at both the upper and lower levels
of the enclosure. This shall be accompanied by one of the following:
• One side of the enclosure shall be completely open.
For enclosure having four sides, a top and a bottom:
• At least two ventilation openings shall be provided in the sidewalls of the enclosure, located
within 5” (217mm) of the top of the enclosure, equally sized, spaced a minimum of 90°
(1.57 rad), and unobstructed. The opening(s) shall have a total free area of not less than 1”/lb
of stored fuel capacity.
• Ventilation opening(s) shall be provided at level of the enclosure and shall have a total
free area of not less than 1.27”/lb of stored fuel capacity. If ventilation openings at level
are in a side wall, there shall be at least two openings. The bottom of the openings shall be
1” or less from the level and the upper edge no more than 5” above the level. The
opening(s) shall be equally sized, spaced at a minimum of 90°(1.57 rad), and unobstructed.
• Every opening shall have minimum dimensions so as to permit the entrance of a 1/8” (3.2 mm)
diameter rod.
• Ventilation openings in sidewalls shall not communicate directly with other enclosure of the
appliance.
LIQUEFIED PETROLEUM GAS (LPG) SAFETY INFORMATION
• DO NOT store or use gasoline, liquid or vapors in the vicinity of the
bowl.
• Any petroleum gas (LPG) cylinder not connected for use shall not be stored
in the vicinity of the bowl.
WARNING