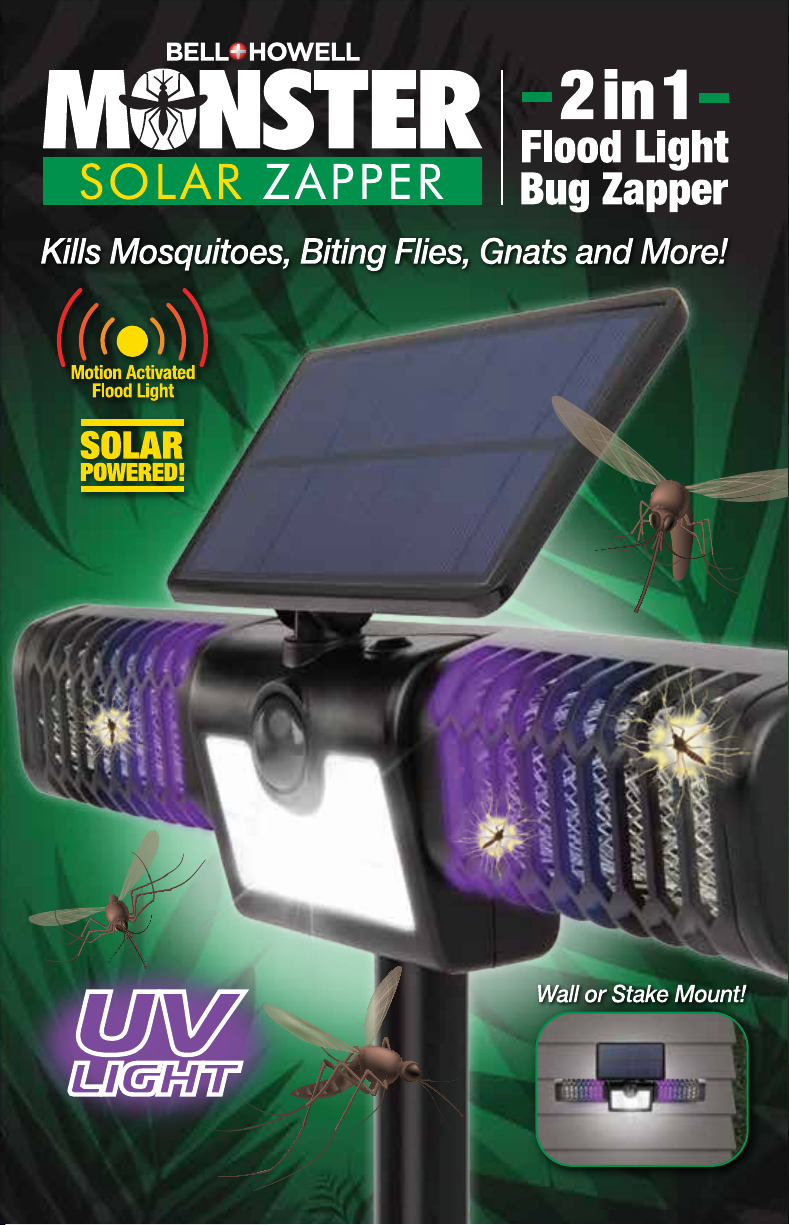
Bellhowell MONSTER SOLAR ZAPPER User manual
INSTALLATION
CAUTION: HAZARDOUS VOLTAGE. Contact with energized components will result
in electric shock. Use only for insects. Do not use water, liquids or sprays to clean.
Keep your hands/fingers away from the zapper grid.
WARNING: NOT A TOY. KEEP AWAY FROM CHILDREN.
PLEASE READ THIS MANUAL CAREFULLY BEFORE USE AND KEEP IT FOR FUTURE USE.
• DO NOT use the Monster Solar Zapper in high traffic areas, if installing in the ground.
• When picking a place to install your Monster Solar Zapper, CHOOSE A LOCATION WITH
MAXIMUM SUN EXPOSURE DURING THE DAY.
• Do not use the Solar Zapper to force the stake into the ground. First, insert the stake
into the ground and then place floodlight over the stake.
• Avoid areas under trees or bushes as this will prevent a proper charge of the
Solar Zapper
.
• Do not install Solar Zapper near an existing outdoor light. The built-in sensor
will prevent it from turning the flood lights on.
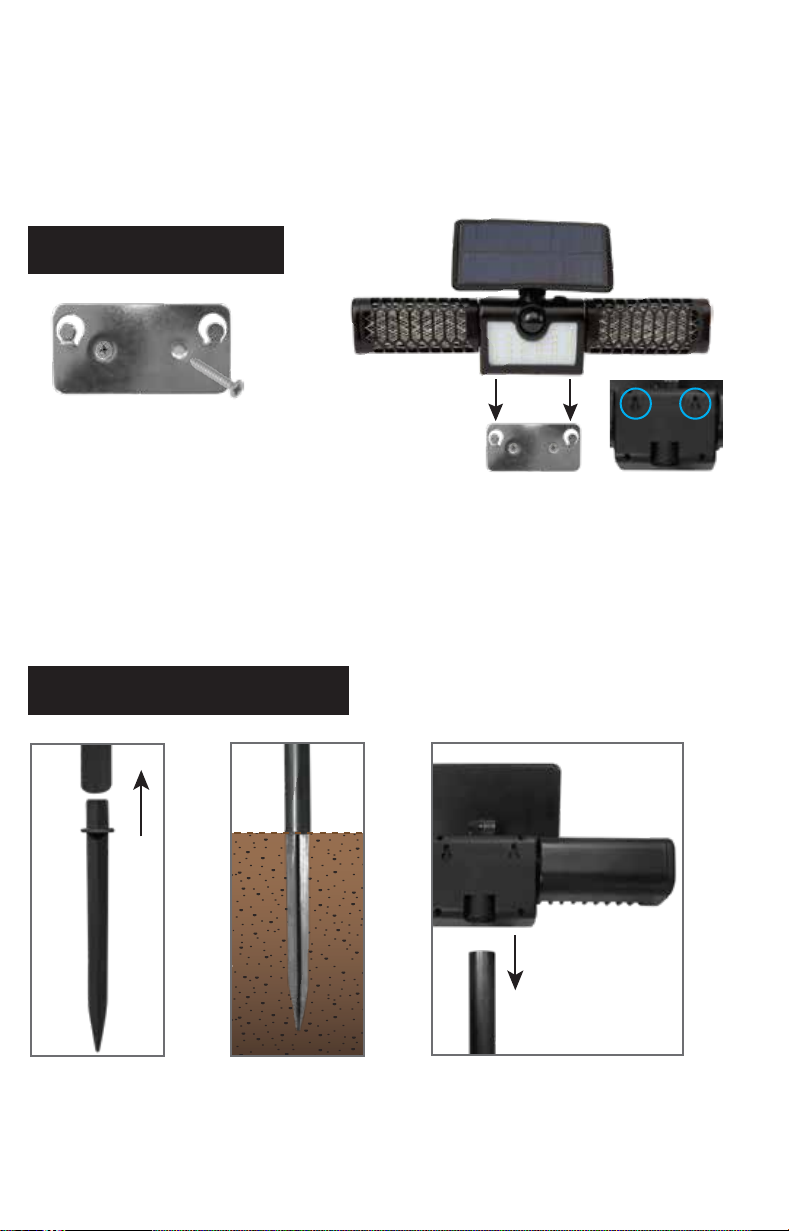
PARTS & FEATURES
Package includes:
Monster Solar Zapper, 2 screws, 2 plastic anchors,
1 mounting plate,1 ground spike, 1 stake.
1Choose a location with
maximum sun exposure.
Drill holes matching the
pattern on the Mounting
Plate and install plastic
anchors (included).
Attach the Mounting Plate
using 2 screws (included).
Align the mounting holes
on the back of the Solar
Zapper
with the hooks
on
the Mounting Plate.
Secure the unit.
2
5
MOUNTING FLOODLIGHT
6
FOR IN-GROUND INSTALLATION
Insert Ground
Spike into
the Stake.
1Make sure the
soil is softened.
Insert Stake
into the
ground.
2Insert Solar Zapper
over the Stake.
3
9
10
1
4
INSTRUCTIONS
7
8
3
1. Adjustable Solar Panel
2. Mounting Holes
3. Mounting Plate
4. 24 LED lights
5. Motion Sensor
6. ON/OFF Switch
7. Zapper Grid
8. 8 pcs UV 395nm
9. Ground spike
10. Stake
2 2 MOUNTING HOLES
BACK OF UNIT
• When using the
Solar Zapper
in the fall, please note that due to fewer daylight
hours,
the batteries might not charge fully. This may affect the amount of time the Solar
Zapper will be on.
• In case of heavy rain, we recommend to swivel each arm downwards to protect
the zapper grid and avoid any damage to the unit. Do not touch the zapper grid.

INSTALLATION
CAUTION: HAZARDOUS VOLTAGE. Contact with energized components will result
in electric shock. Use only for insects. Do not use water, liquids or sprays to clean.
Keep your hands/fingers away from the zapper grid.
WARNING: NOT A TOY. KEEP AWAY FROM CHILDREN.
PLEASE READ THIS MANUAL CAREFULLY BEFORE USE AND KEEP IT FOR FUTURE USE.
• DO NOT use the Monster Solar Zapper in high traffic areas, if installing in the ground.
• When picking a place to install your Monster Solar Zapper, CHOOSE A LOCATION WITH
MAXIMUM SUN EXPOSURE DURING THE DAY.
• Do not use the Solar Zapper to force the stake into the ground. First, insert the stake
into the ground and then place floodlight over the stake.
• Avoid areas under trees or bushes as this will prevent a proper charge of the
Solar Zapper
.
• Do not install Solar Zapper near an existing outdoor light. The built-in sensor
will prevent it from turning the flood lights on.
PARTS & FEATURES
Package includes:
Monster Solar Zapper, 2 screws, 2 plastic anchors,
1 mounting plate,1 ground spike, 1 stake.
1Choose a location with
maximum sun exposure.
Drill holes matching the
pattern on the Mounting
Plate and install plastic
anchors (included).
Attach the Mounting Plate
using 2 screws (included).
Align the mounting holes
on the back of the Solar
Zapper
with the hooks
on
the Mounting Plate.
Secure the unit.
2
5
MOUNTING FLOODLIGHT
6
FOR IN-GROUND INSTALLATION
Insert Ground
Spike into
the Stake.
1Make sure the
soil is softened.
Insert Stake
into the
ground.
2Insert Solar Zapper
over the Stake.
3
9
10
1
4
INSTRUCTIONS
7
8
3
1. Adjustable Solar Panel
2. Mounting Holes
3. Mounting Plate
4. 24 LED lights
5. Motion Sensor
6. ON/OFF Switch
7. Zapper Grid
8. 8 pcs UV 395nm
9. Ground spike
10. Stake
2 2 MOUNTING HOLES
BACK OF UNIT
• When using the
Solar Zapper
in the fall, please note that due to fewer daylight
hours,
the batteries might not charge fully. This may affect the amount of time the Solar
Zapper will be on.
• In case of heavy rain, we recommend to swivel each arm downwards to protect
the zapper grid and avoid any damage to the unit. Do not touch the zapper grid.

USAGE
CLEANING
TROUBLESHOOTING
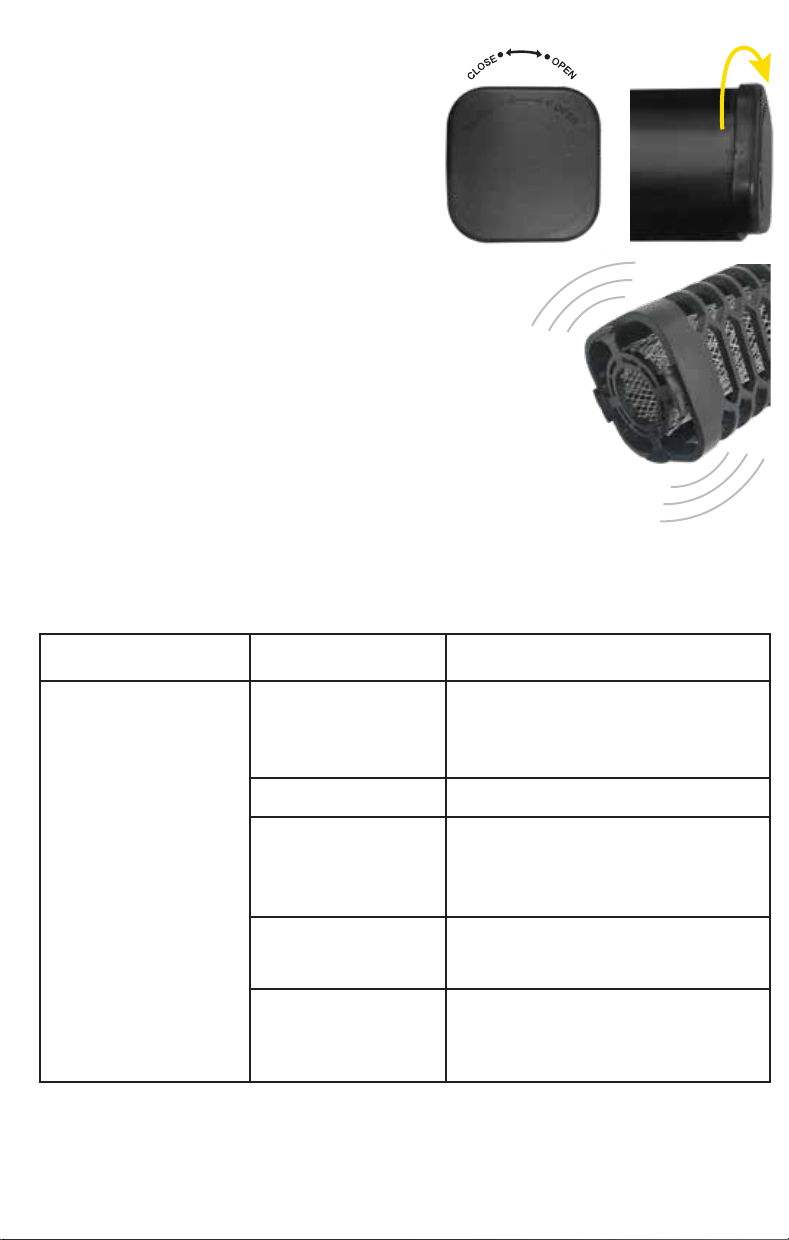
ADJUSTING ANGLES
1. To adjust the angle of the
Solar Panel, simply rotate it
in a desired direction.
2. Swivel each arm at maximum
60° angle to direct the zapper
where needed. Do not force it
past the 60° angle, as this will
damage the unit.
UV light or
flood light
does not
go on.
Not enough charge. Make sure unit is installed where
it can get maximum sun exposure
for 10 hours.
Unit is turned OFF. Press the ON/OFF switch.
Unit is located near
a strong light source.
Make sure unit is installed away
from any strong light sources,
such as an existing outdoor light.
Unit is placed under
trees.
Move the unit to another
open location.
PROBLEM CAUSE SOLUTION
Solar panel is dirty,
or covered up.
Wipe the solar panel clean and
make sure it is always free of
debris.
TECHNICAL INFORMATION
24SMD+8UV LED, 240LM
Solar panel: 5.5V 310mA
UV wavelength: 395nm
Grid Voltage: 1200V (on a fully charged battery)
Sensor distance: 3-5 meters
Sensor time: 30 seconds
Battery type: Built-in 2 x 1200mAh Lithium battery
Charge Time: approx. 10 hrs
IPX Rating: IP65
Make sure to leave the unit under direct sunlight
for solar charging at least 10 hours. UNIT NEEDS
TO BE FULLY CHARGED BEFORE INITIAL USE.
If there isn’t ample sunlight, it may take longer
for the batteries to charge.
1. Turn the Solar Zapper on by pressing the
ON/OFF button.
2. Once dark outside, the UV light will turn on.
It will attract the insects and draw them to the
zapper grid. The high voltage will kill the insects.
3. The floodlight part of the unit will turn on
automatically (when dark) when it detects motion.
The light will stay on for 30 seconds and then
will go off if no motion has been detected.
4. To turn the flood light and UV light off, press the
ON/OFF button.
5. The Solar Zapper and flood light will turn off during
the day or if unit runs out of battery.
ON/OFF BUTTON
Keep your hands/fingers away from the
zapper grid. Do not use water,
liquids or sprays to clean.
1. Make sure your Solar Zapper is turned OFF.
2. Remove the cover from each of the zapper
arms by twisting the cover off.
3. Shake out dirt and debris or use a small soft
brush (not included) to clean the grid.
4. Place the cover back on, twist it to secure
in place.
QVC UK IBuilding 8, Chiswick Park, 566 Chiswick High Road, London, W4 5XU
USAGE
CLEANING
TROUBLESHOOTING
ADJUSTING ANGLES
1. To adjust the angle of the
Solar Panel, simply rotate it
in a desired direction.
2. Swivel each arm at maximum
60° angle to direct the zapper
where needed. Do not force it
past the 60° angle, as this will
damage the unit.
UV light or
flood light
does not
go on.
Not enough charge. Make sure unit is installed where
it can get maximum sun exposure
for 10 hours.
Unit is turned OFF. Press the ON/OFF switch.
Unit is located near
a strong light source.
Make sure unit is installed away
from any strong light sources,
such as an existing outdoor light.
Unit is placed under
trees.
Move the unit to another
open location.
PROBLEM CAUSE SOLUTION
Solar panel is dirty,
or covered up.
Wipe the solar panel clean and
make sure it is always free of
debris.
TECHNICAL INFORMATION
24SMD+8UV LED, 240LM
Solar panel: 5.5V 310mA
UV wavelength: 395nm
Grid Voltage: 1200V (on a fully charged battery)
Sensor distance: 3-5 meters
Sensor time: 30 seconds
Battery type: Built-in 2 x 1200mAh Lithium battery
Charge Time: approx. 10 hrs
IPX Rating: IP65
Make sure to leave the unit under direct sunlight
for solar charging at least 10 hours. UNIT NEEDS
TO BE FULLY CHARGED BEFORE INITIAL USE.
If there isn’t ample sunlight, it may take longer
for the batteries to charge.
1. Turn the Solar Zapper on by pressing the
ON/OFF button.
2. Once dark outside, the UV light will turn on.
It will attract the insects and draw them to the
zapper grid. The high voltage will kill the insects.
3. The floodlight part of the unit will turn on
automatically (when dark) when it detects motion.
The light will stay on for 30 seconds and then
will go off if no motion has been detected.
4. To turn the flood light and UV light off, press the
ON/OFF button.
5. The Solar Zapper and flood light will turn off during
the day or if unit runs out of battery.
ON/OFF BUTTON
Keep your hands/fingers away from the
zapper grid. Do not use water,
liquids or sprays to clean.
1. Make sure your Solar Zapper is turned OFF.
2. Remove the cover from each of the zapper
arms by twisting the cover off.
3. Shake out dirt and debris or use a small soft
brush (not included) to clean the grid.
4. Place the cover back on, twist it to secure
in place.
QVC UK IBuilding 8, Chiswick Park, 566 Chiswick High Road, London, W4 5XU
Table of contents
Popular Pest Control manuals by other brands

Skeet-R-Gone
Skeet-R-Gone Skeet-R-Gone Installation and operation instructions

eHouse
eHouse BH-1 instruction manual

Stocker
Stocker Geyser Nebulisator 4 L Li-Ion user manual

Safer
Safer Deer Off instructions

Kemo Electronic
Kemo Electronic M100N manual

Bird b gone
Bird b gone Bird Spike 2001 installation instructions


