Benelec 02635 User manual

02635
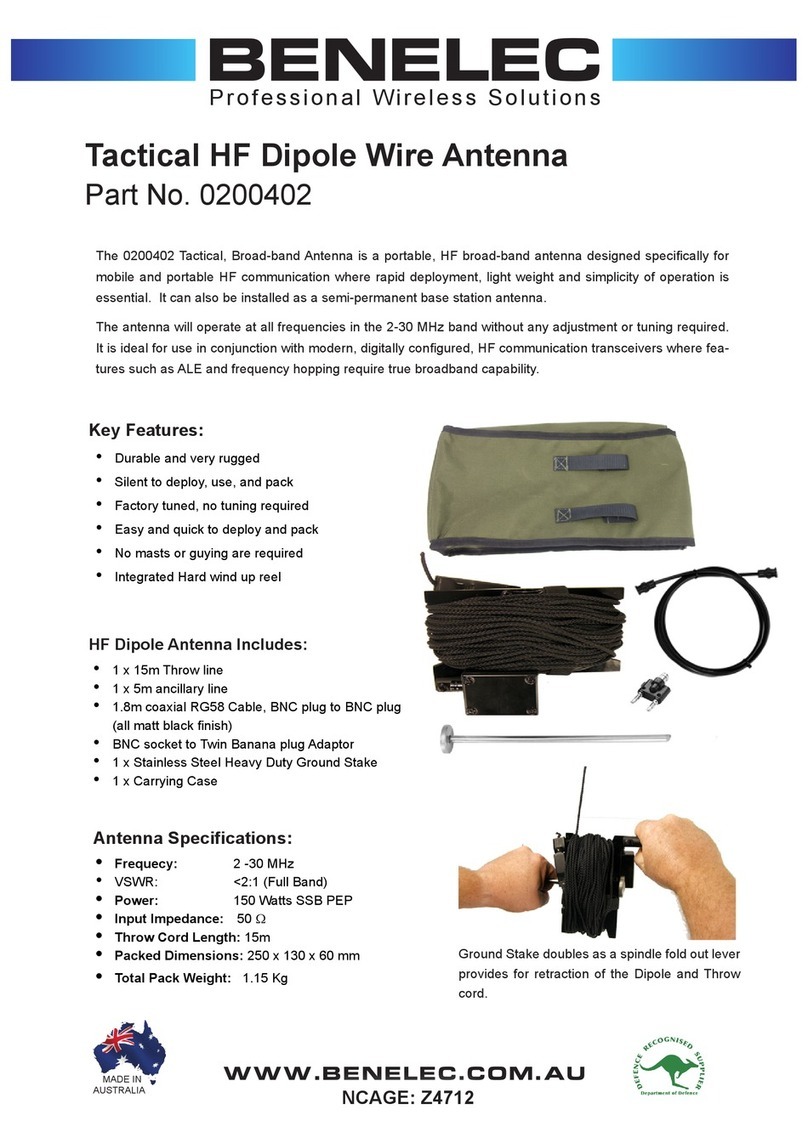
Elevated Feed
477 MHz
3 & 6dB Kit
Manufactured in Australia
by Benelec Pty. Ltd.
Heavy duty, stainless steel &
breglass construction
Pre-terminated cables, NO tools
required
UV stabilised PVC heat shrink for
long lasting reliability
Complete kit includes stainless
spring & elevated feed base, 6dB &
3dB antennas, RG58 lead & plug
Pre-tuned antennas (no tuning
required)
Made using high quality
components
Designed and manufactured in
Australia by a 100% Australian
owned company
5 year guarantee
476.42-477.40 MHz
3dB, 6dB
<1.5:1 for band above
450 / 900 mm
50 Ohm
Vertical
Omni directional
Solid Fibreglass Rod,
Brass, PVC Heat
shrink, CU & S/S
Radiator, PVC Cap
Stainless Steel Brass
RG 58 C/U Mil-Spec
Benelec 05602 ABK
PL259, UHF Plug
By Benelec in Sydney,
Australia
Benelec Pty Ltd warrants that the product will be
free from defects in materials and craftsmanship for
the duration of the warranty period, subject to the
limitations and exclusions set out below. Note that
product specications are mainly derived from those
provided by manufacturers and although all care is
taken to ensure that these are described accurately
in all Benelec publications, no direct or consequential
responsibility can be attributed to Benelec as a result
of any inaccuracy in those specications.
If a warranty claim is made, this warranty will not
apply if the Product is found by Benelec to be:
(A) Damaged or not maintained in a
reasonable manner or as recommended
in the relevant Owner’s Manual;
(B) Modied, altered or used in any manner
not authorised by Benelec;
(C) Improperly installed contrary to
instructions contained in the relevant
Owner’s Manual; or
(D) Repaired by someone other than an
authorized Benelec Repair Agent in
relation to a defect or malfunction
covered by this warranty.
If the Product is found not to conform to this warranty
as stated above, the Warrantor, at its discretion,
will either repair the defect or replace the Product
without any charge for parts or service. This warranty
does not include any reimbursement or payment of
any consequential damages claimed to arise from a
Product’s failure to comply with the warranty.
Our goods come with guarantees that cannot be
excluded under the Australian Consumer Law. You
are entitled to a replacement or refund for a major
failure and for compensation for any other reasonably
foreseeable loss or damage. You are also entitled to
have the goods repaired or replaced if the goods fail
to be of acceptable quality and the failure does not
amount to a major failure.
Returned goods will not be accepted for repair or
replacement unless prior consent has been given
by Benelec. Returned goods must be accompanied
by suitable documentation clearly describing the
customer’s name, address, telephone number and
responsible person to contact as well as satisfactory
evidence of your original purchase (such as a legible
copy of the sales docket). Returned goods must
be suitably packed to ensure no damage in transit.
Damaged goods will not be accepted for return.
Freight on returned goods must be prepaid.

Congratulations on having selected the 02635 477 MHz
Antenna. This antenna system will allow you to gain
good performance in all types of terrain, when properly
used. The kit contains all components necessary
to install the system, however it does not include a
mounting bracket, since there are many varieties
of these. The type of bracket will depend upon your
application.
Following these instructions will allow your system
to perform to your requirements and meet your
expectations.
This antenna is supplied with a stainless steel base and
spring assembly, a 3 dB Short Antenna, a 6dB longer
antenna, 5 meters of coaxial cable tted with an FME
female connector a PL-259 plug/adaptor that suits all
477MHz transceivers.
The mounting position of the antenna on the vehicle
will depend on the type of vehicle you have and what
method of tting you prefer. This antenna is a ground
independent antenna. This means it does not rely on
the vehicle body for its performance. Hence the antenna
can be mounted virtually anywhere on the vehicle and
still perform well. It is preferred, however, to mount
the antenna as high as practicable to achieve the best
results. It is important to remember that the antenna
must be mounted at least 60cm from any vertical metal
objects.
Suggested mounting positions in order of performance
are:
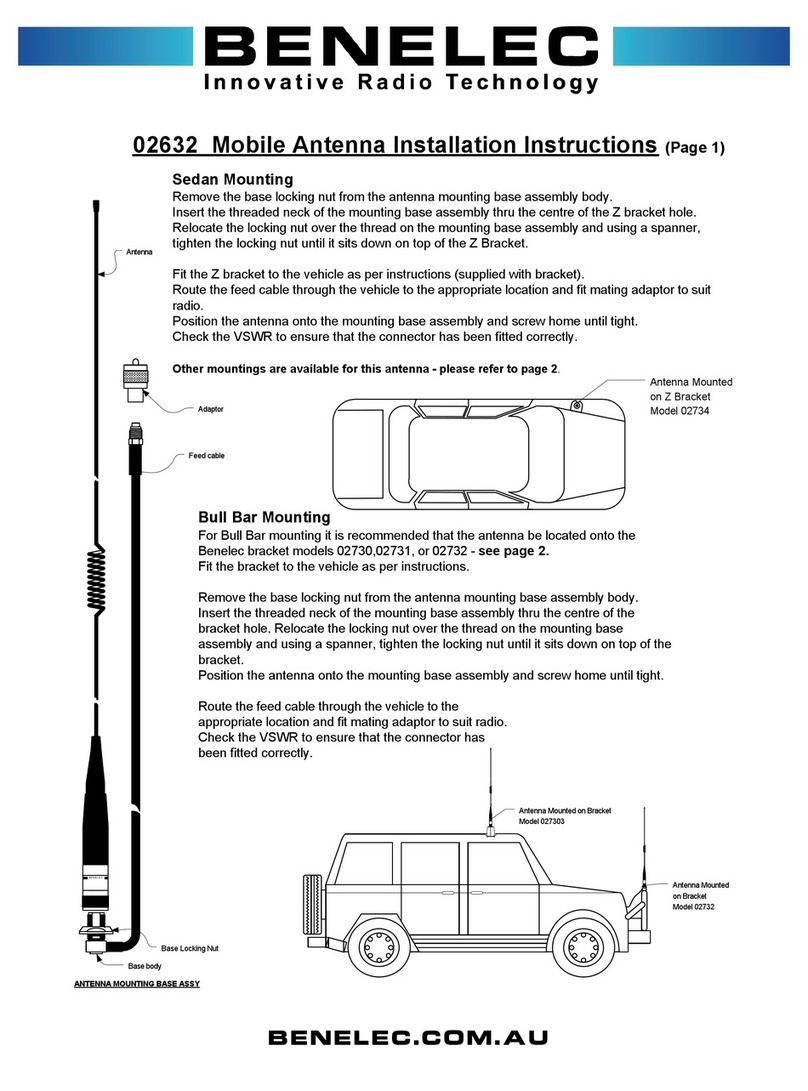
1) , using a 02728 Roof-rack Mounting
Bracket.
2) using a 02726S H/Duty Gutter Bracket.
3) , using a 02728 Mirror Bracket.
4) Bull Bar, using a 02730 Bull bar Bracket. This can
be a poor option for trucks, however, a good option for
4WD’s.
5) Guard, using a 02734 “Z” Bracket
The exploded view on left shows the assembly of the
base and spring.
Fit the antenna base and cable assembly to the
spring base. It is possible to use the antenna without
the spring, however, we highly recommended that the
spring be used in all types of installations. The spring
should be rmly tightened to the base tube. There are
ventilation holes in the base tube, refer to the diagram.
These holes must be clear at all times.
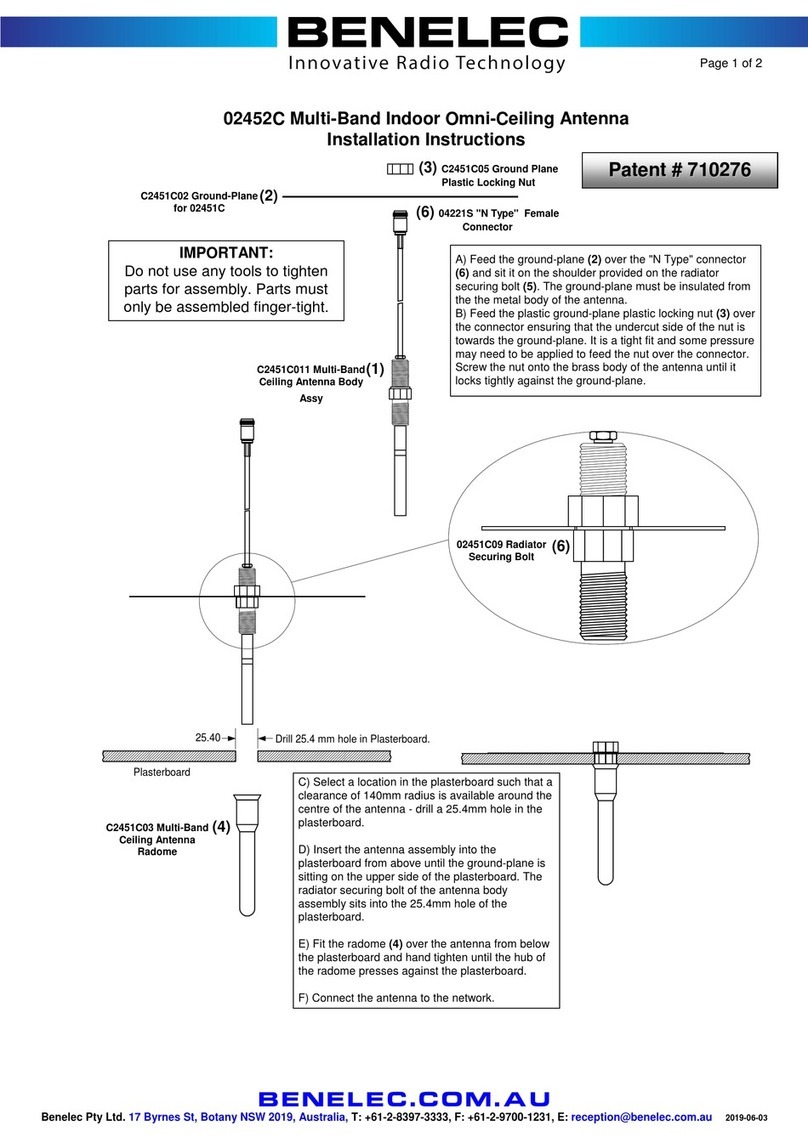
Remove the nut and washer from the antenna
spring assembly. Feed all of the cable lead through
the hole in the relevant mounting bracket that you will
be using to mount to your vehicle. Locate the base
tube and spring assembly into the bracket. Locate the
washer over the cable followed by the nut. Tightened
the nut with a spanner sufciently to ensure a solid
mounting. Excessive pressure could cause damage –
DO NOT over tighten.
Fit the bracket and antenna assembly to the vehicle
according to the selected mounting position.
Route the cable through the vehicle to the radio
ensuring the cable is not crimped crushed or damaged
in any way.
Locate the adaptor onto the FME connector end of
the cable lead and screw it home.
Tighten the nut on the connector with a spanner
sufciently to ensure connections. DO NOT over tighten
Connect to the CB radio antenna socket.
This kit comes with two antennas for several
reasons. The shorter 3dB antenna is ideal for city
areas where height in car parks is a concern. The
3dB antenna also provides the best performance
in hilly or mountainous areas. It is convenient as
a backup antenna in case the 6dB antenna is
accidentally broken.
The 6dB antenna will provide the best performance
for long-range at open terrain. The radiation from
this antenna is best suited to this application.
And may provide degraded performance in
mountainous regions.
It is important to use the correct antenna for
the terrain in which you are travelling to ensure
optimum performance at all times.
WARNING
Congratulations on having selected the AT-870 477 MHz
Antenna. This antenna system will allow you to gain good
performance in all types of terrain, when properly used.
The kit contains all components necessary to install the
system, however it does not include a mounting bracket,
since there are many varieties of these. The type of
bracket will depend upon your application.
Following these instructions will allow your system to
perform to your requirements and meet your expectations.
This antenna is supplied with a stainless steel base and
spring assembly, a 6.5dB long antenna, 5 meters of
coaxial cable fitted with an FME female connector a UHF
plug/adaptor that suits all 477MHz transceivers.
1.0
The mounting position of the antenna on the vehicle will
depend on the type of vehicle you have and what method
of fitting you prefer. This antenna is a ground independent
antenna. This means it does not rely on the vehicle body
for its performance. Hence the antenna can be mounted
virtually anywhere on the vehicle and still perform well. It is
preferred, however, to mount the antenna as high as
practicable to achieve the best results. It is important to
remember that the antenna must be mounted at least
60cm from any vertical metal objects.
Suggested mounting positions in order of performance are:
1) , using a third party Roof-rack Mounting
Bracket.
2) using a third party H/Duty Gutter Bracket.
3) , using a third party Mirror Bracket.
4) Bull Bar, using a third party Bull bar Bracket. This can
be a poor option for trucks, however, a good option for
4WD’s.
5) Guard, using a third party “Z” Bracket
The exploded view overleaf shows the assembly of the
base and spring.
Fit the antenna base and cable assembly to the spring
base. It is possible to use the antenna without the spring,
however, we highly recommended that the spring be used
in all types of installations. The spring should be firmly
tightened to the base tube. There are ventilation holes in
the base tube, refer to the diagram. These holes must be
clear at all times.
Remove the nut and washer from the antenna spring
assembly. Feed all of the cable lead through the hole in
the relevant mounting bracket that you will be using to
mount to your vehicle. Locate the base tube and spring
assembly into the bracket. Locate the washer over the
cable followed by the nut. Tightened the nut with a spanner
sufficiently to ensure a solid mounting. Excessive pressure
could cause damage – DO NOT over tighten.
Fit the bracket and antenna assembly to the vehicle
according to the selected mounting position.
Route the cable through the vehicle to the radio
ensuring the cable is not crimped crushed or damaged in
any way.
Locate the adaptor onto the FME connector end of the
cable lead and screw it home.
Tighten the nut on the connector with a spanner
sufficiently to ensure connections. DO NOT over tighten
Connect to the CB radio antenna socket.
The 6.5dB antenna will provide the best performance for
long-range flat open terrain. The radiation from this
antenna is best suited to this application..
NOTE
The antenna
system will work well in all
directions providing there
are no vertical metal
objects in the path of the
radiating signal i.e. the
antenna will work best if
you can see it from all
directions. Keep in mind
that the higher the
mounting positions, the
better it works!
WARNING
This antenna radiates in all
directions. Regardless of
mounting position, unless
obstructed
This antenna radiates in all
directions. Regardless of mounting
position, unless obstructed
The antenna system will work well in
all directions providing there are no vertical
metal objects in the path of the radiating
signal i.e. the antenna will work best if you
can see it from all directions. Keep in mind
that the higher the mounting positions, the
better it works!
Table of contents
Other Benelec Antenna manuals
Popular Antenna manuals by other brands
Clarke-tech
Clarke-tech VBOX V4000 user manual

Holkirk
Holkirk TP120 Operation manual

Vivanco
Vivanco TVA 400 operating instructions

Cisco
Cisco Multiband Diversity Omnidirectional Ceiling-Mount Antenna... Specifications
D-Link
D-Link ANT24-1800 user guide
Aardvark
Aardvark VANSAT Raven Installation and operation manual
