manuals.online logo
Brands
  1. Home
  2. •
  3. Brands
  4. •
  5. BENITO
  6. •
  7. Outdoor Fountain
  8. •
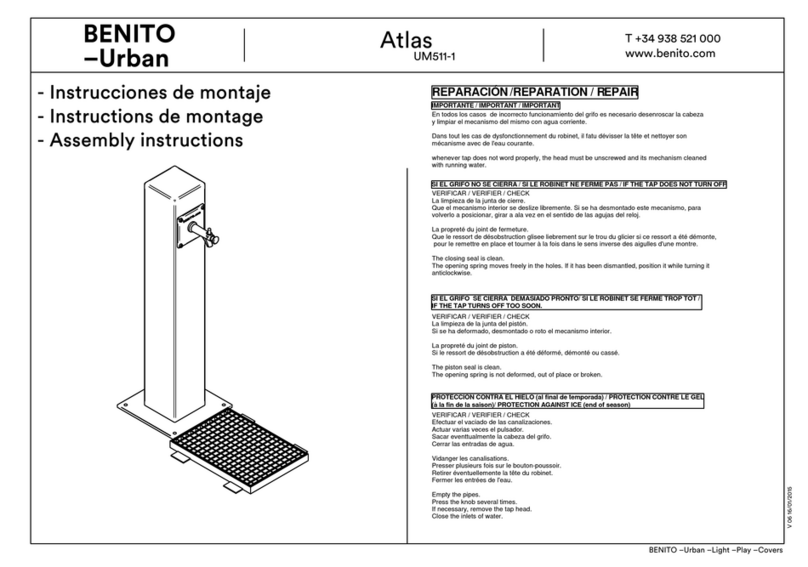
  9. BENITO ATLAS User manual

BENITO ATLAS User manual

Fuente / Fontaine / Drinking Fountain
ATLAS
Material suministrado / Matériel fourni / Delivered material
1 Grifo
1 Robinet
1 Tap
1 Cuerpo
1 Corps de la fontaine
1 Body
1 Reja
1 Grille
1 Grate
4 tornillos
4 Vis
4 Screws
1 Marco
1 Cadre
1 Frame
UM511-1
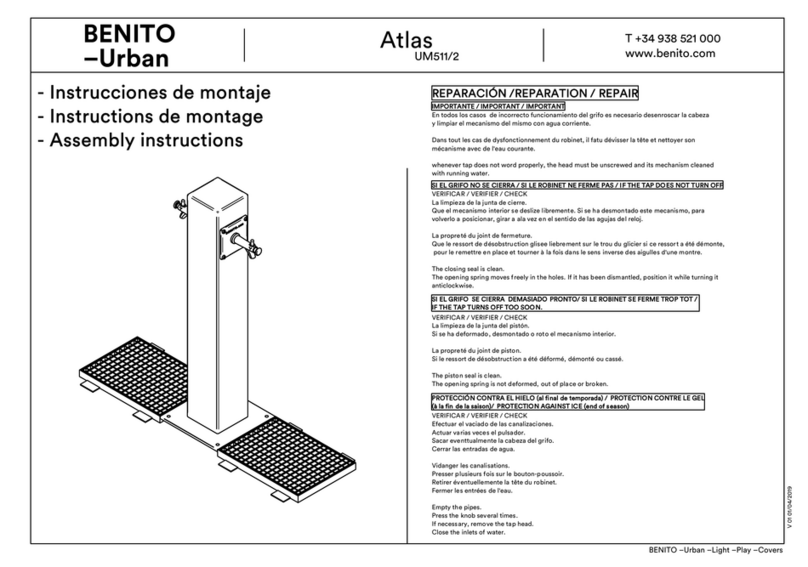
UM511-2 (doble / double / double)
INSTRUCCIONES DE MONTAJE
INSTRUCTIONS DE MONTAGE
ASSEMBLY INSTRUCTIONS
REPARACIÓN / REPTARATION / REPAIR
IMPORTANTE / IMPORTANT / IMPORTANT
En todos los casos de incorrecto funcionamiento del grifo es necesario desenroscar la
cabeza y limpiar el mecanismo del mismo con agua corriente.
SI EL GRIFO NO SE CIERRA / SI LE ROBINET NE FERME PAS / IF THE TAP DOES NOT TURN OFF
VERIFICAR / CHECK / VERIFIER
La limpieza de la junta de cierre.
Que el mecanismo interior se deslize libremente. Si se ha desmontado este mecanismo, para
volverlo a posicionar, girar a la vez en el sentido inverso de las agujas del reloj.
SI EL GRIFO SE CIERRA DEMASIADO PRONTO/ SI LE ROBINET SE FERME TROP TOT /
IF THE TAP TURNS OFF TOO SOON
VERIFICAR / VERIFIER / CHECK
La limpieza de la junta del pistón.
Si se ha deformado,desmontado o roto el mecanismo interior.
La propreté du joint de piston.
Si le ressort de désobstruction a été déformé, démonté ou cassé.
The piston seal is clean.
The opening spring is not deformed, out of place or broken.
PROTECCIÓN CONTRA EL HIELO (al final de temporada)/ PROTECTION CONTRE LE GEL
(à la fin de la saison) / PROTECTION AGAINST ICE (end of season)
VERIFICAR
Efectuar el vaciado de las canalizaciones.
Actuar varias veces el pulsador.
Sacar eventualmente la cabeza del grifo.
Cerrar las entradas de agua.
Whenever the tap does not work properly, the head must be unscrewed and its mechanism
cleaned with running water.
The closing seal is clean.
The opening spring moves freely in the holes. If it has been dismantled, position it while turning it anticlockwise.
CHECK
Empty the pipes.
Press the knob several times.
If necessary, remove the tap head.
Close the inlets of water.
Dans tout les cas de dysfonctionnement du robinet, il faut dévisser la tête et nettoyer son mécanisme
avec de l’eau courante.
La propreté du joint de fermeture.
Que le ressort de désobstruction glisee librement sur le trou du gliceur si ce ressort a été démonté, pour le remettre en
place et tourner à la fois dans le sens inverse des aiguilles d’une montre.
VERIFIER
Vidanger les canalisations.
Presser plusieurs fois sur le bouton-poussoir.
Retirer éventuellement la tête du robinet.
Fermer les entrées de l'eau.
Preparar conexiones y la zanja para la colocación
de la fuente en suelo hormigonado.
NOTA: Presión recomendada entre 0'8 y 1'2 bar. Si la presión no es la correcta se debe instalar un regulador de presión.
Instalar el regulador en una arqueta adyacente.
Conectar el grifo a la red y atornillar la pletina del grifo al cuerpo de la fuente.
1
ENSAMBLAJE / ASSEMBLAGE / ASSEMBLING
NOTE: Recommended pressure between 0.8 and 1.2 bar. If the pressure is not correct a pressure regulator must be installed in an adjacent box.
Prepare the connections before installing the
fountain on the cemented piece of ground.
4
Connect the tap to the mains supply and screw the tap mounting plate to the body of the fountain.
53
Instalar el marco + reja de la fuente
y hormigonar.
2
Install the frame and grid for the
fountain and cement.
Preparar conexión del grifo a la red. Para realizar esta operación una buena opción es utilizar un flexo.
Nota: El flexo de conexión de “ no se suministra.
3
4
Prepare the tap connection to the mains supply. A good option for this is to use a flexible pipe.
Note: The “ flexible connecting pipe is not supplied.
3
4
Desagüe recomendado
tubo pvc Ø 50 mm
170 aprox.
3
4" red / red / water supply
Recommended drain
Ø 50 mm PVC pipe
Anclaje de la fuente al suelo.
Anchorage of the fountain into the ground.
Op1:
Pernos de expansión ø10
Tiges d'ancrage ø10
Expansion bolts ø10
Op2:
Taco químico
Chevilles chimiques.
Chemical plug
Préparer les branchements et la tranchée pour la mise
en place de la fontaine sur socle en béton.
Placer le cadre + la grille de la fontaine
puis bétonner.
Ecoulement recommandé
tube pvc Ø 50 mm
NOTA: Pression recommandée entre 0'8 et 1'2 bar. Si la pression n’est pas correcte, il faut installer un régulateur de pression.
Installer le régulateur dans un regard adjacent.
Préparer le branchement du robinet au réseau. Pour effectuer cette opération, il est recommandé d’utiliser
un flexible. Note: le flezxible de branchement de n’est pas fourni.
3
4
Brancher le robinet au réseau et visser le support du robinet au corps de la fontaine.
Fixation de la fontaine au sol.

This manual suits for next models

2

Other BENITO Outdoor Fountain manuals

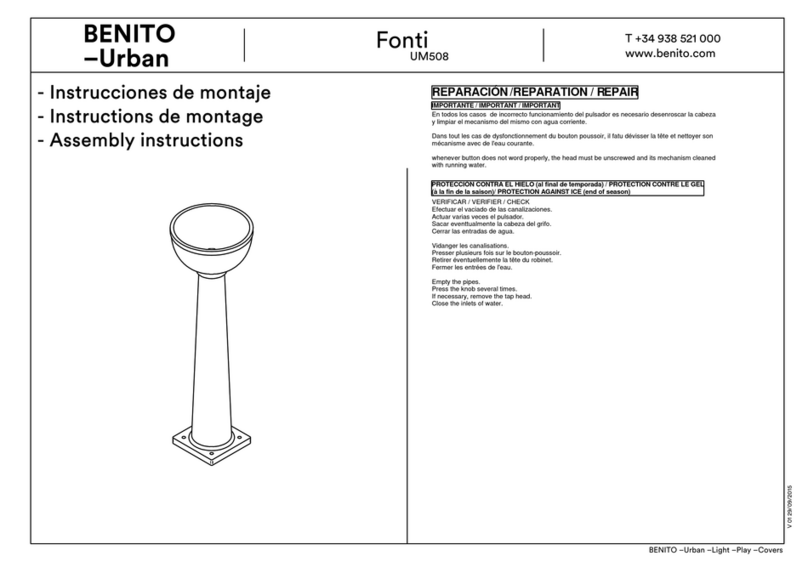
BENITO Fonti UM508 User manual

BENITO

BENITO Fonti UM508 User manual
BENITO Terrier UM551 User manual

BENITO

BENITO Terrier UM551 User manual

BENITO Husky UM550 User manual

BENITO

BENITO Husky UM550 User manual

BENITO Acces UM542 User manual

BENITO

BENITO Acces UM542 User manual

BENITO Urban FONTI UM509 User manual

BENITO

BENITO Urban FONTI UM509 User manual

BENITO Urban Petrus UM565 User manual

BENITO

BENITO Urban Petrus UM565 User manual

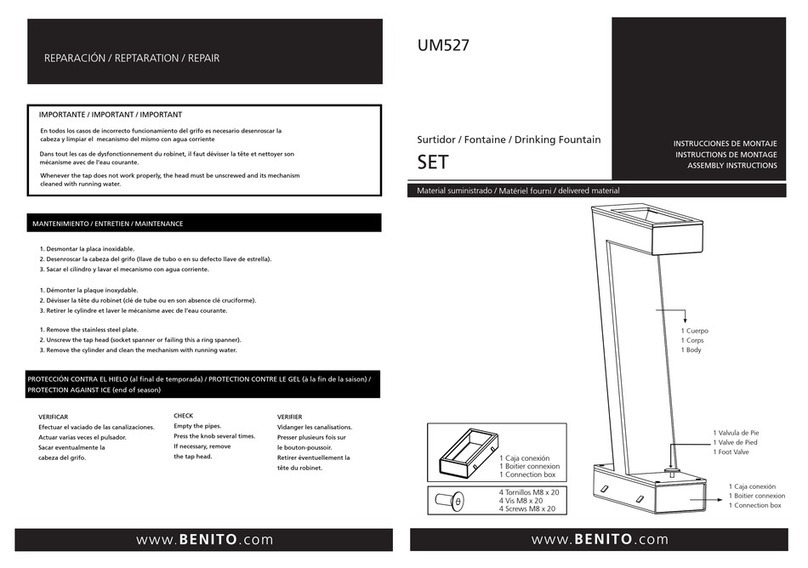
BENITO SET UM527 User manual

BENITO

BENITO SET UM527 User manual

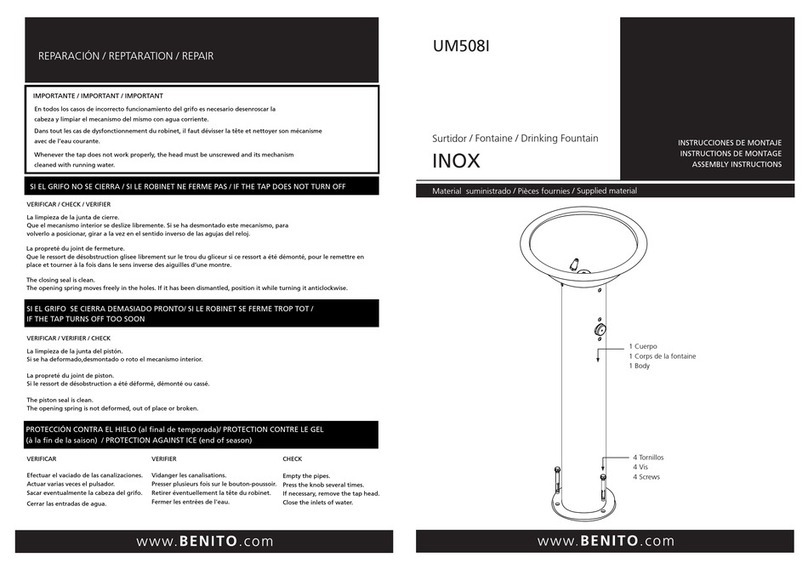
BENITO INOX UM508I User manual

BENITO

BENITO INOX UM508I User manual

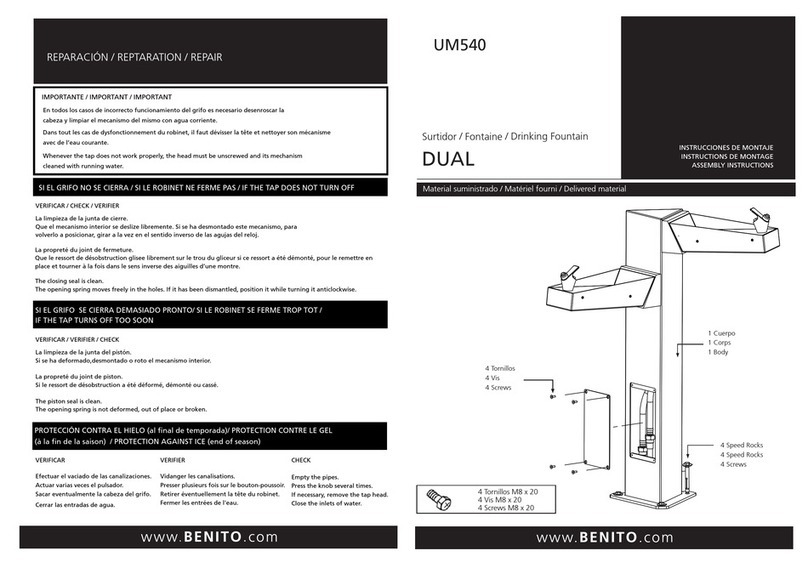
BENITO DUAL UM540 User manual

BENITO

BENITO DUAL UM540 User manual

BENITO BARCINO UM502 User manual

BENITO

BENITO BARCINO UM502 User manual

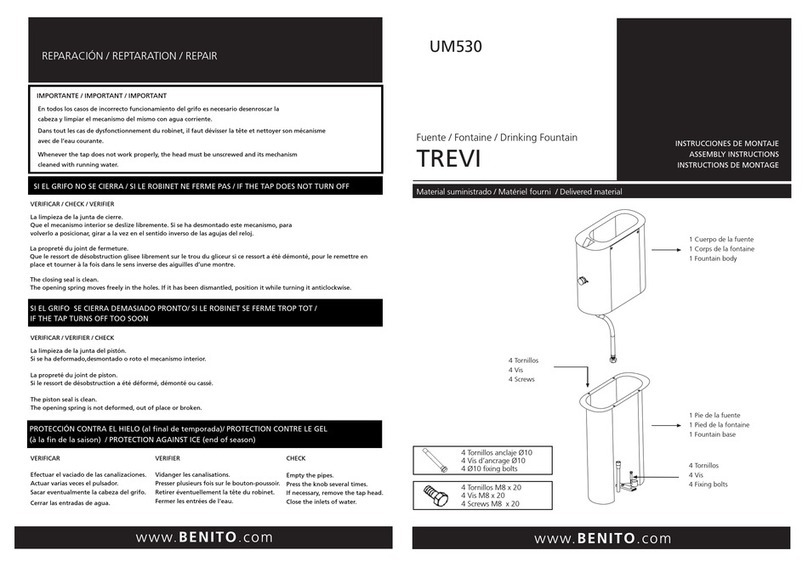
BENITO TREVI User manual

BENITO

BENITO TREVI User manual

BENITO Atlas UM511/2 User manual

BENITO

BENITO Atlas UM511/2 User manual

BENITO Atlas UM511-1 User manual

BENITO

BENITO Atlas UM511-1 User manual

Popular Outdoor Fountain manuals by other brands

Campania International Belleville FT-328 Assembly instructions

Campania International

Campania International Belleville FT-328 Assembly instructions

Campania International Cirrus FT-244 Assembly instructions

Campania International

Campania International Cirrus FT-244 Assembly instructions

Sunnydaze Decor DW-158101 quick start guide

Sunnydaze Decor

Sunnydaze Decor DW-158101 quick start guide

Campania International FT-397 Assembly instructions

Campania International

Campania International FT-397 Assembly instructions

Alpine GXT618S manual

Alpine

Alpine GXT618S manual

Angelo Decor AD92613 quick start guide

Angelo Decor

Angelo Decor AD92613 quick start guide

Campania International FT-319 Assembly instructions

Campania International

Campania International FT-319 Assembly instructions

Oase Aquarius 4000 operating instructions

Oase

Oase Aquarius 4000 operating instructions

LiquidArt Triple installation manual

LiquidArt

LiquidArt Triple installation manual

RHS ROSEMOOR manual

RHS

RHS ROSEMOOR manual

Oase PondJet Eco operating instructions

Oase

Oase PondJet Eco operating instructions

Halsey Taylor 7120 owner's manual

Halsey Taylor

Halsey Taylor 7120 owner's manual

Halsey Taylor 4405BF owner's manual

Halsey Taylor

Halsey Taylor 4405BF owner's manual

Alpine TZL226 quick start guide

Alpine

Alpine TZL226 quick start guide

GLITZHOME PRIVACY SCREEN Assembly instruction

GLITZHOME

GLITZHOME PRIVACY SCREEN Assembly instruction

Kohler K-5414 installation guide

Kohler

Kohler K-5414 installation guide

Bond Y95845 owner's manual

Bond

Bond Y95845 owner's manual

Henri Studio 5705F7 Assembly instructions

Henri Studio

Henri Studio 5705F7 Assembly instructions

manuals.online logo
manuals.online logoBrands
  • About & Mission
  • Contact us
  • Privacy Policy
  • Terms and Conditions

Copyright 2025 Manuals.Online. All Rights Reserved.