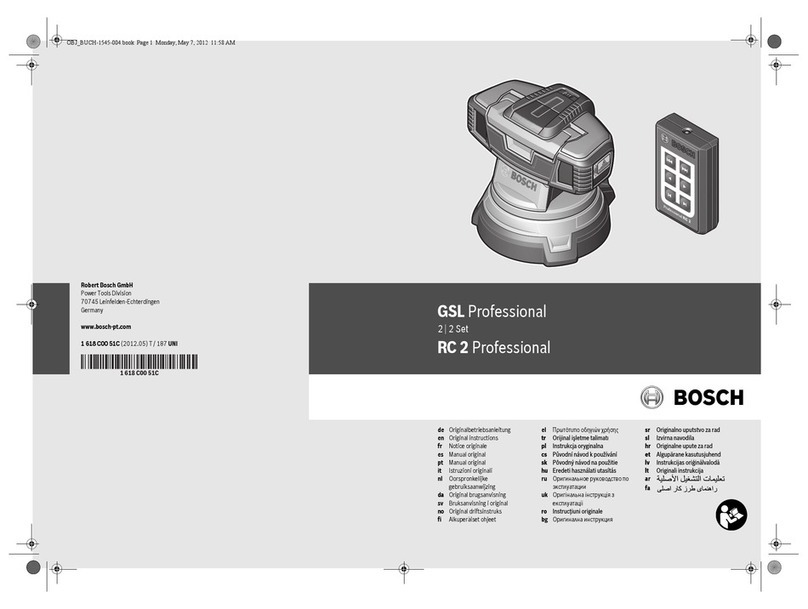
Benman SCL 2 G User manual

ORIGINAL INSTRUCTIONS
EN
IT
HR
FR
SR
EL
RO
NOTICE ORIGINALE
ISTRUZIONI ORIGINALI
ORIGINALNO UPUTSTVO ZA RAD
SCL 2 G
ORIGINALNE UPUTE ZA RAD

2
www.benman-tools.com SCL 2 G
EXPLANATION OF
SYMBOLS
EXPLICATION DES SYMBOLES
SPIEGAZIONE DEI SIMBOLI
OBJAŠNJENJE SIMBOLA
OBJAŠNJENJE SIMBOLA
EXPLICAREA SIMBOLURILOR
SELF LEVELING CROSS LINE LASER
NIVEAU LASER CROIX AUTONIVELANT
09
10
13
16
19
22
24
27
30
ΕΝ
FR
IT
EL
SR
HR
RO

3
2
3
1
1
4
7
5
98
6

4
www.benman-tools.com SCL 2 G
1
3
2
4
5
5
7
89
2

5
3

6
www.benman-tools.com SCL 2 G
4

7

8
www.benman-tools.com SCL 2 G

9
ENGLISH FRANÇAIS ITALIANO
EXPLANATION
OF SYMBOLS
EXPLICATION
DES SYMBOLES
SPIEGAZIONE
DEI SIMBOLI
ΕΠΕΞΉΓΉΣΉ
ΣΥΜΒΌΛΩΝ
Read the instruc-
tion manual
Lire le manuel d’ins-
tructions
Leggere il manuale d’
istruzioni
Danger. Indicating
a hazard that
could cause injury
or damage
Situation suscep-
tible de causer de
graves dommages
aux persone et/ou à
l’appareil
Situazione che può
causare gravi danni
alle persone e/o alla
apparecchiatura
Always wear appro-
priate eye protection
when operating in
form of goggles
Porter des lunettes
de protection
Indossare protezioni
per gli occhi
Warning! Laser
radiation.
Avertissement!
Rayonnement laser.
Avvertimento! Radia-
zione laser.
Disposal infor-
mation
Informations concer-
nant l’élimination
Informazioni relative
allo smaltimento
Conforms to
relevant safety
standards
Conforme aux
normes de sécurité
concernées
Conformi alle per-
tinenti norme sulla
sicurezza
OBJAŠNJENJE SIMBOLA OBJAŠNJENJE
SIMBOLA
EXPLICAREA
SIMBOLURILOR
upotrebu
s uputama
ili štetu
-
Upozorenje! Laser-
Informacije o odlaganju Informacije za
odlaganje
standardima za bezbednost
-
tnim standardima
sigurnosti
-

10
www.benman-tools.com
ENGLISH
SCL 2 G
ENGLISH
SAFETY
WARNING
Read the Safety Instructions and User Manual thor-
oughly before using this product. All users must fully
understand and adhere to these instructions.
CAUTION
While the product is in operation, be careful not to
-
ed time may be hazardous to your eyes.
CAUTION
Glasses may be supplied in some of the laser tool
glasses are ONLY used to enhance visibility of beam
in brighter environments or at greater distances
from laser source.
WARNING
The following label/print samples are placed on the
product to inform of the laser class for your conve-
nience and safety.
DO NOT stare directly into the beam or view directly
with optical instruments or set up the laser at eye
level.
DO NOT disassemble the laser tool. There are no
user serviceable parts inside.
DO NOT modify the laser in any way. Modifying
the tool may result in hazardous Laser Radiation
Exposure.
DO NOT operate the laser around children or allow
children to operate the laser. Serious eye injury may
result.
An exposure to the beam of a Class 2 laser is con-
sidered safe for a maximum of 0.25 seconds. Eyelid
1. Keypad
2. Vertical laser window
Vertical/Up Laser Window
3. Horizontal Laser Window
4.
5. Battery Cover
6. “AA” Battery x 4;
7. Type Label
8. Down Laser Window
9. 1/4”-20 Threaded Mount
OPTIONAL MAGNETIC PIVOTING BASE
1. Keyhole Clip
2. Strapping Feature
3. 5/8”-11 threaded Mount x2
4. 1/4”-20 Thread Mount
5. Travel Stopper
6.
7.
8.
9. 1/4”-20 Threaded Mount
OPERATION MODES & LED INDICATIONS
LED Indication – Green
Full Time Pulse
Self-leveling Mode
Self-leveling Operations
Tool Tilted > 4° ± 1°
Manual Mode
Non-Self-leveling Operations
Manual Mode

11
ENGLISH
GENERAL NOTES
seconds to turn laser tool OFF while in any mode.
Press repeatedly to cycle through the available
modes.
Is enabled when the laser tool is switched to the
out of self-leveling range.
Allows proper use of tool’s full time pulse mode
with laser detector.
MANUAL MODE
various angles to project non-level straight lines
or points.
Disables self-leveling operations; Accuracy of the
LED INDICATIONS
level is low.
Establish a horizontal reference plane by using
the horizontal laser beam.
aligned with the horizontal reference plane to
Establish a vertical reference plane by using
the vertical beam.
aligned with the vertical reference plane to
Establish 2 reference points which need to be
plumb.
Align either the up or the down plumb beam to
a set reference point.
a point which is plumb.
Position the desired object until the laser
beam is aligned with the second reference
point which needs to be plumb with the set
reference point.
Establish a point where the 2 beams cross by
using the vertical and horizontal laser beams.
aligned with both the vertical and horizontal
FULL TIME PULSE MODE
Full time pulse mode of laser tool in self-lev-
eling mode allows use with laser detector in
distances.
MANUAL MODE
Disables self-leveling function and allows
laser tool to project a rigid laser beam in any
orientation.
TECHNICAL SPECIFICATION
CROSS LINE
Article Number 72 139
Laser Class
Laser Wavelength 520 ± 5nm
Leveling Accuracy ±3mm/10m
Horizontal/Vertical
Accuracy ±3mm/10m
Leveling/Compensation
Range 4°±1°
20m
50m
Operating Time 10 Hours
Power Source
IP Rating IP54
Operation Temperature
Range -10ºC~50ºC
Storage Temperature
Range -20ºC~70ºC

12
www.benman-tools.com
ENGLISH
SCL 2 G
USER GUIDE, MAINTENANCE AND CARE
The laser tool is sealed and calibrated at the plant
future use especially for precise layouts.
When not in use please power OFF the tool and
In Manual Mode, self leveling is OFF. The accuracy
of the beam is not ensured to be level.
DO NOT short any battery terminals or charge
DO NOT mix old and new batteries. Replace all of
them at the same time with new batteries of the
same brand and type.
batteries out of reach of children.
REMOVE batteries if the tool will not be used for
several months.
DO NOT store the laser tool in direct sunlight or
expose it to high temperatures. The housing and
some internal parts are made of plastics and may
become deformed at high temperatures.
Exterior plastic parts may be cleaned with a damp
cloth. Although these parts are solvent resistant,
NEVER use solvents. Use a soft, dry cloth to
remove moisture from the tool before storage.
STORE the tool in its case when not in use. If stor-
ing for extended time, remove batteries before
storage to prevent possible damage.
DO NOT dispose of this product with household
waste.
ALWAYS dispose of batteries per local code.
Please recycle in line with local provisions for the
collection and disposal of electrical and electronic
waste under the WEEE Directive.
WARRANTY
This product is warranted in accordance with the
legal / country specific regulations, effective from
the date of purchase by the first user. Damage
attributable to normal wear and tear, overload
or improper handling will be excluded from the
warranty. In case of a claim, please send the machine,
completely assembled, to your dealer or the official
service center.

13
FRANÇAIS
FRANÇAIS
SÉCURITÉ
AVERTISSEMENT
Lisez attentivement les instructions de sécurité et
le manuel d'utilisation avant d'utiliser ce produit.
Tous les utilisateurs doivent bien comprendre et
respecter ces instructions.
MISE EN GARDE
Pendant le fonctionnement du produit, veillez à
ne pas exposer vos yeux au faisceau laser émet-
faisceau laser pendant une période prolongée
peut être dangereuse pour vos yeux.
MISE EN GARDE
Des lunettes peuvent être fournies dans certains
-
MENT utilisées pour améliorer la visibilité du
faisceau dans des environnements plus lumineux
ou à de plus grandes distances de la source laser.
AVERTISSEMENT
sont placés sur le produit pour informer de la classe
laser pour votre commodité et votre sécurité.
NE PAS regarder directement dans le faisceau
ou regarder directement avec des instruments
NE PAS démontez l'outil laser. Il n'y a aucune
NE PAS
une exposition dangereuse aux radiations laser.
NE PAS faire fonctionner le laser à proximité d'en-
fants ou permettre aux enfants d'utiliser le laser.
Des blessures oculaires graves peuvent en résulter.
Une exposition au faisceau d'un laser de classe 2
est considérée comme sûre pendant un maximum
-
1. Clavier
2. Fenêtre laser verticale
Fenêtre laser verticale / haute
3. Fenêtre laser horizontale
4. Pendule / Verrouillage de transport
5. Couvercle de la batterie
6. Batterie «AA» x 4;
7.
8. Vers le bas Laser fenêtre
9.
BASE PIVOTANTE MAGNÉTIQUE EN OPTION
1. Clip de trou de serrure
2. Fonction de cerclage
3.
4.
5. Bouchon de voyage
6.
7.
8.
9.
MODES DE FONCTIONNEMENT ET INDI
Indication LED - Vert
Clignotement du faisceau laser
Pulse à temps plein
Mode autonivelant
Pendule déverrouillé
Opérations autonivelantes
Outil incliné > 4° ± 1°
Mode manuel
Pendule verrouillé
Opérations non autonivelantes
Mode manuel

14 FRANÇAIS
www.benman-tools.com SCL 2 G
NOTES GÉNÉRALES
Appuyez pour activer l'outil laser; Appuyez et
Appuyez à plusieurs reprises pour parcourir les
modes disponibles.
MODE AUTONIVELANT
déverrouillée.
Le ou les faisceaux laser clignotent rapidement à
-
vellement.
Permet une utilisation correcte du mode d'impul-
sion à temps plein de l'outil avec un détecteur laser.
MODE MANUEL
en position verrouillée pour positionner l'outil
droites ou des points non nivelés.
Désactive les opérations d'auto-nivellement; La
-
tera environ toutes les 5 secondes.
INDICATIONS DES LED
niveau de la batterie est faible.
Établissez un plan de référence horizontal en
utilisant le faisceau laser horizontal.
sont de niveau.
Établissez un plan de référence vertical à l'aide
de la poutre verticale.
sont d'aplomb.
d'aplomb.
Alignez le faisceau d'aplomb vers le haut ou le
Le ou les faisceaux d'aplomb opposés projette-
ront un point d'aplomb.
Établissez un point où les 2 faisceaux se croisent
en utilisant les faisceaux laser verticaux et
horizontaux.
les objets sont carrés.
MODE D'IMPULSION À TEMPS PLEIN
Le mode d'impulsion à temps plein de l'outil laser
en mode autonivelant permet une utilisation
avec un détecteur laser dans des environne-
ments plus lumineux ou à de plus grandes
distances de travail.
MODE MANUEL
Désactive la fonction d'auto-nivellement et per-
met à l'outil laser de projeter un faisceau laser
SPÉCIFICATIONS TECHNIQUES
TRAVERSER LA LIGNE
Numéro de l'article 72 139
Classe laser
Longueur d'onde laser 520 ± 5nm
Précision de nivellement ±3mm/10m
Précision horizontale /
verticale ±3mm/10m
Plage de nivellement /
compensation 4°±1°
Distance de travail
20m
50m
Temps de fonctionne-
ment 10 Heures
Source d'énergie

15
FRANÇAIS
Classement IP IP54
Plage de température
de fonctionnement -10ºC~50ºC
Plage de température
-20ºC~70ºC
GUIDE DE L'UTILISATEUR, MAINTE
NANCE ET ENTRETIEN
L'outil laser est scellé et étalonné en usine avec les
en particulier pour des mises en page précises.
placer le verrou du pendule en position verrouillée.
est désactivée. La précision du faisceau n'est pas
garantie d'être de niveau.
NE court-circuitez aucune borne de batterie, ne
chargez PAS de piles alcalines et ne jetez pas les
piles au feu.
NE mélangez PAS les anciennes et les nouvelles
piles. Remplacez-les tous en même temps par des
GARDER les piles hors de portée des enfants.
RETIREZ les piles si l'outil n'est pas utilisé pen-
dant plusieurs mois.
NE PAS
du soleil ou ne l'exposez pas à des températures
températures élevées.
JAMAIS
pour éliminer l'humidité de l'outil avant de le ranger.
CONSERVEZ
les piles avant de les ranger pour éviter tout dom-
mage éventuel.
NE jetez PAS ce produit avec les ordures ména-
Jetez TOUJOURS les piles conformément au
code local.
Veuillez recycler conformément aux dispositions
locales relatives à la collecte et à l'élimination des
-
ment à la directive DEEE.
GARANTIE
Ce produit est garanti conformément aux réglemen-
tations légales / nationales, en vigueur à compter de la
date d'achat par le premier utilisateur. Les dommages
attribuables à l'usure normale, à la surcharge ou à une
mauvaise manipulation seront exclus de la garantie.
En cas de réclamation, veuillez envoyer la machine,

16 ITALIANO
www.benman-tools.com SCL 2 G
ITALIANO
SICUREZZA
AVVERTIMENTO
Leggere attentamente le istruzioni di sicurezza e il
-
to. Tutti gli utenti devono comprendere appieno e
ATTENZIONE
a non esporre gli occhi al raggio laser che emette
laser per un periodo prolungato può essere peri-
colosa per gli occhi.
ATTENZIONE
SOLO per migliorare la visibilità del raggio in
ambienti più luminosi o a distanze maggiori dalla
sorgente laser.
AVVERTIMENTO
Le seguenti etichette / campioni di stampa sono
posizionati sul prodotto per informare della classe
laser per comodità e sicurezza.
NON
direttamente con strumenti ottici o impostare il
laser all'altezza degli occhi.
NON smontare lo strumento laser. All'interno non
ci sono parti riparabili dall'utente.
NON
dello strumento può provocare l'esposizione a
radiazioni laser pericolose.
NON azionare il laser in presenza di bambini né
consentire ai bambini di azionare il laser. Potreb-
considerata sicura per un massimo di 0,25 secondi.
protezione adeguata.
1. Tastiera
2. Finestra laser verticale
Finestra laser verticale / in alto
3. Finestra laser orizzontale
4. Blocco pendolo / transito
5. Coperchio della batteria
6. “AA” Batteria x 4;
7. Tipo di etichetta
8. Finestra laser in basso
9.
BASE GIREVOLE MAGNETICA OPZIONALE
1. Clip buco della serratura
2. Caratteristica di reggiatura
3.
4.
5. Stopper da viaggio
6.
7.
x8
8.
9.
MODALITÀ DI FUNZIONAMENTO E INDI
Indicazione LED - Verde
Raggio laser lampeggiante
Impulso a tempo pieno
Modalità autolivellante
Pendolo sbloccato
Operazioni di autolivellamento
Inclinazione utensile> 4 ° ± 1 °
Modalità manuale
Pendolo bloccato
Operazioni non autolivellanti
Modalità manuale

17
ITALIANO
NOTE GENERALI
Premere per accendere lo strumento laser;
Premere ripetutamente per scorrere le modalità
disponibili.
MODALITÀ AUTOLIVELLANTE
portato in posizione sbloccata.
-
vellamento.
Consente l'uso corretto della modalità a impulsi
a tempo pieno dello strumento con rilevatore
laser.
MODALITÀ MANUALE
sua posizione di blocco per posizionare lo stru-
mento laser a varie angolazioni per proiettare
linee rette o punti non livellati.
Disabilita le operazioni di autolivellamento; Non
secondi circa.
INDICAZIONI LED
Stabilire un piano di riferimento orizzontale
utilizzando il raggio laser orizzontale.
-
mento orizzontale per assicurarsi che gli oggetti
siano a livello.
Stabilire un piano di riferimento verticale utiliz-
zando il raggio verticale.
non sono allineati con il piano di riferimento
verticale per assicurarsi che gli oggetti siano a
piombo.
Stabilisci 2 punti di riferimento che devono
essere a piombo.
Allineare il raggio a piombo in alto o in basso a un
punto di riferimento impostato.
La trave a piombo opposta proietterà un punto
a piombo.
di riferimento che deve essere a piombo con il
punto di riferimento impostato.
Stabilire un punto in cui i 2 fasci si incrociano
utilizzando i raggi laser verticali e orizzontali.
allineati con i raggi laser verticali e orizzontali per
FULL TIME PULSE MODE
La modalità a impulsi a tempo pieno dello stru-
mento laser in modalità autolivellante consente
l'uso con il rilevatore laser in ambienti più lumi-
nosi o a distanze di lavoro maggiori.
MODALITÀ MANUALE
Disabilita la funzione di autolivellamento e con-
sente allo strumento laser di proiettare un raggio
SPECIFICA TECNICA
CROSS LINE
Numero dell'articolo 72 139
Classe laser
Lunghezza d'onda del
laser 520 ± 5nm
Precisione di livella-
mento ±3mm/10m
Precisione orizzontale /
verticale ±3mm/10m
Gamma di livellamento /
compensazione 4°±1°
20m
50m
Tempo di operatività 10 Ore
Fonte di potere
Classificazione IP IP54

18 ITALIANO
www.benman-tools.com SCL 2 G
Intervallo di temperatu-
ra di funzionamento -10ºC~50ºC
Intervallo di temperatu-
ra di conservazione -20ºC~70ºC
GUIDA PER L'UTENTE, MANUTENZIONE
E CURA
-
Si consiglia di eseguire un controllo dell'accura-
tezza prima del primo utilizzo e controlli periodici
durante l'utilizzo futuro, soprattutto per i layout
precisi.
posizionare il blocco del pendolo nella posizione
di blocco.
raggio sia livellata.
NON cortocircuitare i terminali della batteria o
caricare batterie alcaline o gettare le batterie nel
fuoco.
NON mischiare batterie vecchie e nuove. Sostituir-
le tutte contemporaneamente con batterie nuove
della stessa marca e tipo.
TENERE le batterie fuori dalla portata dei bam-
bini.
RIMUOVERE le batterie se lo strumento non
verrà utilizzato per diversi mesi.
NON conservare lo strumento laser alla luce
diretta del sole né esporlo a temperature elevate.
L'alloggiamento e alcune parti interne sono in pla-
stica e possono deformarsi a temperature elevate.
Le parti esterne in plastica possono essere pulite
resistenti ai solventi, NON usare MAI solventi. Uti-
lizzare un panno morbido e asciutto per rimuovere
l'umidità dallo strumento prima di riporlo.
CONSERVARE lo strumento nella sua custodia
-
vazione per un periodo di tempo prolungato,
rimuovere le batterie prima di riporlo per evitare
possibili danni.
NON
Smaltire SEMPRE le batterie secondo il codice locale.
Riciclare in linea con le disposizioni locali per la
elettronici ai sensi della direttiva RAEE.
GARANZIA
-
-
li alla normale usura, sovraccarico o uso improprio sa-
ranno esclusi dalla garanzia. In caso di reclamo, inviare
la macchina, completamente assemblata, al proprio

19
ΕΛΛΗΝΙΚΆ
-
-
-
-
-
-
1.
2.
3.
4.
5.
6.
7.
8.
9.
1.
2.
3.
4.
5.
6.
7.
8.
9.

20 ΕΛΛΗΝΙΚΆ
www.benman-tools.com SCL 2 G
-
-
-
-
-
-
-
-
-
-
-
CROSS LINE
72 139
520 ± 5nm
Table of contents
Languages:
Other Benman Laser Level manuals
Popular Laser Level manuals by other brands
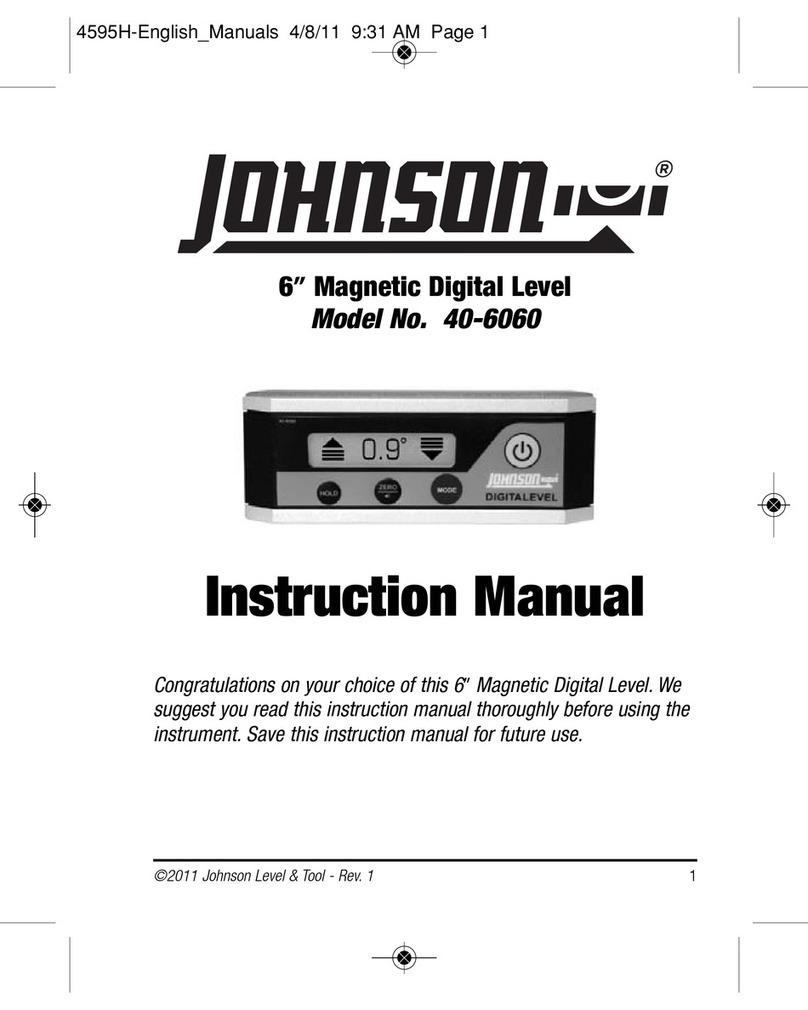
Johnson Level & Tool
Johnson Level & Tool 40-6060 instruction manual
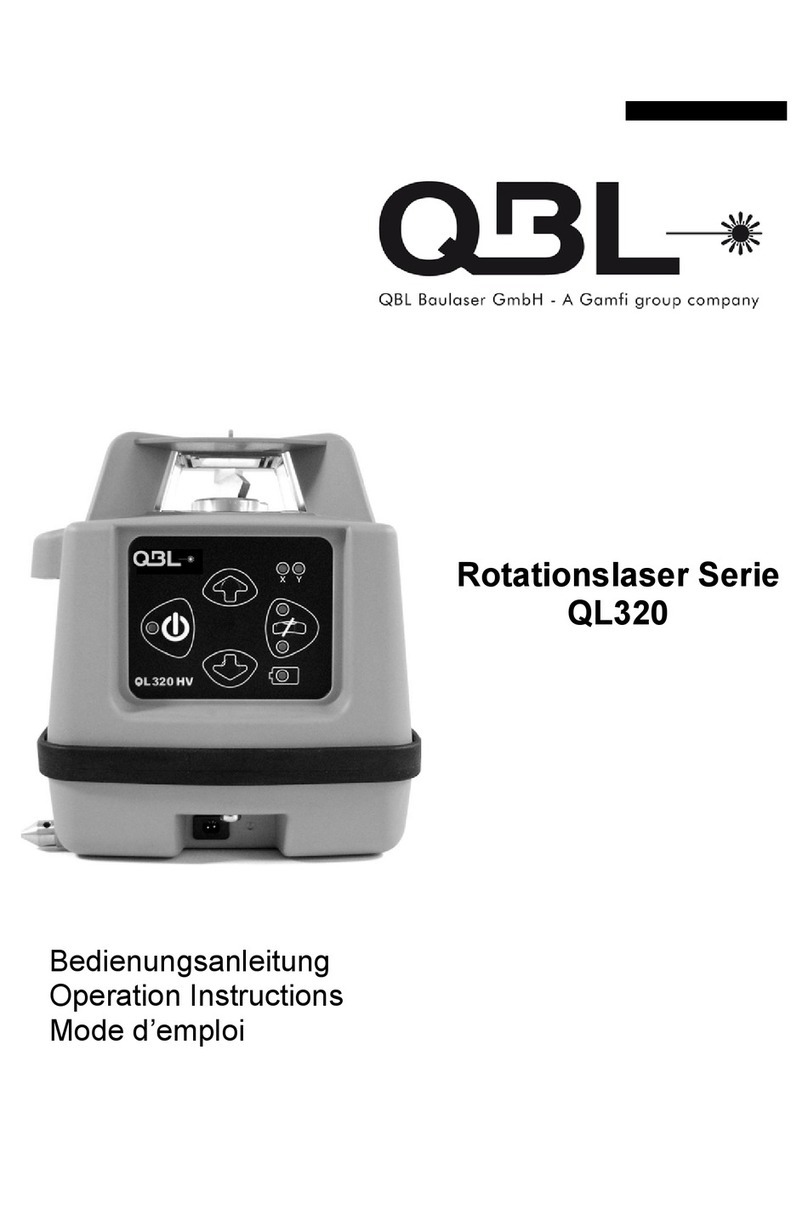
QBL
QBL Rotationslaser Series Operation instructions

Milwaukee
Milwaukee M18 3704-20 Operator's manual
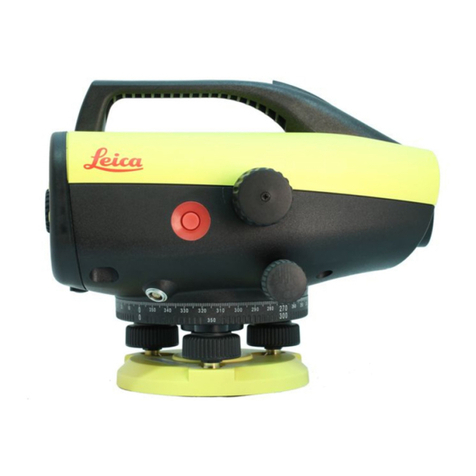
Leica
Leica Sprinter 150 user manual
LaserLine
LaserLine DigiLevel Compact operating instructions

Centre Point
Centre Point CP-3DRX instruction manual
