I. Ultrasound System
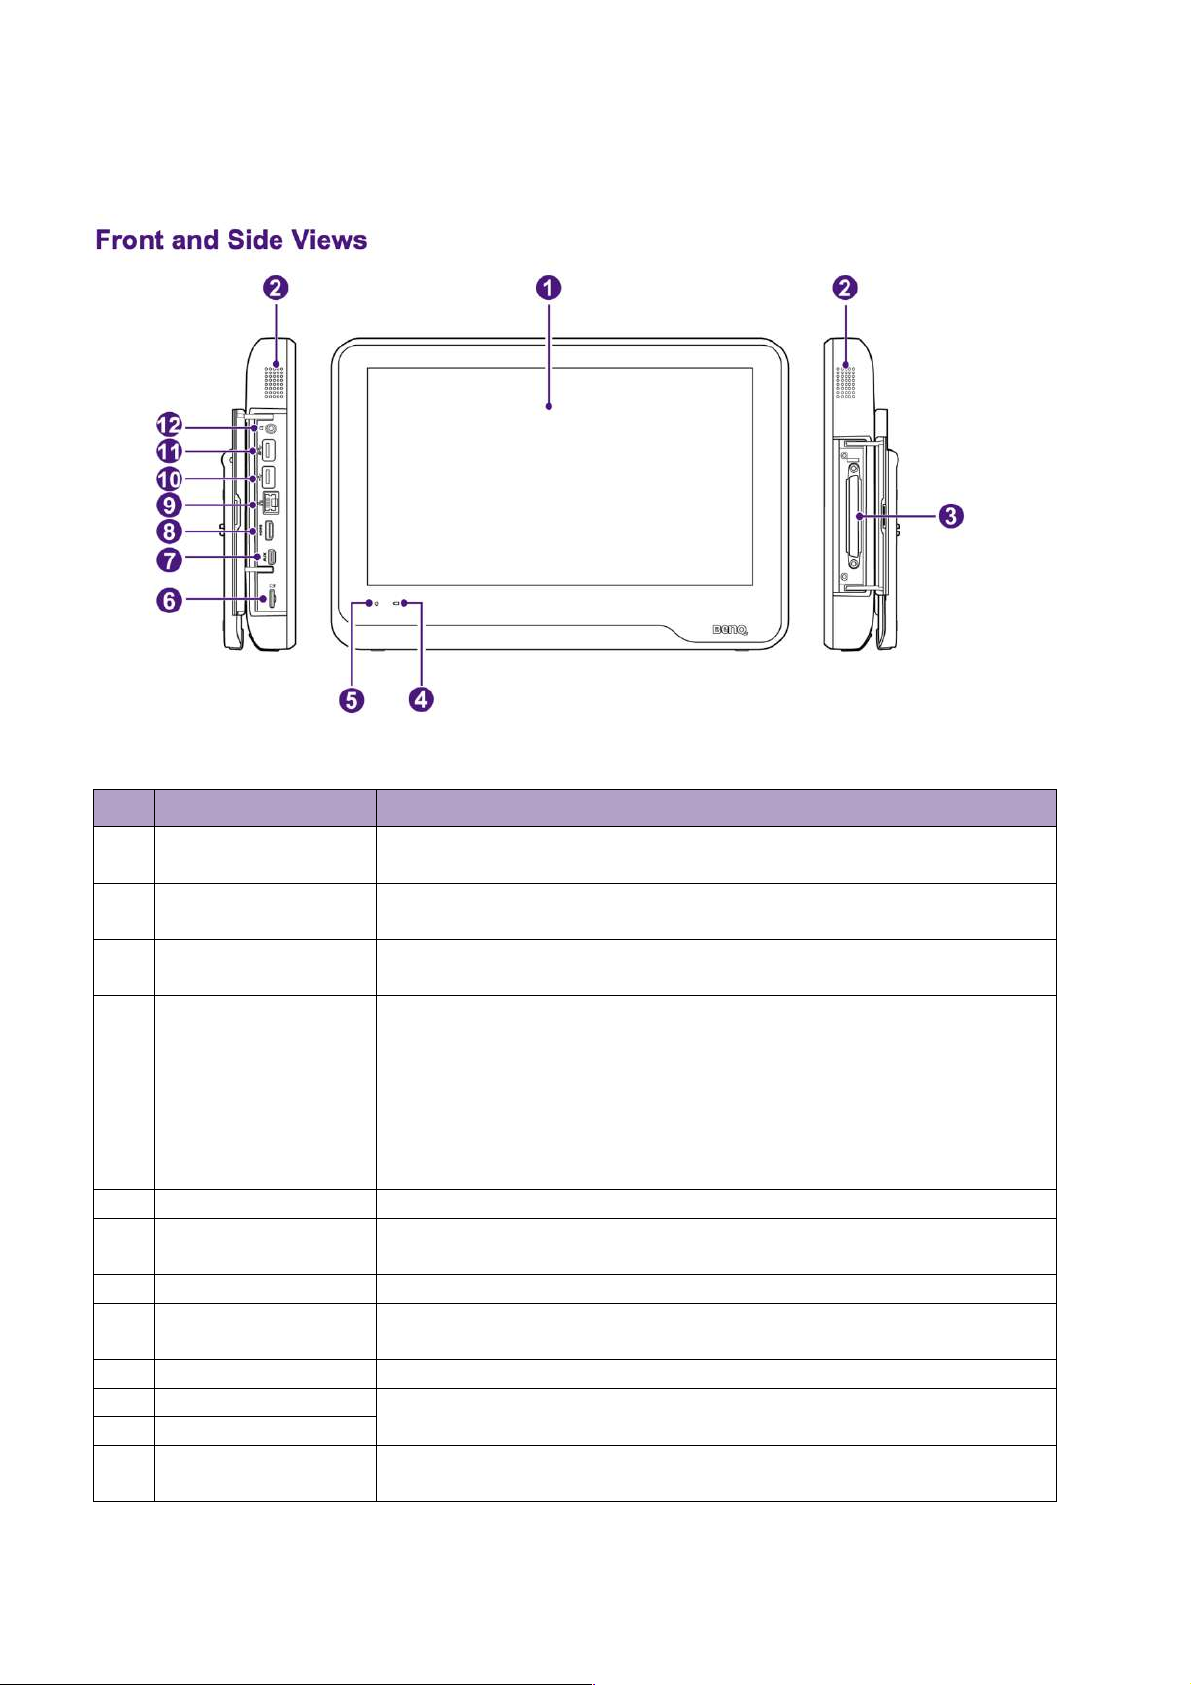
Display system information and allow you to perform
operations using different gestures.
Built-in speakers for playing sounds, which are software-
controlled
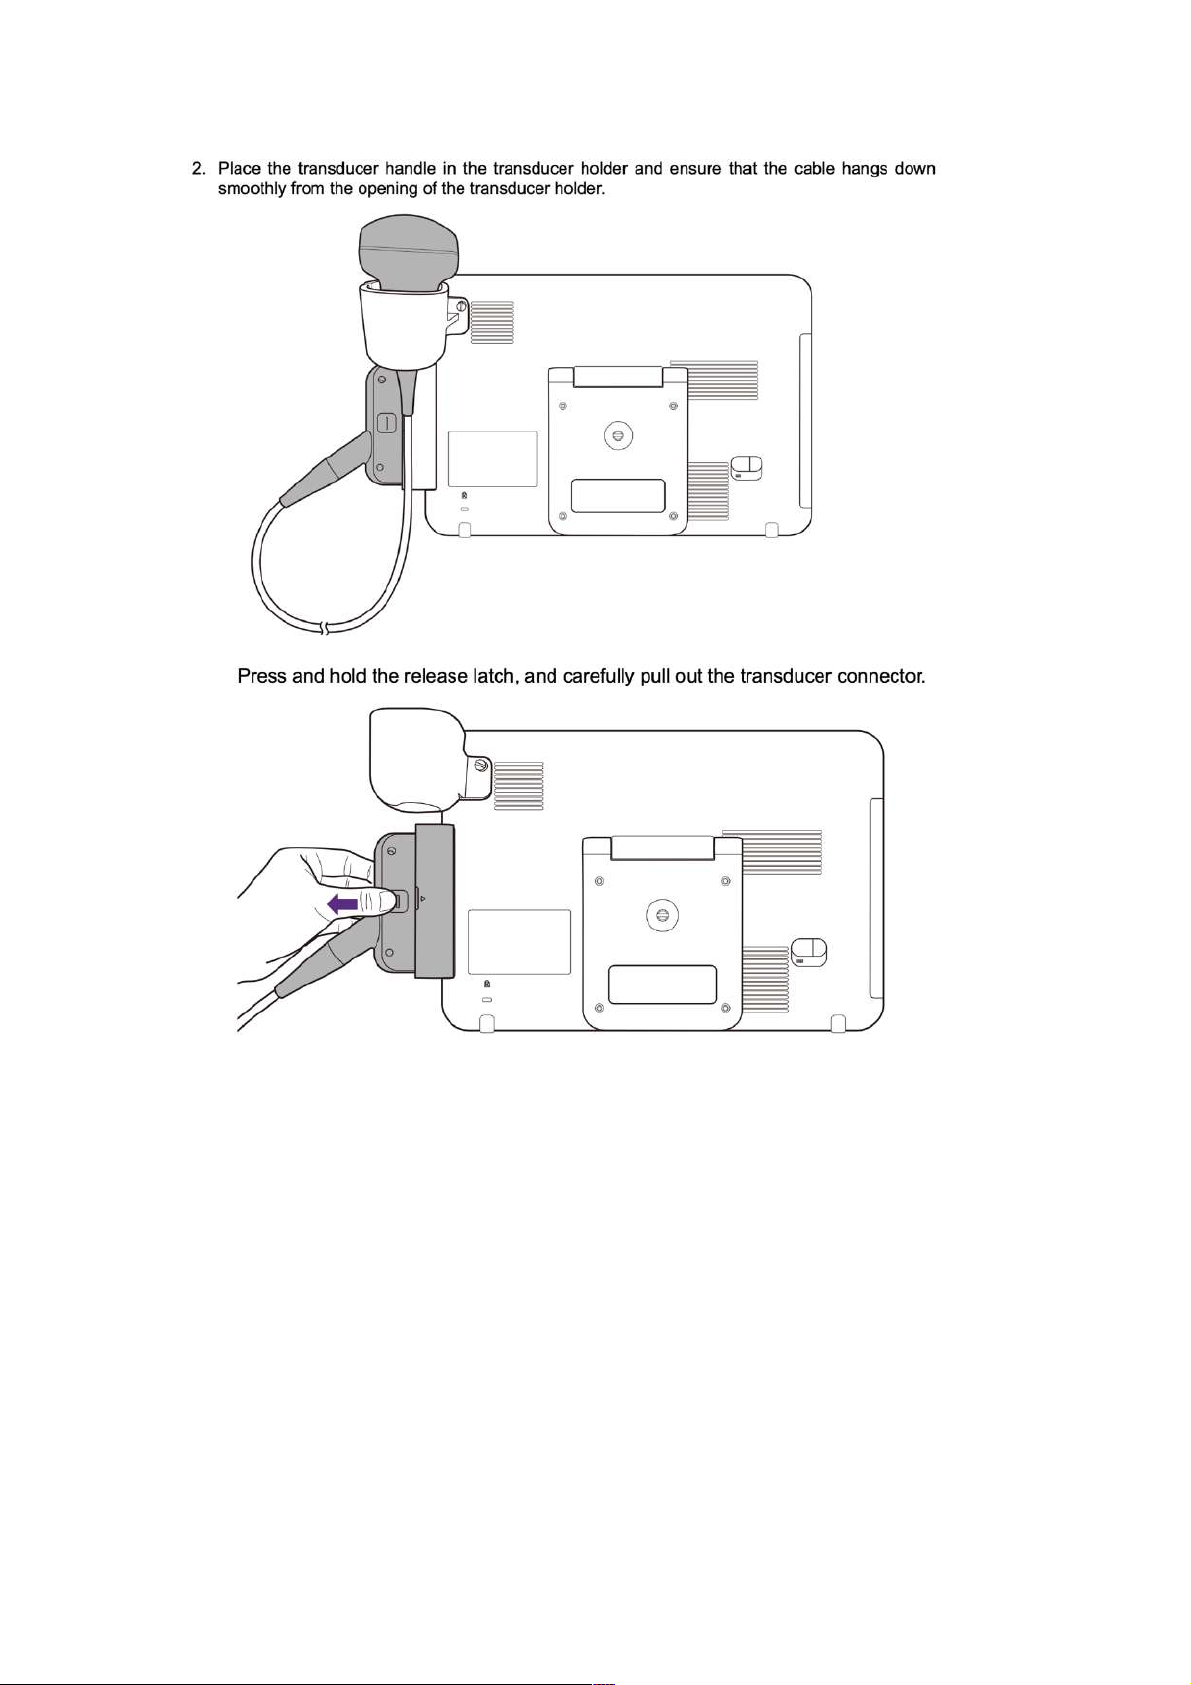
Transducer
connection socket
Connect a transducer to the system.
When the system is connected to power:
l If the system is turned off or enters sleep mode, the
battery indicator behaves in the following lighting
patterns:
- Steadily on orange when the battery is charging.
- Steadily on green after the battery is charged.
l
If the system is turned on, the battery indicator lights off.
Steadily on blue after the system enters Sleep mode.
Insert a microSD card into the microSD card slot to exchange
data from/to the system.
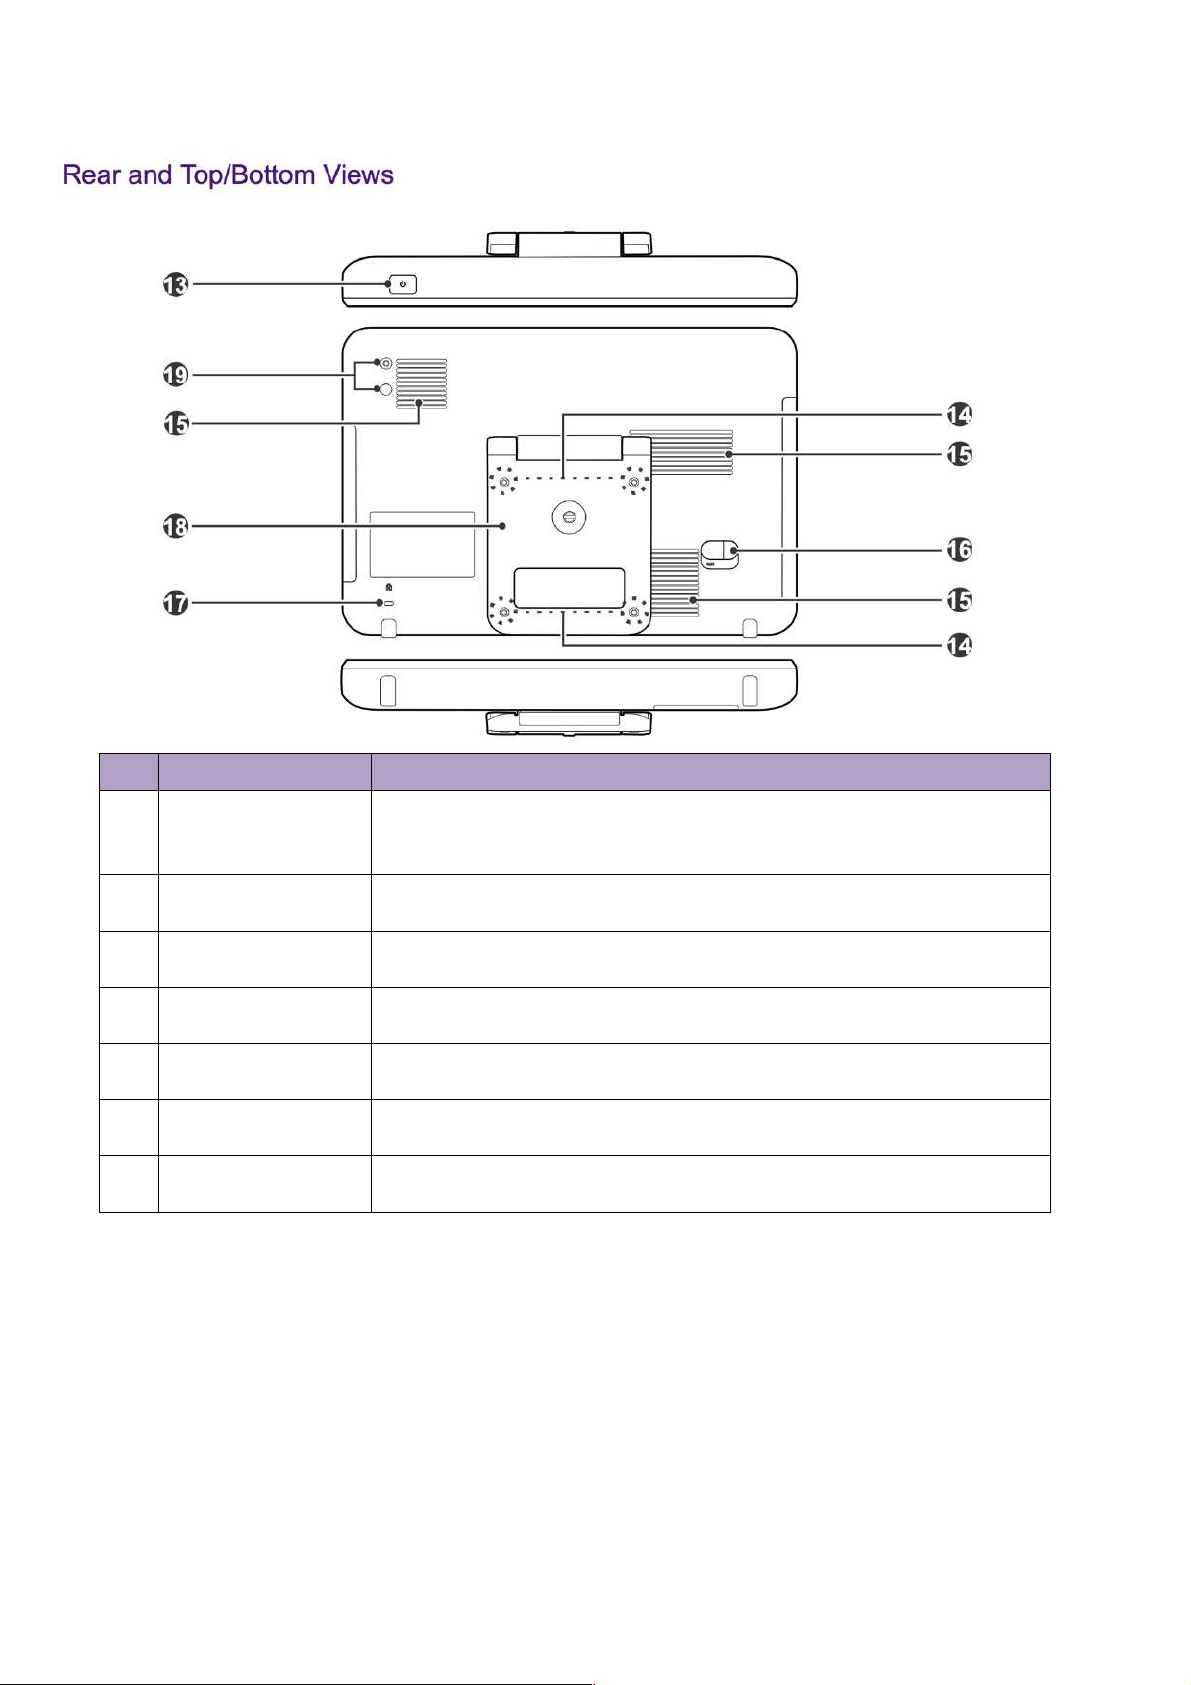
For use by authorized service personnel only
Connect the system to an HDMI (High-Definition Multimedia
Interface) device.
Connect the system to an Ethernet-based network.
Connect the system to USB 2.0/USB 3.0 devices, such as
keyboards, pointing devices, or portable storage devices.
Connect the system to an audio device, such as headphones