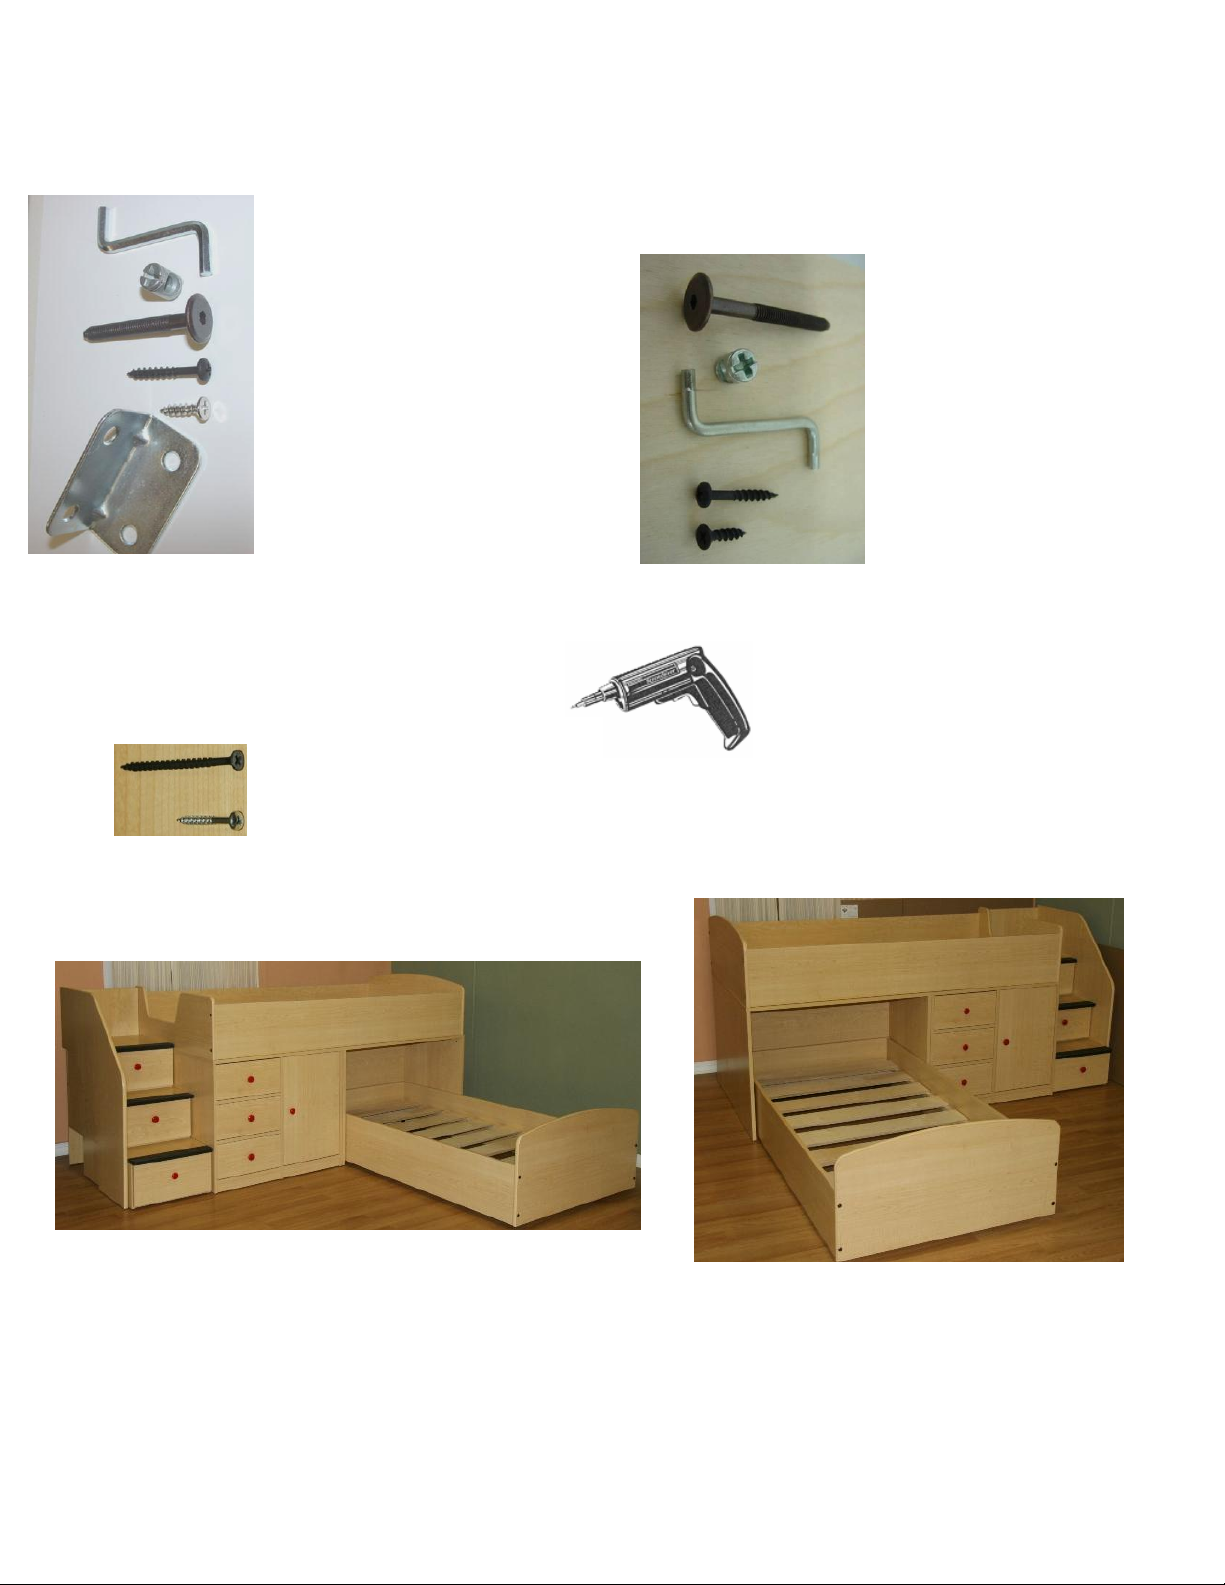
BERG Captain's Bed for Two 22-741 Series User manual

INS #83
1 of 8
Dec. 16 2013
Captain’s Bed for Two (Twin/Twin) 22-741-XX
Important: Read All Instructions before Assembling.
Please Save Instructions For Future Use.
WARNING!
PACKAGING MATERIAL, SMALL PARTS & PLASTIC BAGS ARE HAZARDOUS TO SMALL CHILDREN.
PLEASE DISPOSE OF THEM IMMEDIATELY! WARNING LABEL MUST NOT BE REMOVED FROM UNIT.
BEFORE ASSEMBLING
• Choose your location to position the bed • Decide which side the steps will be on
PLEASE NOTE:
You have received a Captains Bed for two consisting of 9 boxes.
Below are images of what is in each box.
Box 1 of 9 (6 Drawer Chest)
Box 3 of 9 (Back Unit)
Box 4 of 9 (Head/Footboard for Top Bed)
Box 5 of 9 (2 Rails for Top Bed)
and Hardware
Box 2 of 9 (Housing for Bottom Bed)
Box 6 of 9
(Head/Footboard &
Wheels for Bottom
Bed)
Box 7 of 9
(Rails & Slats for Bottom Bed)
with Hardware
Box 8 of 9 (3 Stairs)
Stair hardware located in
top drawer
Box 9 of 9
(Handrail for Stairs)

INS #83
2 of 8
General Hardware & Instructions
(Location: With the Top Bed Rails in Box #4)
MAIN A (Stairs on the left) MAIN B (Stairs on the right)
RECOMMENDED TOOLS:
ELECTRIC SCREWDRIVER
(WITH PHILIPS HEAD BIT)
3 x 2-1/2” (60mm) Wood Screws
7 x 1-3/8” (36mm) Wood Screws
Hardware for the Stairs
(Located inside the top stair drawer)
1 x Allen Key
8 x Barrel Nuts
8 x 2-1/2” (60mm) Allen Bolts
2 x 1-1/4” (35mm) Wood
Screws
26 x ¾” (18mm) Wood Screws
2x Brackets
HARDWARE BAG WILL INCLUDE:
8 x 2-1/2” (60mm) Allen Head Bolt
8 x Barrel Nuts
1 x Allen Key
18 x 1-1/4” (35mm) Wood Screws
16 x ¾” (18mm) Wood Screws
Hardware for the Bottom Bed
(Located with the bottom bed rails in Box #7)

INS #83
3 of 8
Pic 1 Pic 1A
STEP 2: Position the back unit, the 3 drawer cabinet and the bed housing unit together as shown in Pic 2 & 3.
Remove the drawers and place them safely on the side. NOTE: We show the bed on the right; therefore the
stairs will be on the left. See Pic Main A
Pic 2 Pic 3
CONNECT THE 3 DRAWER CABINET TO THE BED HOUSING
PIC 4
STEP 3: Using 1 x 1-1/4" wood screw
and the pre-drilled hole, attached the
cabinet to the bed housing making
sure that both pieces are flush. See
Pic 4
STEP 1: Remove the supporting
wood from the bottom of the
housing and dispose of it.
See Pic 1 & 1A.
↔

INS #83
4 of 8
STEP 4: Using the pre-installed bracket on the back of the housing (See Pic 5) and the pre-installed bracket on
the back of the cabinet (See Pic 6) connect the housing unit and the cabinet to the back unit (See Pic 7 & 8) using
2 x 3/4" wood screws for each bracket.
Pic 5 Pic 6 Pic 7 Pic 8
STEP 5: ASSEMBLING THE TOP BED FRAME- Using 8 x 2-1/2” bolts and 8 x barrel nuts, assemble the top bed.
Insert the barrel nuts to the side rail first and test it. See Pics 9 & 10--Make sure it forms a rectangle before
tightening the bolts. (Pics 11 & 12) The footboard with the cut-out will face the stairs (in this case we show it on
the left side).
Pic 9 Pic 10 Pic 11 Pic 12
ATTACHING THE BED FRAME TO THE BASE UNITS
STEP 6: Carefully lift the frame and nest it on the base units. See Pic 13. Make sure the front footboard is
positioned properly on the chest. See Pic 14
Pic 13 Pic 14
Detail of the Bracket
for the Housing.
Detail of the Bracket for
the 3 Drawer Cabinet.
Connecting the
Housing to the Back
Unit
Connecting the 3 Drawer 1
Door Cabinet to the Back
Unit

INS #83
5 of 8
STEP 7: Attach the front rail to the base units using 6 x ¾" wood screws and the 3 x pre-installed brackets.
See Pics 15, 16 & 17. Make sure the bedrail is straight.
Pic 15 Pic 16 Pic 17
FOOTBOARD
STEP 8: Using 1 x L-Shaped bracket and 4 x ¾” wood screws attach the footboard to the base unit. See Pics 18 &
19. (Make sure the footboard is flush with the side of the drawer unit)
Pic 18 Pic 19
CONNECTING THE HEADBOARD & BACK RAIL
STEP 9: Attach the headboard as illustrated in Step 8 above (See Pic 20)
STEP 10:Attach the back rail using 3 x pre-installed brackets and 6 x ¾” wood screws (See Pic 21) as you did in
Step 7.
Pic 20 Pic 21

INS #83
6 of 8
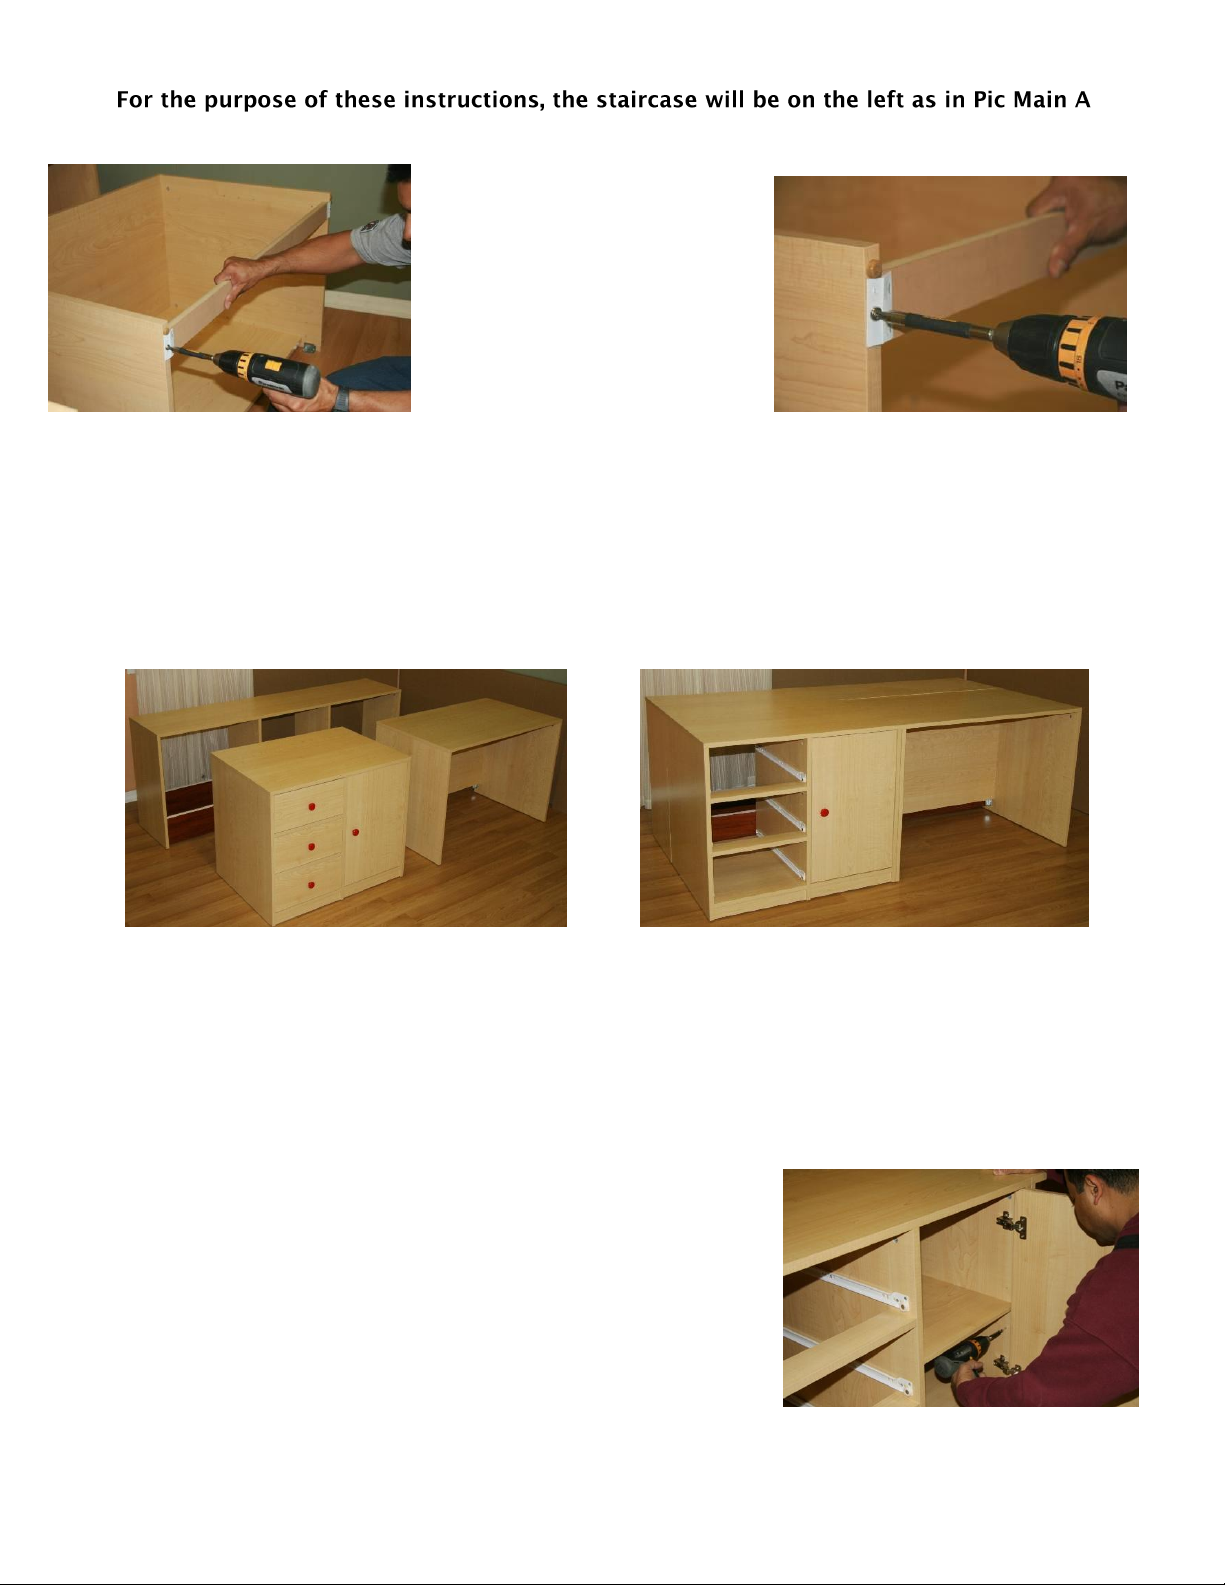
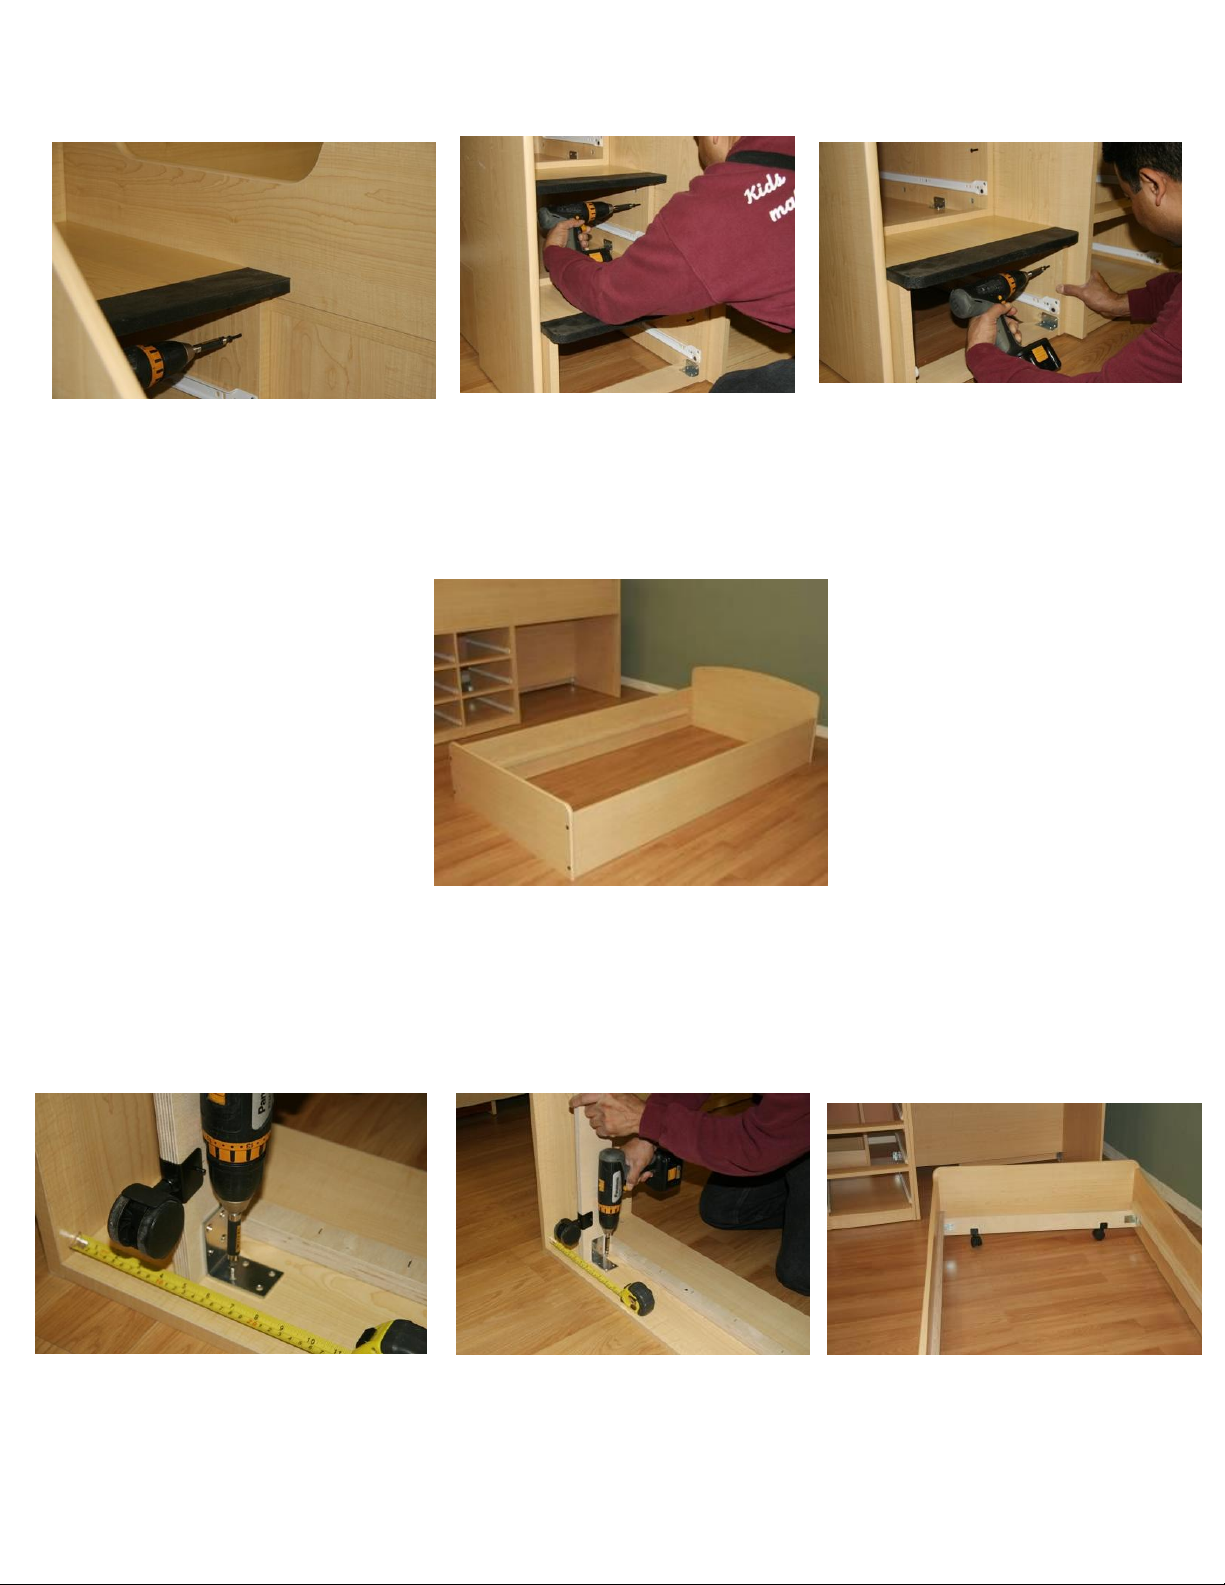
ATTACHING THE STAIRCASE - Connecting the handrail to the stairs
STEP 11: Carefully remove the 3 drawers from the stair unit (Pkg 8) and place them on the side.
STEP 12: Connect the handrail to the left side of the stairs (using the hardware located in the top drawer
Attach the handrail using 3 x 2-1/2” long wood screws and pre-drilled holes on the handrail to the stairs.
PLEASE NOTE: The back of the rail must be flush with the back of the stairs. See Pic 22 & 23
Pic 22 Pic 23
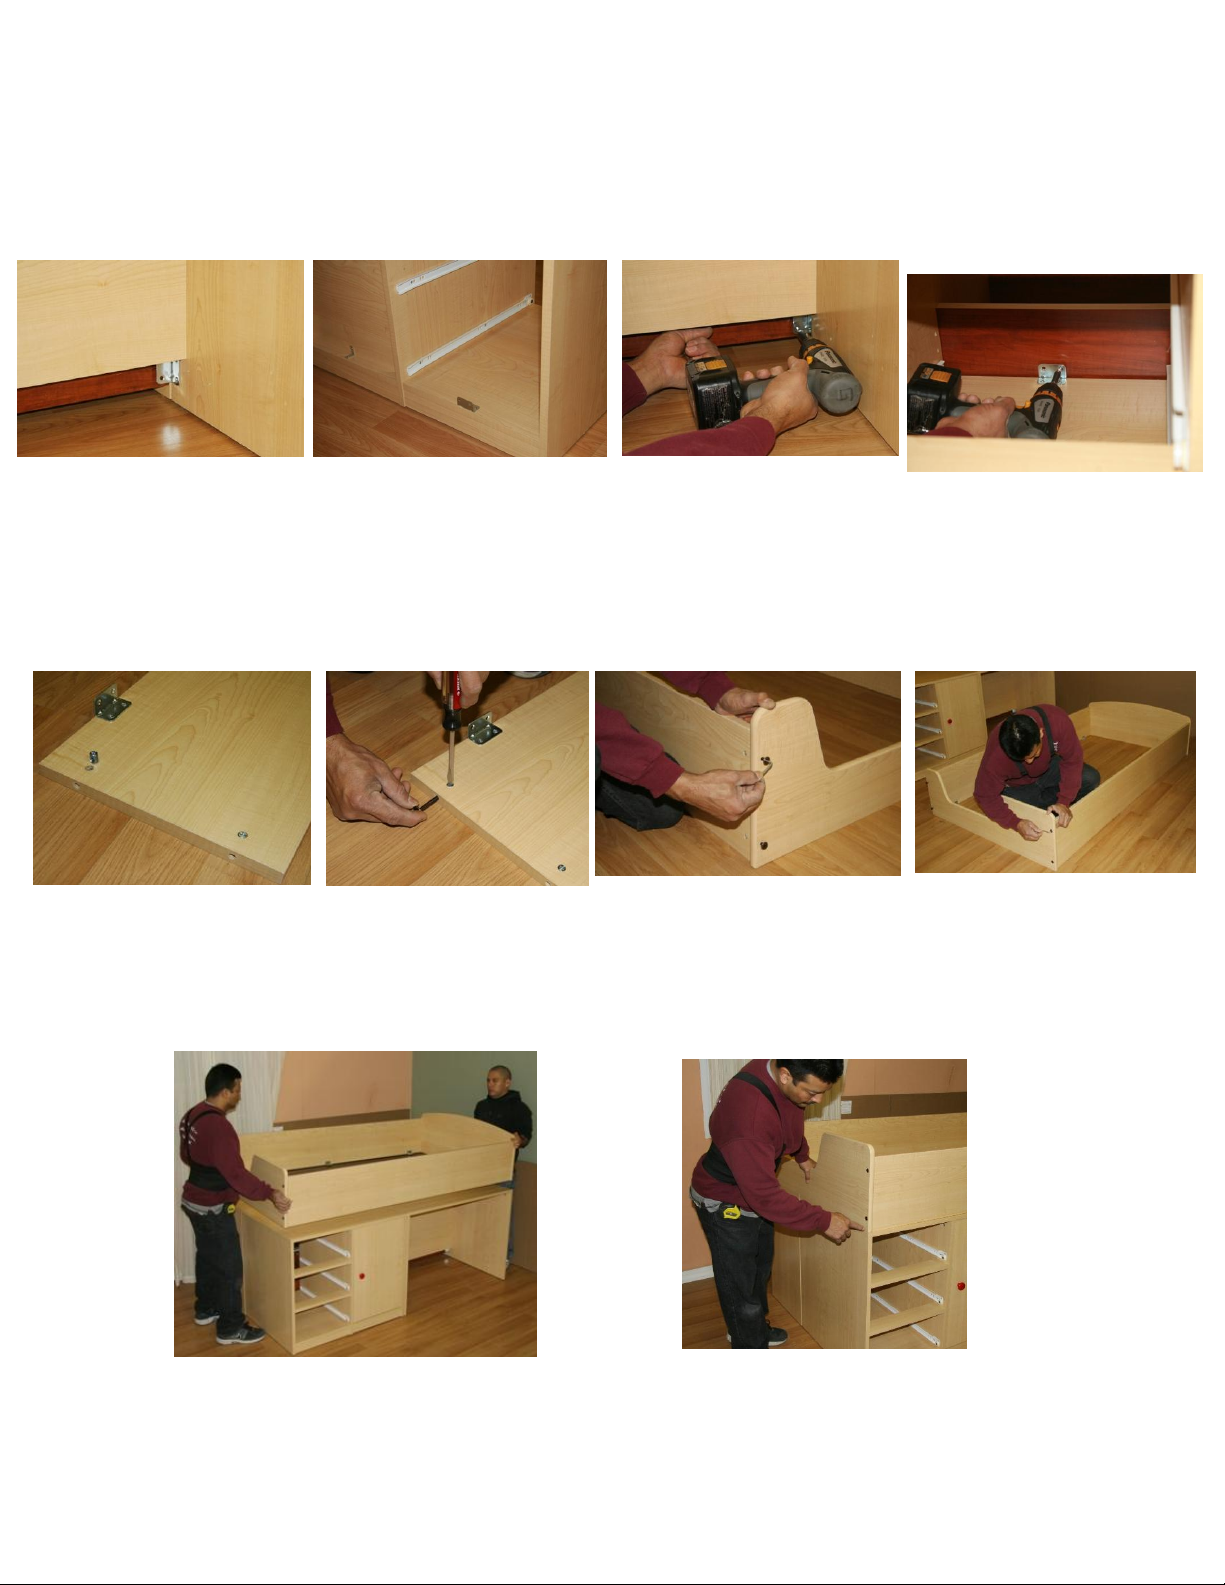
STEP 13: Secure the handrail to the side of the stairs using 3 x 1-3/8” wood screws. Insert the screws into the pre-
drilled holes inside of each stair. See Pic 24, 25 & 26. . **The screw on the bottom stair should be located slightly
deeper--make sure the screw does not "miss" the handrail. **
Pic 24
Pic 25 Pic 26
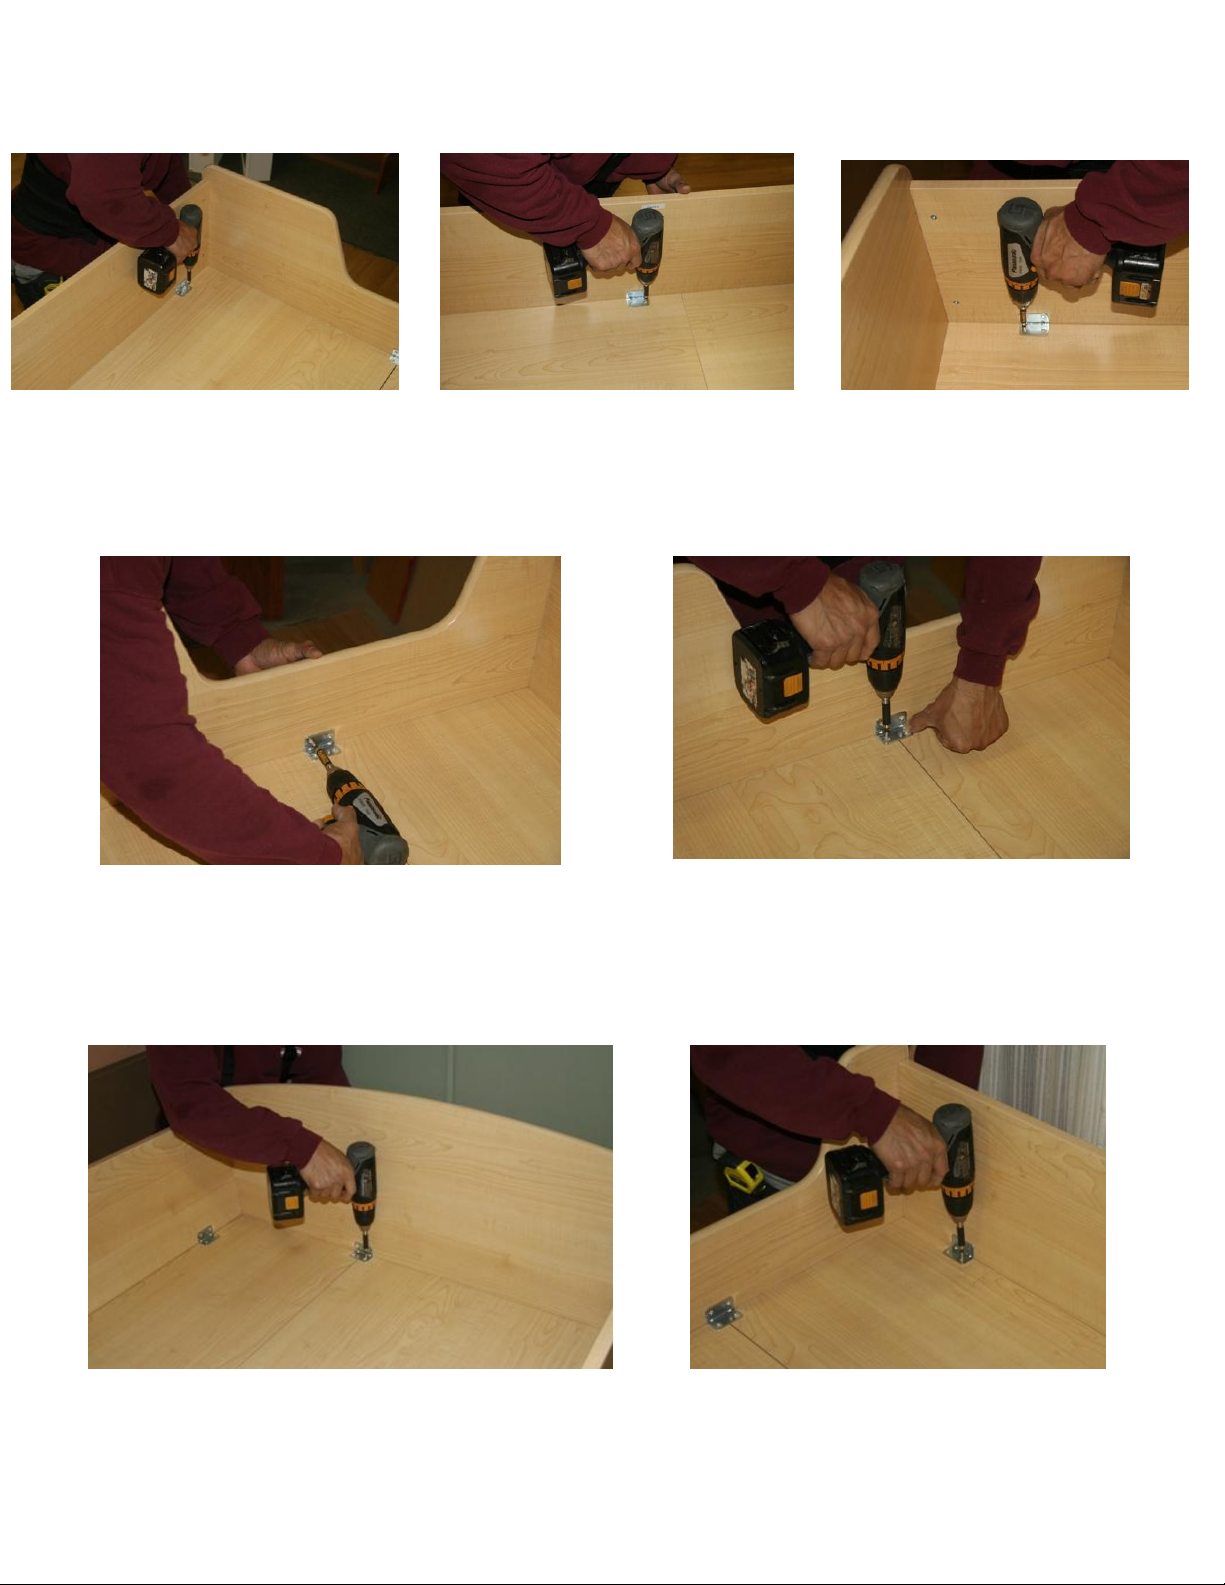
STEP 14:Carefully, with the help of another person, slide the staircase towards the bed, until the safety board of the
staircase reaches the heads of the allen bolts on the back of the bed. See Pics. 26 & 27. (Make sure that the stairs are
touching the side of the bed tightly leaving no space.)
Pic 27 Pic 28

INS #83
7 of 8
STEP 15: Attach the stair unit to the bed using 3 x 1-3/8” wood screws and the pre-drilled holes as shown in Pic 29,
30 & 31)
Pic 29 Pic30 Pic 31
ASSEMBLING THE TWIN BOTTOM BED
STEP 16: Assemble the bottom bed frame using the bed rails (Pkg 7) and the headboard and footboard (Pkg 6) Using
8 x 2-1/2” bolts and 8 x barrel nuts (hardware for the bottom bed is located in the rail box) as you did in step 5. See
Pic 32.
Pic 32
STEP 17: Once the frame is assembled, attach the stretchers with the wheels to the frame using 8 x ¾” wood screws
with the 2 x pre-installed brackets for each set. See Pic 33, 34 & 35. PLEASE NOTE: The wood stretcher with the
wheels must be attached parallel to the headboard and footboard and spaced approx 5" from both the headboard and
footboard. See Pic 35.
Pic 33 Pic 34 Pic 35

INS #83
8 of 8
STEP 18: Space the 8 wood slats evenly between the bed rails. Leave approximately 3-1/2" ( 90mm) of space
between the slats and secure each rail with 2 x 1-1/4” wood screws (1 from each side) See Pic 36, 37 & 38.
Pic 36 Pic 37 Pic 38
STEP 19: Roll the bottom bed into its housing. Attach all the knobs to the drawers and place all the drawers carefully
back into their place.
Table of contents
Popular Indoor Furnishing manuals by other brands

SJC brands
SJC brands tasman eco Capri Assembly instruction

GIANTEX
GIANTEX JV10729 Instruction booklet

Whittier Wood
Whittier Wood 2400GACd Assembly instructions

Rene Pierre
Rene Pierre STEEL Assembly instructions

Mainstays
Mainstays BENNETT MS18-D1-1007-13 Assembly instructions

Forte
Forte KLZB211 Assembling Instruction

rst brands
rst brands Milo OP-PEST2020-MILO Assembly instructions

StyleWell
StyleWell PARK LANE GC-8886-SRP Use and care guide

VECELO
VECELO KHD-XF-MR01-BLK Assembly instructions

Signature Design by Ashley
Signature Design by Ashley 1090012 manual

Steelcase
Steelcase Norfolk II Modular Credenzas manual

DURAVIT
DURAVIT LM 7866 Mounting instructions