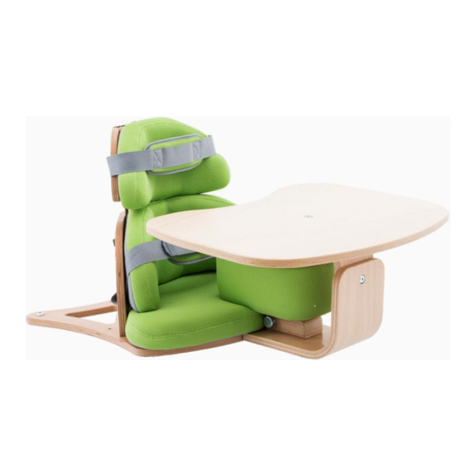
BES Rehab Millie-Mova User manual

Installation instructions for the millie-mova
28th August 2014
1. Start - remove any felt or Nylon sliders
from the bottom of wooden leg chairs (not
applicable to front leg of metal chairs .
Bend the existing bends to align the frame
as shown, so that the arms about 10mm
inside the legs with the wheels parallel to
the front-back line of the chair.
.
.
.
Drill 4mm hole,
25mm deep, 35mm
above floor on
inside of leg wood
only)
Drill 1/4 inch hole
27mm above floor
2. Front legs wood - drill a horizontal 4mm
diameter hole 25mm deep on the inside of
each front leg, 35mm (for armchairs see
below*from the floor.
Front legs metal – drill the front legs 1/4
inch hole straight through, using the same
height (35mm - do not forget to allow for
the plastic plugs & rubber ferrules above
the floor as for the wooden chairs.
*NB – for armchairs check the pedal height
is suitable before drilling! See Hints and
Tips page 3.
Rear legs wood & metal - drill rear legs
straight through with a ¼ inch hole 27mm
above the floor. All holes should be exactly
horizontal and left and right holes should
be exactly in line with each other. NB. If
the rear legs are skewed or round that is
no problem – see Hints & tips page 3.
nut
washers
Left hand rear leg viewed from rear
lock-nut
3. Rear wheels - install rear wheels as
shown. Place the bolt through the hole
from the outside, add the nut and tighten
very firmly. Slip on the wheel, axle tube &
washers plus the lock nut. Tighten the lock
nut firmly but do not to deform the axle
tube . Cut bolts, if too long, and remove
sharp edges. Check that the chair is
“foursquare” on a flat surface. If it is not
quite foursquare then adjust the depth of
the holes for the front leg washers to
compensate (or put a washer in the
ferrules, if metal legs – see part 4.
bend to adjust here
wheels parallel
10mm gaps
front legs front legs
Installing the millie-mova system on a
chair is straight-forward in six easy
steps:
Please check the contents: 1 x millie-mova including 2 rear wheels with axle tubes & 2 pivots, 1 bag
containing, 2 bolts with nut, lock nut & 2 washers, 2 large screws, 2 shock cords, 2 eyes, 2 rubber washers
and 2 small screws. The kit for metal leg chairs will contain bolts for the front legs.

4. Front leg anti-slip washers - wooden chairs - these
are only really necessary where the chair will be used on
a hard floor such as vinyl, laminate or wood. NB. on a
deep carpet they may hinder movement. To compensate
for any unevenness caused by imperfect alignment of the
axle holes adjust the depth of the shallow hole for the
rubber washers. CAREFULLY drill a vertical hole 19mm
diameter approx.’ 2mm deep up into the centre of the
front legs AND a pilot hole for the screw. Insert the
washer into the hole and screw into the bottom of the
leg. Screw in until the head of the screw is recessed
slightly as shown. Metal legs (or if the wooden legs are
too thin - use rubber ferrules. Please ask us if these are
needed. The washers/ferrules provide vital chair stability
if leaned on from behind on hard floors and some carpets.
screw head 2mm recessed
Correct way up
pivot
5. Wooden chairs - locate the pivot into the front
frame hole and drive the screw in with a number
3”Pozidrive” bit (use a drill driver . Metal legs –
secure the V frame using a ¼ inch bolt, washer
and lock nut as shown below. Always use the
screws and bolts supplied so that the V frame does
not slip off the screw/nut. Substitute bolts must be
HT (High Tensile .
Pivot
Washer
and lock
nut
Metal leg chair
6. Shock cords - drill suitable pilot
holes (2mm dia in the underside
of the chair seat frame. Screw in
the eyes and thread the shock cord
into the eyes, tying a double knot
to secure (not on the eye, but as
shown . Thread the other end of
the cord through the hole in the
rear of the V frame and secure
with a single knot (do not tie
together . Adjust knots so that
cords are taking even strain with
the front wheels just above the
floor.
Tie a single knot to secure
Tie a double knot to secure
2

Hints and tips
If the chair has a low crossbar - If there is a crossbar lower than 100mm above
the floor then place the V frame in position to check that when the unit is fitted
that:
a. the front wheels are just above the floor (use a couple of coins under the
wheels as a gauge .
b. the front leg “lift” is sufficient before the pedal touches the floor (i.e. about
20mm
The 35mm pivot height may have to be increased to permit fitting. It may not be
possible to fit a millie-mova system if the crossbar is below 75mm.
If the bolt for the rear legs seems too short - If the
chair leg is too thick for the bolt then you can use a 14mm
drill to create a shallow hole for the bolt head to sit in. See
the picture here. You may have to use a screwdriver to hold
the bolt head from turning, so you can tighten the nut.
Round chair legs/non-vertical chair legs -
It is easy to fit the millie-mova to this type of chair
leg. The first step is to create a small flat vertical
area where the pivot is to be seated. Use a 13mm
flat wood drill as shown. The flat area should be
created holding the drill horizontally so that the flat
is vertical. This will permit the pivot or rear wheel
to sit correctly.
Rear Pedal if required for larger chairs and
armchairs) - Fit rear pedal as shown here using
bolt, washer and Nyloc. Tighten firmly, but not so
that it distorts the V frame. Only remove the black
edging if necessary. Please ask us if you require a
pedal. Armchairs should have legs at the back at
least 7.5 inches long (190mm .
To Use - Please refer to the Dos and Dont’s list
provided.
The millie-mova is used by pushing the rear end
of the device down nearly to the floor and
pushing or pulling the top of the chair backrest.
The maximum recommended weight is 130kg.
We hope the millie-mova system will be useful to
you. Any problems please contact us on 01202
240999.
Ski chairs - with a millie-mova system, the skis
are not needed and should be removed. Just
unscrew from the legs.
3
Skewed and/or non-vertical rear legs - drill
diagonally as shown. You may need to remove a
little of the leg at Ato avoid fouling the wheel.
Alternatively the wheel can be parallel to the leg
by drilling at a angle. This means the wheel will
not be vertical.
A
Correct fitting
arrangement
Table of contents
Popular Medical Equipment manuals by other brands
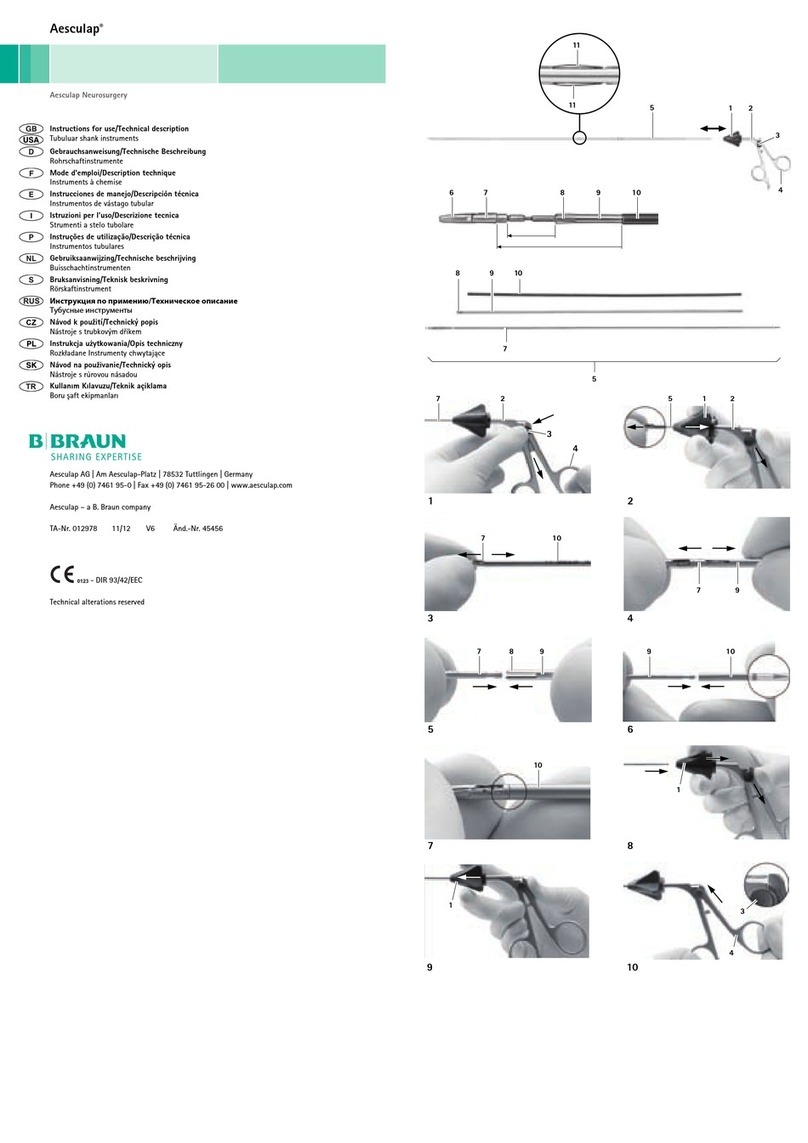
B. Braun
B. Braun Aesculap 012978 Instructions for use/Technical description

ArcFamily
ArcFamily ArcEquine user manual

Cooper Surgical
Cooper Surgical Mityvac Pearl Edge Bell Cup Instructions for use
BlueChip
BlueChip Adapt Pro Elite 9200 user manual

iSens
iSens i-Smart 300 VET Operator's manual
ARJO HUNTLEIGH
ARJO HUNTLEIGH FLOWTRON UNIVERSAL Instructions for use
