BestAir AirJet 2000 User manual
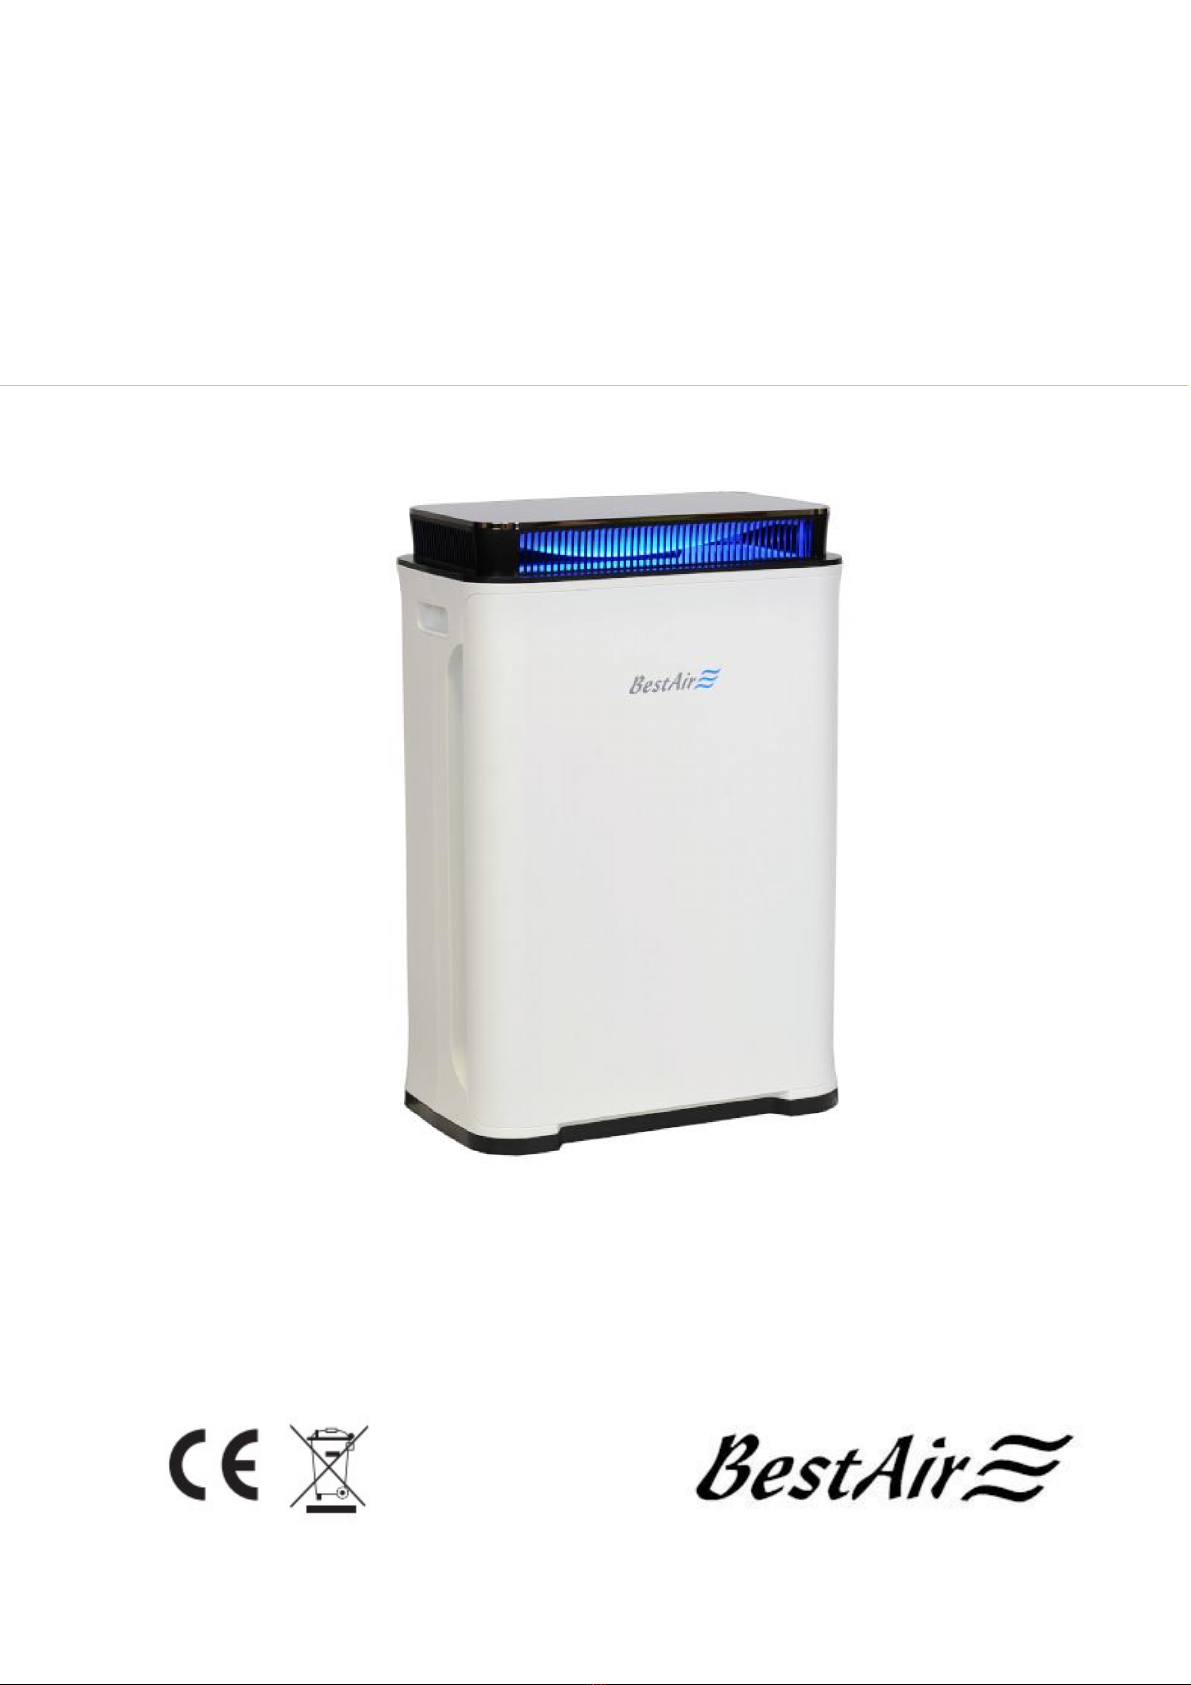
Air Purifier
AirJet 2000

2
Content
SAFETY INSTRUCTIONS 3
PRODUCT DESCRIPTION 5
INSTALLATION: 7
FILTER CHANGING: 10
FILLING THE WATER TANK: 12
SERVICING AND CLEANING OF THE WATER TANKS AND ITS COMPONENTS: 13
TROUBLE SHOOTING 13
TECHNICAL DETAILS: 13

3
Congratulations on purchasing your new air purifier
The BestWater Company thanks you for your purchase. You have made a good choice in
buying our product. We hope you have many enjoyable years of pleasure by using our Air
Purifier.
WARNING:
Please read our operations manual carefully through before you use this product. Misuse
or incorrect understanding of our safety instructions can lead to an electric shock, fire
and/or sever injury. Keep these safety and operation instructions in a safe location for
future use.
Attention!
Do not open the appliance before you have removed the plug from the socket. Danger to
life by electric shock! Only allow repairs to be carried out by authorised workshops.
Safety Instructions
• To avoid a fire and/or an electric shock only connect this appliance to a 230v socket.
• Pay attention when laying the electric cable, that you do not block passages or create
a trip hazard for people. To minimise risk never lay the electric cable under carpets or
alongside hot appliances such as ovens or heating units.
• Never submerge this appliance in water or other fluids. There is a danger of electric
shock.
• Keep a clear distance from wet areas and do not operate this device in moist
environments or rooms
• This appliance may only be installed or operated by a competent person who is
physically and mentally capable of correctly understanding this operation‘ manual or
has been sufficiently trained by a responsible person in its use.
• Do not allow children to play with the appliance or its packaging.
• Always remove the electric plug from the socket before you; move, open the cover,
change a filter or service/clean the appliance.
• Unplug the electric cable when the appliance is not in use.
• Never cover the air intake or air exhaust as this can lead to damaging the blower
motor
• Do not insert any objects into the appliance
• The use of this appliance must be halted if any damage to the function of the
appliance is observed and it should be immediately replaced by an authorised
dealer/workshop.
• Turn off the appliance and remove the plug if any defect or damage is noticed to the
appliance.
• Do not try yourself to carry out any repairs or alterations such as electrical or
mechanical to this appliance.
• This appliance shall only be used in internal rooms in accordance with the operating
instructions.

4
• Never use this appliance outside in the open air.
• Always place this appliance on even, solid, stable, horizontal and dry surfaces.
• Always avoid direct sunlight, as this can lead to warping and paint dis-colouration of
the plastic components.
• Keep a clear distance from heat sources and open flames.
• Warning: To avoid fire or electric shock never operate this product using a speed or
power controller.
• Never handle the appliance’s electrical cord/plug with wet hands.
• Never turn ON or OFF the appliance with wet hands.
• This appliance is not suitable for filtering oil or fatty air (such as in kitchens)
• Do not use this product in bathrooms or other damp environments.
• Do not use this air purifier in rooms where the appliance can come into contact with
flammable or light flammable gasses.
• Before using this appliance ensure that all plastic packaging has been removed and
the appliance is ready for use.
• The filter must be removed from the plastic packaging before first use of the
appliance
• Always pull on the plug and never on the cord when unplugging the appliance.
• Always ensure that the appliance has been turned off prior to unplugging.
• To clean the appliance always use a soft and dry cloth. Never use conventional
household cleaning products or similar.
5
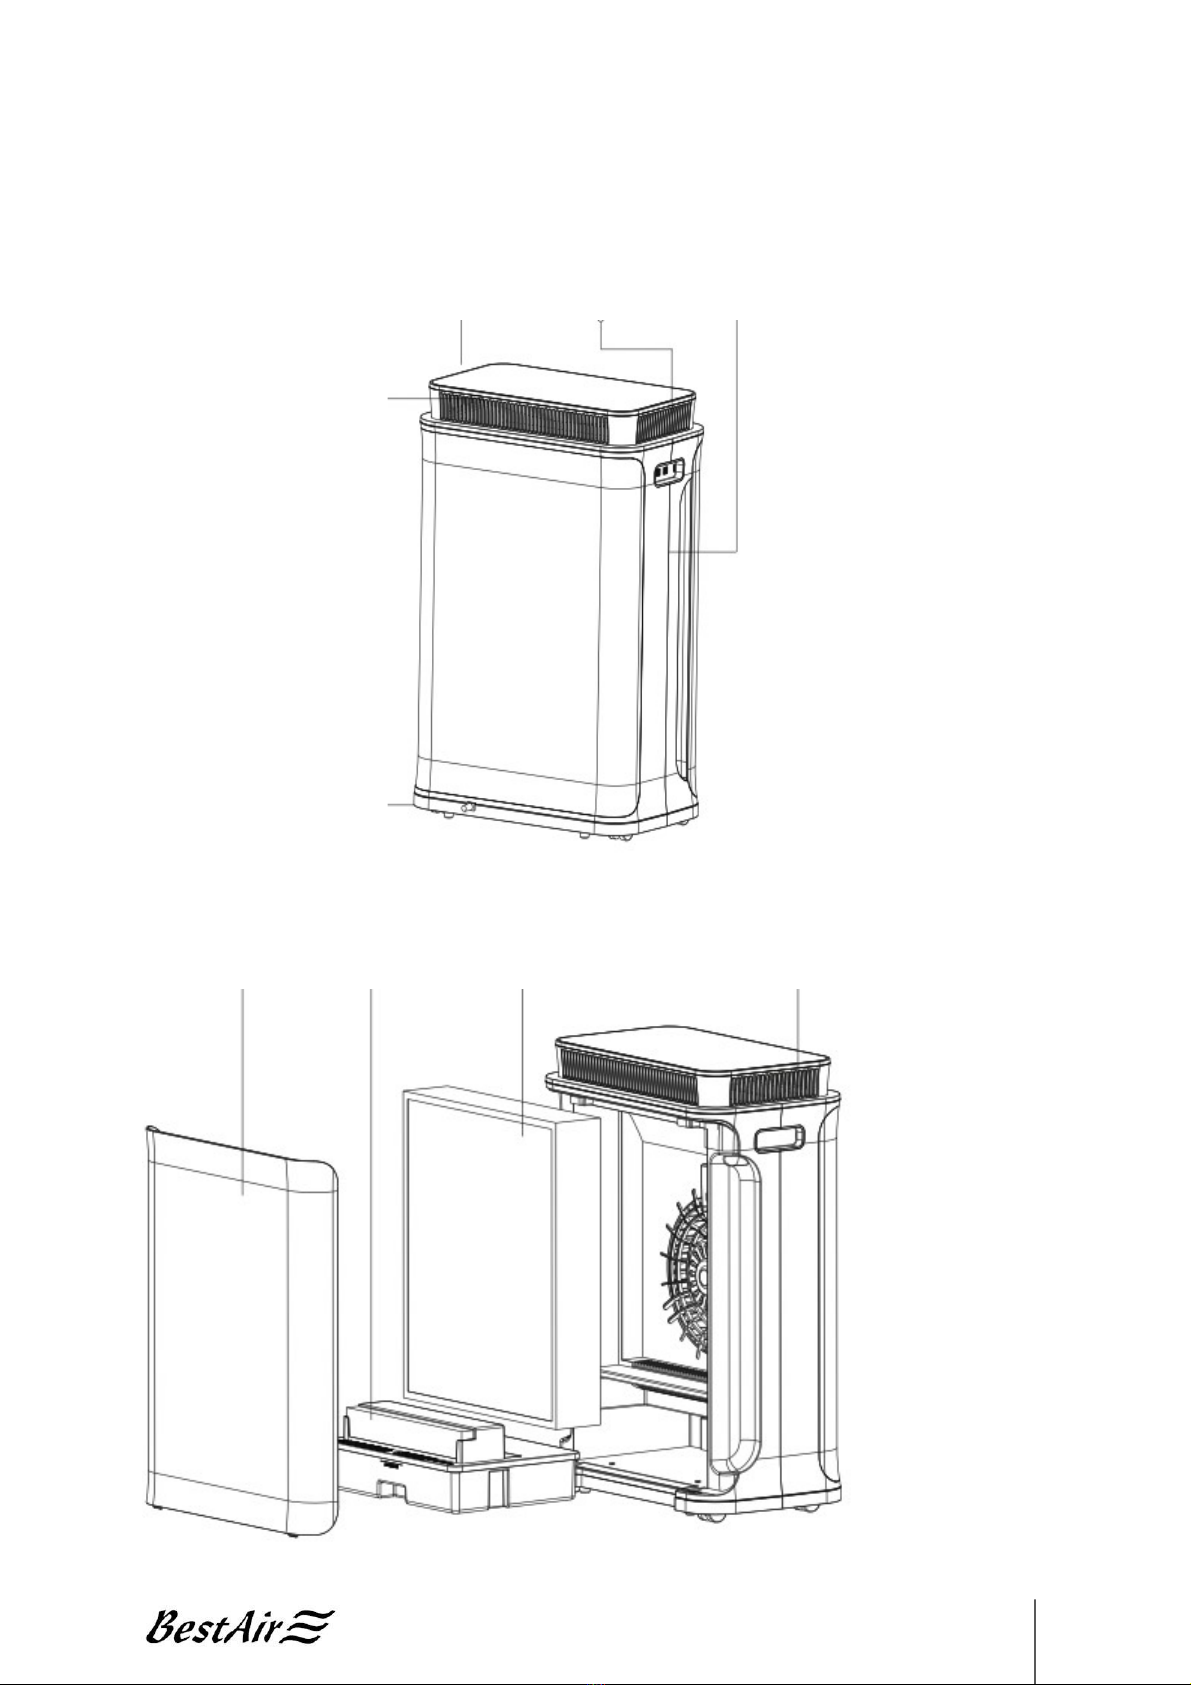
Product Description
Illustration 1:
Opening for
Display/Control Panel Particle Sensor Air intake
Air Quality Indicator
Roller wheels
Illustration 2:
Front Cover
Water Tank Filter Air Exhaust
Table of contents
Other BestAir Air Cleaner manuals


