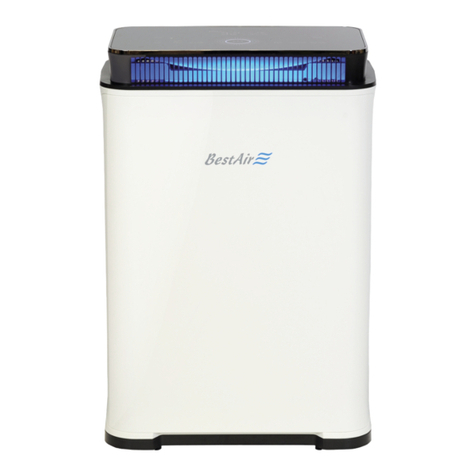
BestAir airjet 500 User manual

Instruction manual
www.BestAir.me
BestAir

Caution:
Do not allow water, other liquids or combustible cleaning agents to enter the device
so as to avoid an electric shock and/or a re hazard.
Do not clean the device with water, other liquids or combustible cleaning agents so as
to avoid an electric shock and/or a re hazard.
Warning:
Check whether the voltage specied on the back of the device corresponds to the
local mains voltage before you connect the device.
If the power cable is damaged, you must get it replaced from the manufacturer, a
service centre of the manufacturer or an equally authorised, qualied person so as
to avoid dangers.
Do not use the device if the mains plug, power cable or the device itself is damaged.
This device is not meant to be used by persons (including children) with restricted
physical, sensory or mental abilities or lack of experience and knowledge, unless they
are being supervised by a responsible person, who is in charge of their safety or has
received comprehensive training for using the device.
Children should be supervised to ensure that they do not play with the device.
Do not block the air inlet and outlet by placing, for instance, objects at the air inlet
or outlet.
Caution:
This device is not a replacement for sufcient ventilation, regular vacuum cleaning or
use of an exhaust hood or a fan while cooking.
If the power socket for the power supply to the device is not properly connected, the
plug of the device can heat up. Ensure that you operate the device using a suitable
power socket.
Place and use the device on a dry, stable and level surface.
Leave at least 20 cm free space behind the device and on both the sides of the
device and at least 30 cm free space above the device.
Do not place any objects on the device and do not sit on the device.
Congratulations on
your new air purier
BestWater thanks you for your purchase. You have made a good choice by having
selected our product. We hope that you enjoy using the air purier for many
years to come.
Before you start operating the air purier, we request you to carefully read this
instruction manual.

Do not place the device directly under an air-conditioner so as to prevent
condensation water from dripping on the device.
Ensure that all the lters are correctly installed before you turn on the device.
Use only the original lters provided by the manufacturer for this device. Do not use
any other lters.
Ensure that hard objects do not hit against the device (especially against the air
inlets and outlets).
Always lift or move the device using the handle on the back of the device.
Do not insert your nger or objects in the air outlet.
If you have used insect repellents, do not use the device at places with oily residues
or in the presence of incense or fumes.
Do not use the device in the vicinity of gas appliances, heating appliances or
chimneys. Turn off the device after use or before cleaning.
Do not use the device in a room with major temperature uctuations because they
can lead to condensation inside the device.
The device is intended solely for use in households under normal operating
conditions.
Do not use the device in a humid environment or in an environment with high
ambient temperatures such as bathrooms, WC or in the kitchen.
The device does not remove carbon monoxide (CO) or radon (Rn). It cannot be
used as a safety device with combustion processes and hazardous chemicals in case
of accidents.
The device has a reliable protection. If the front panel has not been installed
correctly, the device cannot be started.
The manufacturer itself has equipped the device with all the lters, but the lter
packaging needs to be removed before the device can be used. Remove all the
lters, unpack them and place them again in the device, as has been described on
the following pages.

1: Front panel
2: Pre-lter and HEPA lter
3: Modied activated carbon lter
and VOC lter
4: Nano photocatalyst lter
5: LCD display
touchscreen
6: UV lamp
7: Safety switch
8: Handle
9: Air outlet
10: Remote control
11: Remote control slot
12: Main device
13: Socket
14: Power cable
1 2 3 4 5
Parts list
8
9
10
11
12
13
14
6 7

Operating the main device
Power on/off
Press the “POWER” symbol to start the device in the
manual mode at speed 2. The UV lamp and anion
generator start operating.
Press the “SPEED” symbol in any mode to switch to the
manual mode for the speed. The LCD display shows the
speeds as follows: 1- idle, 2- low speed, 3- average
speed, 4- high speed and 5- very high speed.
Press “TIMER” in any mode to circularly switch the time
between “1h-2h-4h-8h”. The LCD display shows “1h, 2h,
4h and 8h”.
Press the “MODE” symbol to circularly connect the
“Sleep-Auto/manual” mode. Actuate the respective
button to reach the manual mode. The automatic wind
speed corresponds to the signal of the air quality sensor
in the Auto mode. The better the air the lesser the wind
speed. If you press the “SPEED” symbol, you reach the
manual mode for the speed.
POWER
MODE
TIMER
SPEED

If you press the “ION” symbol in any mode, you can start
and stop the release of healthy anions.
If the “ “ sign on the LCD ashes after switching on
and all the HEPA square indicators do not illuminate, the
highly-efcient HEPA lter must be replaced with a new
highly-efcient HEPA lter (see chapter Installing and
replacing lters, to change the lter). Start the machine
after replacement, press and hold the RESET symbol for
5 seconds. The timer will correct itself and the
“ “ sign will stop ashing.
Caution: If the HEPA lter operates at speed 5, it has a
service life of 2000 hours.
The value of the ne dust particles in the air is indicated on
the display. This rises and falls with good and/or bad room
air.
Press the “UV” symbol in any mode to switch on or switch
off the UV lamp. The UV lamp kills effective bacteria in
the air.
ION
UV
RESET

Installing and replacing lters
This is how you remove the front panel
Removing the lter
Hold the top side of the front panel and pull out
in the direction of arrow 1. Remove the front
panel down in the direction of arrow 2.
Remove the highly-efcient HEPA lter,
the modied activated carbon lter and
the nano photocatalyst lter one after
the other.
Caution: While removing each lter,
hold its brackets and pull it outwards so
that the lters can be removed easily.
Installing the lter
Install the nano photocatalyst lter, the
modied activated carbon lter and the
highly-efcient HEPA lter.
Caution: Place the brackets outwards
while installing each lter. Please install
the individual lters as shown in the
gure.
Installing the front panel
The front panel must be pressed down into the
bracket in the direction of the 4th arrow and
engaged in the locking mechanism. Press the cover
gently in the direction of the 5th arrow and add the
bracket of the front panel in the AirJet 500.
Front panel Nano photocatalyst lterHEPA lter
Activated carbon lter
11
44
55
2
2

Installing the UV lamp
A. Caution
Avoid eye and skin contact with the UV lamp
since it can lead to temporary and permanent
blindness. Do not look into the UV lamp directly;
this can lead to eye damage.
Do not touch the glass of the UV lamp; the
ngerprint reduces the efciency of the lamp (use
gloves).
Do not start the device without lters or with
damaged lters so as to avoid emission of
ultraviolet light from the UV lamp, which can lead
to blindness.
B. Replacing the UV lamp
The service life of the UV lamp is 8,000 hours.
This can be reached if the lamp is used for about
1 year, for 24 hours per day. Please replace the
UV lamp within this time to ensure the cleaning
capacity.
C. Installing the UV lamp
Hold the white ceramic pins at both ends of the
UV lamp(1), place the copper pin of the lamp in
the sleeve and turn it by 90° (2).
D. Installing the lter
Re-install the nano photocatalyst lter, the
modied activated carbon lter, the highly-
efcient HEPA lter and the front panel.
This is how you remove the UV lamp
Turn off the device, remove the panel, the highly-
efcient HEPA lter, the modied activated carbon
lter and the nano photocatalyst lter one after
the other. After the UV lamp has cooled down for
15 minutes, hold the white ceramic pins at both
the ends of the UV lamp and turn them by 90°
(3). Remove the UV lamp (4).
Installing and uninstalling the UV lamp

Using the remote control
Adjust the remote control within 6 m and 30
degrees to the IR receiver of the device.
Caution: The signal is week if there are
obstructions between the device and the remote
control.
It has four buttons with the same functions as
on the control panel of the device.
Maintenance and servicing
Please replace the batteries if the received
signal is weak.
Please use original batteries only.
Wrap the used batteries in plastic before
disposing them.
Keep the batteries out of reach of children. Keep the remote control dry.
Please do not pierce the remote control with a sharp object.
Infrared transmitter
head
Battery compartment
Lithium button cell 3 V
CR2025
This is how you use the remote control

Highly-efcient HEPA lter: The HEPA lter collects 99.97% of the
particles (0.3 µm). It removes effective dust (inhalable particles), cigarette
smoke, bacteria, pollen, fungi, mites and radioactive particles from the air.
Modied activated carbon lter: High-quality carbon modied
using special technology, which is equally segmented into cellular holes to
remove harmful substances such as formaldehyde, VOC and other smells.
Nano photocatalyst lter: A nano photocatalyst, combined with UV light,
produces free electrons and points of oxidisation. Highly oxidising hydroxyl radicals
and superoxide ions are produced in the presence of O2 or water molecules. Hydroxyl
radicals break organic materials (e. g. formaldehyde, benzene, dimethylbenzene) and a
part of the inorganic materials into harmless carbon dioxide and water. Superoxide ions
oxidise different organic compounds, a part of the inorganic materials on the surface
is absorbed and the cell membranes of bacteria and solidied viral proteins n break.
The lter therefore has extremely effective, non-polluting and sterilising functions.
Intelligent sensor: The smart sensor automatically adjusts the motor speed to the
air quality in the room.
LCD display: Indicates the operation status of the system. The
individual modes of the system can be selected using the touchscreen.
Anion generator: More than 3 million anions generate fresh air.
Brushless DC motor: The brushless DC motor runs very softly and consumes less
power.
Ultra-exible design: The volume is 26 db at the lowest speed.
UV lamp: The UV radiation irradiates cells, viruses and other single-cell microorganisms
to destroy their DNA structure. Microorganisms cannot form any protein as a result of
which they die and cannot reproduce themselves. UV light can kill bacteria, viruses, fungi
and single-cell algae. This prevents them from spreading.
Properties
High
concentration
anion
generator
UV lamp
Bacteria
Nano
photocatalyst
lter
Bacteria
rotten smell
Modied
Activated
carbon lter
rotten smell,
VOC, ozone
strange smell,
formaldehyde
HEPA highly-
efcient lter
Bacteria, pollen,
cigarette smoke,
house dust mites and
depositions, inhalable
particles
Pre-lter
Hair, large particles,
human danders,
cashmere bres

The most common problems, which may crop up with the device, are listed below. If
you cannot resolve the problem with the given information, please contact the customer
service.
Specications
Problems Possible solutions
The device is not working. - Is the mains plug connected to the
power socket?
- The front panel has possibly not been
installed correctly; please install the front
panel.
Pure air is not owing from the air outlet. - You have not removed all the packaging
material from the lters.
Ensure that you remove all the packaging
material before using the device. Please
pay attention to the warning label.
Incorrect operation can damage the
motor.
LCD display does not light up. - Operation in the Idle mode.
- The LCD display is not in order. Please
contact the customer service.
Audible noise can be heard from the
device during operation.
- The air inlet and outlet could be blocked.
- The channel could be blocked. Please
turn off the device and remove whatever is
blocking the channel. If this does not work,
please contact the customer service.
- There can be problems in the motor.
Please contact the customer service.
Rated voltage 240 V / 50 Hz
Motor specication Brushless DC motor: DC 310 V
Rated power 75 W
CADR 440 m3/h
Dimensions 698 x 493 x 221 mm
Weight 10 kg
Troubleshooting
Manufactured for
www.BestAir.me
BWI International AG
Neuhofstrasse 3A
CH-6340 Baar
Schweiz
Tel. +41 41 561 6194
Fax:+41 41 561 6195

www.BestAir.me
BestAir
Table of contents
Other BestAir Air Cleaner manuals
Popular Air Cleaner manuals by other brands
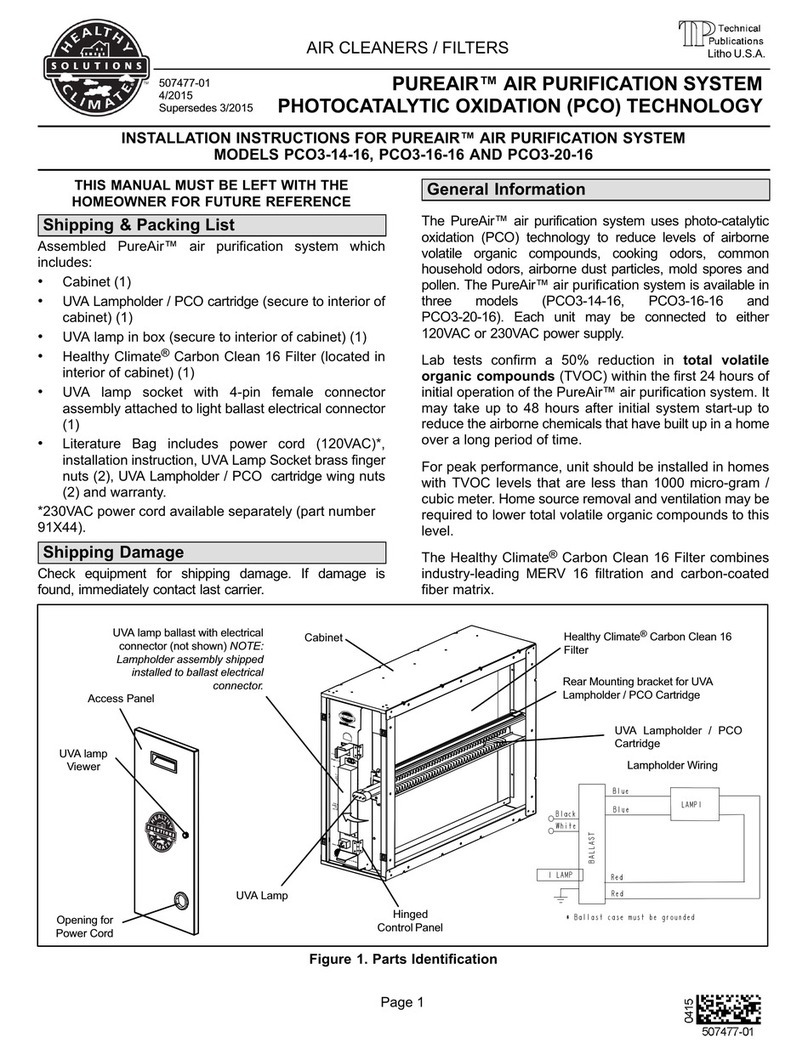
Healthy Climate Solutions
Healthy Climate Solutions PUREAIR PCO3-14-16 installation instructions
Dustcontrol
Dustcontrol DC AirCube 2000 Original instructions
Oreck
Oreck Tower user guide

Camfil
Camfil CITY M Technical manual

aldes
aldes InspirAIR Side user guide

Adams Cleanaire
Adams Cleanaire CA-1000T installation manual
