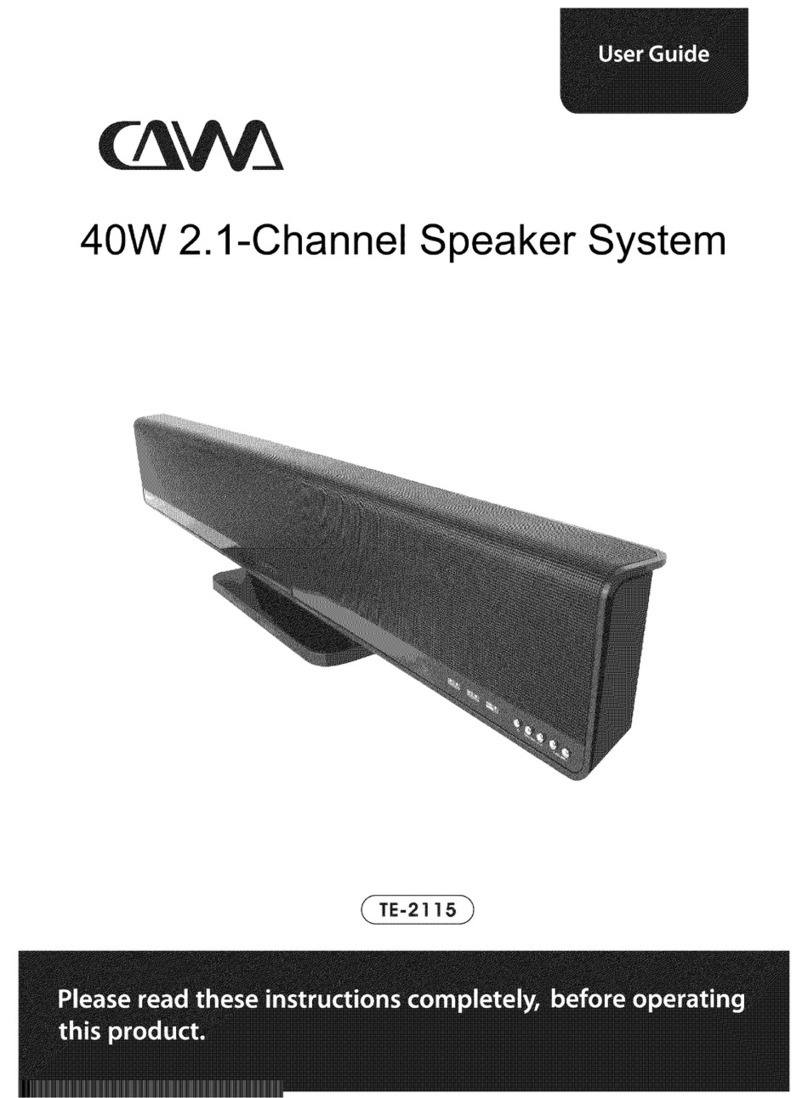
Bestisan SK03 User manual

Please read all instructions before use for the best performance
of this product. Save these instructions for future reference.
(SK03)
Quick Start
Best Artisan & Better Than Most

Box Contents
Mount Screws and
Wall Mount Brackets Wall mount template
3.5mm to 3.5mm
audio cable Digital Optical cable Power Adapter
Sound Bar and Microphone Remote Control Quick Start
LED Indicators and Button Introduction
Standby Bluetooth Optical
CoaxialAUX USB
MOVIE
OPT
BT
COAX
AUXUSB
MUSIC DIALOG
BASS+
MUTE
VOL+
VOL-
TREB+ RESET
BASS-
TREB-
11.81 in / 300 mm
LED Indicators
Please read all instructions before use for the best performance
of this product. Save these instructions for future reference.
(SK03)
Quick Start

Right side of Sound Bar
Know Your Remote
MOVIE
OPT
BT
COAX
AUXUSB
MUSIC DIALOG
BASS+
MUTE
VOL+
VOL-
TREB+ RESET
BASS-
TREB-
Power button
Volume up
Previous track
Play/pause
Movie mode
Dialogue mode
Increase or
decrease bass
Restore factory
settings
Increase or
decrease treble
Music mode
Optical mode
Next track
Volume down
Mute/Unmute
MUTE
VOL+ VOL-
BT
OPT
MOVIE
DIALOG
MUSIC
RESETBASS+ BASS-
TREB+ TREB-
COAX Coaxial mode Bluetooth mode
USB USB mode AUX AUX mode
Press to turn on/change the audio source;
Press and hold it to turn off
1
Press to previous/next track; Press and
hold it to decrease/increase the loudness
of audio
2
Select the source input mode(Bluetooth ->
Optical ->Coaxial -> AUX -> USB); Press and
hold to reset treble and bass to factory
settings
3
1 3
2

Microphone Introduction
01 Volume+
02 Volume-
03 Sound effects
(Professional/KTV/
Host/Theater Mode)
04 Power switch
(long press to start up, long
press to turn it off. When it’s
power on, short press to switch
different frequency)
Charge
The red indicator is steady on when it is
in charging status, and the indicator is off
when it is fully charged.
(It can be fully charged in about 2.5 hours and
can be used continuously for about 8 hours)
Power on The green indicator is steady on.
Low power The indicator flash quickly.
LED indicator
05
Note: When there is interference of the
same frequency, you can press the power
button to switch different frequencies.
Type-C charging
line (supplied)
Microphone
Anti-Roll Ring
(supplied)
Charger DC 5V
(not supplied)
01
03
02
04
05

Connection Diagram
Bluetooth Device
a
Bluetooth signal
up to 30 feet
COAX IN
OPTICAL
AUX IN
USB
DC USB AUX COAXOPTICAL
Power
adapter
b
USB
cdef
BD / DVD / Set-top
box / Game console
TV

Connecting with a TV
Setting “PCM” on your TV
Back of Sound Bar
When all cables are connected properly, and LED indicator
lights properly, if there is no sound from tv or Sound Bar, please
setting your tv as below:
BMethod 2. Connecting using an Optical cable. Select Optical
mode and set the TV’s audio output to “PCM”.
(More information on PCM page)
AMethod 1. Connecting using an Coaxial cable. Select Coaxial
mode and set the TV’s audio output to “PCM”.
(More information on PCM page)
CMethod 3. Connecting using a 3.5mm to 3.5mm audio cable.
Select AUX mode.
TV
DC USB AUX IN OPTICAL COAX IN
BOptical digital
cable (supplied)
ACoaxial cable
(not supplied)
C3.5mm to 3.5mm audio
cable (supplied)

Connecting a Bluetooth Device
1. Press "Menu" on the TV’s remote control.
2. Press the arrow keys on the remote to scroll to "Audio Settings."
3. Press "OK" on the remote control.
4. Scroll to "Advanced Audio" and press "OK". Some televisions may
not have an"Advanced Audio" menu and may list various audio
settings instead.
5. Scroll to "Audio Output Mode" or "Digital Audio Output Mode" and
press "OK".
6. Scroll until "PCM" is displayed as the current audio output.
7. Press "OK" to save the settings.
BT
or
b. Turn on Bluetooth on the Bluetooth device.
c. Select “SK03” and connect it. When your Bluetooth device is
connected, the LED indicator blinks blue slowly.
d. Play music files from the device, connected via Bluetooth, through
the Sound Bar.
Bluetooth signal up to 30 feet
a. Press the “BT” button on the remote or press the “ ” button on
the right side of Sound Bar, the LED indicator blinks blue.

Installing the Wall Mount
1. Place the wall mount guide
against the wall surface. Push
a pencil tip to mark the four
bracket holes for supporting
screws, and then remove the
wall mount guide.
2. Using an appropriately sized
drill bit, drill a hole in the wall at
each marking. Push a screw
throught ench brackets, and then
screw each screw firmly into a
support screw hole.
3. Insert the two wall-mount
screws into the wall-mount
screw holes, and then tighten
them with a screwdriver.
4. Plug in power cable and audio
cable before install the Sound Bar
on the wall.
Install the Sound Bar by hanging
on the brackets on the wall.
The template must be level.
Leave 3 inches at least
between the template and TV.
3 inches or more
TV
11.81 in / 300 mm
Pencil Pencil
screw
Bracket
screw
Bracket
Install the Sound Bar
COAX IN
OPTICAL
AUX IN
USB
Back of Sound Bar

Troubleshooting
If you have a problem with your Sound Bar, there is quick simple
solution, first make sure:
The cables between Sound Bar and input devices are securely connected, the
power adapter is also connected to a working power source.
The cables between Sound Bar and input devices are securely connected, the
power adapter is also connected to a working power source.
No sound or crackling noise
Check if all cables are connected properly.
Press Mute on the remote to ensure the Sound Bar is not muted.
Press Volume+ on the remote or the right side of your Sound Bar.
Remote isn’t working
Check if the battery is installed properly with power.
I hear buzzing or humming
Ensure all cables and wires are securely connected.
Connect a different source device (TV, Blu-ray player, etc) to see if the buzzing
persists. If it does not, the problem may be with the original device.
Connect your device to a different input on the Sound Bar.
Check if the signal of the receiver is covered by something.
Contact your retailer for assistance.
Make sure you have selected the right input source on your remote, and the
LED is lighting accordingly.
If using Bluetooth, check if the sound on your device is under minimum volume.
If using Optical, check if your device (TV/Cable Box/Projector/etc.) audio output
set to PCM or turn the Dolby/dts off.
When using cable connection, make sure your device has audio output port
(not input).

Bluetooth can’t be connected
Check if the Sound Bar is connected with the third Bluetooth device.
Hear echo when watching TV
Setting your TV audio to External Speaker.
Mute the TV speaker.
No sound from microphone
Check if the microphone have power? If not, please charge it.
Check whether the microphone volume is on, press the microphone "Volume +"
to adjust the volume.
Repair the microphone.
Be sure that there are no solid obstructions between the Sound Bar and source
device.(within 30 feet)
Reboot the Bluetooth and connect again.
Have other questions?
No sound from microphone
Check that the charger and charging cable are in good condition.
Check whether the charging cable is plugged into the charging port.
Microphone interference
Whether there is interference from other devices around the microphone.
When other devices interferes, the frequency can be changed by pressing the
power button of the microphone.
Please contact with your retailer for assistance.
1. Long press the power button of SK01 to shut down it;
2. Long press the power button of the microphone to turn it on, and press the “volume+” and
“volume-” button at the same time. The microphone LED indicator will flash quickly;
3. Long press the power button of Sk01 to start it. It takes about 3-5 seconds for the pairing
to complete.

Specifications
Power rating:
25W 2
Frequency response:
40Hz-20KHz
SK03 Specification Microphone Specification
Pickup:
Moving pickup
Sensitivity:
-50dB
Signal to noise ratio dB:
≥80dB
Frequency response:
55Hz-15KHz
THD (total harmonic distortion):
≤1%
Maximum sound Pressure:
110dB
Bluetooth Version:
Bluetooth v5.0
Charging voltage:
DC 5V
Input Power:
DC 19-21V
Battery:
18650,2000MAH*1
Wireless transmitting:
Wireless u-segment frequency
Wireless reception:
Wireless U-segment frequency
*
Best Artisan & Better Than Most

Thanks for reading!
Best Artisan Corp.
Best Artisan & Better Than Most
801 DUPONT AVE SUITE F & G, ONTARIO, CA, 91761.
Suppor[email protected]
Table of contents
Other Bestisan Speakers System manuals

Bestisan
Bestisan SG08 User manual

Bestisan
Bestisan Juku User manual

Bestisan
Bestisan S7020HP User manual

Bestisan
Bestisan ST08 PRO User manual
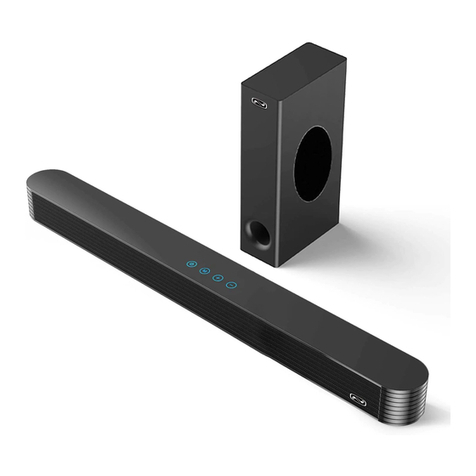
Bestisan
Bestisan SG06 User manual
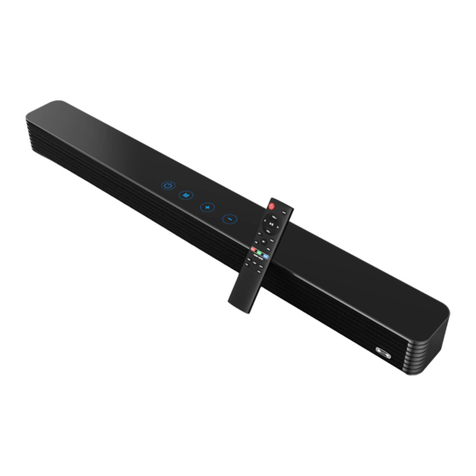
Bestisan
Bestisan Pillar SG02 User manual
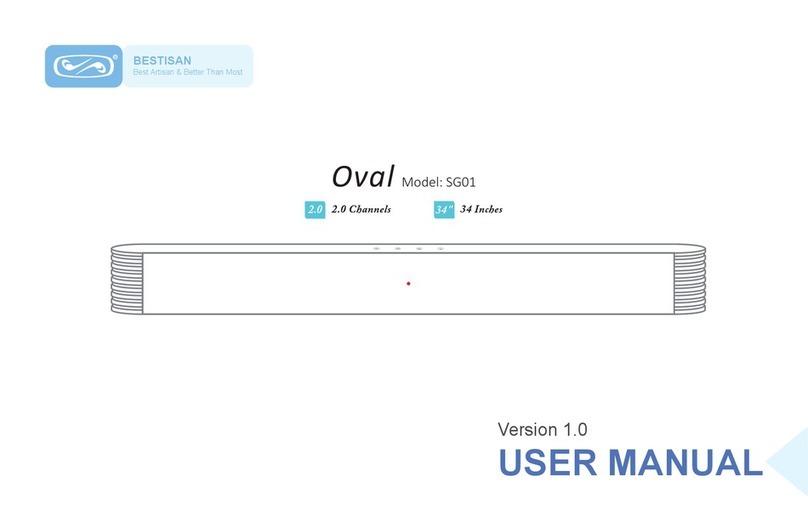
Bestisan
Bestisan Oval User manual

Bestisan
Bestisan S6520H User manual

Bestisan
Bestisan SE05 User manual

Bestisan
Bestisan Pillar SG02 User manual


