Betta 6000 User manual
1.
2.
Installation Guide for Betta 6000 Straight Drop Awning
with Side Channels without a Cassette
Please Note: These instructions should be read thoroughly before installing.
This is a guide to assist in the installation and care of your external awnings. Betta Blinds and Awnings do not
guarantee the accuracy of the information contained in this guide. We recommend an experienced expert installer
to rely upon their own skills. This is based on general knowledge concerning the assembly, materials and working
process of the external blinds, which is known to us at the time of printing this guide, consequently, is subject to
change and Betta Blinds and Awnings specifically reserves the right to change this guide without notification.
Ensure all components are included in your packaging, before proceeding to install:
Gearbox (if required)
Nut and bolt
Crank handle (if required)
Blind
Split pin
Pivot pin and plate with nut and bolt
Lock in pins x 2
Side channels x 2 (make sure this has felt
inserted inside channel)
Snap in front cover strip (face fit only)
You will also need: screws, plugs, Philips head screwdriver, drill, hammer drill (if drilling into concrete), measuring
tape, spirit level, 18mm drill bit and dyna bolts (if required)
If installing on a brick wall NEVER put the screw into a mortar line. If the position you need to drill is over a
mortar line move up to the centre of the brick above that position.
1. Check the size of your blind against the label, which will be attached to the packaging, or it could be on the
blind.
2. Install the pivot pin into the end of the blind and plate to the idle end bracket, using nut and bolt provided.
3. If FACE fit, attach the side channel with the snap in recess facing outwards. Screw directly through this fixing
to post.
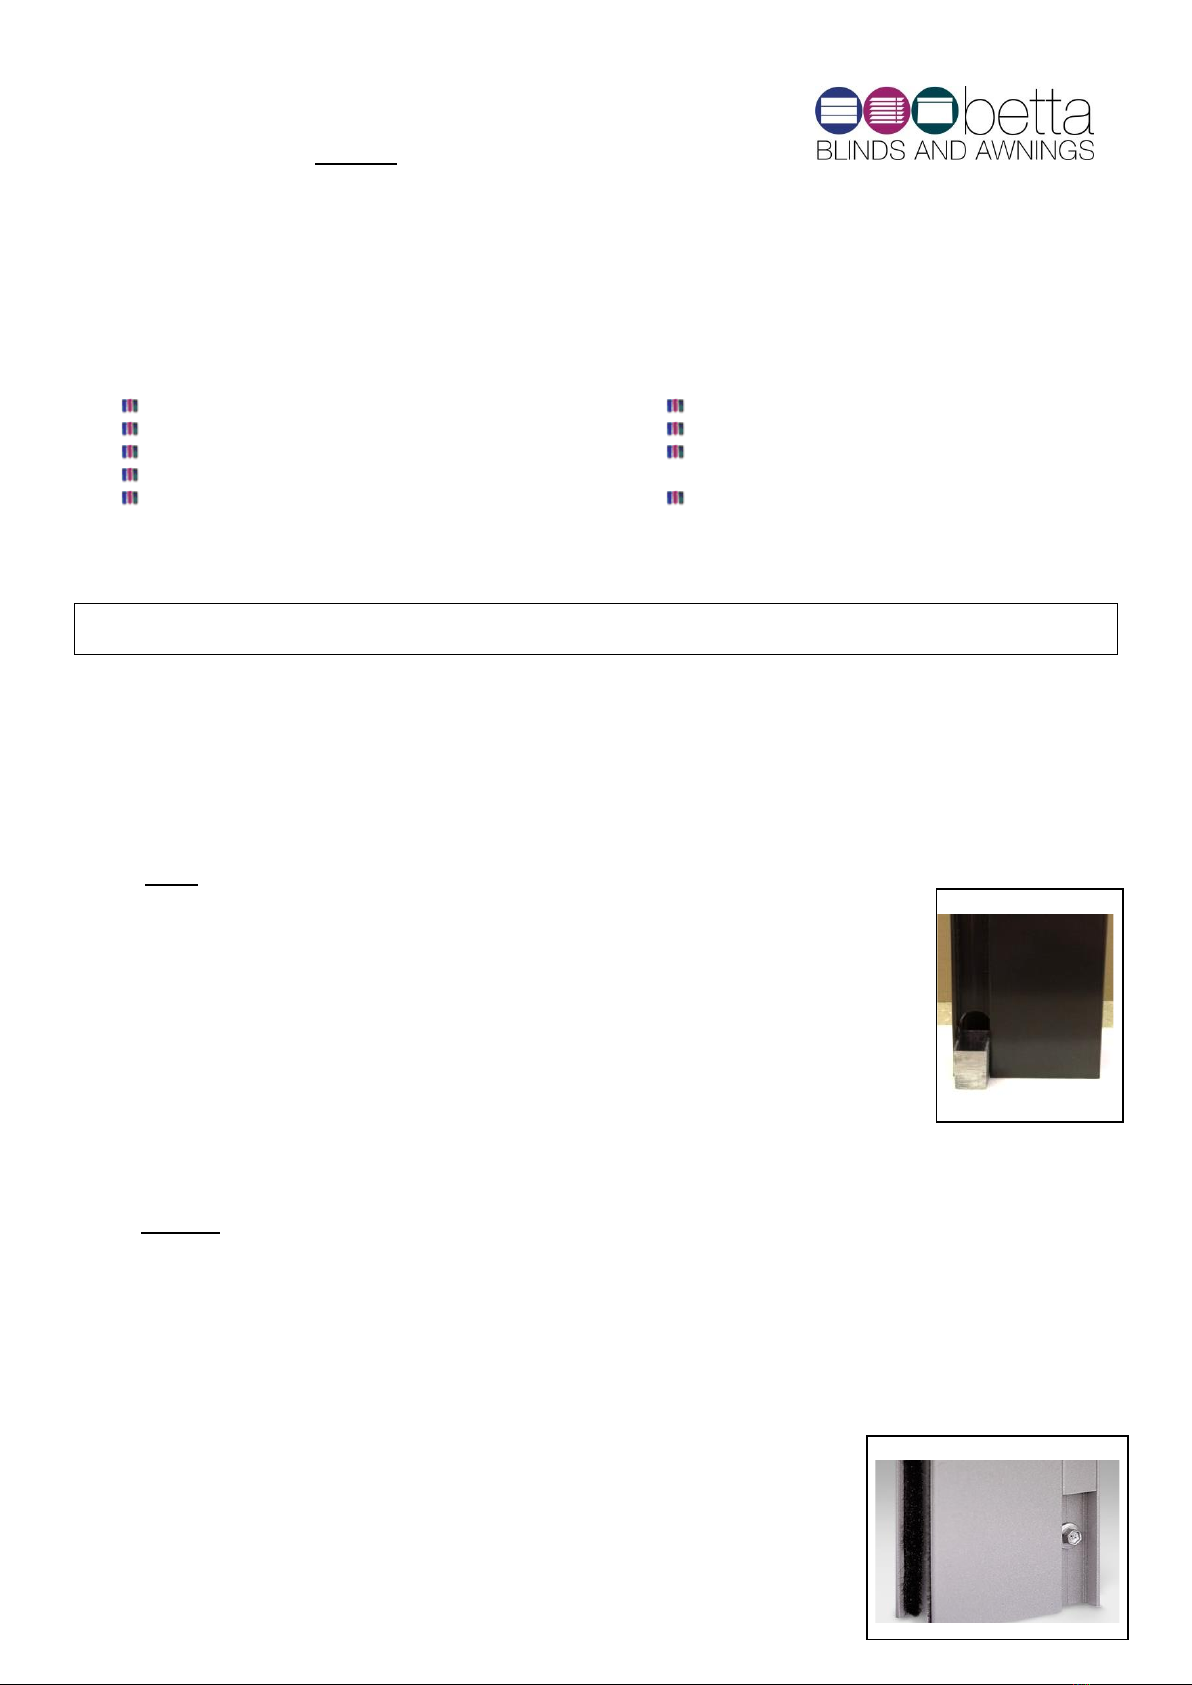
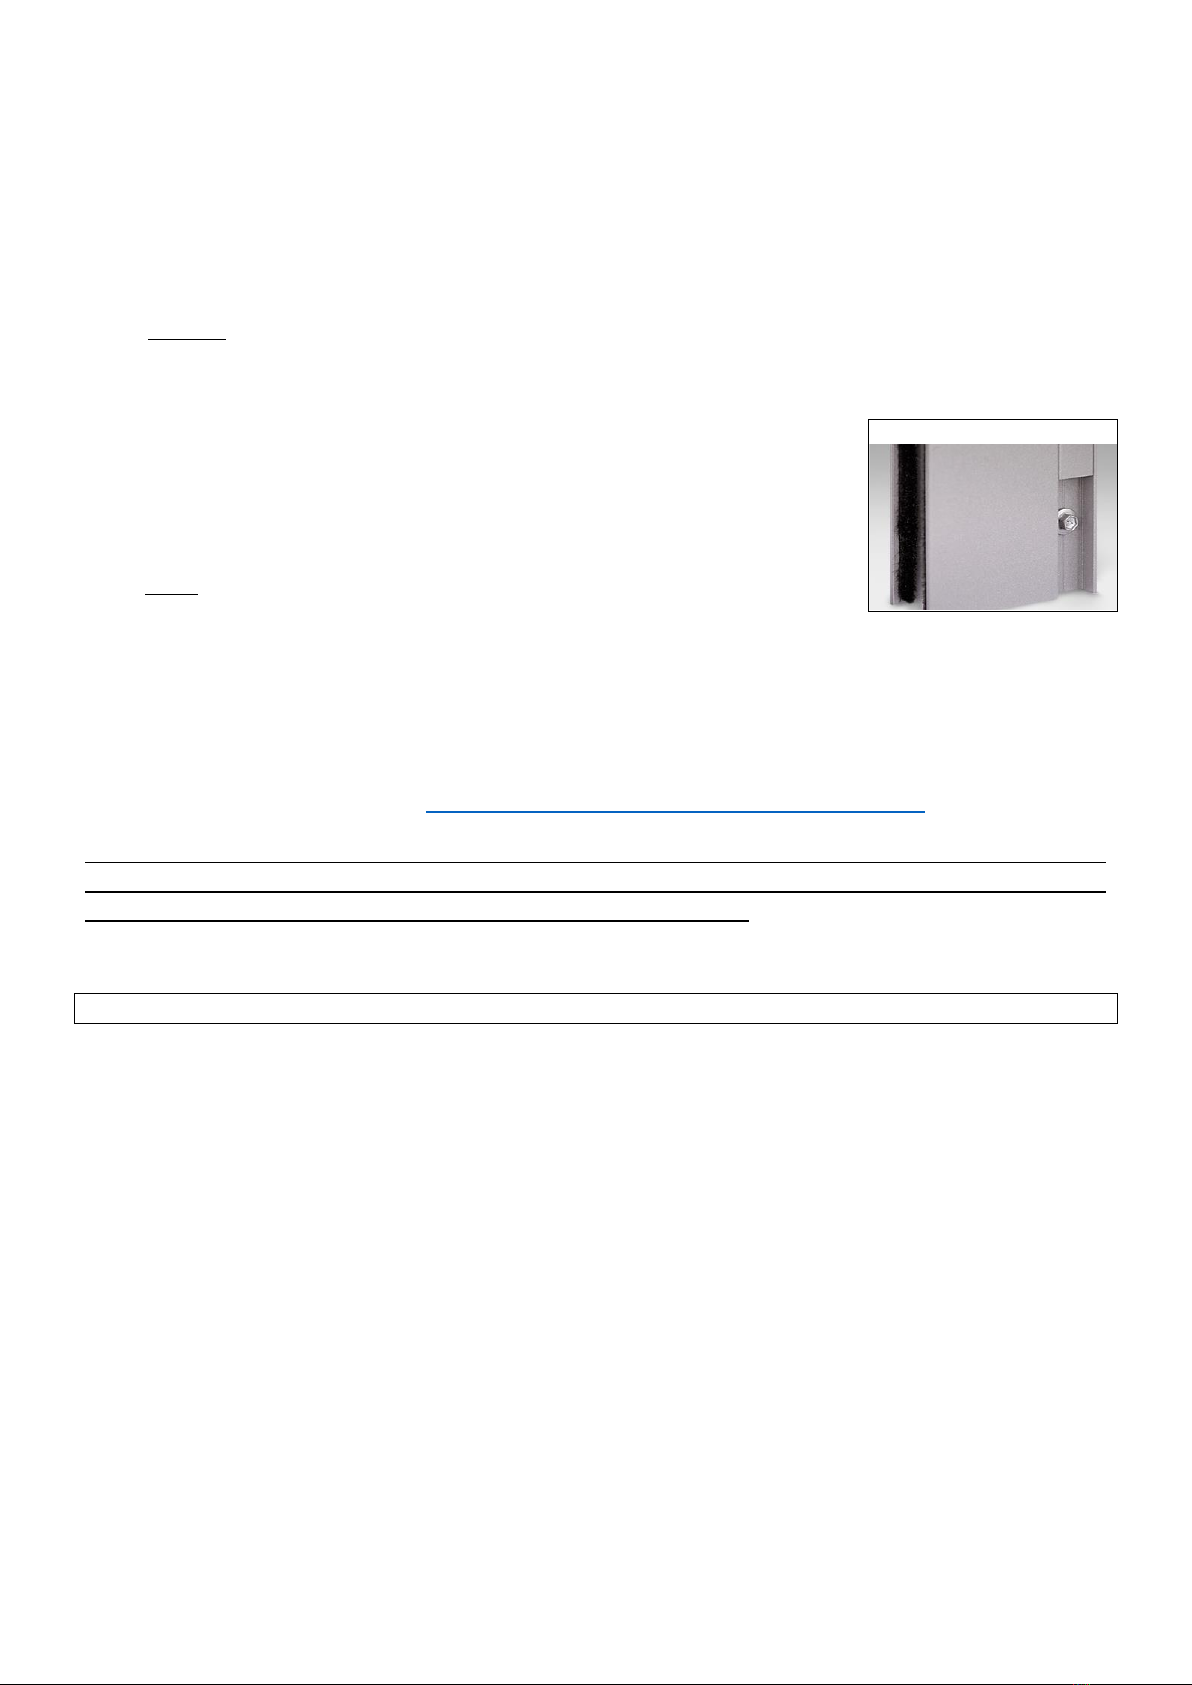
A. If there is no post to fix to, the side channel can be used as one. Position the side
channel where you want it to sit and mark top and bottom areas; ensuring post is
level. Drill holes where the post is to be attached on ground and ceiling. Attach foot
post to the ground using a Dyna bolt. Attach post to ceiling using appropriate bolt or
screw, which may also be a Dyna bolt. - refer to picture 1
B. Slide side channel over foot posts. Pre-drill hole, screw through the channel into the
top and bottom foot post, making sure this is level.
4. If REVEAL fit, attach the side channel to the inside of the post, with the snap in recess facing backwards.
Screw through the channel section onto post.
5. Slide lock in pins into bottom rail. The pin must face outwards, towards the channel.
6. Attach gearbox to bracket, using nut and bolt provided. The gearbox can be positioned in two different angles.
Betta Blinds recommend the gearbox to be angled outwards for ease of use. NB: Bolt from the outside in.
7. Hang the blind. The motor end / crank end (square tube end) goes in first. Drop
the other end onto the slotted part of the pin. Secure this end with the split pin
supplied.
1.
8. Drill bottom holes in channel to lock pins in. Holes must be drilled at the same position NB: Holes can be
drilled at different levels if required.
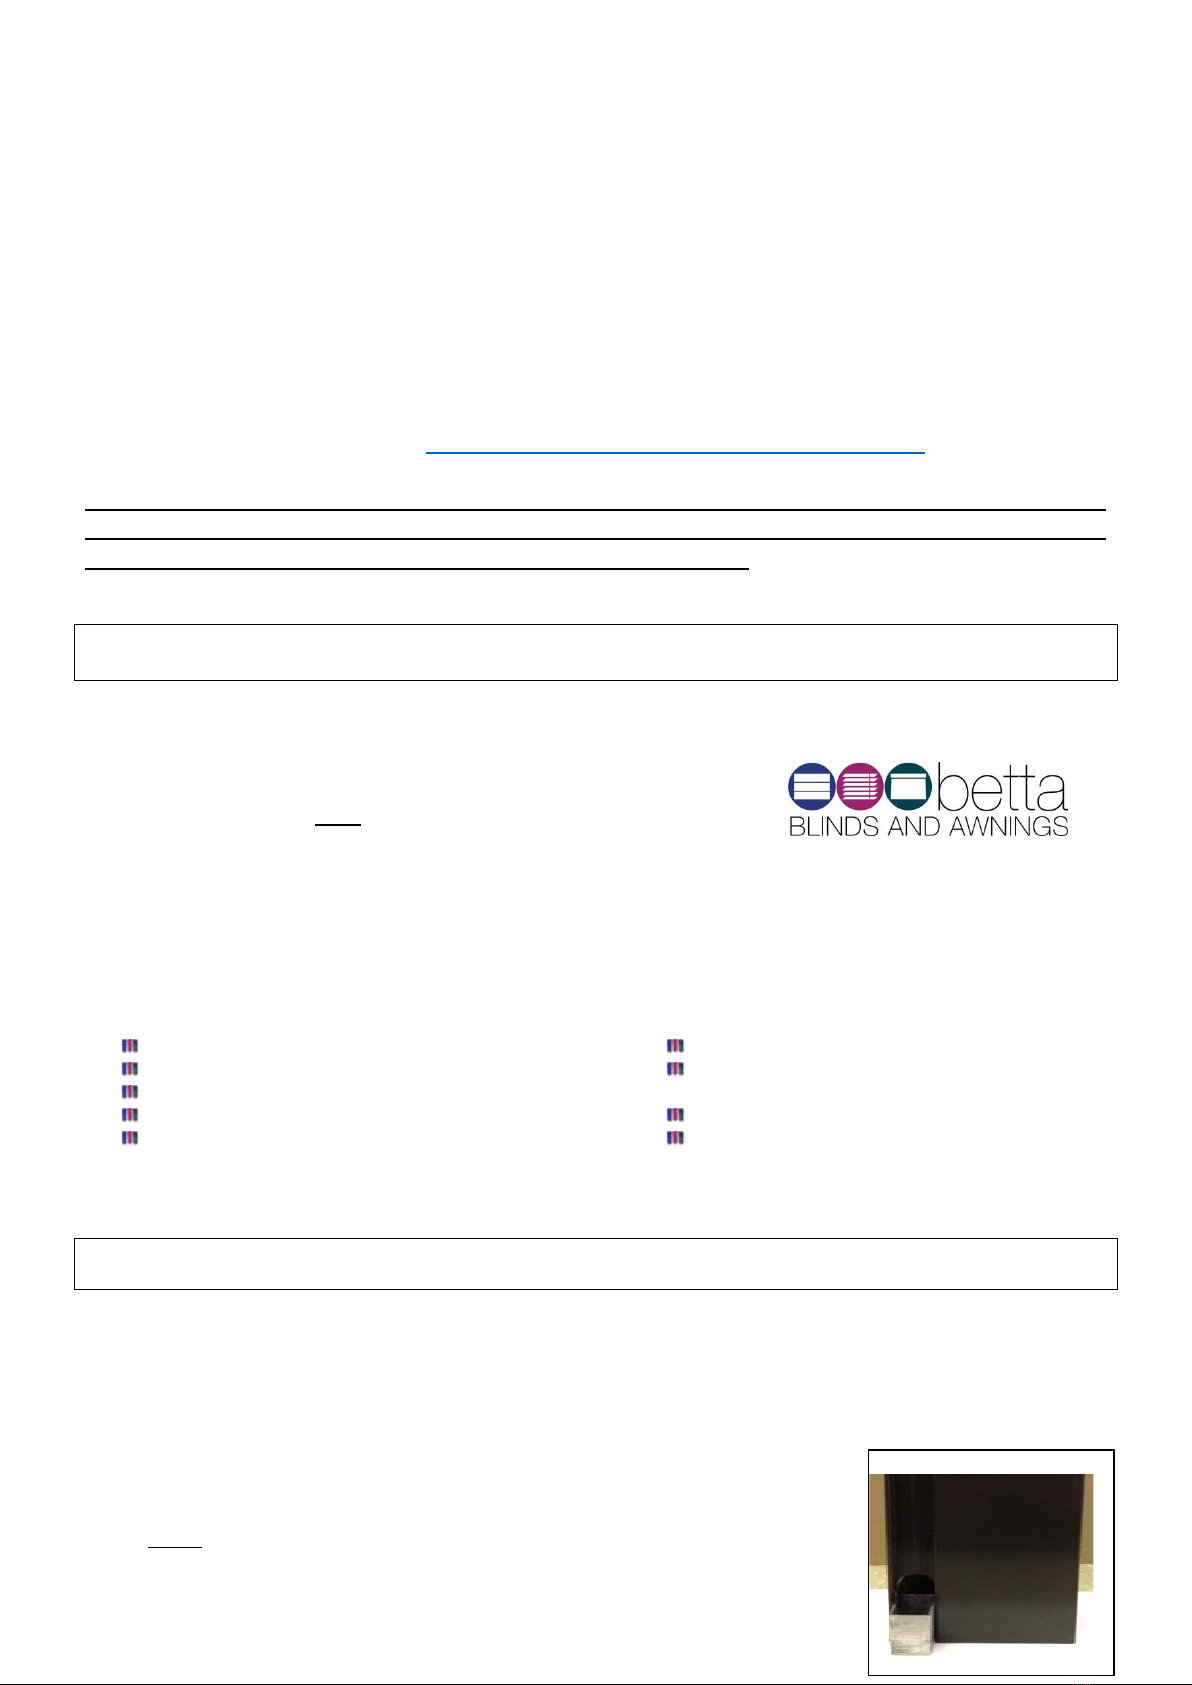
9. If FACE fit, snap the infill cover plate into the recess - refer to picture 2.
10. Insert crank handle into eyelet and wind your blind down. Lock pins into drilled holes and crank handle back to
tighten fabric NB: Over tightening of fabric will cause fabric to stretch and possibly track off.
MOTORISATION
For motorised awnings you will need a qualified electrician to trim and attach plug to the lead or hardwire.
Program motor as per instructions: https://www.betta-blinds.com.au/bbaa/installation-guides
A Cassette/Pelmet is recommended with motorised awnings to protect the motor from the elements.
If no cassette has been ordered the awning will need to be installed where the motor can be protected
from the elements. Motor warranty does not cover water damage.
Caution: Like all outdoor blinds, it is prudent to retract the blind in the presence of strong winds.
Installation Guide for Betta 6000 Straight Drop Awning
with Side Channels with a Cassette
Please Note: These instructions should be read thoroughly before installing.
This is a guide to assist in the installation and care of your external awnings. Betta Blinds and Awnings do not
guarantee the accuracy of the information contained in this guide. We recommend an experienced expert installer
to rely upon their own skills. This is based on general knowledge concerning the assembly, materials and working
process of the external blinds, which is known to us at the time of printing this guide, consequently, is subject to
change and Betta Blinds and Awnings specifically reserves the right to change this guide without notification.
Ensure all components are included in your packaging, before proceeding to install:
Gearbox (if required)
Nut and bolt
Crank handle (if required)
Split pin
Pivot pin and plate with nut and bolt
Lock in pins x 2
Side channels x 2 (make sure this has felt
inserted inside channel)
Cassette (awning will be inside)
Snap in front cover strip (face fit only)
You will also need: screws, plugs, Philips head screwdriver, drill, hammer drill (if drilling into concrete), measuring
tape, spirit level, 18mm drill bit and dyna bolts (if required).
If installing on a brick wall NEVER put the screw into a mortar line. If the position you need to drill is over a
mortar line move up to the centre of the brick above that position.
1. Evenly space & screw cassette brackets to fixing point. The end brackets should be mounted no further than
200mm from the end of the blind. The brackets are universal so can be used for both face and reveal fit.
2. Raise and snap the cassette into the brackets working from one side to the other until all brackets are
snapped into place. With an Allen key tighten grub screws on all brackets so
cassette doesn’t fall out.
3. If FACE fit, attach the side channel with the snap in recess facing outwards.
Screw directly through this fixing to post.
2.
A. If there is no post to fix to, the side channel can be used as one. Position the side channel where you want
it to sit and mark top and bottom areas; ensuring post is level. Drill holes where the post is to be attached
on ground and ceiling. Attach foot post to the ground using a Dyna bolt. Attach post to ceiling using
appropriate bolt or screw, which may also be a Dyna bolt. - refer to picture 1
B. Slide side channel over foot posts. Pre-drill hole, screw through the channel into the top and bottom foot
post, making sure this is level.
4. If REVEAL fit, attach the side channel to the inside of the post, with the snap in recess facing backwards.
Screw through the channel section onto post.
5. Slide lock in pins into bottom rail. The pin must face outwards, towards the
channel.
6. Drill bottom holes in channel to lock pins in. Holes must be drilled at the same
position. NB: Holes can be drilled at different levels if required.
7. If FACE fit, snap the infill cover plate into the recess refer to picture 2
8. Insert crank handle into eyelet and wind your blind down. Lock pins into drilled holes and crank handle back to
tighten fabric NB: Over tightening of fabric will cause fabric to stretch and possibly track off.
MOTORISATION
For motorised awnings you will need a qualified electrician to trim and attach plug to the lead or hardwire
Program motor as per instructions: https://www.betta-blinds.com.au/bbaa/installation-guides
A Cassette/Pelmet is recommended with motorised awnings to protect the motor from the elements.
If no cassette has been ordered the awning will need to be installed where the motor can be protected
from the elements. Motor warranty does not cover water damage.
Caution: Like all outdoor blinds, it is prudent to retract the blind in the presence of strong winds.
Table of contents
Other Betta Accessories manuals


