PB2 Water Quality Monitor Adjustment to Alarm on
%-Rejection for Nuisance Alarms
TSB 2012003
Created/Last Revised Date
04/27/12
Last Reviewed Date
04/27/12
Page 2 of 3
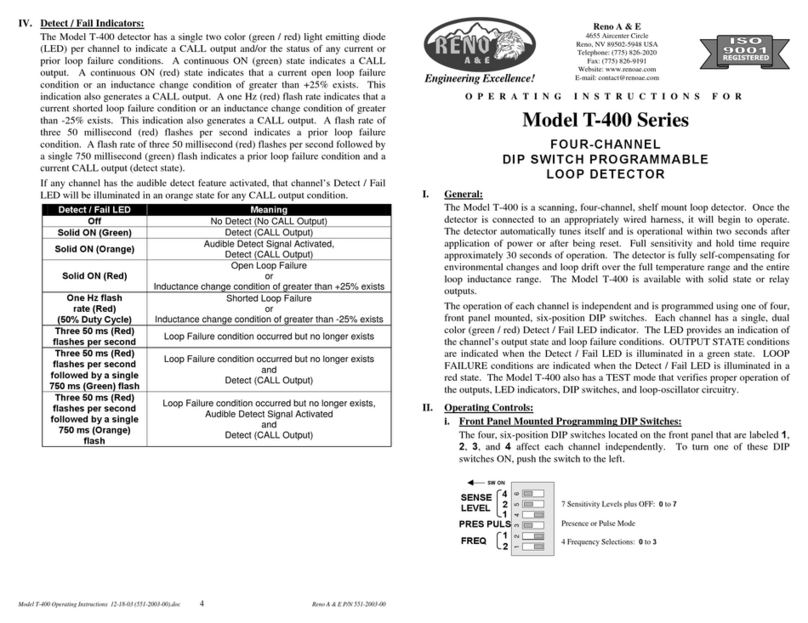
4. The Left Dipswitch is labeled: OFF:PROD
ON:%REJ
- The factory setting is on: %REJ, with the position of
the dipswitch pushed down or in toward the board.
- The Right Dipswitch is labeled: OFF:µS
ON:PPM
- The factory setting is on: PPM, with the position of
the dipswitch pushed down or in toward the board.
5. Pull the Left Dipswitch up or toward the top back to set to OFF: PROD.
6. Plug the device back into the electrical receptacle and turn the device ON.
WATER QUALITY MONITOR ALARM SET-POINT CHANGE:
1. Monitor product TDS over a 15 minute period and periodically record several of the product values.
2. Average the recorded product values and then multiply by 4
- example: if the average product TDS=5.2 ppm
5.2 ppm x 4 = 20.8 ppm
round to the nearest whole number, so the new alarm set-point will be 21 ppm
3. On the Water Quality Monitor on the front of the PB2,
push the MODE switch button
until the SET-POINT yellow-light illuminates.
- The current Set-Point will display.
- The default set-point is 50 ppm.
4. Locate the CAL-UP and CAL-DOWN buttons on the Water Quality Monitor board
inside the open Control Panel.
5. Change the set-point by pushing the CAL-UP or CAL-DOWN buttons until the desired set-point is displayed
on the Water Quality Monitor display.
6. On the Water Quality Monitor on the front of the PB2, push the MODE SWITCH button until CAL is displayed.
7. Continue pressing the MODE SWITCH button to scroll through the different modes until the SET-POINT
yellow-light is illuminated, then verify that the correct set-point is displayed.

