1.2 Steps for Connection:
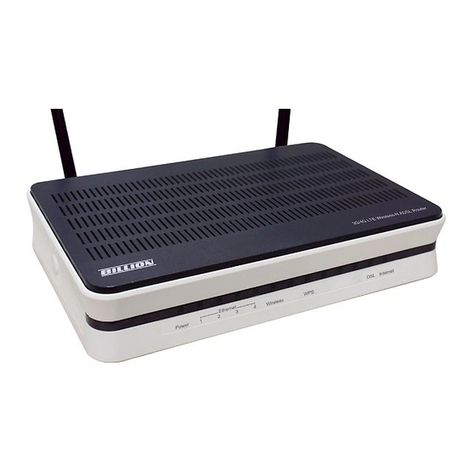
The following are the steps to properly connect your Billion Modem/Router:
1. Turn off your computer. N.B. The initial configuration through the Easy Sign
On (Quick Start) menu is for one primary WAN only. Configuration of the
alternative WANs can be done after the primary WAN has been configured.
2. FOR ADSL – If you do not have an ADSL faceplate installed by your service
provider, you must ensure ADSL splitters (also called microfilters or filters) are
fitted to all telephone sockets in use.
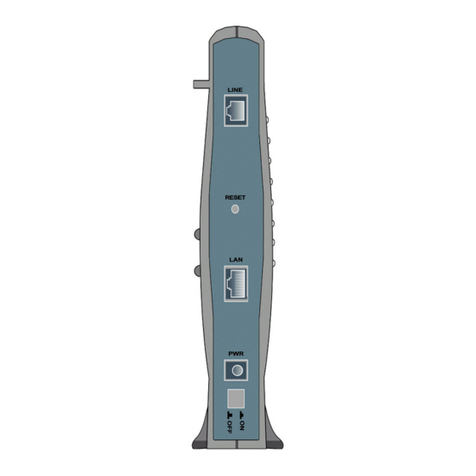
3. Connect the supplied (RJ-11) cable from the splitter/filter of your chosen
telephone socket (or ADSL faceplate if you have one) to the DSL Port of your
Router. Now jump to step 7.
4. FOR VDSL(Fibre) – If you do not have a VDSL faceplate installed by your
service provider, you must ensure VDSL or xDSL splitters (also called
microfilters or filters) are fitted to all telephone sockets in use.
5. Connect the supplied gray (RJ-11) cable from the splitter/filter of your chosen
telephone socket (or VDSL faceplate if you have one) to the DSL Port of your
Router. Now jump to step 7.
6. FOR EWAN/CABLE - Connect your service provider device or modem (e.g. BT
Openreach modem/Virgin SuperHub in modem mode) to the EWAN (Ethernet
WAN) port of the Router (LAN 4).
7. Connect the yellow Ethernet cable (RJ-45) from one of the Ethernet ports of your
Router to the Network Adaptor in your computer.
8. Connect the Power adaptor to the Router and plug the other end into a Power
outlet. Power up the unit.
9. Turn on your computer. Please allow up to 45 seconds for your Network Adaptor
to locate the Router. For ADSL and VDSL (Fibre) connections, please wait for the
DSL light on the front of the Router to turn to solid – this may take up to 1-2
minutes (see 3.1 Troubleshooting the ADSL/VDSL connection). You may need to
reboot your cable modem after connecting.
10. You are now ready to configure your ADSL, VDSL (Fibre), EWAN and Wireless
connection for the Billion 8800NL. All you need to do is to follow the subsequent
instructions and enter your User Name and Password as supplied by your Service
Provider. No other changes should be necessary.
