manuals.online logo
Brands
  1. Home
  2. •
  3. Brands
  4. •
  5. BIOS AP
  6. •
  7. Storage
  8. •
  9. BIOS AP DVPro DVT12T3 User manual

BIOS AP DVPro DVT12T3 User manual

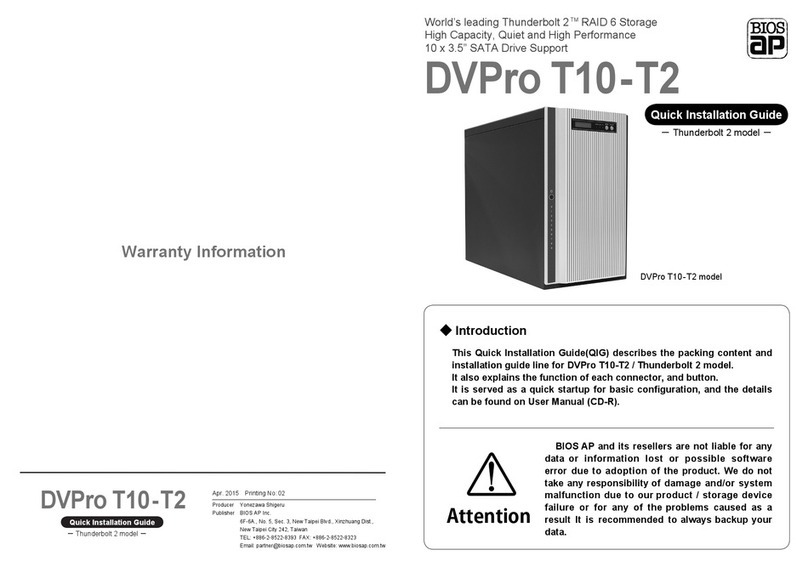
Quick Installation Guide
DVT12T3
DVT12T3
Attention
World’s leading Thunderbolt 3 TM RAID Storage.
Quiet and High Speed for 8K Video Editing
High Capacity, 12 x 3.5” SATA Drive Support.
-
Thunderbolt 3 model
-
-
Thunderbolt 3 model
-
DVT12T3 model
Introduction
This Quick Installation Guide(QIG) describes the packing content and
installation guide line for DVT12T3 / Thunderbolt 3 model.
It also explains the function of each connector, and button.
It is served as a quick startup for basic configuration, and the details
can be found on User Manual ( downloadable from website ).
http://www.biosap.com.tw
BIOS AP and its resellers are not liable for any
data or information lost or possible software
error due to adoption of the product. We do not
take any responsibility of damage and/or system
malfunction due to our product / storage device
failure or for any of the problems caused as a
result It is recommended to always backup your
data.
Jan. 2019 Printing No:01
Producer Yonezawa Shigeru
Publisher BIOS AP Inc.
6F-6A., No. 5, Sec. 3, New Taipei Blvd., Xinzhuang Dist.,
New Taipei City 242, Taiwan
TEL: +886-2-8522-8393 FAX: +886-2-8522-8323
Email: [email protected] Website: www.biosap.com.tw
Quick Configuration Step by Step (Setup Disk Size, RAID Mode)
Hard disks can be installed before (Recommendation) or after configuration.
Install 12 hard disks into the enclosure with screws in accessories pack.
Step 1.
Press and hold “MODE” and “SELET” button on front LCD panel while turning on power switch
(rear of enclosure).
LCD panel should display “ARRAY PARAMETERS SETTING” as below, and you can release
Mode and Select buttons.
Step 2.
Press MODE Button and LCD should show “DISK SIZE”
Press “SELECT” button to choose disk size if wanted. Stop at the size of choice.
Press Mode button and LCD will show RAID MODE.
Step 3.
Press “SELECT” button to change RAID mode if wanted (Default is RAID 6).
Stop at any selected RAID mode RAID 6, RAID 5, RAID 0, RAID 10.
Press Mode button and LCD will show DRIVE MODE.
Skip Step 4 if all 12 drives will be used.
Step 4.
Number of drives SHOULD be 12. Unless you know what to do, do NOT change this.
Same as above, you can press “SELECT” button to choose number of drives to be applied.
Stop at number of drives needed.
Step 5.
Press both “MODE” and “SELECT buttons at the same time once to SAVE change.
LCD should show “Power Down Please!”, then power off the unit.
Without this SAVE change operation, any change of parameter will be discarded.
If drives were not inserted into enclosure yet, please insert them right now.
Press and hold “MODE” button at the same time while turning on power switch (rear of enclosure).
LCD will show “RAID n Normal”.
Congratulations! Enjoy the speed and reliability.
Next time you just need to turn off or on the unit by power switch.
ARRAY PARAMETERS
SETTING
DISK SIZE
xxB
RAID MODE
RAID-6
DRIVE MODE
12*
Power Down Please!
Packing List
The box should contain the DVT12T3 and below accessories:
DVT12T3 Body DVT12T3
Quick Installation Guide
Power cable
Packing List
DVT12T3 Body
Power cable
Tie-wrap ribbons x 2
Quick Installation Guide
Screw Pack
Installation Guide
For Drive installation if needed,
Follow the below instruction to install or replace disk drive.
Step 1.
Loosen the left side rear screws
(rear view) and open the side panel.
Step 2.
Use hand or screw driver to loosen
the thumb screw of disk drive tray.
Step 3.
Prepare a flat operating table for following operation. Put the disk drive
perpendiculous to the flat table with the drive connector toward
bottom(drive connector side facing you). With thumb screw of drive tray
on left hand side, slide down the tray carefully till it touches down the flat
table.
Step 4.
Get four screws from the screw
bag and tightly screw them all.
Overview of Setup method
Begin to use
To facilitate easy configuration of DVT12T3, a LCD/Keypad is designed
on the front panel for parameter setup. The default configuration and
parameters are designed to RAID6 mode. To avoid malfunction,
parameters and configuration could not be changed on use.
There are two ways to configure the DVT12T3 setting either by Web
GUI or LCD and keypad operation. Most parameters cannot be
changed during normal operation to avoid possible corruption or
malfunction.
To start with the parameters setting, both ‘MODE’ and ‘SELECT’
buttons have to be pressed and hold at power on till the LCD showing
[ARRAY PARAMETERS SETTING!].
ARRAY PARAMETERS
SETTING!
After then, one can change parameters setting from Web GUI or LCD
button panel. To quickly setup the unit, press “MODE” button to roll
among different parameters and “SELECT” button to choose their
values. After change, press “MODE” and “SELECT” at the same time to
save modified parameters.
For details of each parameter and its meanings, please refer to User
Manual downloadable from our website.
The default setting might be varied for different configuration upon
number of pre-installed drives and capacity. Following parameters
saved, please turn off the power then press and hold the “MODE”
button about 3 seconds while turning on power to initialize the
configured setting. New configuration or parameters will be effective
after initialization process.
Attention : Initialization process assumes data aligned to its RAID
distribution and will enforce current parameters to RAID controller. If
the unit had corrupt-ed data during last operation, the unit will be
treated as normal despite of possible uncompleted data.
Name and Function of each part
< Front View >
< Rear View >
< Side View >
Attention
Power Button
Power ON / OFF Button ( 4 seconds off )
HDD Access / FAIL
LEDBLUE Flash upon access; Orange ON indicates an error When
[RAID-x RECOVERING 0%] shown on LCD, the FAIL LED on
means the HDD is under rebuilding
POWER LED
Power ON LED indicator
ACCESS LED
Host Access LED indicator
FAIL LED
A controller error LED indicator
MODE Button
1)Parameter Initialization ( Power on Initialization )
2)Configure parameters
3)Stop buzzer alarm ( Buzzer stopped immediately by pushing one time )
SELECT Button
Setup Parameter.
LCD Display
Message display screen. Show status of the system
Show parameters while doing configuration
Power Inlet
AC Power Inlet
Ethernet Port
RJ45 Fast Ethernet port for Web GUI management
Thunderbolt 3 Host Connector
Thunderbolt 3 Device Connector
Tie-wrap hole for Type-C Cable
Tie-wrap hole for Power Cord
Fan Module FAN 1
Fan Module FAN 2
Drive Module
Disk Drive module 0 ( to 11 ). Upper left one is number 0, and right is 1
Tie-wrap ribbons x 2
Other manuals for DVPro DVT12T3

1

Other BIOS AP Storage manuals

BIOS AP DVPro DVT06U3 User manual

BIOS AP

BIOS AP DVPro DVT06U3 User manual

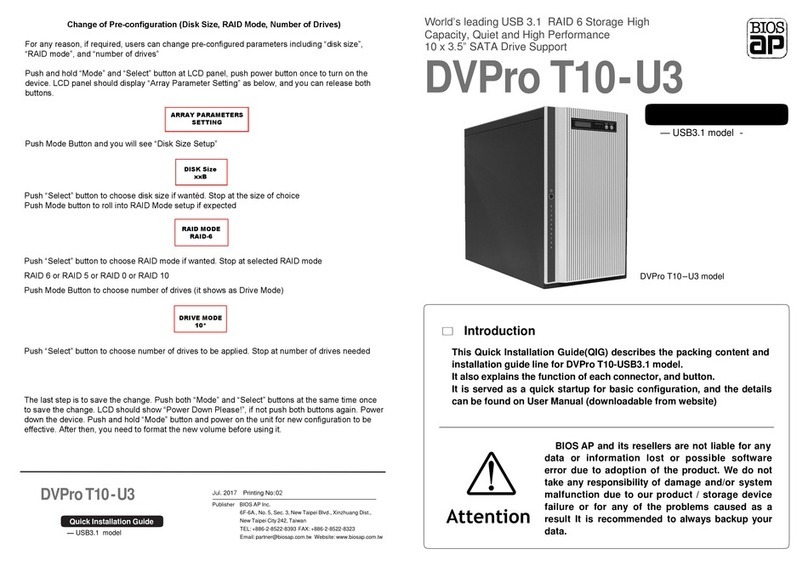
BIOS AP DVPro T10-U3 User manual

BIOS AP

BIOS AP DVPro T10-U3 User manual

BIOS AP DVPro T10-U3 User manual

BIOS AP

BIOS AP DVPro T10-U3 User manual

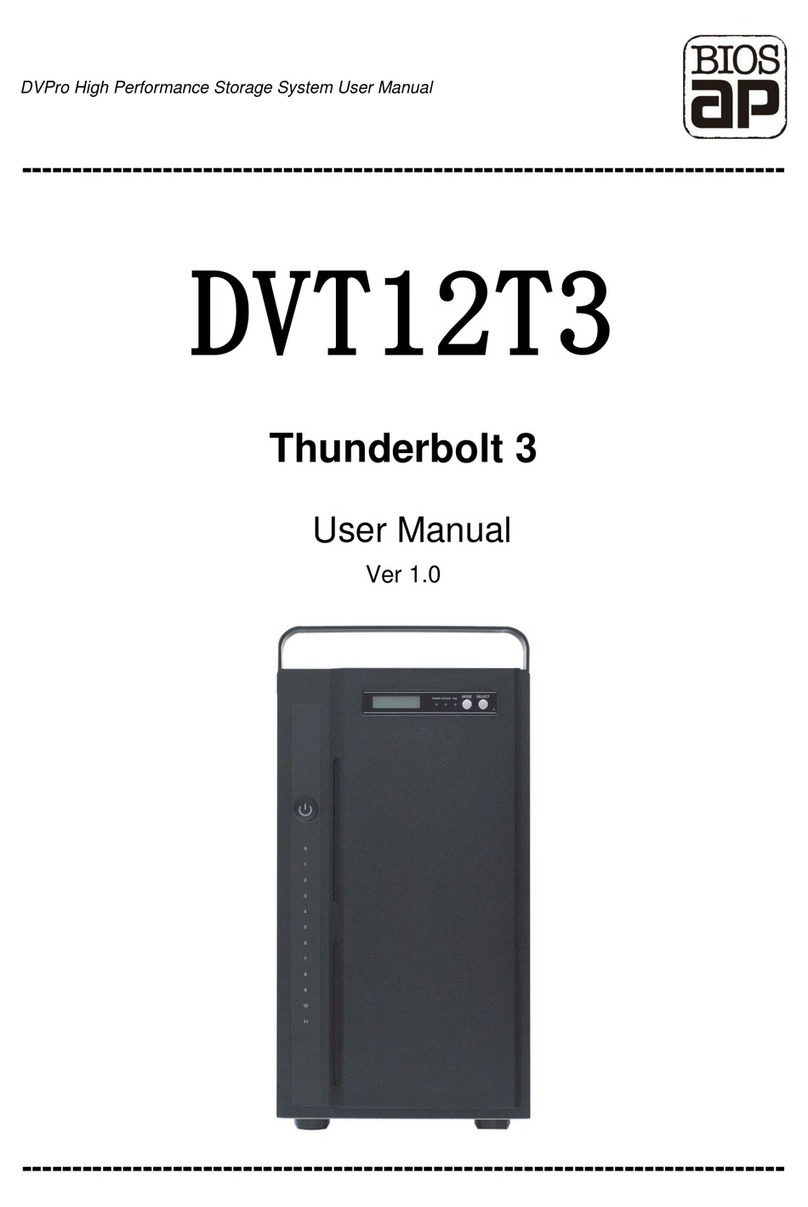
BIOS AP DVPro DVT12T3 User manual

BIOS AP

BIOS AP DVPro DVT12T3 User manual

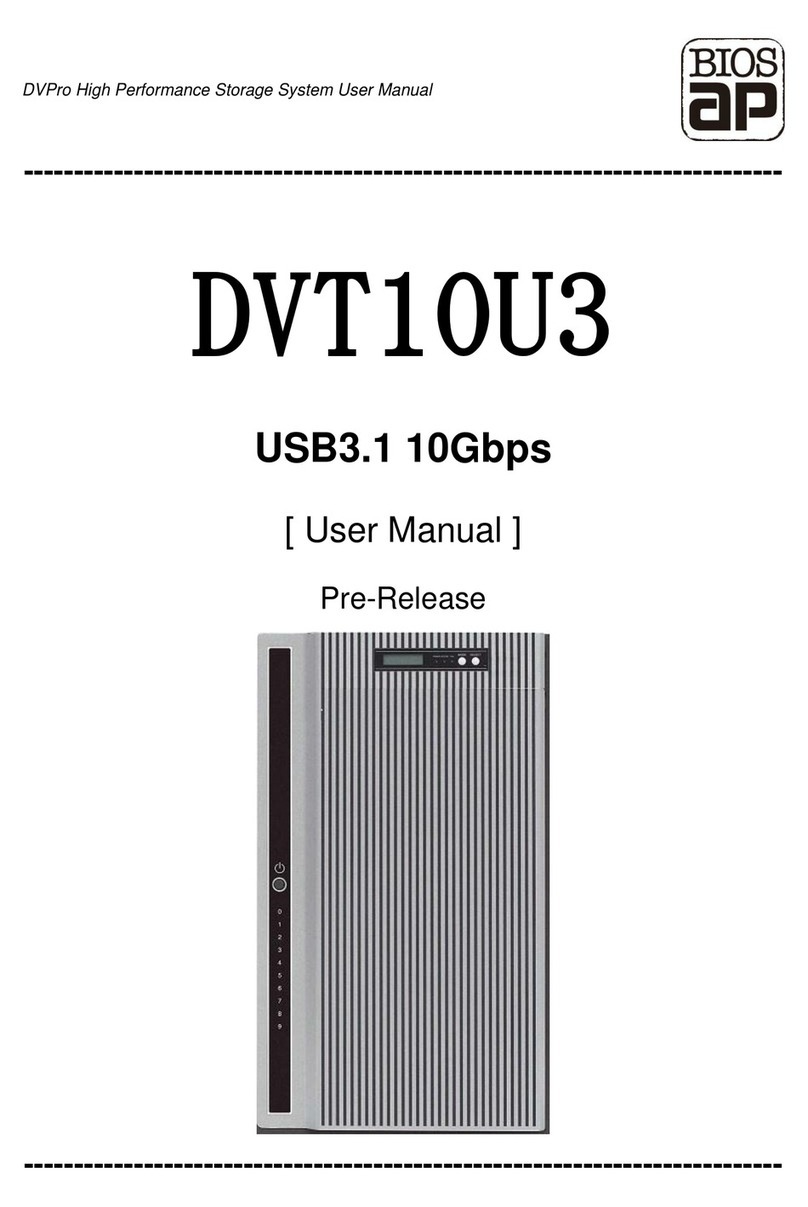
BIOS AP DVT10U3 User manual

BIOS AP

BIOS AP DVT10U3 User manual

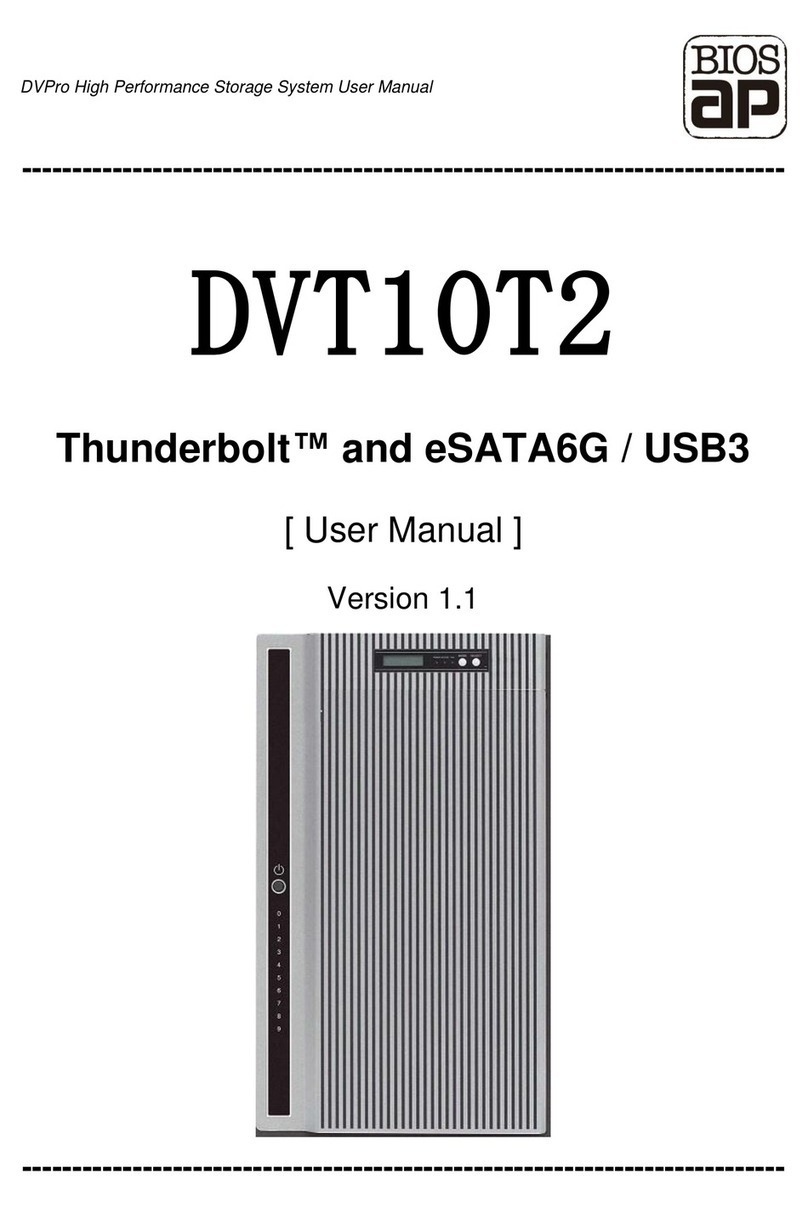
BIOS AP DVPro DVT10T2 User manual

BIOS AP

BIOS AP DVPro DVT10T2 User manual

BIOS AP DVPro T10-T2 User manual

BIOS AP

BIOS AP DVPro T10-T2 User manual

Popular Storage manuals by other brands

SanDisk SDP3B product manual

SanDisk

SanDisk SDP3B product manual

LaCie D2 BLU-RAY XL Quick install guide

LaCie

LaCie D2 BLU-RAY XL Quick install guide

LaCie 12big Rack Fibre 8 datasheet

LaCie

LaCie 12big Rack Fibre 8 datasheet

HP 3PAR StoreServ 7200 2-node instructions

HP

HP 3PAR StoreServ 7200 2-node instructions

Bull 58/88 Service Procedures

Bull

Bull 58/88 Service Procedures

HP StoreOnce 4900 Backup Start here

HP

HP StoreOnce 4900 Backup Start here

IronKey Enterprise S200 user guide

IronKey

IronKey Enterprise S200 user guide

Acomdata HD250UFAPE5 Specifications

Acomdata

Acomdata HD250UFAPE5 Specifications

HP Surestore Tape Library Model 10/180 Installation notes

HP

HP Surestore Tape Library Model 10/180 Installation notes

Sony VAIO PCGA-CDRWX1 Service manual

Sony

Sony VAIO PCGA-CDRWX1 Service manual

Philips SPE3031CC/00 user manual

Philips

Philips SPE3031CC/00 user manual

Synology DX513 user guide

Synology

Synology DX513 user guide

IBM System storage DS6000 Series Redbook

IBM

IBM System storage DS6000 Series Redbook

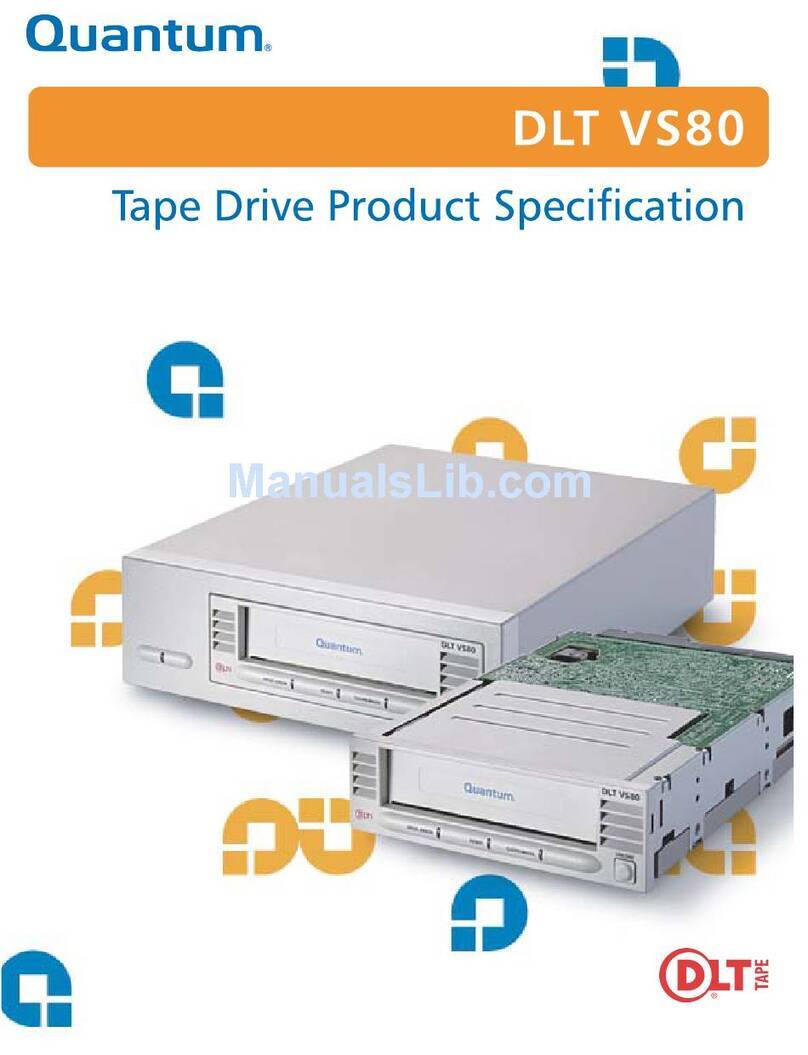
Quantum ValueLoader DLT VS80 Product specification

Quantum

Quantum ValueLoader DLT VS80 Product specification

Sun Microsystems StorEdge MultiPack Series user guide

Sun Microsystems

Sun Microsystems StorEdge MultiPack Series user guide

HP Surestore Disk Array 12h - And FC60 Quick reference guide

HP

HP Surestore Disk Array 12h - And FC60 Quick reference guide

Overland Storage NEO XL Series instructions

Overland Storage

Overland Storage NEO XL Series instructions

Azio E312-U31 Quick install guide

Azio

Azio E312-U31 Quick install guide

manuals.online logo
manuals.online logoBrands
  • About & Mission
  • Contact us
  • Privacy Policy
  • Terms and Conditions

Copyright 2025 Manuals.Online. All Rights Reserved.