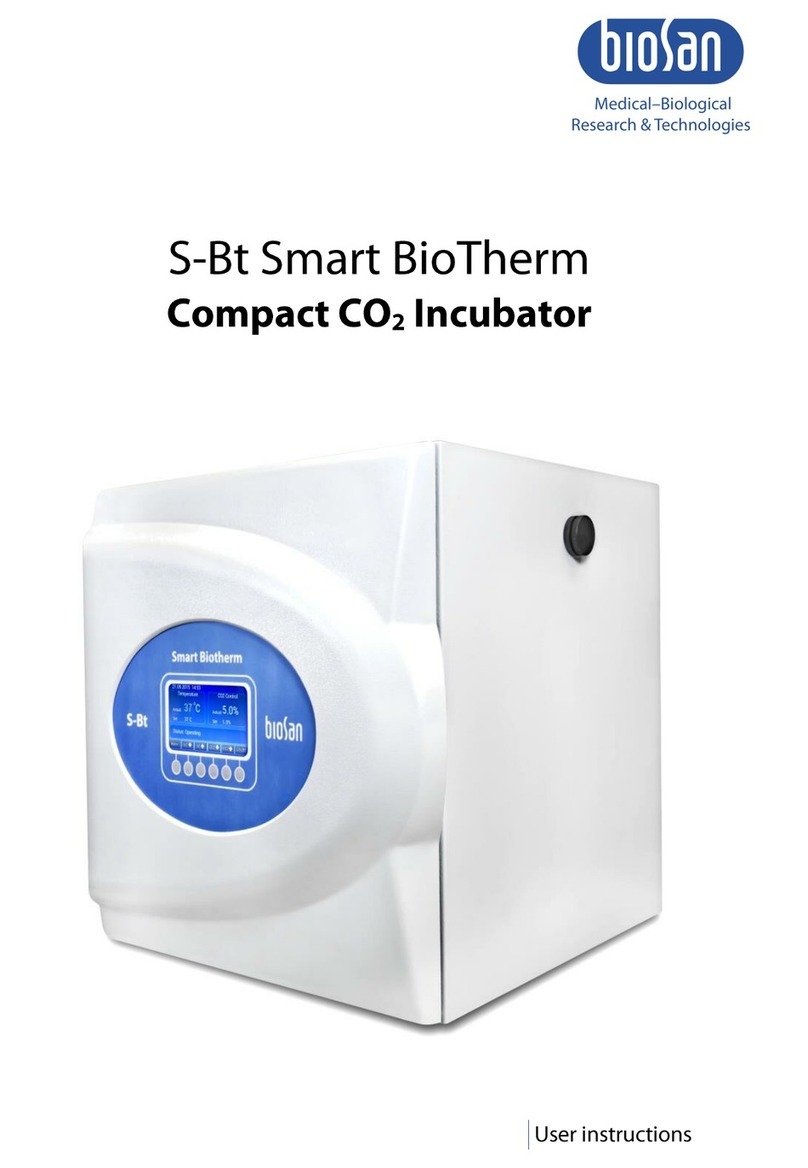
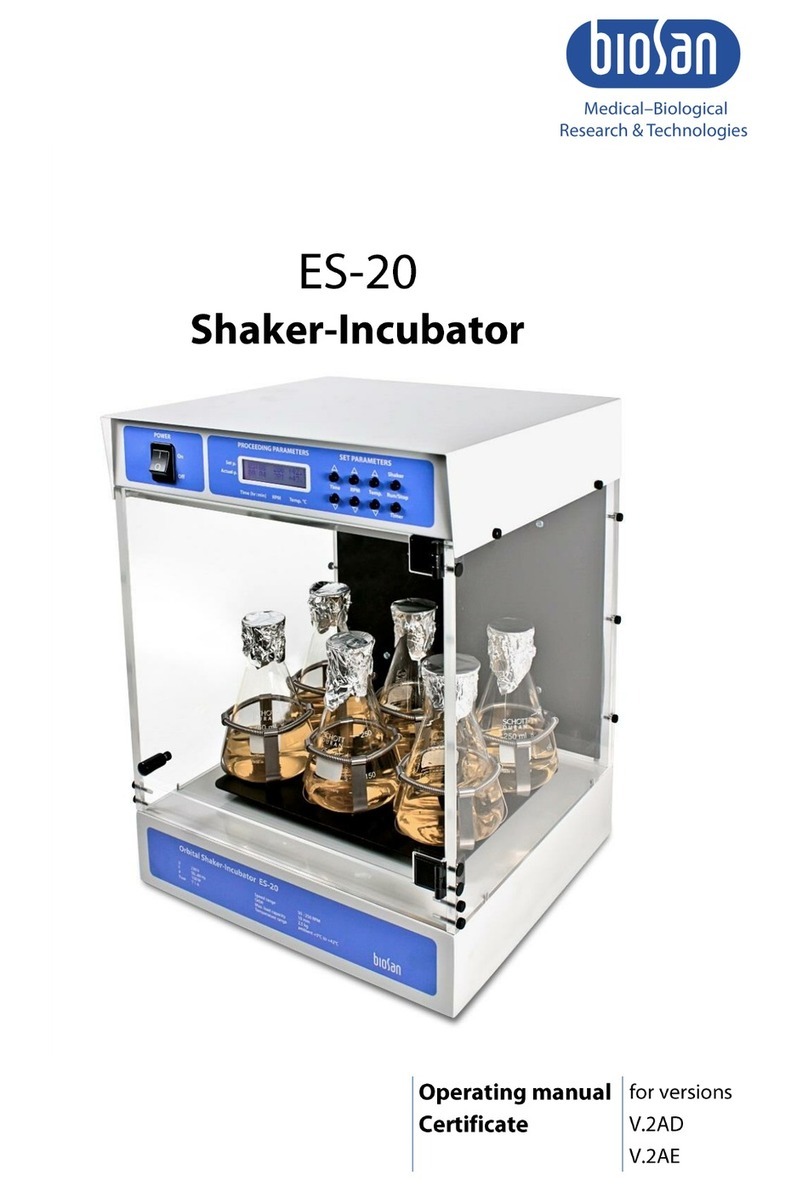
Biosan ES-20/60 User manual


2
Contents
1. Safety precautions ...................................................................................................3
2. General Information .................................................................................................4
3. Getting started..........................................................................................................4
4. Operation .................................................................................................................6
5. Specifications...........................................................................................................8
6. Maintenance.............................................................................................................9
7. Warranty and Claims..............................................................................................10
8. EU Declaration of Conformity.................................................................................11

3
1. Safety precautions
The following symbols mean:
Caution! Make sure you have fully read and understood the present Manual
before using the equipment. Please pay special attention to sections
marked by this symbol.
GENERAL SAFETY
Use only as specified in the Operating Manual provided.
Do not use a dropped or damaged unit.
Store and transport the unit in a horizontal position (see package label).
After transportation or storage and before connecting to electric circuit, keep the unit
under room temperature for 2-3 h.
Before using any cleaning or decontamination methods except those recommended
by the manufacturer, check with the manufacturer that the proposed method will not
damage the equipment.
Do not make modifications in design of the unit.
ELECTRICAL SAFETY
Connect only to electric circuit with voltage corresponding to that on the serial number
label.
Do not plug the unit into an ungrounded power socket, and do not use an ungrounded
extension lead.
Ensure that the power switch and plug are easily accessible during use.
Disconnect the unit from the electric circuit before moving.
Disconnect the plug from power socket to turn off the unit.
If liquid penetrates into the unit, disconnect it from the electric circuit and have it
checked by a repair and maintenance technician.
Do not operate the unit in premises where condensation can form. Operating condi-
tions of the unit are defined in the Specification section.
DURING OPERATION
Do not impede the platform motion.
Make sure that all sample vessels are tightly sealed. Humidity caused by evaporation
from unsealed vessels inside the incubator will damage the unit.
Do not operate the unit in premises with aggressive or explosive chemical mixtures.
Please contact manufacturer for possibility of unit operation in specific atmosphere.
Do not use outside laboratory rooms.
Do not place a load exceeding the maximum load value mentioned in the Specifica-
tions section of this Manual.
Do not operate the unit if it is faulty or has been installed incorrectly.
BIOLOGICAL SAFETY
It is the user’s responsibility to carry out appropriate decontamination if hazardous
material is spilt on or penetrates into the equipment.

4
2. General Information
ES-20/60 Orbital Shaker-incubator for biotechnological and pharmaceutical labor-
atories is a professional category equipment designed for cultivation of micro organisms cells
and eukaryotic cells, including animal, plant and insect cells. Shaker is equipped with a di-
rect-drive mechanism for platform motion. It provides reliable and stable operation for the
long term experiments needed for cell cultivation.
ES-20/60 Orbital Shaker-incubator provides smooth (or intensive) mixing in flasks
installed on the platform. Built-in thermoresistant brushless fan provides precise temperature
distribution inside the chamber (from 10°C above ambient up to +80°C). The inner chamber
is made of stainless steel. State-of-the-art motor, newest thermal insulation materials used,
program provided soft start of the platform motion and temperature regulation PID-control
decrease the energy consumption and make the shaker-incubator highly energy efficient
despite its relatively large size.
3. Getting started
3.1. Unpacking
Remove packing materials carefully and retain them for future shipment or storage of
the unit. Examine the unit carefully for any damage incurred during transit. The war-
ranty does not cover in-transit damage. Warranty covers only the units transported in
the original package.
Caution! Due to its size and weight (41 kg), the unit requires two people to lift
or move it.
3.2. Complete set. Package contents:
Standard set
- ES-20/60 Orbital Shaker-Incubator ...............................................................1 piece
- power cord ....................................................................................................1 piece
- spare fuse (inside fuse holder).......................................................................1 piece
- four screws and a wrench ..................................................................................1 set
- Operating Manual; Certificate .........................................................................1 copy
Optional accessories
- P-30/100 platform .................................................................................on request
- P-16/250 platform .................................................................................on request
- P-9/500 platform ...................................................................................on request
- P-6/1000 platform .................................................................................on request
- PP-400 platform ....................................................................................on request
- UP-168 universal platform .....................................................................on request
- FC-100, FC-250, FC-500, FC-1000 clamps for UP-168............................on request

5
3.3. Setup:
- place the unit upon even horizontal non-flammable surface at least 30 cm away
from any flammable materials;
Note! Ensure that the unit is placed on solid, level surface, which is able to
support its weight.
- remove protective film from the display;
- plug the power cord into the socket on the rear, and position the unit so that there is
easy access to the power switch and plug.
3.4. Platform installation:
- remove the silicone mat from the platform;
- secure the platform on the stands on top of the unit with the four screws using the
provided hex driver and cover the platform with the silicone mat.

6
4. Operation
Fig.1. Control panel
4.1. Connect the unit to a grounded power socket. Set the Power switch on the front side
to position I (ON).
4.2. The display will turn on with the upper line showing the previously set time, speed
and temperature and the lower line showing current readings of the same parameters
(chamber temperature °C, which automatically starts rising according to the temper-
ature set in the upper line).
4.3. Setting the parameters. Use the readings in the upper line of the display, while set-
ting the parameters required. The set parameters can also be changed during oper-
ation.
4.3.1. Setting time (Time). Using the ▲ and ▼ Time keys (Fig. 1/1) set the required work-
ing time interval in hours and minutes (increment 1 min). Pressing the key for more
than 3 s will increase the increment.
4.3.2. Speed set (RPM). Using the ▲ and ▼ RPM keys (Fig. 1/2) set the required shaking
intensity in revolutions per minute (increment 10 rpm). Pressing the key for morethan
3 s will increase the increment.
4.3.3. Temperature set (Temp.°C). Using the ▲ and ▼ Temp. keys (Fig. 1/3) set the re-
quired temperature (increment 0.1ºC). Pressing the key for more than 3s will increase
the increment.
Caution: The chamber heating can be turned off only by setting the tempera-
ture value below 25 °C.

7
4.4. Program execution.
4.4.1. Open the door and place the samples on the platform. Close the door.
Caution! Please make sure that all vessels are tightly sealed. Humidity caused
by evaporation from unsealed vessels inside the incubator will dam-
age the unit!
4.4.2. Press the RPM-Run/Stop key (Fig. 1/4). The platform will start rotating and the timer
indicator will start counting the time interval (with 1 min precision).
Note: If the speed is set to zero, pressing the RPM-Run/Stop key will start
the timer, but the platform will not move.
4.4.3. After finishing the program (after the set time elapses), the platform motion will stop
and the timer will be showing the flashing reading STOP accompanied by the repeti-
tive sound signal until the RPM-Run/Stop key is pressed.
4.4.4. If the workingtime is notset (the timer indicator in the upper line shows 00:00),press-
ing the RPM-Run/Stop key will start continuous operationof the unit (with countdown
timer in the lower line and indication OFF in the upper line) until the RPM-Run/Stop
key is pressed again.
Caution: At the end of the set time, the platform movement is stopped auto-
matically, but the heating can be stopped ONLY manually byreducing
the temperature using the Temp. key (Fig. 1/3 - lower key) till the
OFF sign appears in the upper line of the display.
4.4.5. The timer can be restarted during the unit operation if necessary. Press the Timer-
Run/Stop key once (Fig. 1/5) to stop the timer. Press the Timer-Run/Stop key again
to restart the timer.
4.4.6. The platform motion can be stopped at any time by pressing the RPM-Run/Stop key.
In this case, the program realisation and the platform motion will stop and the timer
will switch into the STOP mode saving previously set time. Press the RPM-Run/Stop
key to repeat the operation with the same time and speed.
4.5. At the end of operation set the Power switch in position O (Off). Disconnect the power
cord from electric circuit.

8
5. Specifications
The unit is designed for operation in cold rooms, incubators and closed laboratory
rooms at ambient temperature from +4°C to +40°C in non-condensing atmosphere and max-
imum relative humidity 80% for temperatures up to 31°C decreasing linearly to 50% relative
humidity at 40°C.
5.1. Temperature specification
Setting range .................................................................+25°C ... +80 °C (increment 0.1°C)
Control range ........................................................................10°C above ambient ... +80°C
Stability.......................................................................................................................±0.5°C
Heat up time to maximum temperature inside the flasks ...........................................90 min
5.2. General specification
Speed control range ........................................................50 - 250 rpm (increment 10 rpm)
Digital time setting.............................................1 min - 96 hrs (increment 1 min) / non-stop
Maximum continuous operation time........................................................................30 days
Recommended interval between operation sessions not less than 8 hours
Maximum load................................................................................................................8 kg
Orbit ...........................................................................................................................20 mm
Display ....................................................................................................... 2x16 signs, LCD
Dimensions .............................................................................................. 590x525x510 mm
Dimensions of the inner chamber............................................................. 460x350x400 mm
Operating voltage/ power consumption.............................230 V, 50/60 Hz / 450 W (2 A) or
................................................................................120 V, 50/60 Hz / 450 W (4,5 A)
Weight*......................................................................................................................41.1 kg
Optional ac-
cessories
Description
Catalogue
number
P-30/100
Platform with clamps for 30 flasks of 100 ml (360х400 mm)
BS-010135-BK
P-16/250
Platform with clamps for 30 flasks of 100 ml (360х400 mm)
BS-010135-CK
P-9/500
Platform with clamps for 30 flasks of 100 ml (360х400 mm)
BS-010135-AK
P-6/1000
Platform with clamps for 30 flasks of 100 ml (360х400 mm)
BS-010135-DK
PP-400
Flat platform with non-slip silicone mat (360х400 mm)
BS-010135-FK
UP-168
Universal platform for different flasks
BS-010135-JK
FC-100
Clamp for 100 ml flask for UP-168 platform (ø 65 mm)
BS-010126-HK
FC-250
Clamp for 250 ml flask for UP-168 platform (ø 85 mm)
BS-010126-JK
FC-500
Clamp for 500 ml flask for UP-168 platform (ø 105 mm)
BS-010126-LK
FC-1000
Clamp for 1000 ml flask for UP-168 platform (ø 130 mm)
BS-010126-IK
Biosan is committed to a continuous programme of improvement and reserves the
right to alter design and specifications of the equipment without additional notice.
* Accurate within ±10%.

9
6. Maintenance
6.1. If the unit requires maintenance, disconnect the unit from the electric circuit and con-
tact Biosan or your local Biosan representative.
6.2. All maintenance and repair operations must be performed only by qualified and spe-
cially trained personnel.
6.3. Care and Cleaning
6.3.1. Standard ethanol (75%) or other cleaning agents recommended for cleaning and de-
contamination of the stainless steel surfaces.
6.3.2. For decontamination, it is recommended to use a special DNA/RNA removing solu-
tion (e.g. DNA-Exitus PlusTM, RNase-Exitus PlusTM).
6.4. Fuse replacement.
Disconnect the power cord from electric circuit. Disconnect the power cable from the
socket on the rear of the shaker-incubator. Open the fuse holder. Check and replace
with the correct fuse if necessary: for 230 V, M 3.15 A or for 120 V, M 5.0 A (type M
- time lag: Medium).
Fig. 2. Fuse replacement

10
7. Warranty and Claims
7.1. The Manufacturer guarantees the compliance of the unit with the requirements of
Specifications, provided the Customer follows the operation, storage and transporta-
tion instructions.
7.2. The warranted service life of the unit from the date of its delivery to the Customer is
24 months, excluding optional accessories, see table in the Specifications section.
For extended warranty register the unit, see p. 7.5.
7.3. Warranty covers only the units transported in the original package.
7.4. If any manufacturing defects are discovered by the Customer, an unsatisfactory
equipment claim shall be compiled, certified and sent to the local distributor address.
To obtain the claim form, visit section Technical support on our website at link be-
low.
7.5. Extended warranty. For ES-20/60, a Premium class model, one year of extended
warranty is available free of charge after registration, during 6 months from the date
of sale. Online registration form can be found in section Warranty registration on
our website at the link below.
7.6. Description of the classes of our products is available in the Product class descrip-
tion section on our website at the link below.
Technical support
Warranty registration
Product class description
biosan.lv/en/support
biosan.lv/register-en
biosan.lv/classes-en
7.7. The following information will be required in the event that warranty or post-warranty
service comes necessary. Complete the table below and retain for your records.
Model
ES-20/60 Orbital Shaker-incubator
Serial number
Date of sale

11
8. EU Declaration of Conformity
Unit type Shakers-incubators
Models ES-20, ES-20/60
Serial number 14 digits styled XXXXXXYYMMZZZZ, where XXXXXX is
model code, YY and MM –year and month of production,
ZZZZ –unit number.
Manufacturer SIA BIOSAN
Latvia, LV-1067, Riga, Ratsupites str. 7/2
Applicable Directives EMC Directive 2014/30/EU
LVD Directive 2014/35/EU
RoHS2 2011/65/EU
WEEE 2012/19/EU
Applicable Standards LVS EN 61326-1: 2013
Electrical equipment for measurement, control and
laboratory use. EMC requirements. General requirements.
LVS EN 61010-1: 2011
Safety requirements for electrical equipment for
measurement, control, and laboratory use. General
requirements.
LVS EN 61010-2-010: 2015
Particular requirements for laboratory equipment for the
heating of materials.
LVS EN 61010-2-051: 2015
Particular requirements for laboratory equipment for mixing
and stirring.
We declare that this product conforms to the requirements of the above Directives
____________________ ____________________
Signature Signature
Svetlana Bankovska Aleksandr Shevchik
Managing director Engineer of R&D
____________________ ____________________
Date Date
Edition 2.04 –March 2017

Table of contents
Other Biosan Accessories manuals
Popular Accessories manuals by other brands

Glastender
Glastender ST24 Operation manual

Heath Zenith
Heath Zenith Decorative Wireless Chime 598-1000-07 owner's manual

Silvercrest
Silvercrest SLS 2200 B2 User manual and service information

C.P. Electronics
C.P. Electronics SPIR-F/C-IP installation guide

Vitamix
Vitamix DRIVE SOCKET Replacement instructions

SICK
SICK LFV 330 operating manual