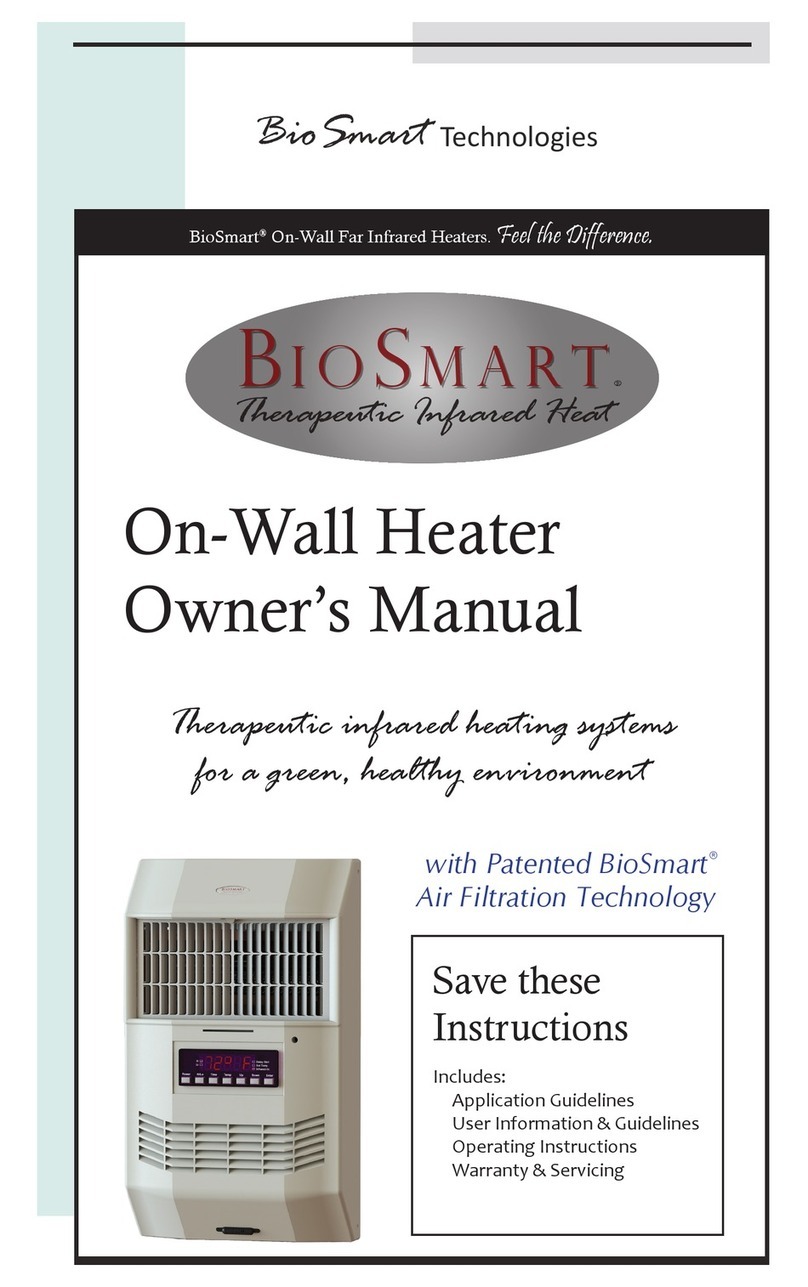
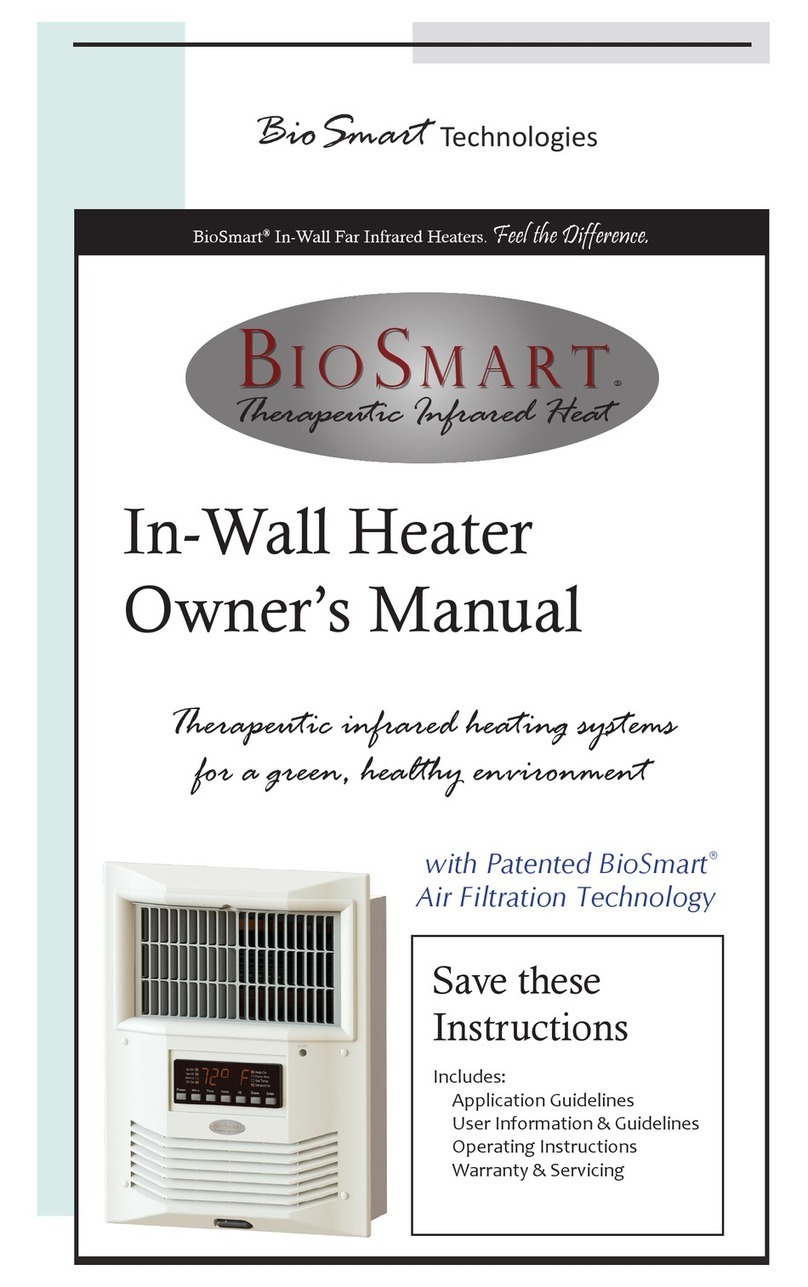
BioSmart BIO-1500PA User manual

For Models BIO-1500PA & -WA Breathe Easy Platium Edition Far Infrared Heaters
Therapeutic infrared heating systems
for a green, healthy environment
Owner’s Manual
BioSmart®
®
Therapeutic Infrared Heat
BioSmart
with BioSmart® Air Filtration Technology
Warranty & Servicing
Operating Instructions
User Information & Guidelines
Application Guidelines
Includes:
Instructions
Save these
Feel the Difference.
BioSmart® Infrared Heaters.
BioSmart Technologies

Customer/Warranty Service: 800-595-9605
Page 1
BioSmart® BIO-1500PA Breathe Easy Platinum Edition
BioSmart® BIO-1500WA Breathe Easy Platinum Edition

©2011 BioSmart Technologies
Page 2
Table of Contents
Congratulations on Your Purchase!
Comfort Levels & Therapeutic Benefits
Energy Saving Benefits
BioSmart® Heater Features & Functions
Use Restrictions
Unpacking & Heater Care
Suggestions for Best Performance
Operating Instructions at a Glance
Maintenance Instructions
Detailed Operating Instructions
Turning Power On & Off
Operating the UV Air Filtration System
Setting the Temperature
Switching Between Fahrenheit & Celsius
Setting the Timer
Calibrating the Internal Thermometer
Frequently Asked Questions
Troubleshooting Your BioSmart® Heater
BioSmart® Heater Specifications - 1500WA
3-4
5
6
9
10
11
12
13
14
15-20
15
16
17
17
18
19-20
21-22
23-24
25
BioSmart® Heater Specifications - 1500PA 26
Diagram of BioSmart® Heater - 1500WA 27
Warranty & Service Information 30
Diagram of BioSmart® Heater - 1500PA 28
BioSmart® Heater Schematic 29

Customer/Warranty Service: 800-595-9605
Page 3
Congratulations on Your Purchase!
Congratulations on purchasing your
BioSmart® Therapeutic Quartz Far Infrared Heater
with BioSmart® Air Filtration Technology!
One of the best things about using your new
BioSmart® Therapeutic Quartz Far Infrared
Heater is the money you will save on your
gas and electric bills.
You have just purchased the latest advancement in infrared heating
technology, developed by BioSmart Technologies. Your new
BioSmart® Far Infrared Heater contains our new advanced quartz far
infrared heating element design and our proprietary patented air
filtration technology, technology that is only found in BioSmart® Far
Infrared Heaters — BioSmart® Air Filtration.
The technology represents a process for filtering and purifying air by
utilizing specific processes in specific order to achieve unprecedented
levels of purification without emitting ozone or harmful by-products
back into the air. Specifically, the system consists of a double
electrostatic filament filter, Negative Ion Generator, interactive TIO2
surface coating for VOC break-down, UV emitter, double thickness gas
absorption membrane consisting of activated carbon, and a proprietary
blend of absorption materials for maximum effectiveness. The system
process is the same one utilized in SterilAir5™ Air Purifiers
manufactured by BioSmart Technologies. The system performance has
been evaluated by two independent EPA certified air-quality labs and
has received outstanding performance evaluations.
How many colds does your family get each year during the cold winter
season? Do you know the reason why? In the winter, indoor air
contains a lethal dose of mold, bacteria, virus and minute irritating

©2011 BioSmart Technologies
Page 4
molecules called volatile organic compounds. BioSmart® Far Infrared
Heaters rid your home of these contaminates while providing clean,
energy efficient far infrared heat, which is both therapeutic and saves
you money.
The average cost of a cold, per person, is about $180 when you
consider the doctor’s call, the over-the-counter medications, and
perhaps some lost school or work days. Centralized heat systems only
exacerbate the problem, spreading germs and stale indoor air
throughout every room of the house. The use of zoned, portable
BioSmart® Far Infrared Heater technology solves all these problems,
delivering heat only where it is needed and filtering out the
contaminates that cause upper respiratory infections including colds,
flu and asthma related symptoms.
If efficiency is your greatest concern, another great benefit about using
your new BioSmart® Therapeutic Quartz Far Infrared Heater is the
money you will save on gas and electric bills. Utility field tests show
that BioSmart® Far Infrared Heaters use an average of 35% less energy
than conventional electric furnace/baseboard systems. And with
current fuel prices, the BioSmart® Far Infrared Heater will save you
even more money than if you were using heating oil or gas heat. That
means drastic reductions in your heating bills—up to 50%, depending
on the type of heating system you have currently installed. BioSmart®
heat penetrates everything in the room, from top to bottom. Heat in the
room will never hover uselessly near the ceiling again.
The far infrared heating technology used in the heater also represents
the latest patent pending technology developed by BioSmart
Technologies. BioSmart® Far Infrared Heaters perform and function so
outstandingly that when you experience the therapeutic benefits of a
BioSmart® heater for 30 days you will agree that this is the best
investment you have made all year.
Thank you for your purchase!

Customer/Warranty Service: 800-595-9605
Page 5
Why Use a BioSmart® Far Infrared Heater
What Is Far Infrared Heat & How does it work?
Far infrared heat, by virtue of its shorter wave length, is able to penetrate solid
objects faster than radiant heat. The advantages of far infrared heat have been
utilized for years as a therapeutic treatment for cardiovascular and general
circulation problems.
Comfort Levels & Therapeutic Benefits of Using Far Infrared Heat with
BioSmart® Air Filtration
The comfort levels achieved when using far infrared heat are superior to those
of radiant heating systems. Far infrared heat warms the body faster so the
energy that flows into the body is greater than when being absorbed from
conventional radiant heating sources. Room temperatures of 68°F with far
infrared feel like 72°F so you can set the thermostat back 4-5 degrees and
experience the same comfort levels utilizing less energy to keep you warm
and cozy.
BioSmart® far infrared heating systems are the ultimate in green technology
engineering –exceptionally economical & extremely quiet, they produce
comfortable, healthy, therapeutic far infrared heat. BioSmart® far infrared
heating systems also sterilize the air that is processed through them making
them a sanitary source of heat for those suffering from respiratory conditions.
The BioSmart® Air Filtration system in a BioSmart® Far Infrared Heater
represents 22 years of technology developments starting in 1987 when Bruce
Searle began engineering commercial air filtrations systems for severe
residential applications and the commercial hotel industry. The first patents
for the system were filed in 1987 with multiple patents to follow representing
the latest in air filtration technology.
Your BioSmart® Far Infrared Heater contains 5 air filtration mechanisms to
insure the purest cleanest air available from a BioSmart® Far Infrared Heater.
No other heater on the market can claim the advantages of the patented
system contained in your BioSmart® Far Infrared Heater. The problems

©2011 BioSmart Technologies
Page 6
everyone faces in the winter from colds and germs not to mention the
proliferation and cross-contamination of air-born contaminates in the school
room and the office environment are eliminated when using a BioSmart® Far
Infrared Heater.
Problems with HVAC systems: With the intent of economizing and saving on
building costs, most contractors will combine the heat & air conditioning
ducts into one distribution system. This makes the cross-contamination issue
through the air conditioning ducts a potential health problem, especially for
those with respiratory sensitivities and allergies, including asthma. When
using a BioSmart® portable heating source, you eliminate the cross-
contamination through the duct work to distribute the heat through the
various rooms of a home or office. Eliminating the ductwork also eliminates
the bacteria, dust, pollen, and mold that accumulates in a conventional air
conditioning and heat duct system.
Energy Saving Benefits
Far infrared heat waves are transferred more quickly throughout the room due
to their shorter wave length. The results are impressive because it requires
less energy to heat the room evenly with far infrared heat than with radiant
heating sources. This makes far infrared heat the most cost-efficient solution
for a supplemental heating source or for heating your whole home.
If you really want to save on energy costs, the cost of heating with BioSmart®
far infrared heat is going to be spectacular. Usually a 50% savings over
conventional heat sources is achieved, even with other electrically generated
heating systems. As much as 65% savings is achieved if replacing heating oil
or other fossil fuel heating systems.

Customer/Warranty Service: 800-595-9605
Page 7
Why Use a BioSmart® Far Infrared Heater
Quiet Operation
BioSmart® Far Infrared Heaters with BioSmart® Air Filtration technology have
two heat settings corresponding to two different speeds. The low speed
setting (below 28 dB) is virtually silent and can be operated in the bedroom
without distraction. BioSmart® Far Infrared Heaters are quieter than forced air
systems and they do not have the typical cracking and popping sounds heard
when heating with baseboard heaters. The BioSmart® Far Infrared Heater has
a specially designed laminar flow fan rated at 38 dB on high, compared to the
typical 48 to 56 dB for other comparable portable heaters.
Accurate Temperature Regulation
BioSmart® portable heaters utilize state of the art electronics and internal
electronic thermostats for pin-point one degree accuracy. That means more
accurate control of comfort level settings and a warm comfortable
environment for you and your family.
Cost-Effective
Components in the BioSmart® portable heaters are designed to last 3 times
longer than in conventional heating systems. BioSmart® warranty coverage
and service procedures are simple to follow and they can be serviced usually
in 5 minutes or less, should repair be required.
Stylish & Functional
BioSmart® infrared heaters are stylish and functional with a modern but stylish
contemporary design making them an attractive addition to any room. There
are several different colors to choose from to match the décor of your home
or office.

©2011 BioSmart Technologies
Page 8
Patented Proprietary Technology
BioSmart® Far Infrared Heaters contain a host of patented and patent pending
innovations found only in BioSmart® Far Infrared Heaters. Among the
patented features of the BioSmart® Far Infrared Heater are the BioSmart® Air
Filtration system, the new heat exchanger, the new contact mechanism for the
high efficiency infrared tubes and the design parameters and functions of the
cabinet and the control panel itself.
More than 19 patents have been filed world-wide on innovations and
improvements that have been incorporated into the BioSmart® Far Infrared
Heater with BioSmart® Air Filtration. There are no imitations or substitutes in
the market place with the technology or the features offered in the BioSmart®
Far Infrared Heater. It‖s the technology that makes the BioSmart® Far Infrared
Heater a truly unique energy efficient and super clean heat source for your
home or office.
Quality Assurance
BioSmart® Far Infrared Heating systems come with C-TUV-US certifications
representing equivalent approvals both in UL and CSA classifications.
BioSmart® Far Infrared Heaters are manufactured in Taiwan and China thru
True Green Electronics, which includes a consortium of engineers, vendors
and manufacturers including AcePower Electronics, a certified ISO 9000
manufacturer and the exclusive manufacturer for True Green Electronics
heaters and air purifiers.

Customer/Warranty Service: 800-595-9605
Page 9
BioSmart® Heater Features & Functions
Front of Heater Back of Heater
Handle
Electrostatic Filter (Intake) Cord WrapCaster Wheels Cabinet
Front Grill
(Exhaust)
*Control Panel
*LED Display
(Temp/Timer)
DOWN
UP
TEMPERATURE
TIME
POWER
ENTER
*Control Panel & LED Display
Remote
Hi/Lo
UV Indicator

READ ALL INSTRUCTIONS BEFORE USING THE HEATER
SAVE THESE INSTRUCTIONS
USE RESTRICTIONS
WARNING
IMPROPER USE OF THIS HEATER COULD RESULT IN RISK
OF FIRE, ELECTRIC SHOCK, OR INJURY TO PERSONS
WARNING
ANY REQUIRED SERVICE OTHER THAN FILTER
MAINTENANCE SHOULD ONLY BE PERFORMED BY AN
AUTHORIZED SERVICE REPRESENTATIVE
CAUTION: RISK OF ELECTRICAL SHOCK
DO NOT OPEN
NO USER-SERVICEABLE PARTS INSIDE
• DO NOT plug heater into any other cord connected device such as power strip, surge
protector, multiple outlet adapter, grounding adapter, outlet-type air fresheners or extension
cords. Plug into a 3-prong 120V 15 amp or higher grounded circuit receptacle only.
• DO NOT plug the heater into a loose fitting or broken receptacle.
• DO NOT alter the heater’s design, or you will void the warranty.
• DO NOT block the front or rear of the heater.
• DO NOT place anything directly in front of the heater.
• DO NOT cover the unit as this may block airflow and cause the heater to malfunction.
• DO NOT use the heater outdoors or for heating construction sites.
• This heater is not intended for use in bathrooms, laundry areas and similar indoor
locations. Never locate heater where it may fall into a bathtub or other water container.
• DO NOT force the filter to dry using any alternative methods when performing filter
maintenance; doing so could damage the filter.
• DO NOT run cord under carpeting.
• DO NOT cover cord with throw rugs, runners, or similar coverings. Arrange cord away
from traffic area and where it will not be tripped over.
• DO NOT insert or allow foreign objects to enter any ventilation or exhaust opening as this
may cause an electric shock or fire, or damage the heater.
• Heater has hot and arcing or sparking parts inside. DO NOT use it in areas where
gasoline, paint, or flammable liquids are used or stored.
• Heater is hot when in use. To avoid burns, do not let bare skin touch hot surfaces. If
provided, use handled when moving this heater.
• DO NOT operate any heater with a damaged cord or plug or after the heater
malfunctions, has been dropped or damaged in any manner. Return heater to authorized
service facility for examination, electrical or mechanical adjustment, or repair.
• To disconnect heater, turn controls to off, then remove plug from outlet.
• Connect to properly grounded outlets only.
• To prevent a possible fire, do not block air intakes or exhaust in any manner. Do not use
on soft surfaces, like a bed, where openings may become blocked.
• Use this heater only as described in this manual. Any other use not recommended by the
manufacturer may cause fire, electrical shock, or injury to persons.
• Avoid the use of an extension cord because the extension cord may overheat and cause a
risk of fire.
• This heater is for use on 120 volts. The adapter should not be used if a three-slot grounded
receptacle is available.
• Heater must not be located immediately below a socket-outlet.
• DO NOT use this heater in or around a bath, a shower, or a swimming pool.
©2011 BioSmart Technologies
Page 10

Customer/Warranty Service: 800-595-9605
Page 11
1. FIRST, inspect the package for any obvious damage.
2. Unpack the heater: cut open taped box edges, fold back box flaps. Gently turn
entire box upside down; lift box from protective packaging.
3. Remove the protective packaging materials and turn upright; find a level and
unobstructed location to place the unpackaged heater. (NOTE: We recommend
keeping the packaging for off-season storage and any transportation in the
unlikely event that servicing is required.)
4. Plug the power cord directly into an unused, grounded 120 volt, 15 amp or
higher circuit receptacle.
5. Press the POWER button, located on the control panel. The heater‖s temperature
setting will show 72° F on the display. (NOTE: To switch between Celsius and
Fahrenheit, press the DOWN & ENTER buttons simultaneously and hold for
about 3 seconds. The display will convert automatically.)
Unpacking Your New BioSmart® Heater
Heater Care & Storage
General Maintenance and Cabinet Care
Clean the filter often to provide for maximum performance. When necessary, wipe the cabinet
clean with a soft damp cloth and/or furniture polish.
Heater Storage
When the heater is not being used for an extended period of time, observe the following steps to
preserve the life and performance of the unit:
Unplug heater (Do not unplug heater while heater is running. Please see Operating
Instructions - Turning Power Off.) - this will also help you conserve energy in your home or
office.
Gently wrap the power cord into the cord storage compartment in the back of your heater.
This will help prevent undue wear and tear on the cord.
Cover the heater to prevent dust from accumulating on or in heater.
Store heater in a dry, low dust environment.
NOTE: Before resuming use of heater, ensure the filter and front grill are clean and clear of all
dust and dirt. Also, observe the entire length of the power cord to ensure no damage has
compromised the integrity of the cord.

©2011 BioSmart Technologies
Page 12
To assure maximum performance of your BioSmart® Far Infrared Heater,
please review the following recommendations:
Do not locate the heater in an area with a high air exchange rate in and out of the
room. Heat produced should be contained in the room.
Try placing the heater near a warmer inside wall and direct the output toward a
cooler outside wall. The cooler outside wall will tend to draw the generated heat
towards it, which will allow for more efficient heating.
Placing the heater next to a cold air return will draw the heat away from the area to
be heated. Try closing or covering the cold air return. This will allow for more
efficient heating.
To ensure maximum efficiency, a 30% minimum relative humidity should be
maintained in the heated environment. This is usually not a concern.
The heater is designed to operate for maximum efficiency in the 68-74 degree
range. Due to the soft heat concept, as explained earlier, temperatures at 68 degrees
F feel as though it were 72 degrees F. This is due to the heat mixing with humidity
evenly for head-to-toe comfort.
When the heater is placed in an isolated area, i.e. basement or recreation area, any
existing HVAC heating system vents should be closed in that area, if possible. This
allows the heater to maintain the isolated area more efficiently.
If placing the heater a few feet above the floor, such as in rooms with large areas of
bare concrete, make sure the heater is secure and won‖t fall. This will allow for
more efficient heating since concrete acts as a heat sink and will tend to draw the
heat in its direction. Optimally, concrete floors should be covered to provide some
insulation factor from the concrete.
Set your central heating system to a lower temperature. Place the heater in the area
you spend the most of your time. Now set the heater to your comfort level. There is
no point in heating multiple rooms to 68+ degrees F when not in use.
When heating larger areas, place the heater in a central location.
If the heater is used in an extremely dirty or dusty area, the filter must be cleaned
more frequently to maintain heater performance.
Suggestions for Best Performance

Customer/Warranty Service: 800-595-9605
Page 13
Turning Power On
Press the POWER button on the left side of the Control Panel. The heater‖s quartz heating
elements will light up inside the heater. After a few minutes, once the air within the heater is
warm, the heater fan will begin to operate.
Turning Power Off
Press the POWER button located on the left side of the Control Panel. The sound of the heater
fan will continue until the heat has been completely vented, thus protecting the unit and
preventing waste by cycling the remaining heat into the room. (NOTE: DO NOT unplug the
heater until the sound of the fan has stopped. Doing so may cause damage to the unit.)
Setting the Temperature
This feature allows you to set the temperature your heater will maintain.
1. Press the temperature (TEMP) button on the Control Panel; the SET TEMP indicator will
illuminate and the temperature display will flash.
2. Use the UP and DOWN buttons to select the temperature and press Enter.
3. The SET TEMP light will turn off, and the temperature is now set.
Setting the Timer
This feature allows you to set a future time for the heater to turn itself on. For example, if you set
the time for 1 hour, the heater will turn on in 1 hour.
1. Turn the power off (heater must be powered off to use the timer feature).
2. Press the TIME button on the Control Panel—the two zeros to the right will flash (:00),
indicating 0 minutes have been set, and the DELAY START indicator will illuminate.
3. Press the UP or DOWN button to select desired number of minutes (up to 59 minutes) that
you would like the heater to wait to turn itself on.
4. Press the ENTER button—the two zero buttons to the left will flash (00:), indicating 0 hours
have been set.
5. Press the UP or DOWN button to the desired number of hours (up to 24 hours), and then
press the ENTER button.
6. DELAY START indicator will flash until the unit comes on after waiting the period of time
you have set.
To cancel the timer, press the power button and the timer will stop.
Switching Between Fahrenheit & Celsius
Press the DOWN & ENTER buttons simultaneously and hold for about 3 seconds. The display
will update automatically.
Operating Instructions at a Glance:

©2011 BioSmart Technologies
Page 14
The only maintenance that is required for the heater is the periodic cleaning of the heater’s
electrostatic filter (located at the back of the unit). This cleaning should be performed at least
once a month, or as dust becomes visible on the filter, to ensure efficient operation of the heater.
Cleaning the Electrostatic Filter
1. Power the heater off by pressing the POWER button, located on the left side of the Control
Panel. (NOTE: The sound of the heater‖s fans will continue until the heat has been completely
vented, thus protecting the unit and preventing waste by cycling the remaining heat into the
room. DO NOT unplug the heater until the sound of the fan has stopped. Doing so may cause
damage to the unit.)
2. When the heater‖s fans have stopped (the heater will become completely silent), unplug the
heater .
3. Release the electrostatic filter by pushing the filter up from below .
4. Remove the electrostatic filter by pulling the filter down and out.
5. Clean the filter by vacuuming the filter until clear.
6. Replace the filter by sliding the top upwards into the spring-loaded slot on the back of the
heater, then gently press the bottom of the filter into place.
Maintenance Instructions
Back of Heater
Electrostatic with BioSmart® Hy-
drocarbon Absorption Filter
Electrostatic Filter

Customer/Warranty Service: 800-595-9605
Page 15
Turning Power On
1. Press the POWER button on the left side of the Control Panel. The
heater‖s quartz heating elements will light up inside the heater.
2. After a few minutes, once the air within the heater is warm, the
heater fan will begin to operate.
Turning Power Off
1. Press the POWER button located on the left side of the Control
Panel. DO NOT UNPLUG the heater, read further instructions:
2. The sound of the heater fan will continue until the heat has been
completely vented, thus protecting the unit and preventing waste
by cycling the remaining heat into the room. (NOTE: DO NOT
unplug the heater until the sound of the fan has stopped. Doing so
may cause damage to the unit.)
Detailed Operating Instructions
LED Display and Control Panel for Turning the Power On/Off

©2011 BioSmart Technologies
Page 16
Operating the UV Air Filtration system.
This unit is designed to be run with or without UV processing and air
purification. In order to activate the TIO2 membrane, ionizer and UV emitter
for maximum benefit of the air filtration system, it is necessary to turn the
system on by pressing the ENTER button on the control panel or the remote
control.
Pressing the ENTER button will sequence you through three options. You can
choose to operate heater without the air purification by pressing the ENTER
button and the appropriate LED lights on the front of the control panel will
indicate that just the heater is operating.
You can choose to operate just the air purification year ―round without the
heater on by pressing the ENTER button and the appropriate LED lights on the
front of the control panel will indicate that just the air purifier is operating.
Lastly, you can push the ENTER button again and the LED lights on the front
control panel will indicate that both systems are operating simultaneously.
When both systems are turned on simultaneously, the UV and ionizer operate
when the fan turns on to circulate the air through the heater. When just the
air purifier is turned on, the fan operates full time on High or Low and the UV
and ionizer remain on continuously.
Detailed Operating Instructions
UV Indicator BIO-1500WA
BIO-1500PA

Customer/Warranty Service: 800-595-9605
Page 17
Setting the Temperature
This feature allows you to set the temperature your heater will
maintain.
1. Press the temperature (TEMP) button on the Control Panel; the SET
TEMP indicator will illuminate and the temperature display will
flash.
2. Use the UP and DOWN buttons to select the temperature
3. Press Enter.
4. The SET TEMP light will turn off, and the temperature is now set.
Detailed Operating Instructions
LED Display and Control Panel for Setting the Temperature
Switching Between Fahrenheit & Celsius
Press the DOWN & ENTER buttons simultaneously and hold
for about 3 seconds. The display will update automatically.

Page 18
Detailed Operating Instructions
Setting the Timer
This feature allows you to set a future time for the heater to turn itself on. For
example, if you set the time for 1 hour, the heater will turn on in 1 hour.
1.Turn the power off (heater must be powered off to use the timer feature).
2.Press the TIME button on the Control Panel—the temperature setting that
the heater will turn on at will appear. Press the TIME button again, the two
zeros to the right will flash (:00), indicating 0 minutes have been set, and
the DELAY START indicator will illuminate.
3.Press the UP or DOWN button to select desired number of minutes (up to
59 minutes) that you would like the heater to wait to turn itself on.
4.Press the ENTER button—the two zero buttons to the left will flash (00:),
indicating 0 hours have been set.
5.Press the UP or DOWN button to the desired number of hours (up to 24
hours), and then press the ENTER button.
6.DELAY START indicator will flash until the unit comes on after waiting the
period of time you have set.
7. To cancel the timer, press the power button and the timer will stop.
LED Display and Control Panel for Setting the Timer
©2011 BioSmart Technologies

Customer/Warranty Service: 800-595-9605
Page 19
The base-line calibration of the internal thermometer in the heater can
be re-calibrated to match the room thermometer if it is not sufficiently
accurate the way the heater arrived from the factory.
This procedure can be completed directly with the PCB controls on
the front panel. Instructions for using the PC Board controls to change
the base-line thermometer setting inside the heater are as follows:
1. Turn the heater on.
2. Determine base-line room temperature in the heater by pressing
"up" and "down" at the same time. The room temperature detected
by the heater thermostat will be displayed on the screen for 15
seconds. This may or may not correspond with the wall thermostat
setting. This is what you are about to change.
3. Release the buttons and wait for 15 seconds for the unit to return
to its regular functions.
4. To continue with the recalibration, press "up" and "enter" at the
same time and hold until the room temperature appears on the
display.
5. Press "enter" again. Ignore the existing number which is -9 to +9.
Calibrating the Internal Thermometer
This manual suits for next models
1
Table of contents
Other BioSmart Heater manuals
Popular Heater manuals by other brands

Electrolux
Electrolux ECH/AT-1500 3AI-W EEC user manual

Nu-Flame
Nu-Flame SYNERGY ELLESSE T Use, installation & servicing instructions

Schaefer
Schaefer HotZone Patio Heater Installation & operation instructions

Sawo
Sawo SCANDIA SCA-45NB manual

Dimplex
Dimplex DX 422 T Installation and operating instructions

Wilfa
Wilfa GLOW operating instructions