BioSpec Products Mini-BeadBeater 96 User manual

Version 1.2018
––Mini-BeadBeater 96 ––
115 volt Model Number –1001
230 volt Model Number –1001EUR
BioSpec Products, Inc.
Bartlesville, OK, USA
www.biospec.com

Mini-BeadBeater 96 User’s Manual
Page 2 of 15
Table of Contents
Safety....................................................................................................................3
Product Introduction..............................................................................................4
Specifications........................................................................................................5
Warranty...............................................................................................................5
Getting Started......................................................................................................6
Unpacking .........................................................................................................6
Set Up...............................................................................................................7
Operation..............................................................................................................8
Controls.............................................................................................................8
Loading Vials...................................................................................................10
Processing ......................................................................................................12
Maintenance .......................................................................................................13
Cleaning..............................................................................................................13
Accessories and Parts........................................................................................14

Mini-BeadBeater 96 User’s Manual
Page 3 of 15
Safety
CAUTION or WARNING indicator describes safety infractions that are
capable of causing injury or damage to the equipment.
CAUTION: The Mini-BeadBeater 96 is a laboratory beadmill designed for
homogenizing microbial cells and plant and animal tissues. Do not modify
or use this product in a manner other than it was intended. To do so may
cause personal injury or damage to the unit and will void the
manufacturer’s warranty.
Mini-BeadBeater 96 User’s Manual
Page 4 of 15
Product Introduction
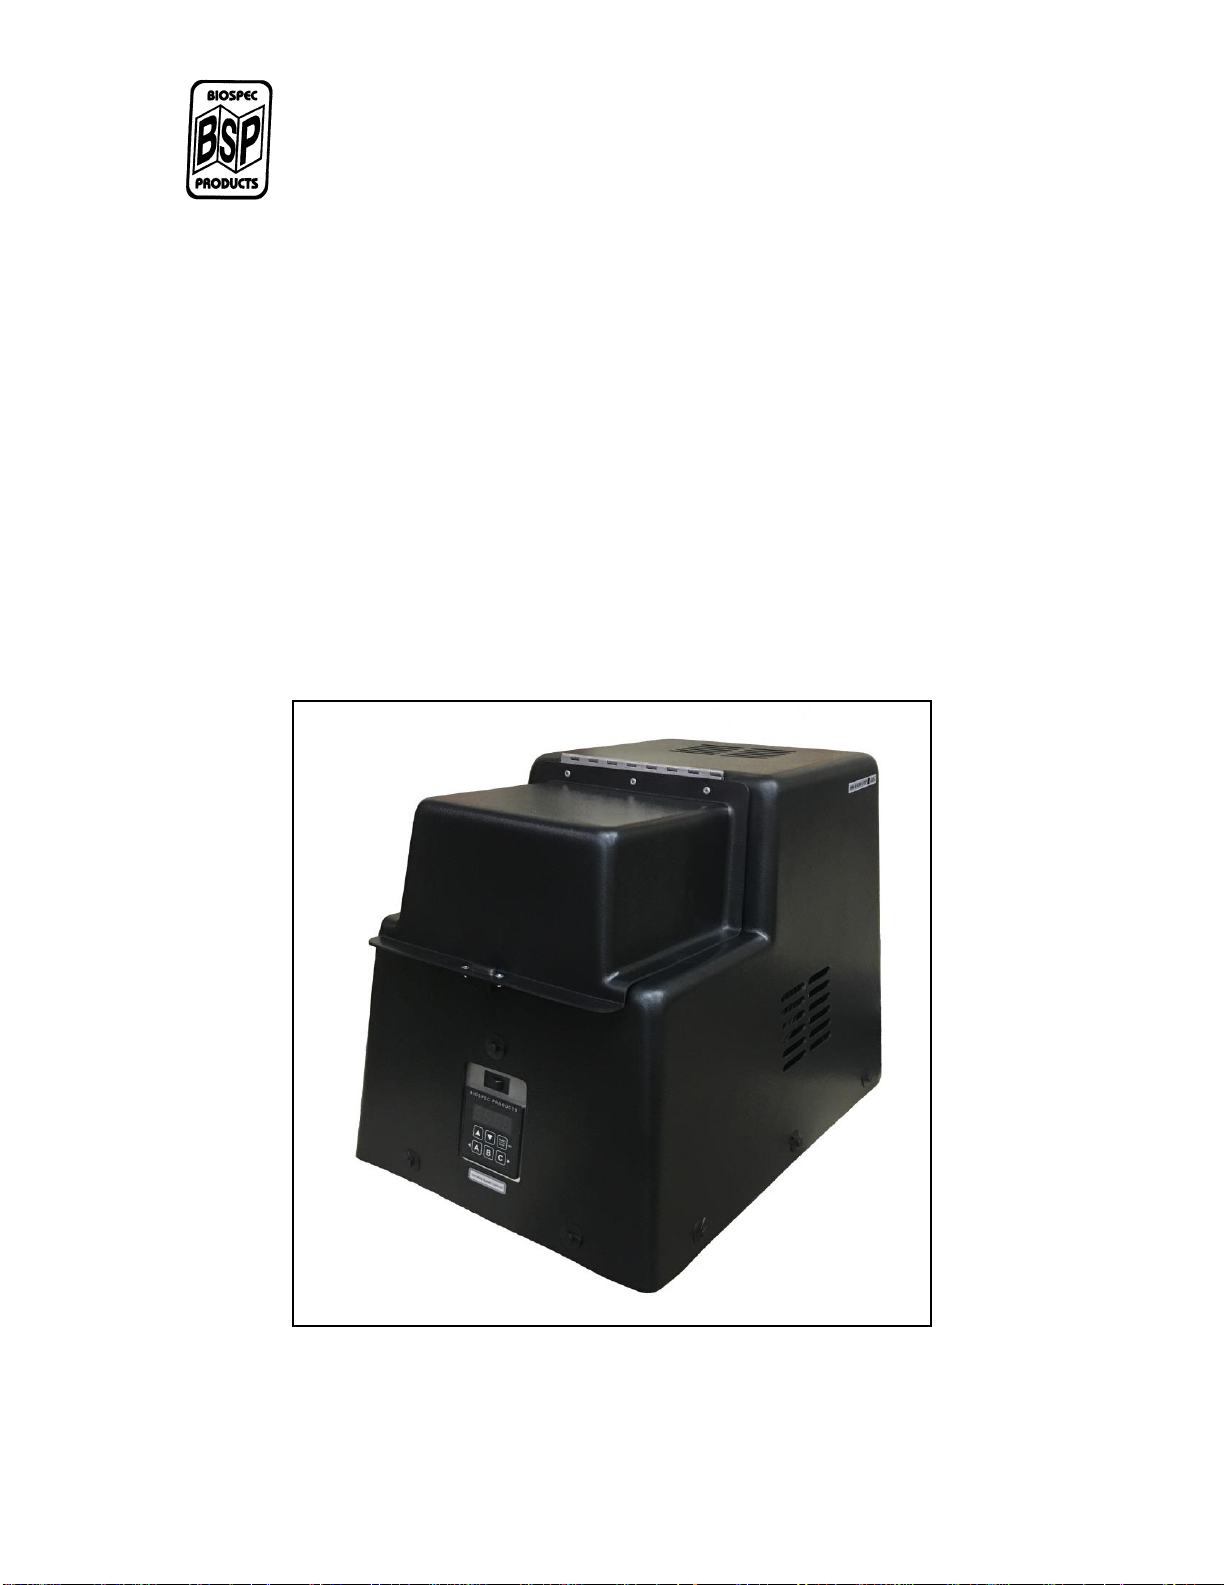
The Mini-BeadBeater 96 disrupts microbial cells and plant and animal tissue by
violently agitating up to forty-five 2 ml screw-cap microvials or a 96 place deep-
well microplate containing small ceramic or steel beads and disruption buffer.
Even resistant samples like spores or fibrous tissue are completely homogenized
in 2- 3 minutes in 0.1 to 1 ml of extraction medium. The high-speed mill can also
be used to dry-grind friable or hard frozen samples.
Mini-BeadBeater 96

Mini-BeadBeater 96 User’s Manual
Page 5 of 15
Specifications
Controls: Programmable digital timer, 1 second to 5 minute
runtime.
Digital speed control, variable from 1400-2400 rpm.
Power: 115 volt, 50/60 Hz, 20 amps or 230 volt, 50/60Hz, 10
amps
Stroke: 1.25 inches (3.175 cm)
Weight: 125 pounds (57 kg)
Dimensions: 16 x 24 x 18 inches (41 x 61 x 46 cm)
Operating Temperature: 10°C to 35°C
Note: The Mini-BeadBeater 96 is for research use only. Not certified or intended
for use in medical diagnosis or treatment.
Warranty
BioSpec Products, Inc. warranties this product against defects in materials and
workmanship for two years from the original date of purchase from BioSpec.
During that warranty period the product will be repaired or replaced, at the option
and expense of BioSpec Products. This warranty does not apply in the cases of
abuse, mishandling, or unauthorized repair. Always operate the product in the
manner that it was intended.
See www.biospec.com/terms/ for additional Terms and Policies.

Mini-BeadBeater 96 User’s Manual
Page 6 of 15
Getting Started
Unpacking
CAUTION: The Mini-BeadBeater 96 is a heavy instrument. Two people
are required for unpacking.
Using a flat-blade screwdriver, unfold the metal tabs that secure the top and
sides of the crate together. Once unfolded, the top and sides of the crate can be
removed from the bottom portion.
The Mini-BeadBeater 96 is bolted to a wooden shipping brace for transportation.
This brace is screwed to the bottom of the crate. Using a Philips screwdriver
remove the screws that secure the wooden shipping brace to the bottom of the
crate. Transfer the Mini-BeadBeater 96, still attached to the wooden shipping
brace, to a table or bench. Tip the Mini-BeadBeater 96 backwards so that it rests
on the side with the power inlet and the wooden brace faces you. Remove the
four, ½ inch hex head bolts on the bottom of the wooden shipping brace to
release the brace. Finally, with your helper, move your Mini-BeadBeater 96 to
your lab bench.
CAUTION: Do not remove the four bolts in the center of the rubber feet of
the Mini-BeadBeater 96. Do not turn the Mini-BeadBeater 96 upside
down.

Mini-BeadBeater 96 User’s Manual
Page 7 of 15
Set Up
Locate the Mini-BeadBeater 96 near an appropriate electrical outlet. With the
rocker switch in the off position, connect the power cord to the appliance outlet
on the back of the unit. Now plug the power cord into the electrical outlet. Avoid
using extension cords.
WARNING: The Mini-BeadBeater 96 is available in 115 and 230 volt
versions. To prevent damage to your Mini-BeadBeater- 96, only plug your
unit in to an outlet that provides a compatible voltage. The Mini-
BeadBeater 96 is not designed for use inside a cold room.
Mini-BeadBeater 96 User’s Manual
Page 8 of 15
Operation
Controls
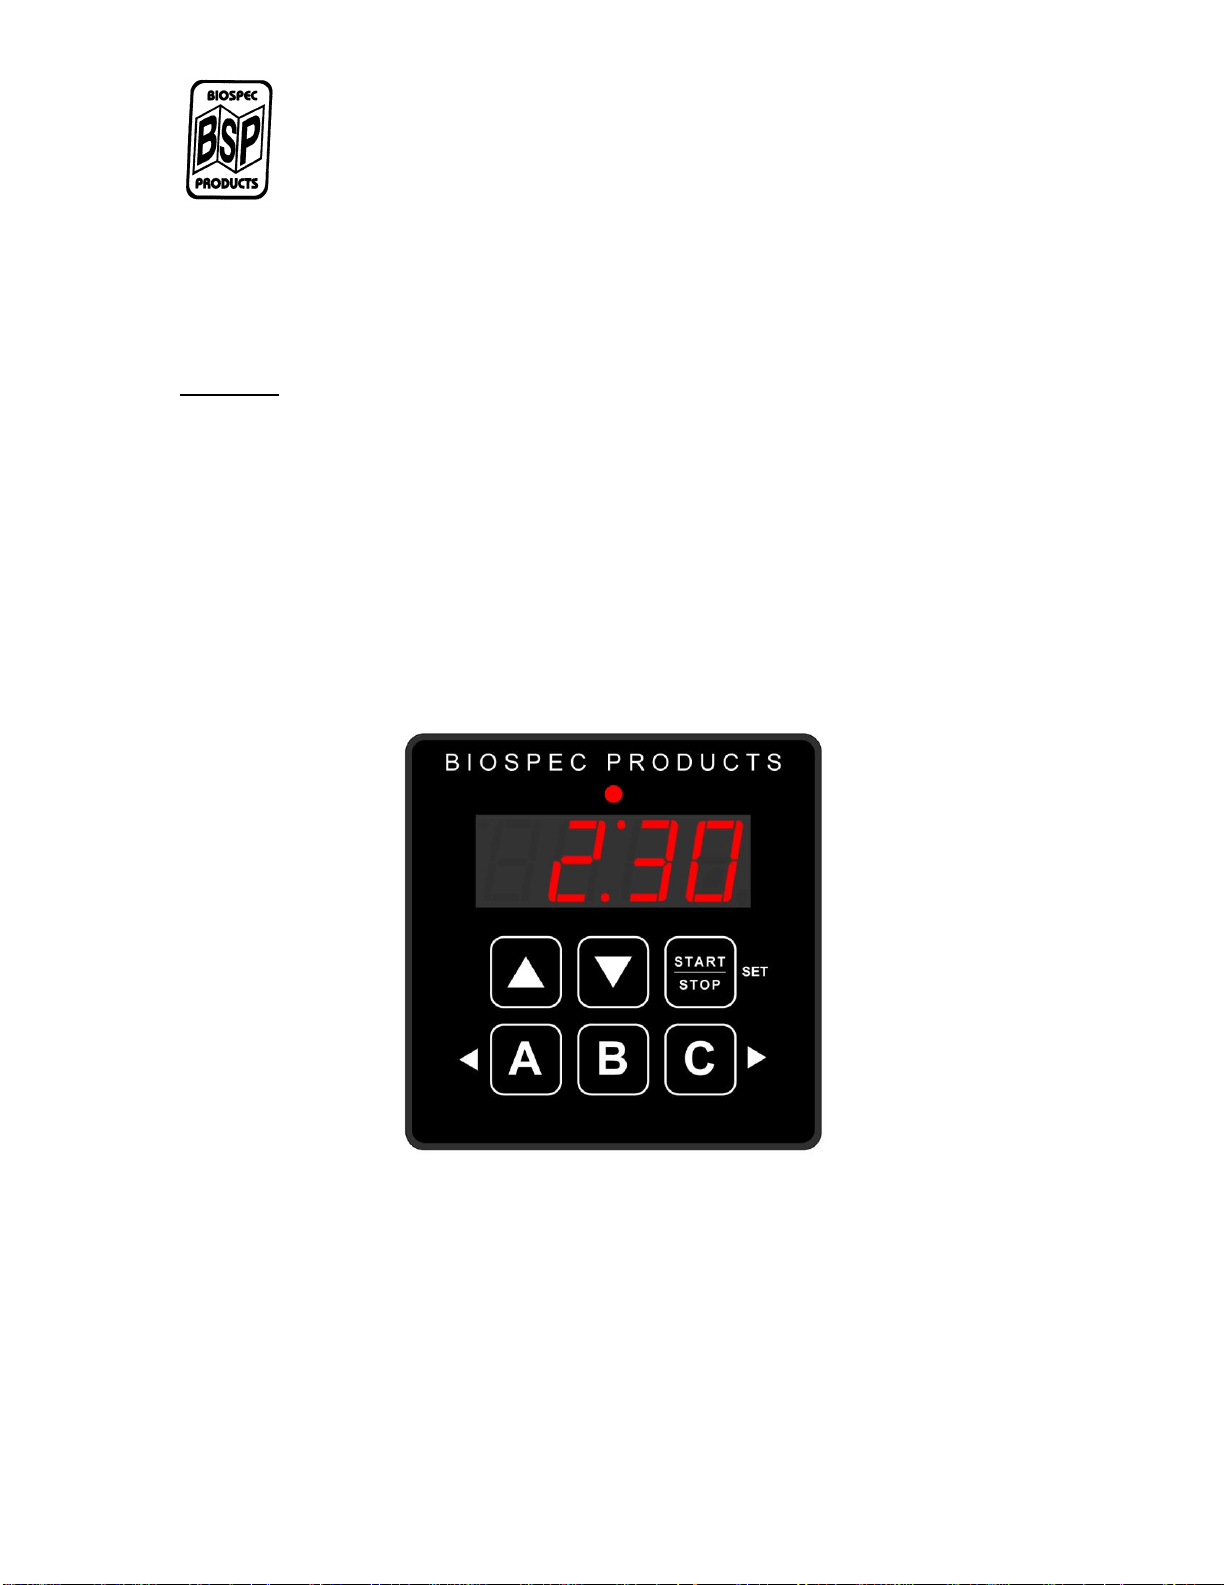
Our variable RPM controller allows greater operational flexibility of your Mini-
BeadBeater 96.
This controller offers timing cycles from 0 to 5 minutes, and includes digital RPM
control from 1400 to 2400 rpm. The controller also provides presets that allow
for up to three time/speed combinations to be stored for easy retrieval.
Figure 1
When power is applied to the controller it reads the last time and RPM values
used and displays the time. Pressing the [Start/Stop] button will run another
timing cycle for the preset speed to the motor controller. During the timing cycle
the LED above the display flashes and the display changes back and forth from
the countdown time and the programmed RPM. Pressing [Start/Stop] during the

Mini-BeadBeater 96 User’s Manual
Page 9 of 15
timing cycle stops the machine, shows the time, and blinks the LED display to
show that it is paused. Pressing [Start/Stop] again continues the timing cycle.
When paused, pressing and holding the [Start/Stop] button for 2 seconds will
cause the controller to reset to the beginning of the cycle and it emits a double
chirp.
Editing Time & Speed
The controller always operates from the current time and RPM value in memory.
To edit the time and RPM values press both the [▲] and [▼] buttons and the
display shows Edit. Release the buttons and the controller displays the current
time with the last digit highlighted
Pressing the [▲] or the [▼] button will increase or decrease that digits
value.
Pressing the ◄[A] button moves the highlight to the next digit to the left, if
you are on the leftmost digit it will wrap around to the rightmost digit.
Pressing the [C]► button moves the highlight to the next digit to the right,
if you are on the rightmost digit it will wrap around to the leftmost digit.
Once the time value is set properly press the [Start/Stop]SET button to
edit the RPM value.
The RPM value is displayed with only the 100's value highlighted; the left and
right arrows are not used when adjusting the RPM value. Use the [▲] or the [▼]
buttons to change the RPM value, increasing the RPM value past the range limits
will wrap around to the lowest value and vice versa. Once the RPM value is set,
pressing the [Start/Stop]SET button to saves both RPM and time values.
With the time and RPM values set, simply press the [Start/Stop] to start the
machine.

Mini-BeadBeater 96 User’s Manual
Page 10 of 15
Using the Presets
The controller always operates from the current time and RPM value in memory.
The [A],[B], and [C] preset buttons can be used to save and recall these values
for usage in the future.
Recalling the saved time and RPM values is easy, simply touch one of the preset
buttons and the controller reads the saved values for that button, displays the
time for one second, then the RPM for one second, then returns to displaying the
time. The controller is now ready to run a timing cycle by simply touching the
[Start/Stop] button.
Saving a time and RPM value is also a simple process. Edit the current time and
speed per the previous section, then press and hold the preset button for two
seconds until the controller chirps twice. The current time and RPM values are
now saved to that preset.
Loading Vials
1. Open the black plastic Safety Lid to access the vial rack holder.
2. Loosen the White Wingnuts and Black Knobs and slide the Front Plate
forward to allow room to insert the vial rack or microplate.
3. Load sample vials into the vial rack. When using the microvial rack, insert
a minimum of four microvials (vials may be empty if processing less than
four samples) into the four corners of the rack. Distribute additional tubes
symmetrically. (Disregard this step if using a microplate.)
CAUTION: Always load a minimum of 4 vials into each corner of the vial
rack. Failure to do so may result in damage to the instrument.

Mini-BeadBeater 96 User’s Manual
Page 11 of 15
4. Place the rack of microvials or the microplate (if using 1 ml deep well
microplates you can stack two at a time) into the rack holder, top side
toward you.
5. Screw down the Black Knobs until the Front Plate is in contact with the
microvial caps or the top of the microplate(s). Tighten the Black Knobs
and White Wingnuts firmly, but do not over tighten. The vial rack or
microplate should now be held firmly in position.
6. Finally, close the Safety Lid. The Mini-BeadBeater 96 will not operate
unless the Safety Lid is in the closed position.
Figure 2

Mini-BeadBeater 96 User’s Manual
Page 12 of 15
Processing
With your sample loaded into the Mini-BeadBeater 96, you are now ready to
process your samples.
1. Turn on both power switches. One located on back of machine and one
above the controller in the front.
2. Set your desired time - typically 2-3 minutes.
3. Select your appropriate RPM - almost always maximum, 2400 RPM.
4. Press the [START/STOP] button to begin operation.
The controller will count down to the end of the cycle. At the end of the run, the
controller will beep and reset itself to the beginning of the cycle.
Note: Guidelines on bead selection and the proper filling of the vials with beads,
extraction media, and sample are available at our web site:
www.biospec.com.

Mini-BeadBeater 96 User’s Manual
Page 13 of 15
Maintenance
The Mini-BeadBeater-96 requires no scheduled maintenance or lubrication. All
bearings are lubricated and sealed at the factory. A periodic visual inspection of
the rack holder for wear to the knobs, wingnuts, and/or screws is recommended.
These items are simple to replace and are available from BioSpec.
These replacement parts are available under the Parts and Accessories section
at www.biospec.com.
Cleaning
The Mini-BeadBeater 96 should be cleaned immediately if sample solutions or
reagents are spilled on or in the unit. Use a cloth or paper towel moistened with
water or a general cleaning solution.
CAUTION: If infectious agents are used in the unit, spills should be
cleaned immediately following appropriate decontamination procedures.
Contaminated units should be kept in an appropriate biosafety facility and
maintained by personnel trained in handling contaminated equipment.

Mini-BeadBeater 96 User’s Manual
Page 14 of 15
Accessories and Parts
Item Number
Description
Image
1001HR
Vial Holder Repair Kit
1001K
Replacement Knobs, 2 pkg
1001W
Replacement Wingnuts, 2 pkg
702VH45
2.0 ml Vial Rack
504VH12
7 ml Vial Rack

This manual suits for next models
2
Table of contents


