manuals.online logo
Brands
  1. Home
  2. •
  3. Brands
  4. •
  5. BJ TAKE
  6. •
  7. Lantern
  8. •
  9. BJ TAKE BLVN Series User manual

BJ TAKE BLVN Series User manual

BJ Take Inc
220 Ramsey Drive Dunnville, ON N1A 0A7 1of 3
BLVN Series
LED Surface/Suspended Ambient Luminaire
Important Safeguards:
When using electrical equipment, basic safety
precautions should always be followed including the
following:
Read and follow all safety instructions
1. Danger - Risk of shock - Disconnect power
before installation
2. Product must be installed in accordance with
CEC or your local electrical code. If you are
not familiar with these codes and requirements,
consult a qualified electrician.
SAVE THESE INSTRUCTIONS FOR FUTURE
REFERENCE
Notes:
•Available luminaire length is 4’.
BLVN Options Available:
•Motion Sensor
Installation Instructions:
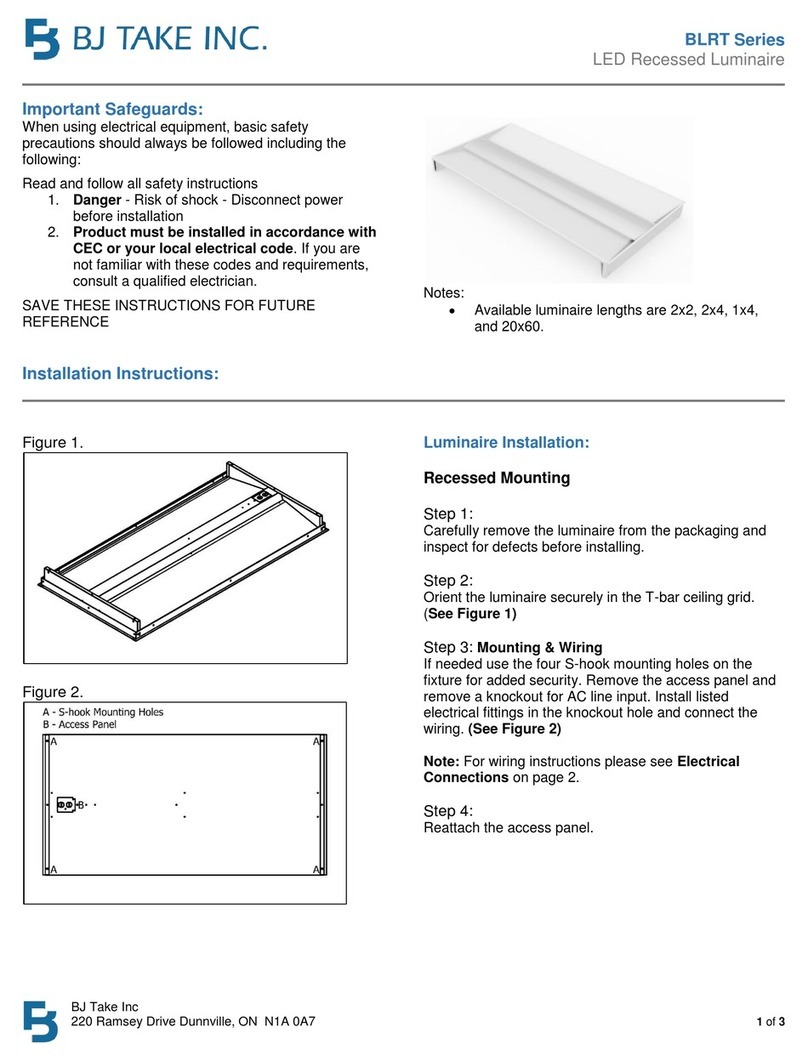
Figure 1.
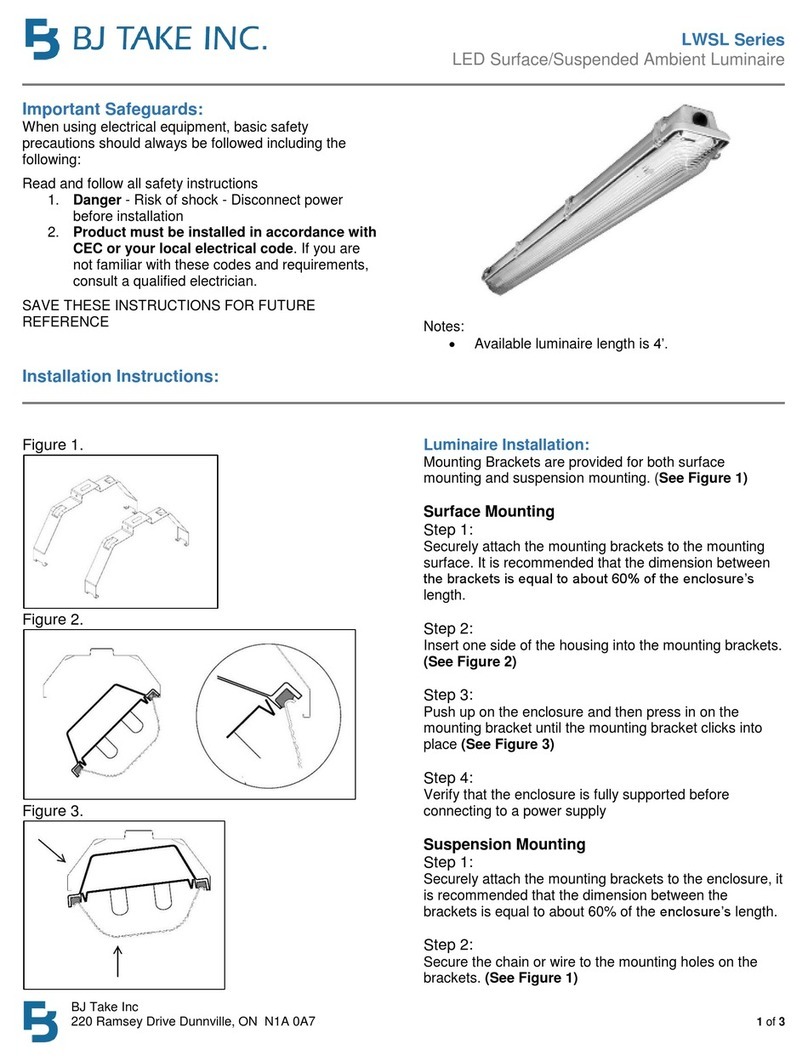
Figure 2.
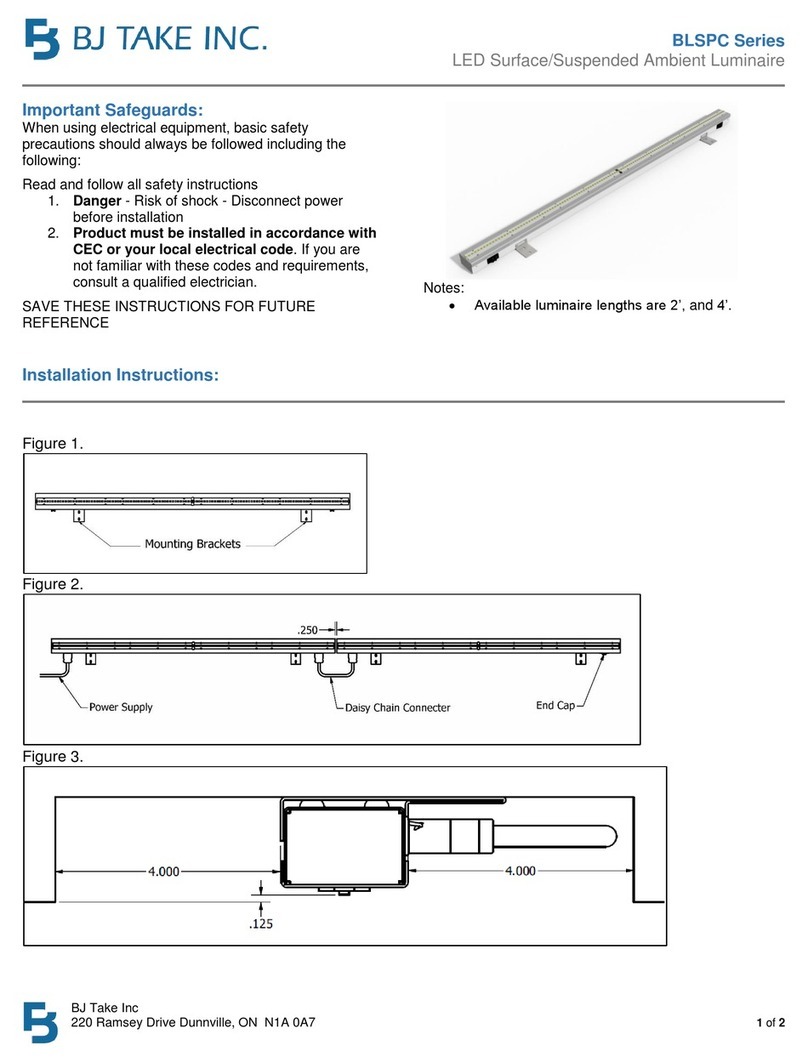
Figure 3.
Luminaire Installation:
Mounting Brackets are provided for both surface
mounting and suspension mounting. (See Figure 1)
Surface Mounting
Step 1:
Securely attach the mounting brackets to the mounting
surface. It is recommended that the dimension between
the brackets is equal to about 60% of the enclosure’s
length.
Step 2:
Insert one side of the housing into the mounting brackets.
(See Figure 2)
Step 3:
Push up on the enclosure and then press in on the
mounting bracket until the mounting bracket clicks into
place (See Figure 3)
Step 4:
Verify that the enclosure is fully supported before
connecting to a power supply
Suspension Mounting
Step 1:
Securely attach the mounting brackets to the enclosure, it
is recommended that the dimension between the
brackets is equal to about 60% of the enclosure’s length.
Step 2:
Secure the chain or wire to the mounting holes on the
brackets. (See Figure 1)
BJ Take Inc
220 Ramsey Drive Dunnville, ON N1A 0A7 2of 3
Figure 4.
Figure 5.
Wiring
Step 1:
Open the fixture by un-latching the latches around the
housing to remove the lens. (See Figure 4)
Step 2:
Remove the gear tray by pinching the retainer clips on
the ends of the fixtures. (See Figure 5)
Step 3:
Make the following connections. (See Electrical
Connections)
Step 4:
Snap the gear tray back into place and re-install the lens.
BJ Take Inc
220 Ramsey Drive Dunnville, ON N1A 0A7 3of 3
Electrical Connections:
Make the following Electrical Connections:
For 120-277V / 347V Applications make the following Electrical Connections:
a. Connect the black luminaire lead to the line supply lead
b. Connect the white luminaire lead to the neutral supply lead
c. Connect the green or green and yellow ground lead to the supply ground lead
Dimming Option:
a. Connect the violet dimming positive lead to the supply dimming positive lead
b. Connect the grey dimming negative lead to the supply dimming negative lead
Luminaire
Line or Hot 1 Line - Black
Green Ground - Green
Neutral or Hot 2 Neutral - White
Violet DIM (+) Violet
(Dimming Option)
Grey DIM (+) Grey
For 16/4 both circuits must be connected to the same branch circuit, i.e. turning off the branch circuit protection will turn
off both circuits of the luminaire.
Electrical Disconnect Instructions:
The above electrical connections for the line 1 and neutral are made using the electrical disconnect that is connected to
the LED driver. The connections are made as follows below, note that the disconnect is color coded for circuit wiring.
a. Black to Live
b. White to Neutral
The intended wire sizes are as follows, with an 11-13 mm jacking length.
a. 2 x AWG 18-12 solid wire per pole
b. 2 x AWG 16-12 <19 stranded wire per pole
If a wire is connected incorrectly the only way to remove the wire is by twisting the electrical disconnect and pulling firmly
on the incorrect wire.
When wiring using a flexible cable a Class 1 Division 2, Class 2 Division 2 and Class 3 rated cable gland must be used, we
recommend using the CG-3750S from Appleton

Other BJ TAKE Lantern manuals

BJ TAKE BLRT Series User manual

BJ TAKE

BJ TAKE BLRT Series User manual

BJ TAKE LWSL Series User manual

BJ TAKE

BJ TAKE LWSL Series User manual

BJ TAKE BLSPC Series User manual

BJ TAKE

BJ TAKE BLSPC Series User manual

Popular Lantern manuals by other brands

Maretti WOLTERINCK COSTA LATERNA 14.1324.04 Mounting instructions

Maretti

Maretti WOLTERINCK COSTA LATERNA 14.1324.04 Mounting instructions

Eterna HALFPIRBK installation instructions

Eterna

Eterna HALFPIRBK installation instructions

Sylvania 60763 installation guide

Sylvania

Sylvania 60763 installation guide

Techko SHL-906 user manual

Techko

Techko SHL-906 user manual

Cree XSP Series installation instructions

Cree

Cree XSP Series installation instructions

ASTRO Messina Sensor 7355 instructions

ASTRO

ASTRO Messina Sensor 7355 instructions

EVERSPRING SE801 user manual

EVERSPRING

EVERSPRING SE801 user manual

SolaDyne 7451 operating instructions

SolaDyne

SolaDyne 7451 operating instructions

Renkforce 1083089 operating instructions

Renkforce

Renkforce 1083089 operating instructions

olympia electronics WATERPROOF POWER LIGHT Series quick start guide

olympia electronics

olympia electronics WATERPROOF POWER LIGHT Series quick start guide

Portfolio LWS1204A installation guide

Portfolio

Portfolio LWS1204A installation guide

enbrighten 49539 user guide

enbrighten

enbrighten 49539 user guide

SLV Elektronik Dasar ES111 instruction manual

SLV Elektronik

SLV Elektronik Dasar ES111 instruction manual

Outsunny 867-151V00 manual

Outsunny

Outsunny 867-151V00 manual

Coleman PACK-AWAY How to use and enjoy

Coleman

Coleman PACK-AWAY How to use and enjoy

Nemalux GS Series manual

Nemalux

Nemalux GS Series manual

olympia electronics GR-292/M/HL manual

olympia electronics

olympia electronics GR-292/M/HL manual

ensto AVR66 Series operation instruction

ensto

ensto AVR66 Series operation instruction

manuals.online logo
manuals.online logoBrands
  • About & Mission
  • Contact us
  • Privacy Policy
  • Terms and Conditions

Copyright 2025 Manuals.Online. All Rights Reserved.