manuals.online logo
Brands
  1. Home
  2. •
  3. Brands
  4. •
  5. BJ TAKE
  6. •
  7. Lantern
  8. •
  9. BJ TAKE BLRT Series User manual

BJ TAKE BLRT Series User manual

BJ Take Inc
220 Ramsey Drive Dunnville, ON N1A 0A7 1of 3
BLRT Series
LED Recessed Luminaire
Important Safeguards:
When using electrical equipment, basic safety
precautions should always be followed including the
following:
Read and follow all safety instructions
1. Danger - Risk of shock - Disconnect power
before installation
2. Product must be installed in accordance with
CEC or your local electrical code. If you are
not familiar with these codes and requirements,
consult a qualified electrician.
SAVE THESE INSTRUCTIONS FOR FUTURE
REFERENCE
Notes:
•Available luminaire lengths are 2x2, 2x4, 1x4,
and 20x60.
Installation Instructions:
Figure 1.
Figure 2.
Luminaire Installation:
Recessed Mounting
Step 1:
Carefully remove the luminaire from the packaging and
inspect for defects before installing.
Step 2:
Orient the luminaire securely in the T-bar ceiling grid.
(See Figure 1)
Step 3: Mounting & Wiring
If needed use the four S-hook mounting holes on the
fixture for added security. Remove the access panel and
remove a knockout for AC line input. Install listed
electrical fittings in the knockout hole and connect the
wiring. (See Figure 2)
Note: For wiring instructions please see Electrical
Connections on page 2.
Step 4:
Reattach the access panel.
BJ Take Inc
220 Ramsey Drive Dunnville, ON N1A 0A7 2of 3
Figure 3.
Figure. 4
Surface Mounting
Step 1:
Carefully remove the luminaire and surface mount kit
from the packaging and inspect for defects before
installing.
Step 2:
Install three sides of the surface mount kit centered over
a junction box using the mounting holes. (See Figure 3)
Step 3:
Slide the fixture part way into the surface mount kit. (See
Figure 4)
Step 4: Wiring
Remove the access panel and remove a knockout for AC
line input. Install listed electrical fittings in the knockout
hole and connect the wiring. (See Figure 2)
Note: For wiring instructions please see Electrical
Connections on page 3.
Step 4:
Slide the fixture the rest of the way into the surface mount
kit and install the last piece of the surface mount kit.
BJ Take Inc
220 Ramsey Drive Dunnville, ON N1A 0A7 3of 3
Electrical Connections:
Make the following Electrical Connections:
For 120-277V / 347V Applications make the following Electrical Connections:
a. Connect the black luminaire lead to the line supply lead
b. Connect the white luminaire lead to the neutral supply lead
c. Connect the green or green and yellow ground lead to the supply ground lead
Dimming Option:
a. Connect the violet dimming positive lead to the supply dimming positive lead
b. Connect the grey dimming negative lead to the supply dimming negative lead
Luminaire
Line or Hot 1 Line - Black
Green Ground - Green
Neutral or Hot 2 Neutral - White
Violet DIM (+) Violet
(Dimming Option)
Grey DIM (+) Grey
For 16/4 both circuits must be connected to the same branch circuit, i.e. turning off the branch circuit protection will turn
off both circuits of the luminaire.
Electrical Disconnect Instructions:
The above electrical connections for the line 1 and neutral are made using the electrical disconnect that is connected to
the LED driver. The connections are made as follows below, note that the disconnect is color coded for circuit wiring.
a. Black to Live
b. White to Neutral
The intended wire sizes are as follows, with an 11-13 mm jacking length.
a. 2 x AWG 18-12 solid wire per pole
b. 2 x AWG 16-12 <19 stranded wire per pole
If a wire is connected incorrectly the only way to remove the wire is by twisting the electrical disconnect and pulling firmly
on the incorrect wire.

Other BJ TAKE Lantern manuals

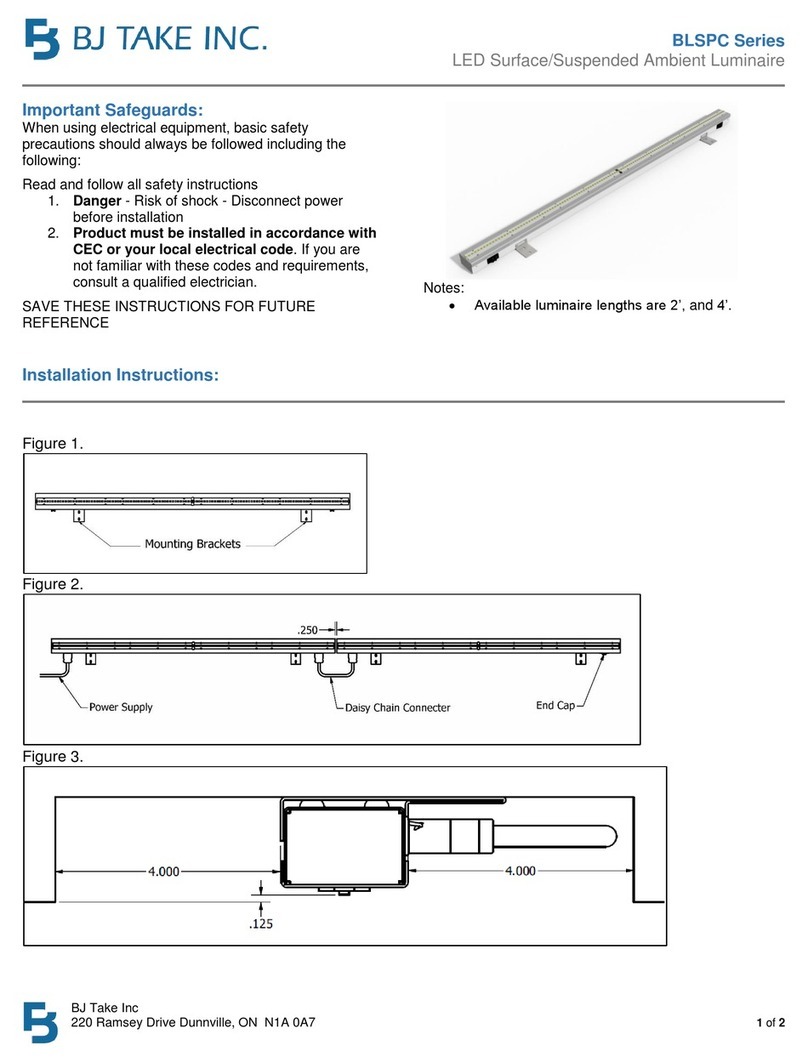
BJ TAKE BLSPC Series User manual

BJ TAKE

BJ TAKE BLSPC Series User manual

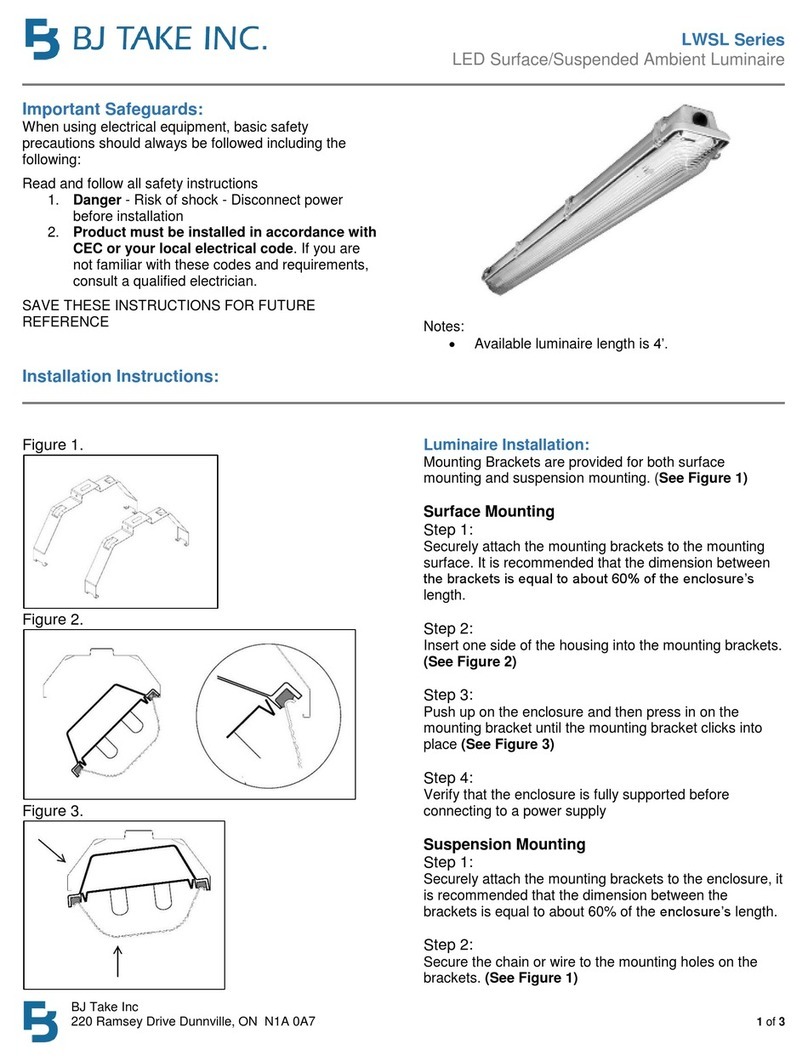
BJ TAKE LWSL Series User manual

BJ TAKE

BJ TAKE LWSL Series User manual

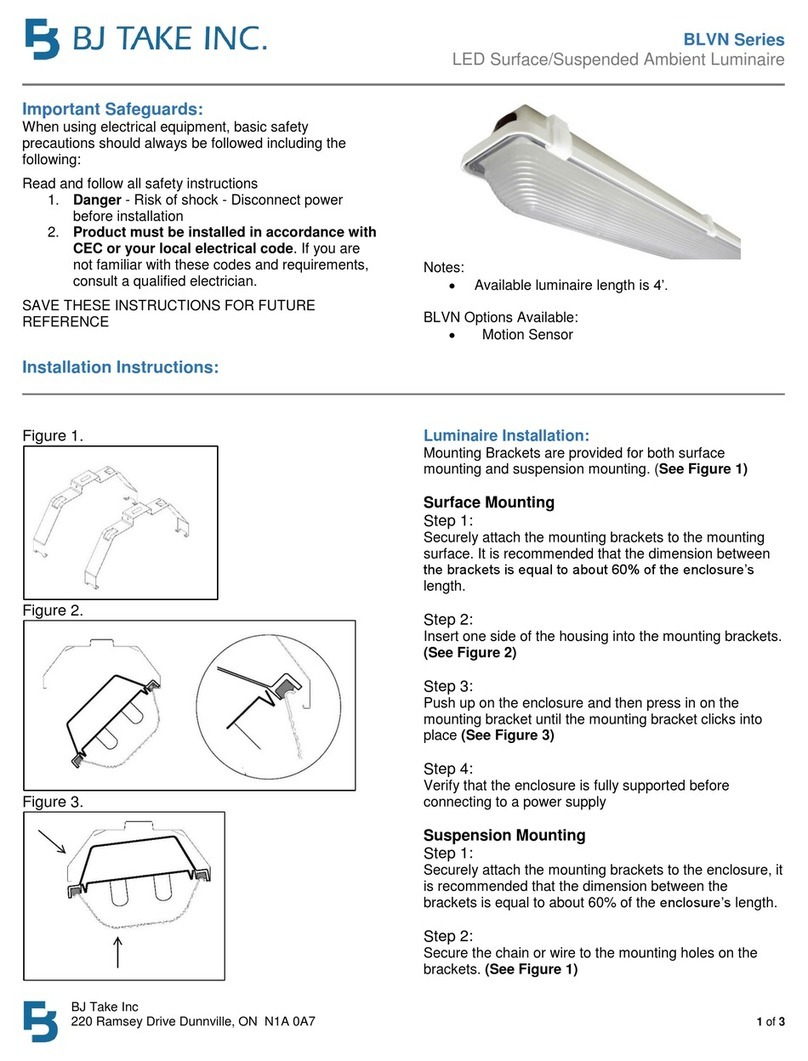
BJ TAKE BLVN Series User manual

BJ TAKE

BJ TAKE BLVN Series User manual

Popular Lantern manuals by other brands

Nemalux MR3 installation instructions

Nemalux

Nemalux MR3 installation instructions

BEGA 33 108 Instructions for use

BEGA

BEGA 33 108 Instructions for use

BrainLit BioCentric Lighting Alven user manual

BrainLit

BrainLit BioCentric Lighting Alven user manual

Gama Sonic GS-99B-S instruction manual

Gama Sonic

Gama Sonic GS-99B-S instruction manual

SO-TECH Triangolo 53286571 quick start guide

SO-TECH

SO-TECH Triangolo 53286571 quick start guide

Campingaz Lumostar C270 PZA Series Instructions for use

Campingaz

Campingaz Lumostar C270 PZA Series Instructions for use

Hubbell KILLARK L1L Series INSTALLATION, OPERATION & MAINTENANCE DATA SHEET

Hubbell

Hubbell KILLARK L1L Series INSTALLATION, OPERATION & MAINTENANCE DATA SHEET

Carmanah M550 user manual

Carmanah

Carmanah M550 user manual

LITETRONICS LED Round High Bay SL Series installation instructions

LITETRONICS

LITETRONICS LED Round High Bay SL Series installation instructions

Occhio Mito sospeso Mounting instructions

Occhio

Occhio Mito sospeso Mounting instructions

Sollatek Glowstar user manual

Sollatek

Sollatek Glowstar user manual

Pro-Elec PEL01356 instructions

Pro-Elec

Pro-Elec PEL01356 instructions

Primus 2245 Instructions for use

Primus

Primus 2245 Instructions for use

Bomma Pebbles installation manual

Bomma

Bomma Pebbles installation manual

SLV Elektronik BERET 162141 operating manual

SLV Elektronik

SLV Elektronik BERET 162141 operating manual

BEGA 24 115 Instructions for use

BEGA

BEGA 24 115 Instructions for use

Trilux 8831. LS Series Mounting instructions

Trilux

Trilux 8831. LS Series Mounting instructions

Eye Lighting Aphos installation instructions

Eye Lighting

Eye Lighting Aphos installation instructions

manuals.online logo
manuals.online logoBrands
  • About & Mission
  • Contact us
  • Privacy Policy
  • Terms and Conditions

Copyright 2025 Manuals.Online. All Rights Reserved.