3
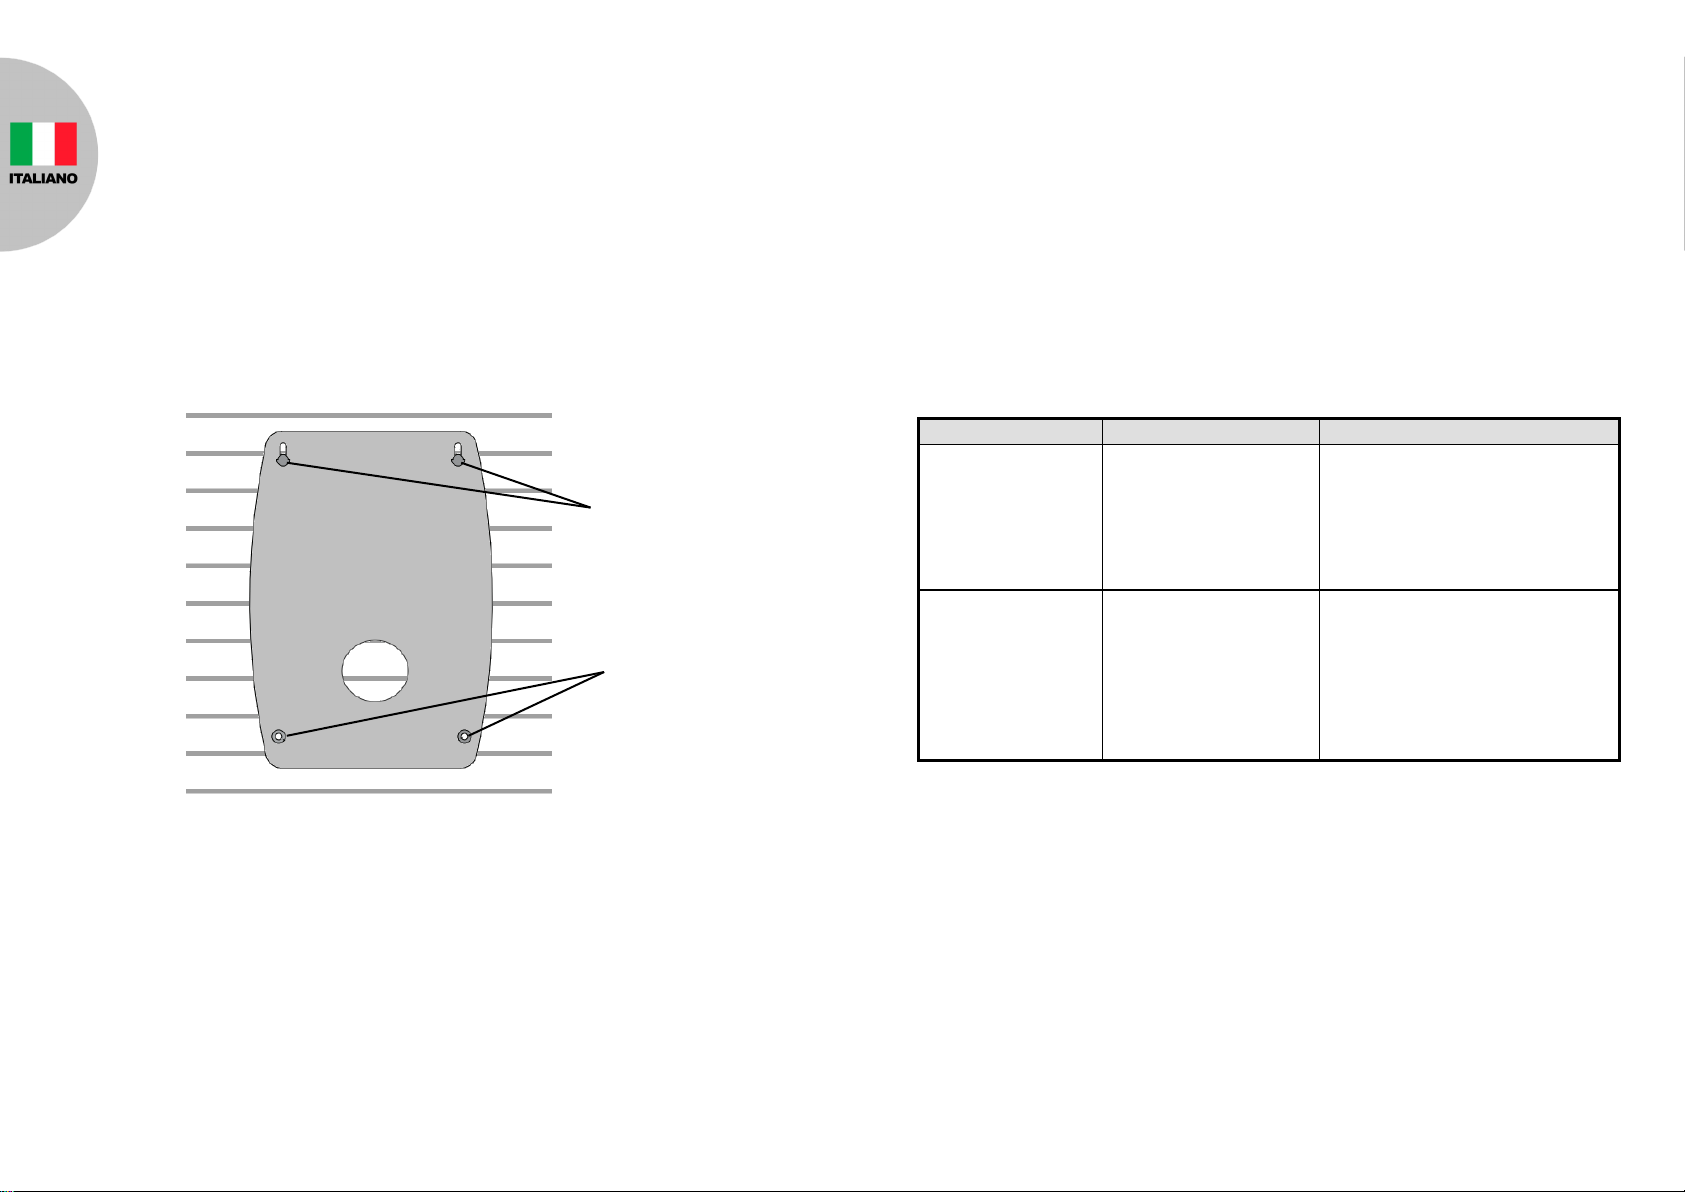
1. Remove the back cover again. Using the back cover itself as a template, position
the back cover on the wall and mark the positions of four mounting holes.
2. Drill four 6mm holes and insert the wall plugs.
3. Fit two 30mm fixing screws in the top holes leaving approximately 10mm of the
screw protruding.
4. Place the top keyhole slots of the back cover over the screw heads. Adjust the
back cover position and adjust the screws until they form a neat fit with minimal
movement.
5. Secure the back cover in position using the two 25mm fixing screws at the bottom.
6. Before mounting the main body, ensure the waterproof cover of the Control box
has been secured back if it was removed earlier.
10. To mount the main body, hinge the front cover tabs over the top edge of the back
cover and carefully push the base of the siren cover into place. Secure the main
body in place by refitting the fixing screw in the bottom edge of the cover. Do not
over tighten the screw as this could damage the thread.
IMPORTANT: Ensure that the rear tamper switch is closed when the main body is
fitted (i.e. listen for the switch to click). If the switch does not close, this will prevent
the Siren from operating correctly. If necessary, remove the main body again and
adjust the screw on the back cover tamper plunger to ensure the switch closes
when the siren is secured in position.
11. Upon completion of mounting the main body on the wall, the Strobe LED will flash
about 3 seconds as an indication of normal operation.
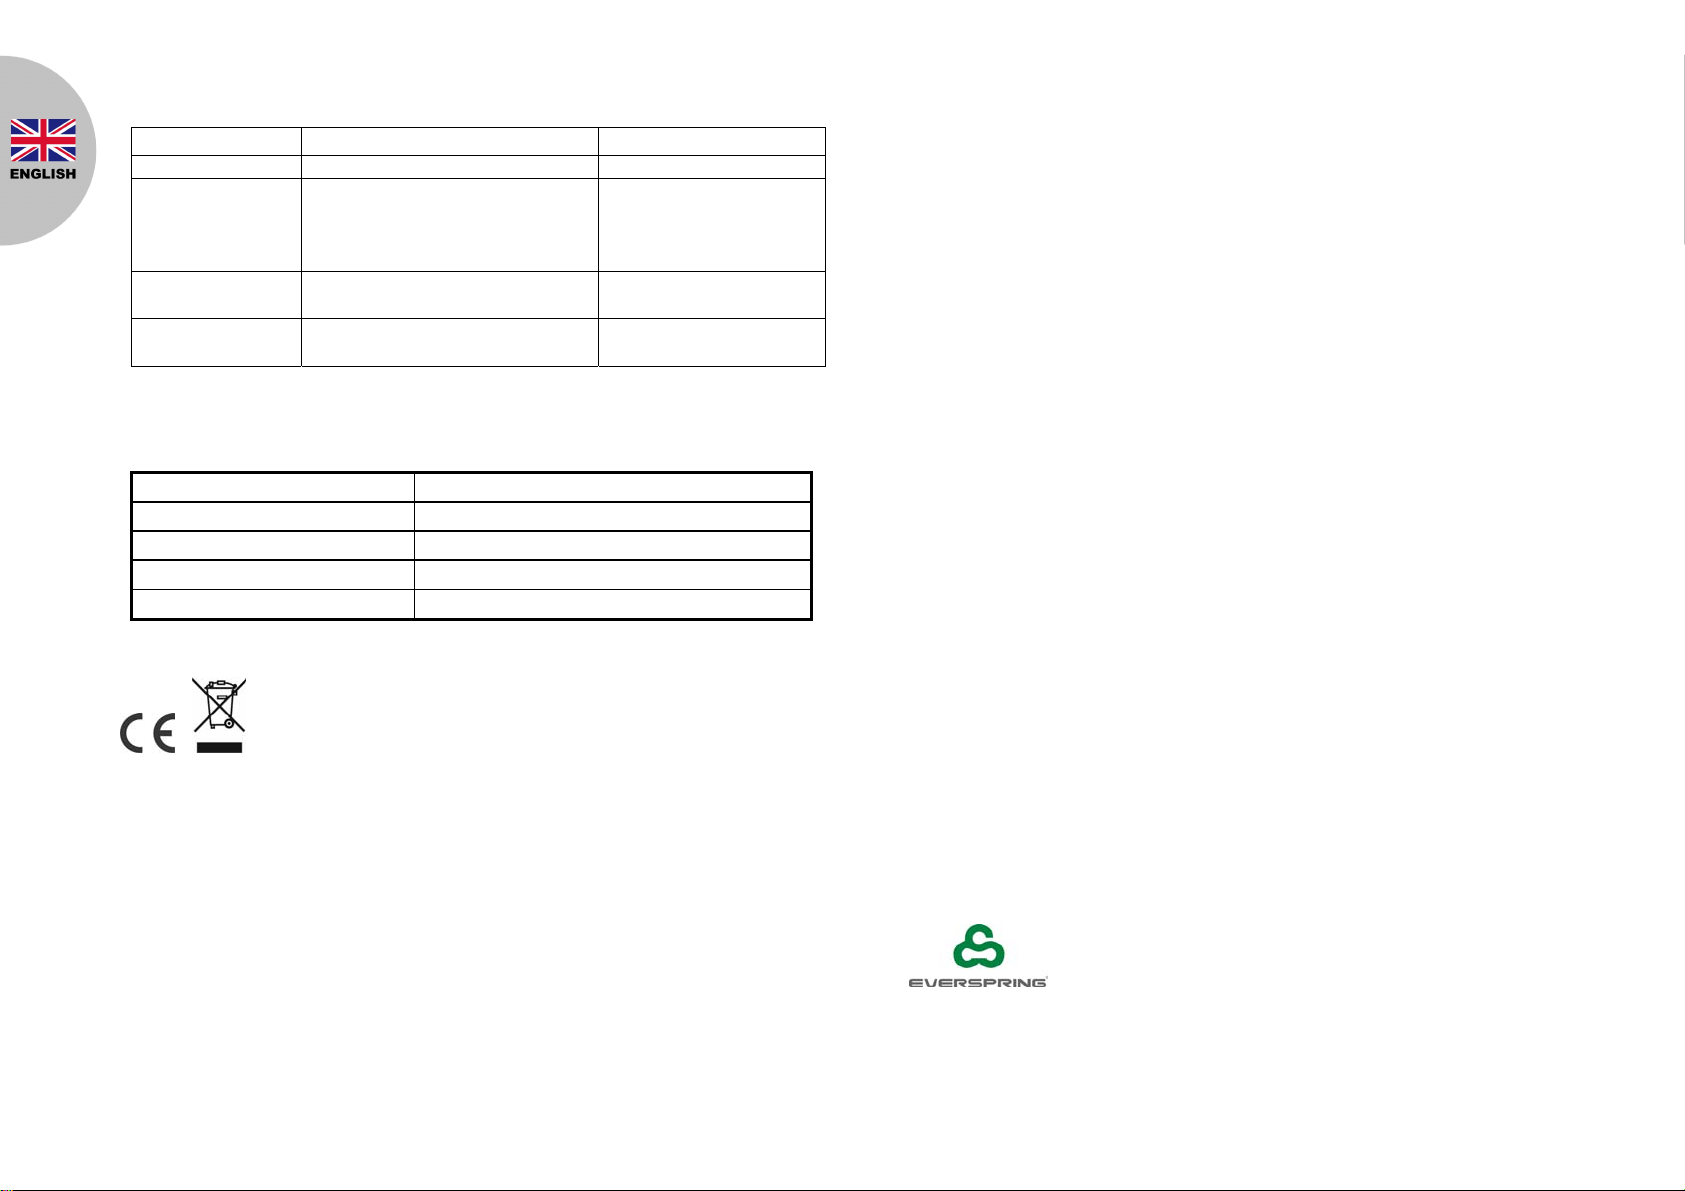
Troubleshooting
The troubleshooting table lists some possible causes and solutions. Please contact
your original retailer or nearest service center if the below solutions cannot solve your
problem.
Symptom Cause of Failure Recommendation
LED cannot be
displayed 1. Run out of battery
power.
2. Check if reverse
battery polarity.
3. Siren is out of order.
1. Replace a new battery.
2. Refit the battery with correct
polarity.
3. Do not open the device and
send it for repairs.
The LED on the
siren is operating,
but it cannot be
operated
1.Check if siren has
completed binding
with Homesys
Gateway
2.The siren cannot
communicate with
the gateway.
1. Remove both the battery and
follow the steps for binding
with Homesys.
.
2. Locate the siren closer to the
gateway.
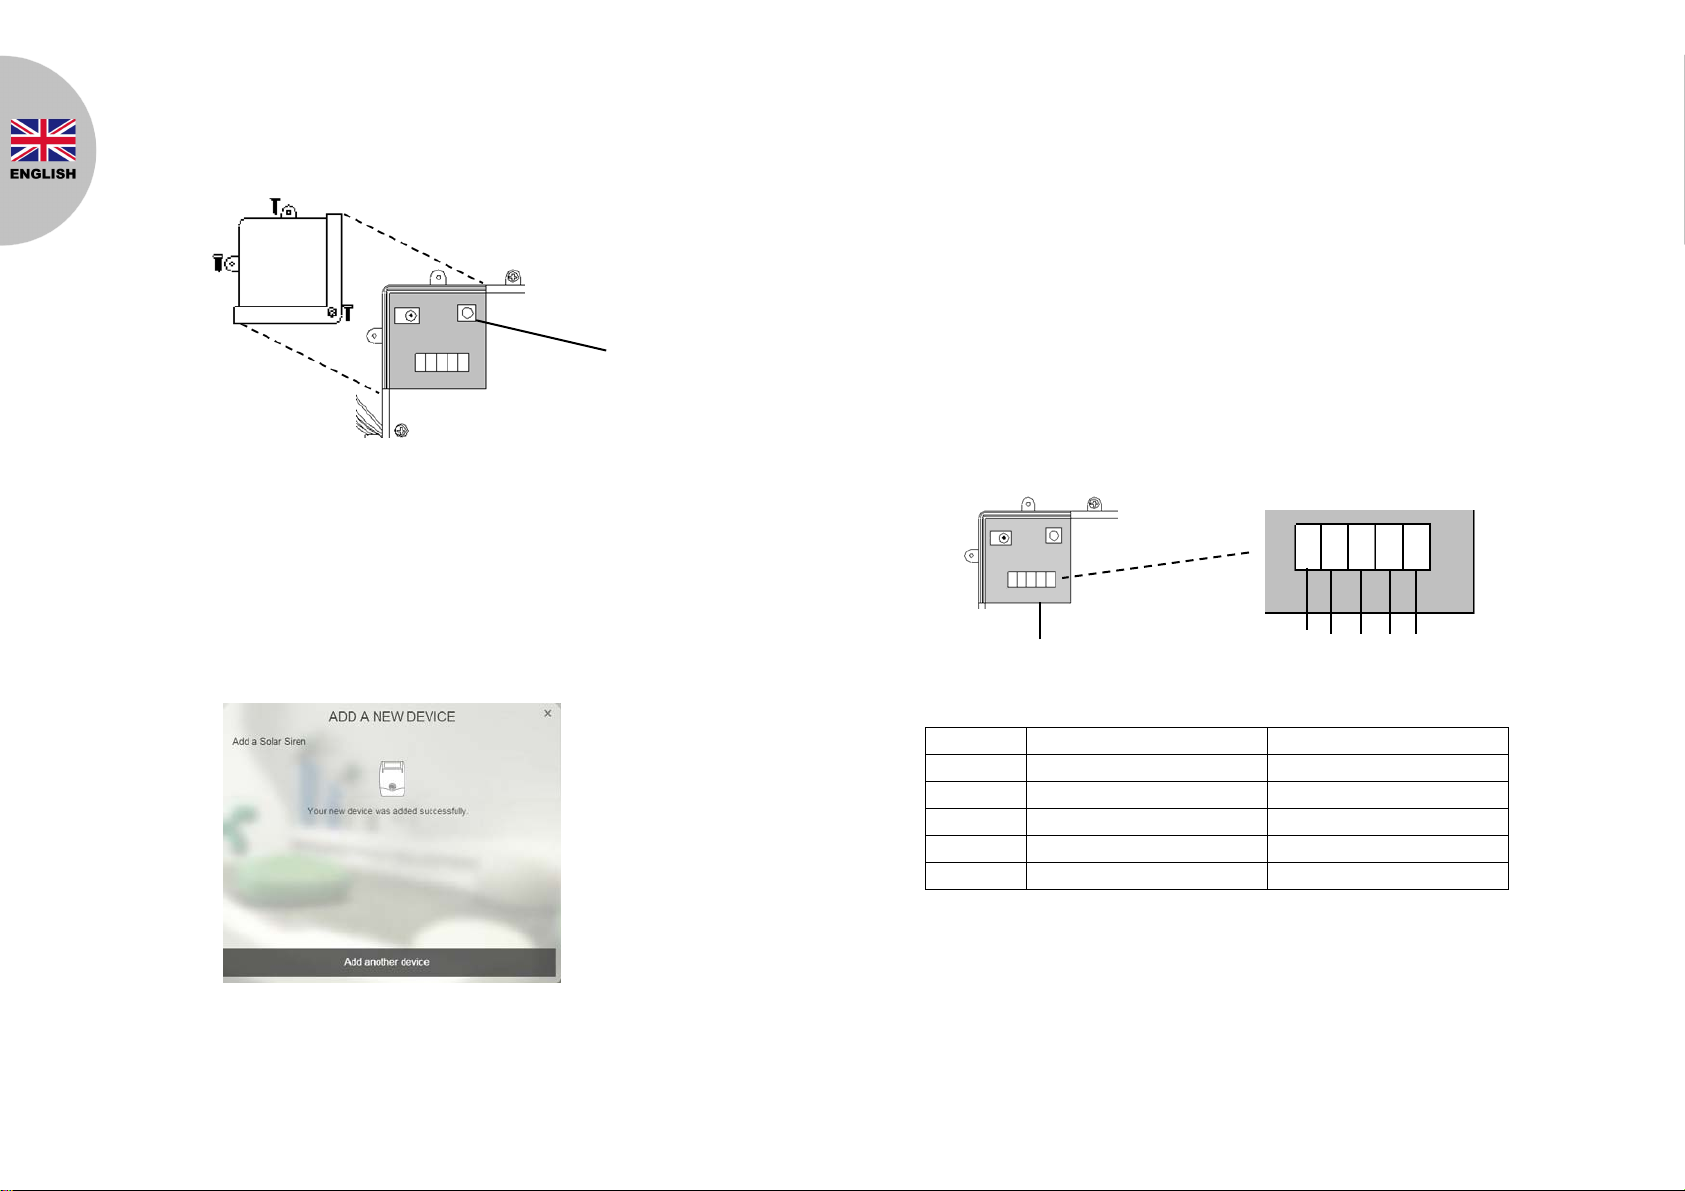
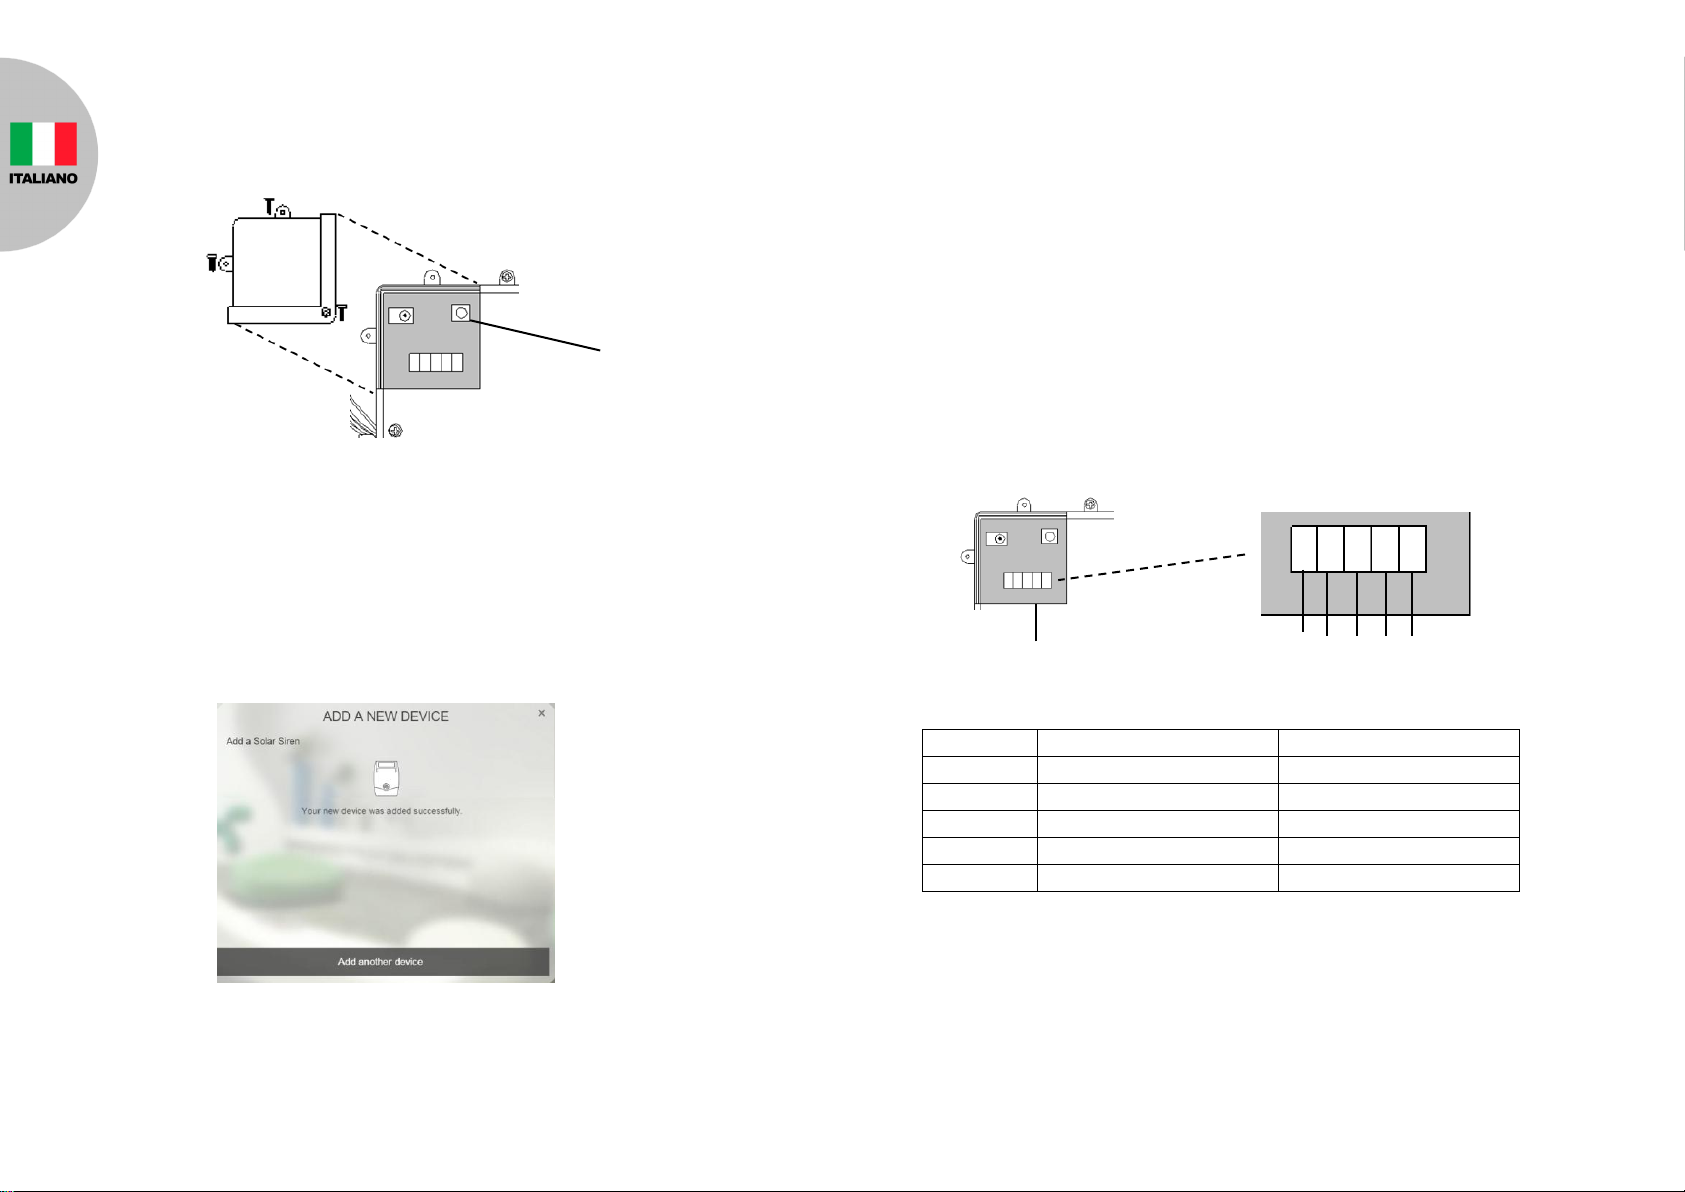
Fit two 30mm fixing screws in
the top holes leaving
approximately 10mm of the
screw protruding
Secure back coverusing
two 25mm fixing screws at
the bottom
Back
Cover