E13C2 User Guide
(16-01484-EN-01)
7
Starting Imaging
Before use, all equipment must be reprocessed according to expected use.
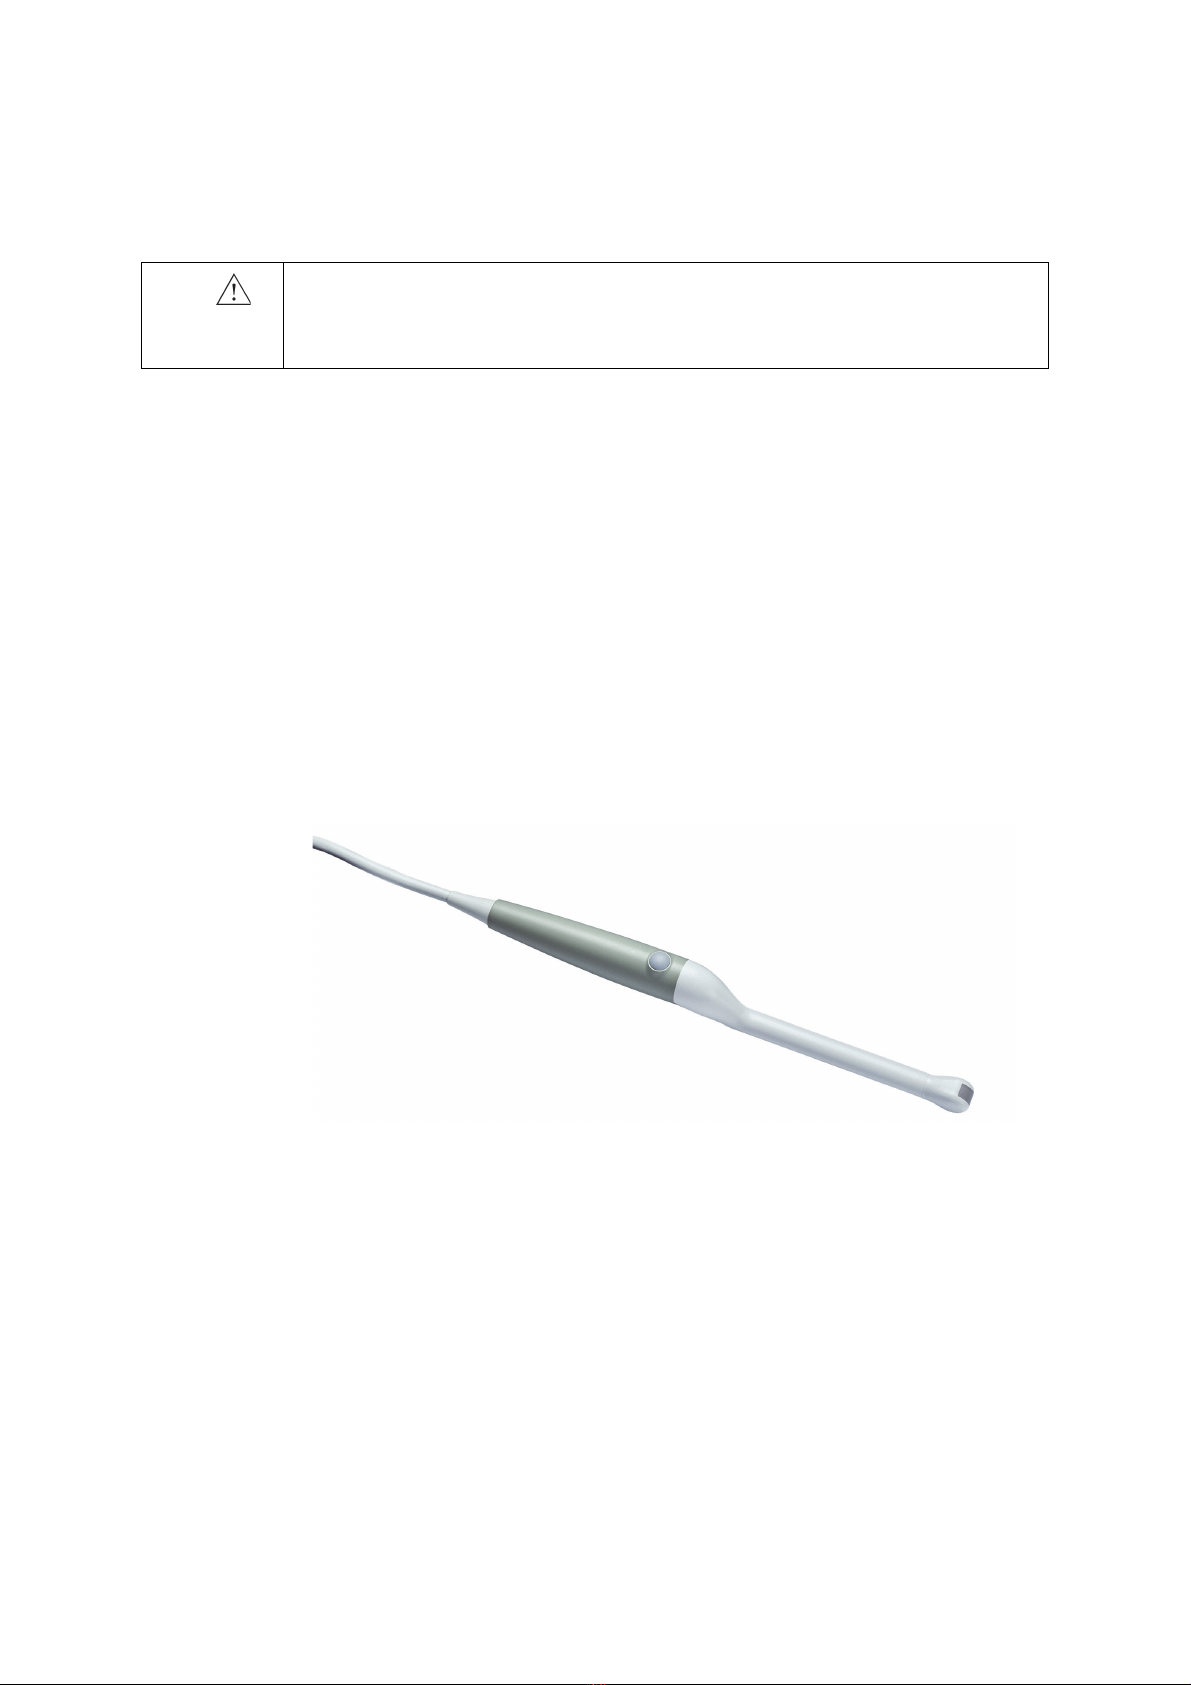
Connecting the Transducer
The transducer is connected to the system using the array transducer socket on the
system. To connect, flip the system’s locking lever to the right. Align the transducer
plug to the system socket and insert securely. Flip the system’s locking lever to the
left to lock it.
When connected, the transducer complies with Type BF requirements of EN60601-1
(IEC 60601-1).
Changing Frequency
The Multi-frequency Imaging (MFI) control enables you to select the imaging
frequency. See the applicable system user guide for instructions.
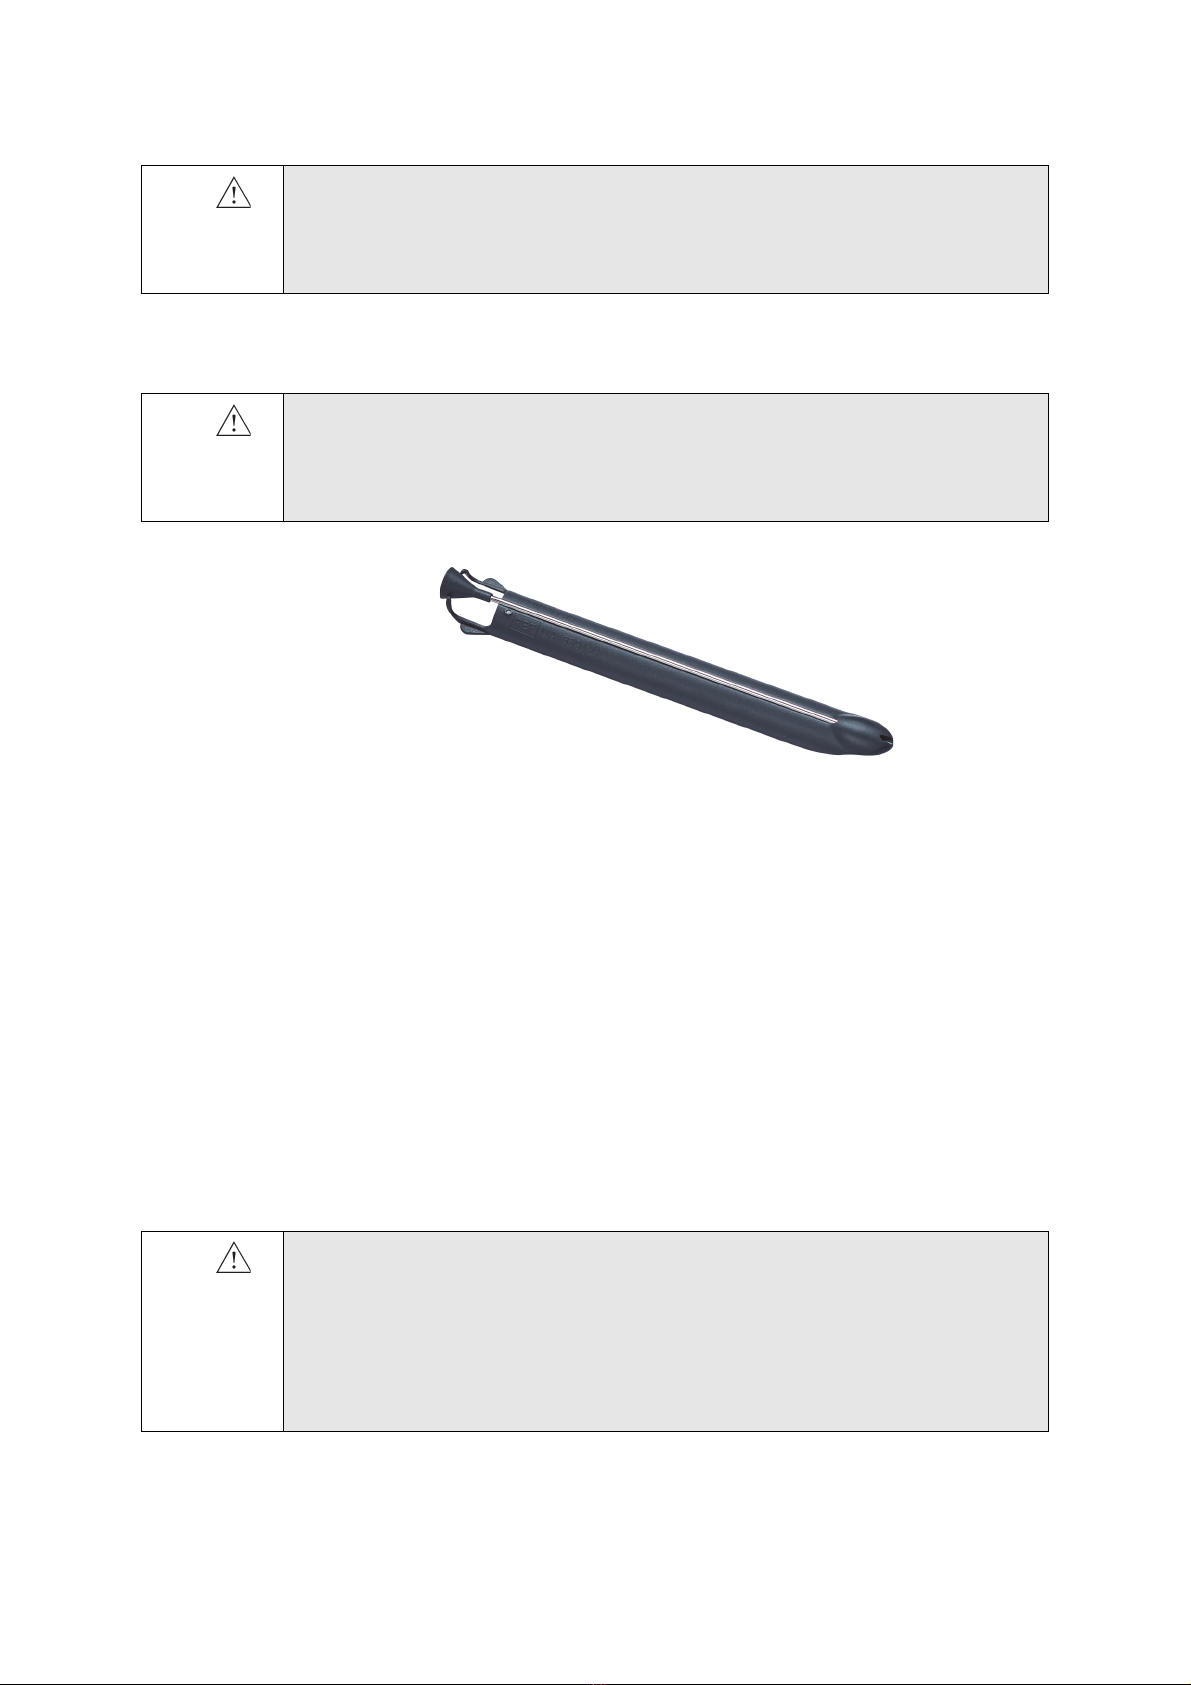
Using a Transducer Cover
BK recommends the use of a sterile transducer cover to reduce the risk of cross-
contamination. See the
Product Data Sheet
for a list of available transducer covers.
Follow local guidelines for the use of transducer covers in your area.
NOTE:
In the United States of America, it is recommended to use transducer covers
that have been market cleared. In Canada, use only licensed transducer covers. In
Europe, transducer covers must be CE-marked.
WARNING
Reproc-w2
Users of this equipment have an obligation and responsibility to provide the highest
possible degree of infection control to patients, co-workers and themselves. The
instructions in this book are meant as a guide. To avoid cross contamination, follow all
infection control policies (including for reprocessing, packing and storage) for personnel
and equipment that have been established for your office, department, or hospital.
WARNING
T-w5
To prevent electrical shock and damage to the transducer, the connector pins in the
transducer plug must always be completely dry before you connect to a system.
WARNING
GS-w4a
It is essential for the patient’s safety that only the correct equipment is used.
•
Do not use other manufacturers’ transducers with BK ultrasound systems.
•
Do not use BK transducers with other manufacturers’ systems.
•
Do not use unauthorized combinations of transducers and needle guides.