9
ENGLISH
(Original instructions)
of the charge left on the battery.
It does not indicate tool functionality and is subject to variation
based on product components, temperature and end-user
application.
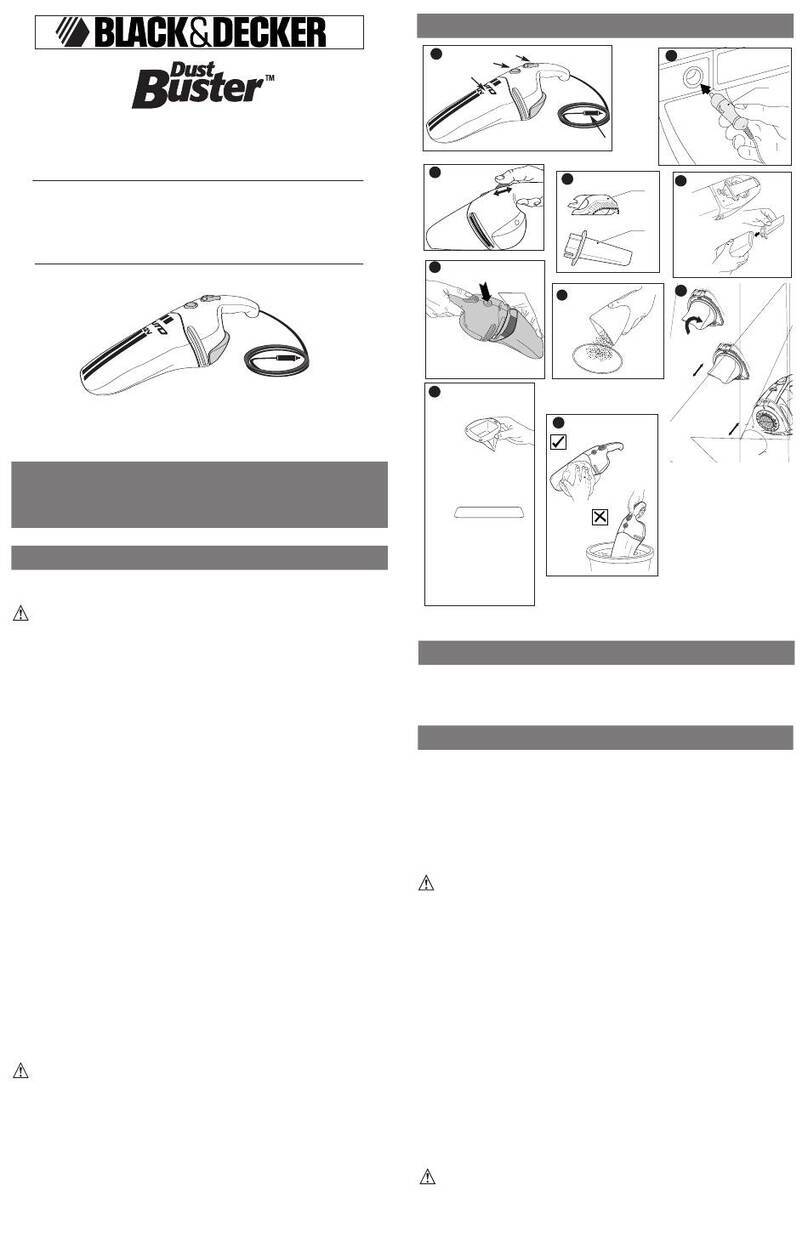
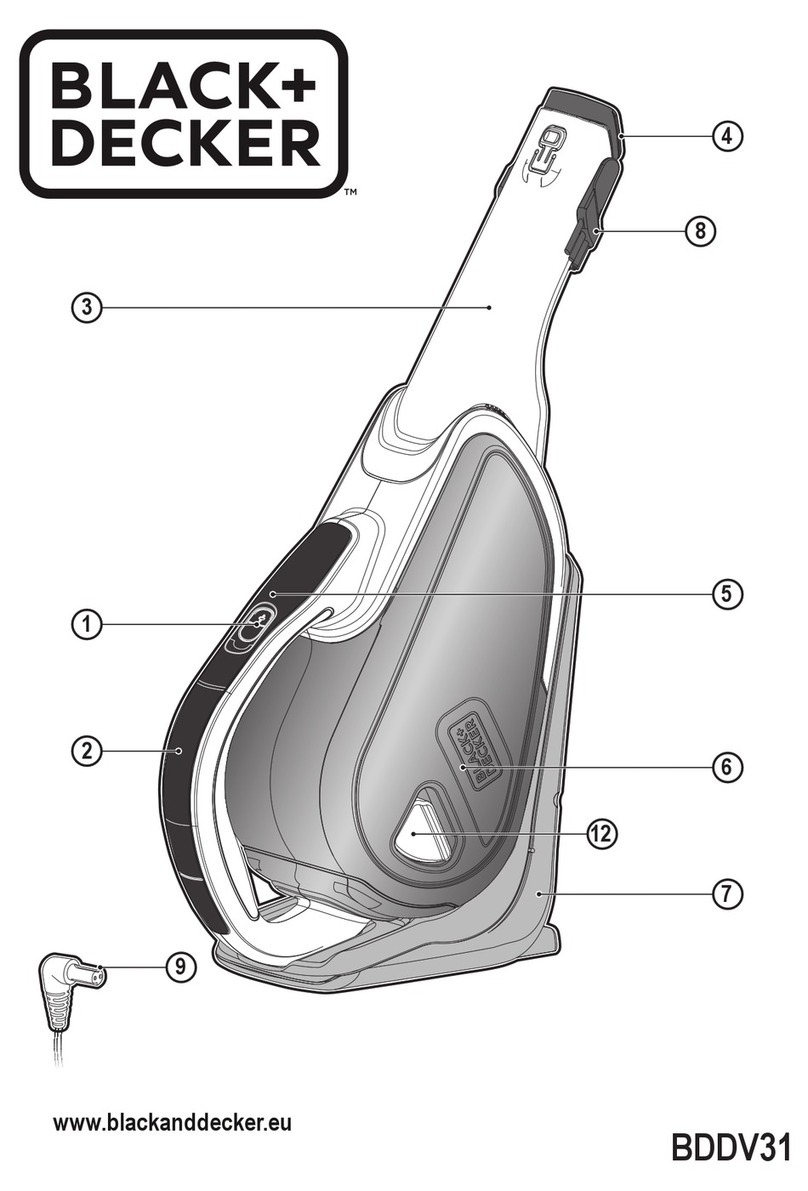
Installing and removing the battery (Fig. D, E)
Warning! Make certain the vac is switched off before
removing or installing battery.
To install battery pack
uInsert battery pack (12) into the vac (12c) until an audible
click is heard (Figure D). Make sure battery pack is fully
seated and fully latched into position.
To remove battery pack
uDepress the battery release button (12d) as shown in
Figure E and pull battery pack out of the vac.
Assembly (Fig. F)
uAlign the top of the extension tube (8) with the vacuum
inlet (7a) as shown in Fig. F.
uPush the extension tube (8) onto the vacuum inlet (7a) so
it locks into position.
uTo remove an the extension tube, press the extension
tube release button (7) and gently pull the extension tube
off.
Warning! When not in use position the unit with the rear of
the vacuum facing a wall so that any inadvertent fall of the unit
would contact a wall and not people or pets.
Useage
This vacuum cleaner can be used in one of two ways.
uWith the extension tube (8) and the oor head (9).
uWith the crevice tool (11) and the vacuum.
Mounting accessories (Fig. G)
uThe crevice tool (11) allows for vacuuming in narrow and
hard to-reach places.
uTo attach the crevice tool (11) press into vacuum inlet (7a)
so it locks into position as shown in gure G.
uTo release the crevice tool (11) press the crevice tool
release button (11a) and gently pull the extension tube off.
Switching ON and OFF (Fig. H)
uTo switch ON, push the on/off power button (1).
uFor increased power, push the On/Off button (1) again.
uPush the On/Off button (1) a third time to turn the unit off.
Note: The state of charge indicator LEDs (3) will illuminate
while the vacuum is ON.
uTo switch OFF, slide the on/off power switch (1) to the “O“
position.
uCharge the battery (12) immediately after use
so that it will be ready and fully charged for the next
use.
Floorsense
Floorsense is active in the low speed. When a carpet is
detected, the performance of the unit is automatically
increased to high speed. When a hardoor is detected, the
performance of the unit reduces to low speed.
Cleaning and emptying the vacuum
Warning! Projectile/Respiratory Hazard: Never use the vac
without its filter.
Warning! The filter is re-usable, do not confuse it with a
disposable dust bag, and do not throw it away when the
product is emptied. We recommend that you replace the
filter every 6–9 months depending on frequency of use.
To empty the dust canister (Fig. I, J, K, L)
uPush down the dust canister release button (4) to
release and remove the dust canister (5) from the vacuum.
uUse your index nger and thumb to pinch the lter
housing tabs and pull the lter housing (6) from the
dust canister as shown in gure I.
uPlace the dust canister over a trash can and empty the
dust canister as illustrated in gure J.
uRemove the foam lter (6a) from the lter housing as
shown in gure K.
uShake or lightly brush any loose dust off of the foam
lter (6a) and lter (6).
uRinse out the dust canister (5) with warm soapy water.
uWash the lters with warm soapy water.
uEnsure the lters are completely dry before retting the
lters into the lter housing.
uRet the clean and dry foam lter (6a) into the lter
housing (6).
uInstall the lter housing into the dust canister (5).
uInstall the dust canister onto the vacuum, until it “clicks”
rmly into position.
Removing and cleaning the beater bar
(Fig. M, N)
Warning! To reduce the risk of injury from moving parts,
disconnect the oor head and extension tube from the vacuum
before cleaning or servicing.
uTo remove the beater bar (9b) from the oor head (9) Slide
the beater bar release button (9a) to the rear of the unit.
uThe beater bar (9b) can now be removed and cleaned.
Safe storage (Fig. O)
The unit can be safely stored, when not in use, by placing the
catch on the rear of the motor unit onto the storage station
(13) as shown in gure O.
Troubleshooting
