manuals.online logo
Brands
  1. Home
  2. •
  3. Brands
  4. •
  5. BLACK RED WHITE
  6. •
  7. Indoor Furnishing
  8. •
  9. BLACK RED WHITE KRISTOFF B191-LOZ90x200 User manual

BLACK RED WHITE KRISTOFF B191-LOZ90x200 User manual

RUS
.
Штамп ОТК______________
Дата_________
Номер детали Размеры, мм
Код детали Количество,шт Номер пачки
A B C D E
Рекомендации по эксплуатации и обслуживанию
Качество и комплектность изделия рекомендуется проверять в магазине при покупке в распакованном виде.
В процессе эксплуатации изделия необходимо периодически затягивать ослабленные винтовые соединения, а также эксцентриковые стяжки.
Изделие предназначено для оборудования интерьера жилых комнат в помещениях с относительной влажностью воздуха от 45 до 70%.
Во избежание коробления деталей и изменения цвета изделия следует избегать установки мебели на прямых солнечных лучах. В случае установки изделия
мебели в непосредственной близости от нагревательных и отопительных приборов ее поверхности во время эксплуатации должны быть защищены от нагрева.
Температура нагрева элементов мебели не должна превышать +40 °С.
При эксплуатации мебельной продукции необходимо исключить попадание воды и иных жидкостей на элементы изделий мебели. При монтаже моек,
раковин в изделиях мебели для кухонь должна быть предусмотрена их гидроизоляция в местах контакта с поверхностью корпуса изделия мебели.
В случае необходимости перемещения изделия по квартире перед его перестановкой, необходимо полностью освободить его от груза. Рекомендуется перед
перестановкой вынуть выдвижные ящики и переставные полки. Во избежание поломки имеющихся опор, передвижение производить приподнимая изделие над
уровнем пола.
Удаление пыли с изделий следует производить слегка влажной мягкой салфеткой.
При эксплуатации изделий набора ЗАПРЕЩАЕТСЯ:
- в процессе сборки и эксплуатации изделий набора становиться ногами на горизонтальные щиты (полки), основание кровати;
- перемещать изделия держась за верхние щиты;
- применять химические чистящие средства для уборки мебели.
Гарантии изготовителя
1. Гарантийный срок эксплуатации изделия - 24 месяца (для изделий для лежания и сидения - 18 месяцев) со дня продажи магазином. В период гарантийного
срока изготовитель гарантирует ремонт изделий или их замену, если потребителем не нарушены правила эксплуатации.
2. Претензии предъявляются потребителем непосредственно в торгующую организацию, в которой была приобретена мебель, предъявив настоящую
"Инструкцию по сборке" и копию товарного чека.
3. Изделие соответствует требованиям ТР ТС 025/2012.
4. Срок службы мебели - 5 лет.
5. Предприятие-изготовитель оставляет за собой право вносить изменения в конструкцию изделия, не ухудшая его конструктивные
и эксплуатационные характеристики.
Инструкция по сборке
ВНИМАНИЕ! Перед началом сборки изделия просим ознакомиться с инструкцией по сборке, а также с рекомендациями по эксплуатации и
обслуживанию. Сборка изделия должна производиться в порядке, изложенном в настоящей инструкции.
2
A
B
A=B
4
f1
31 5n261p38
x16 mm
Пояснения / описание возможных указаний, используемых в инструкции по сборке
1
2
3
4
5
6
7
8
9
10
11
12
13
14
15
17
18
19
20
21
22
23
16
!
“ “
Первый этап сборки состоит в оснащение деталей соответствующей
фурнитурой, согласно нижеследующих рисунков. Символы обозначают
те места, на которые следует обратить особое внимание при сборке.
Фурнитура находится в пачке с маркировкой «ФУРНИТУРА».
1. ВНИМАНИЕ! Не начинайте сборку изделия, если вы обнаружили дефекты или повреждения.
2. Во время сборки детали необходимо разложить на ровной, мягкой и чистой поверхности (например полотенце, одеяло). Не собирать мебель на ковре
или войлоке.
3. В отверстия диаметром 8 мм, находящиеся на торцах деталей, вбить деревянные шканты f1. ВНИМАНИЕ! В случае, если шкант выступает из
отверстия более, чем на 10 мм, его необходимо укоротить или заменить, так как возможно повреждение деталей.
4. Положить корпус изделия фасадными кромками вниз на ровную поверхность и выровнять его, измеряя рулеткой расстояния между противолежащими
углами по диагонали. Расстояния должны быть равными.
5. Закрепить фиксирующую ленту, согласно инструкции. Неправильное прикрепление мебели может привести к ее опрокидыванию.
Просверлить отверстия согласно рисунка. Во время выполнения этой
операции необходимо соблюдать правила техники безопасности, так как
можно получить телесные повреждения или повредить изделие.
Средний щит стола необходимо поместить между раздвинутых щитов
(крышек) рабочей поверхностью вверх.
Для соединения между собой изделий, необходимо использовать
винтовую стяжку VHS или соответствующий шуруп из комплекта
фурнитуры.
ВНИМАНИЕ! Необходимо закрепить изделие с помощью фиксирующей
ленты, которая является обязательным элементом для безопасной
эксплуатации изделия.
ВНИМАНИЕ! Во время закрывания откидной двери в последней фазе
движения придерживайте дверь, так как из-за неконтролируемого
опускания есть вероятность повреждения детали.
Видимые эксцентриковые стяжки необходимо закрыть
заглушками.
ВНИМАНИЕ! Неосторожное использование изделия может
привести к опрокидыванию.
ВНИМАНИЕ! Детали, оклеенные глянцевыми пленками, имеют защитную
пленку, которую необходимо снять после монтажа детали. Поверхность
этих деталей можно чистить не раньше, чем через 4 недели после
монтажа.
Возможность установки дверей с правой или левой стороны изделия.
Рекомендованный размер матраца.
Еврошуруп вкрутить так, чтобы он не выступал выше поверхности детали.
Дополнительный элемент (опция).
Установить шкаф верхний на верхний щит соответствующего изделия и
закрепить при помощи металлической пластины n52 и шурупов p2.
Ненадлежащее крепление изделия грозит его падением (отрывом) во
время эксплуатации.
Соответствующие отверстия детали необходимо промазать клеем y1, а
затем установить сборочный элемент и оставить до полного высыхания
клея y1.
При проведении операции будьте внимательны и осторожны, так как
чрезмерное усилие при креплении стекла или зеркала может привести к
его поломке.
Собрать изделие в соответствии с приведенными ниже рисунками при
помощи указанной фурнитуры и/или соединительных элементов.
Место приклеивания элемента необходимо тщательно очистить.
Регулировка деталей.
ВНИМАНИЕ! Сборку ящиков следует выполнять очень осторожно, чтобы
не повредить тонкий корпус ящика.
Ре г у л и р о вочный ви н т р егулирует о т к р ы вани е отк и д н о й д ве р и
(вкручивание винта облегчает опускание двери)
Прикрепить изделие к стене. Ненадлежащее крепление изделия грозит его
падением (отрывом) во время эксплуатации. ВНИМАНИЕ! Крепление
изделия может проводить только специалист. Перед началом крепления
изделия необходимо убедиться, можно ли к данной стене крепить мебель,
подобрать соответствующий крепежный дюбель, проверить качество и
прочность крепления.
ИООО “БРВ-Брест”, Республика Беларусь, г. Брест, ул. Янки Купалы,
1В-1, каб.216, тел/факс (+375162) 27-89-04
KRISTOFF B191-LOZ90х200
Furniture Use and Maintenance
EN
§
Furniture Assembly
Explanations / Possible notes used in the Assembly Instructions:
§1
§2
§3
1. 2. 4. 5. 6. 7.
1. Furniture units must be placed on a level surface and levelled.
2. Check the condition of the cam pins while the furniture is in use. Tighten if necessary.
4. Furniture must be placed in dry rooms, with working ventilation, and at least 1 m from active heat sources. The rooms must be protected against
detrimental weather conditions (sunlight, rain, etc.).
6. Furniture must be moved by being lifted it with no load on it. Note: shifting or dragging furniture may cause permanent damage. When moving,
hold the vertical elements of the unit, i.e. the sides and legs. Do not grab the horizontal elements, e.g. structural shelves or drawers, as these are
prone to damage.
7. Clean furniture using a damp cloth or paper towel.
3. NOTE!! Do not climb on furniture.
5.NOTE!! Placing excessive loads on furniture is dangerous to users and may cause permanent damage.
§5
§6
§7
§8
§9
§4
Drill holes according to drawings. During this operation take
special care not to cut yourself or damage the component!
§10
§11
§12
§13
§14
§15
§16
§18
§17
NOTE!!
Component symbol
Code Pack
A B C D E
Dimensions [mm] Quantity[pcs]
NOTE!!
NOTE!!
NOTE!!
The first stage of the assembly involves fitting the components with
the proper accessories as specified on the drawings below.
The symbol denotes places where special caution is required
during assembly.
NOTE!! L ack o for improper adjustment poses risk of flap door
falling freely.
Attach unit to wall when completely assembled. Improperly
attached furniture may break free and fall while being mounted
or used.The unit may only be attached to the wall by a qualified
person. Check that the wall is suitable fo rhaving furniture
attached to it before hand. Choose a suitable anchor bolt and
check the strength and quality of the attachment.
Place the top unit on the base unit then join them using
connector plate n52 and screws p25. The unit may break free
and fall during use if this instruction is not followed.
Assemble the unit according to the drawings below using the
specified connectors and/or joints.
The drawer must be assembled with great caution so as not to
damage its fragile frame connections.
Apply glue y1 into the holes of the depicted component, attach it and
wait for the glue to dry.
Clean the glued area thoroughly.
Adjustment
Tighten the screws e8 so they do not project over the rim.
Option
Place the insert upside down onto the frame in place designed for
that component using the unfolded top unit.
Install the mattress. IMPORTANT!!! Due to safe ty reasons,
there must be at least 230mm between the top edge of
components A and B and the level of the mattress. When
using the space underneath the bed, pay attention"! ” t o the
protruding edge of component C. Be warned that small
children (under 6 years of age) are at risk of falling from the
top bed.
Use security tape as this is essential to ensure the safety of
those who use your furniture.
NOTE!! Handle glass components with extra caution so as not to cut
yourself or damage or break the components.
Connect the adjoining units using VHS connecting screws.
§19
The door may be installed either on the left or the right side of the
unit.
§20
NOTE!! B ed unit and flap have a tendency to slam when
closing. There is a risk of injury.
§21
Apply masking strip/unit in visible places.
§22
2
A
B
A=B
4
f1
3 61
3.
5n261p38
x16 mm
§23
NOTE!! High gloss fronts are covered with a protective film which
is to be removed once the component has been hung up.
The surface of these fronts cannot be cleaned until least 4 weeks
after removing the protective film.
NOTE!! Furniture may break free and fall if not used with caution.
Note: Before starting to assemble furniture, please read all the Furniture Assembly Instructions including the rules for maintenance and use.
Follow the sequence of individual assembly stages according to the paragraphs provided in the General Rules for Furniture Assembly.
KEEP THESE INSTRUCTIONS FOR THE DURATION OF FURNITURE USE.
1. NOTE! Do not proceed with assembly if any components are defective or damaged.
2. Place the components on a soft, clean surface, e.g. a towel or blanket, during assembly. Do not assemble furniture on rags, carpets, etc.
3. Drive the dowel pins f1 into the 8mm diameter holes, located on components' edges. Leave the cam bolt holes free. Any pin that sticks out by more
than 10mm needs to be taken out, replaced and shortened as it may damage the side wall during assembly.
4. Make sure that the diagonals are of equal length before attaching the back wall.
5. NOTE! Safety strap. Install according to instructions. Improperly secured furniture may break free and fall during use.
6. Dear Customer, in case of complaints please quote the code number provided on the first page of the Assembly Instructions. Report all comments
and complaints where you purchased the furniture. If possible, provide a label of defective product indicating the packing date and the packer.
Set screw adjusts cabinet flap door opening (tighten the screw for the
cabinet flap door to fall more freely).
B1 -91 LOZ90x200
KRISTOFF
745
972
2061
x1z1
382
x18
Ø8x30 mm
f1
x6
Ø58x 0 mm
f6
1/9
x13
k1
x5
e1
7x50mm
x3
e8
7x60mm
f43xmm5
x14
p6
§1
9
10
11
13 12
2
4
6
5
8
7
1
14
3
15
Фурнитура/Accesories 1
16 3/4
1/4
1222023200B191-1251
1/4
1222023200B191-1272
1/4
122177365B191-1283
1/4
122177365B191-129
4
1/4
122177365B191-130
5
1/4
122177365B191-1316
1/4
116184325B191-132
7
2/4
116360900B191-3338
2/4
122740972B191-4149
2/4
122740949B191-41510
2/4
116378945B191-41611
1/4
122199900B191-41712
1/4
116184900B191-41813
1/4
22280900B191-41914
4/4
1518911966
Основание
15
DB C
AE
x6s59
x16
e17
Ø6,3x20mm
x2
n106
115х115х122
x4
j138
M6x84
x4
r43
Ø10x16 mm
x8
r10
62mm
x6
s2
Ø16
x16
r3
Ø15x15 #22mm
x12
r42
20/1120/11
x12
r1
Ø15x12 #16mm
§16
2000x mm900
§2
1
2/9
r3
f1
r42
x4
r43
Ø10x16 mm
x2
n106
115х115х122
3
r3
r3
k1
4
k1
r3
r3
1
r3
r3
r3
r3
r43
r43
f1 f1
r42
r42
e17
e17
e17
n106
5
r42
r42
r42
r42
r3
r3
k1
k1
6
r42
r42 r42
r42
r3
r3
k1
k1
r43
k1
30mm
x16
r3
Ø15x15 #22mm
x12
r42
20/1120/11
2
r3
r3
r3
r3
r42
r42
r42
r43
r43
e17
e17
e17
e17
n106
f1 f1
x6
k1
x4
Ø8x30 mm
f1
x8
e17
Ø6,3x20mm
2
39/
§2
r1
f1
11
k1
k1
r1
r1
r1
r1
f1
f1
f1
f1
8
k1
r1
f1
f1
r1
14
r1
r1
r1
r1
f1
f1
13
f1
f1
7
x2
k1
30mm
x12
Ø8x30 mm
f1
150mm
x3
k1
x12
r1
Ø15x12 #16mm
3
49/
4
10
k1
k1
f1
f1
9
k1
k1
f1
k1
30mm
x4
k1
x2
Ø8x30 mm
f1
910
e8
e8
e8
e8 z1
e8 e8
x3
e8
7x60mm
x1z1
5
5/9
6
1
5
3
r10
r10
f6
r10
r10
f6
r10
r3
r3
r10
f6
r3
r3
r3
r3
r10
x1z1
x1z1
x3
Ø58x 0 mm
f6
x4
r10
62mm
2
4
6
r10
r10
f6
r10
r10
f6
f6
r10
r3
r3
r10 r3
r3
r3
r3
r10
f6
f6
x3
Ø58x 0 mm
f6
x4
r10
62mm
7
6/9
8
x1z1
e1
e1
13
8
7
e1 z1
e1 e1
14
8
13
5
1
6
2
z1
x1z1
x3
e1
7x50mm
9
7/9
10
x1z1
12
2
1
e17
e17
e17 e17
e17
x8
e17
Ø6,3x20mm
j138
j138
j138
e1
11
1
2
4
3
e1 z1
e1 e1
z1
j138
x4
j138
M6x84
x2
e1
7x50mm
10 9
2
411
1
10 9
11
3
11L
8/9
11P
p6
p6 p6
p6 p6
p6 p6
p6
p6
p6
p6
p6
f43xmm5
x14
p6
r1
s2
f43xmm5
x14
p6
r1
s2
p6
p6
p6
p6
p6
p6
p6
p6
p6
p6
p6
p21
r1
s2
r1
s2
x6
s2
Ø16
x6
s2
Ø16
12
9/9
13
15
§14 Тумба для постельных принадлежностей B191-SZU
x6s59
s59
1
s59
2

Other BLACK RED WHITE Indoor Furnishing manuals

BLACK RED WHITE re set atol 8/11 User manual

BLACK RED WHITE

BLACK RED WHITE re set atol 8/11 User manual

BLACK RED WHITE KENTAKI S320-LOZ/140 User manual

BLACK RED WHITE

BLACK RED WHITE KENTAKI S320-LOZ/140 User manual

BLACK RED WHITE KADA S404-KOM3S User manual

BLACK RED WHITE

BLACK RED WHITE KADA S404-KOM3S User manual

BLACK RED WHITE RETRO KOM/4S Quick guide

BLACK RED WHITE

BLACK RED WHITE RETRO KOM/4S Quick guide

BLACK RED WHITE VIS-A-VIS vloz/140 User manual

BLACK RED WHITE

BLACK RED WHITE VIS-A-VIS vloz/140 User manual

BLACK RED WHITE re set asto 8/18 User manual

BLACK RED WHITE

BLACK RED WHITE re set asto 8/18 User manual

BLACK RED WHITE STYLIUS B169-REG4D User manual

BLACK RED WHITE

BLACK RED WHITE STYLIUS B169-REG4D User manual

BLACK RED WHITE KENTAKI IDENTO S320-REG/90 User manual

BLACK RED WHITE

BLACK RED WHITE KENTAKI IDENTO S320-REG/90 User manual

BLACK RED WHITE GRACE B186-RTV1D2S User manual

BLACK RED WHITE

BLACK RED WHITE GRACE B186-RTV1D2S User manual

BLACK RED WHITE GRACE B186-BIU2S User manual

BLACK RED WHITE

BLACK RED WHITE GRACE B186-BIU2S User manual

BLACK RED WHITE re set apz 2/15 User manual

BLACK RED WHITE

BLACK RED WHITE re set apz 2/15 User manual

BLACK RED WHITE NFS-570/396 2UVG User manual

BLACK RED WHITE

BLACK RED WHITE NFS-570/396 2UVG User manual

BLACK RED WHITE LARGO Classic SZF3D/21/16 - FRN1 User manual

BLACK RED WHITE

BLACK RED WHITE LARGO Classic SZF3D/21/16 - FRN1 User manual

BLACK RED WHITE KRISTOFF B191-BIU3S User manual

BLACK RED WHITE

BLACK RED WHITE KRISTOFF B191-BIU3S User manual

BLACK RED WHITE SALMA B192-SFW1D User manual

BLACK RED WHITE

BLACK RED WHITE SALMA B192-SFW1D User manual

BLACK RED WHITE KENTAKI S320-TOL User manual

BLACK RED WHITE

BLACK RED WHITE KENTAKI S320-TOL User manual

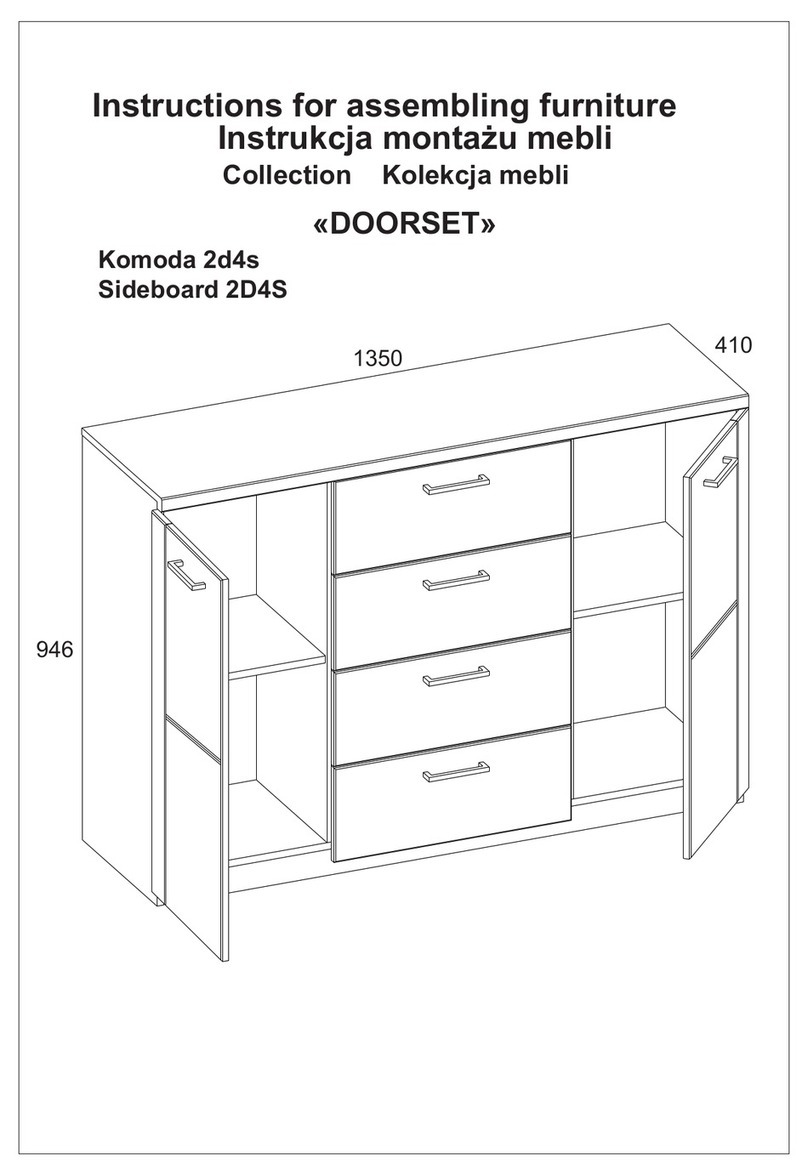
BLACK RED WHITE DOORSET 2D4S User manual

BLACK RED WHITE

BLACK RED WHITE DOORSET 2D4S User manual

BLACK RED WHITE Natalia III Komoda 150/3s User manual

BLACK RED WHITE

BLACK RED WHITE Natalia III Komoda 150/3s User manual

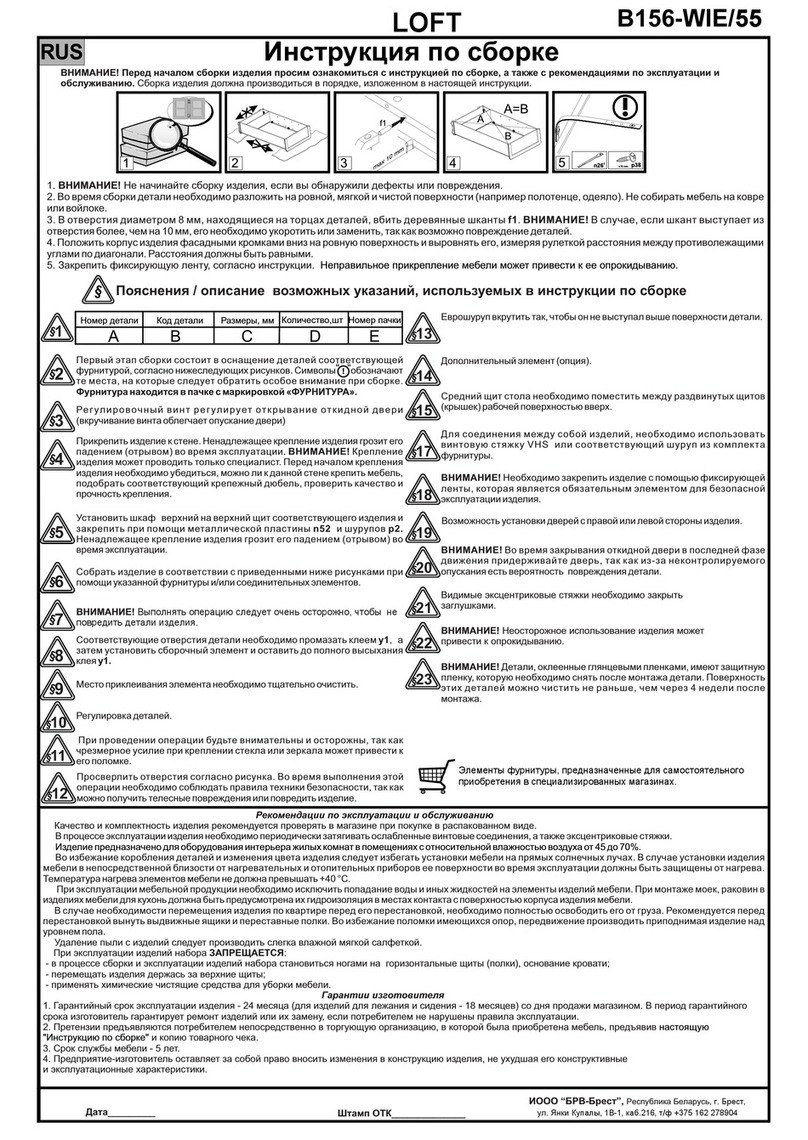
BLACK RED WHITE LOFT B156-WIE/55 User manual

BLACK RED WHITE

BLACK RED WHITE LOFT B156-WIE/55 User manual

BLACK RED WHITE KENTAKI S320-RTV2S User manual

BLACK RED WHITE

BLACK RED WHITE KENTAKI S320-RTV2S User manual

BLACK RED WHITE IDA 2D User manual

BLACK RED WHITE

BLACK RED WHITE IDA 2D User manual

BLACK RED WHITE STYLIUS B169-REG1W2S User manual

BLACK RED WHITE

BLACK RED WHITE STYLIUS B169-REG1W2S User manual

BLACK RED WHITE LOFT B156-REG1D1S/90 User manual

BLACK RED WHITE

BLACK RED WHITE LOFT B156-REG1D1S/90 User manual

BLACK RED WHITE HEDA S385-LAW1S User manual

BLACK RED WHITE

BLACK RED WHITE HEDA S385-LAW1S User manual

Popular Indoor Furnishing manuals by other brands

Forever Redwood LISA'S RETRO OUTDOOR PATIO TABLE Assembly instructions

Forever Redwood

Forever Redwood LISA'S RETRO OUTDOOR PATIO TABLE Assembly instructions

Acme Furniture 62203 Assembly instructions

Acme Furniture

Acme Furniture 62203 Assembly instructions

Haworth T_up Assembly instructions

Haworth

Haworth T_up Assembly instructions

Vivax ACP-12CH35AEVIs user manual

Vivax

Vivax ACP-12CH35AEVIs user manual

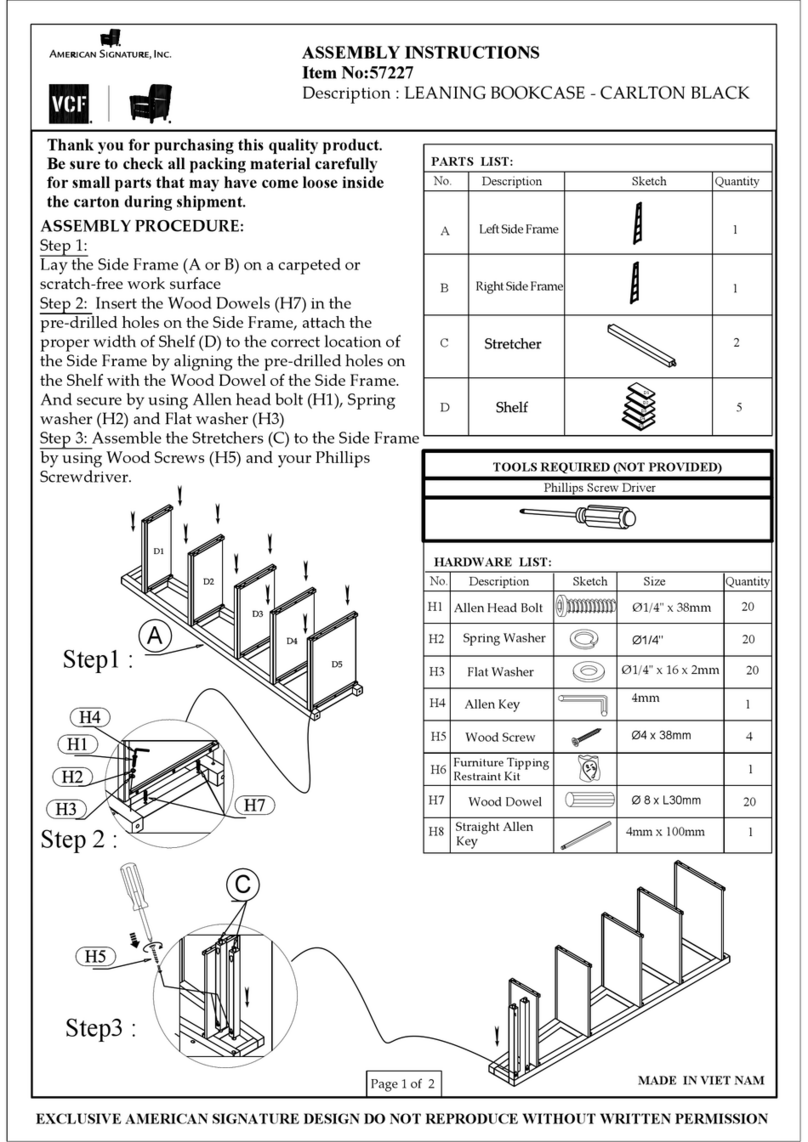
American Signature VCF 57227 Assembly instructions

American Signature

American Signature VCF 57227 Assembly instructions

MH LONDON MH-BS-916 Assembly instructions

MH LONDON

MH LONDON MH-BS-916 Assembly instructions

Lightolier ALTER METALYTE QVS2GPTOS332 specification

Lightolier

Lightolier ALTER METALYTE QVS2GPTOS332 specification

Whalen ODUS48CD-V manual

Whalen

Whalen ODUS48CD-V manual

Steelcase Moby2 Assembly instruction

Steelcase

Steelcase Moby2 Assembly instruction

Cooper Lighting MCGRAW-EDISON IMI-687 installation instructions

Cooper Lighting

Cooper Lighting MCGRAW-EDISON IMI-687 installation instructions

Forte TXCB04 Assembling Instruction

Forte

Forte TXCB04 Assembling Instruction

OBaby Grace instructions

OBaby

OBaby Grace instructions

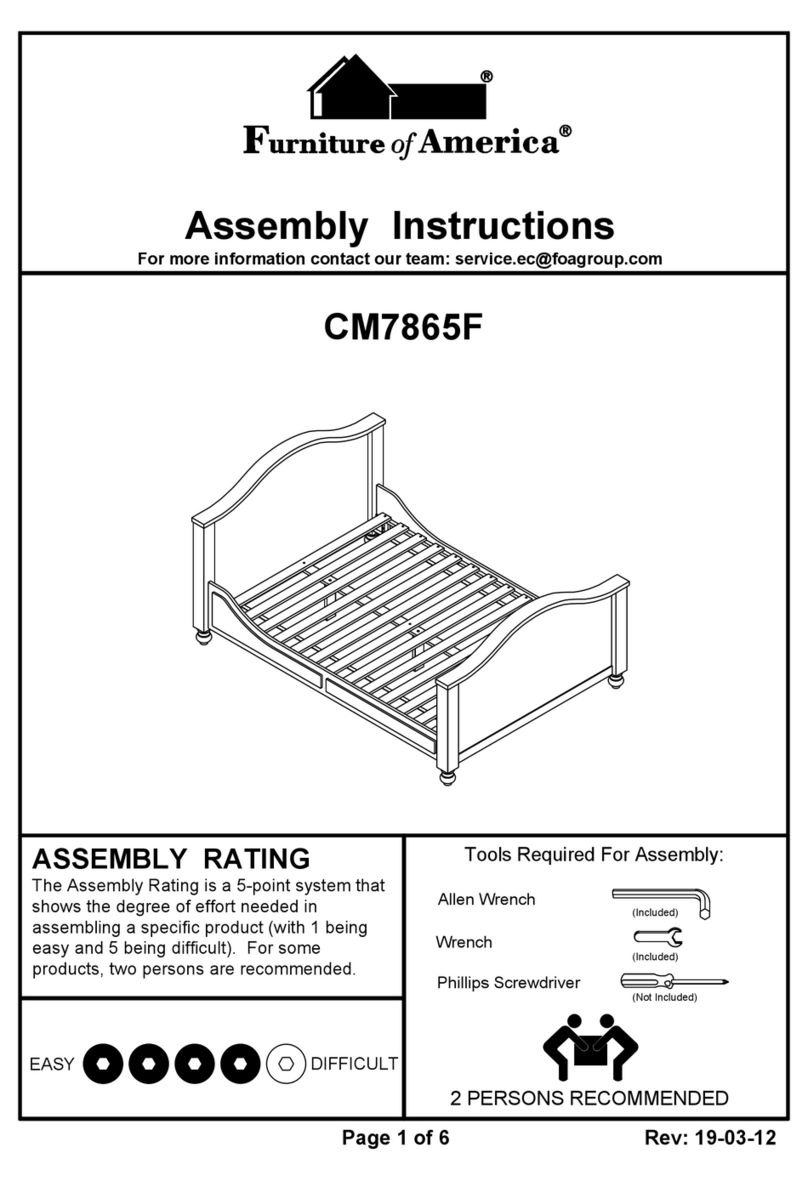
Furniture of America CM7865F Assembly instructions

Furniture of America

Furniture of America CM7865F Assembly instructions

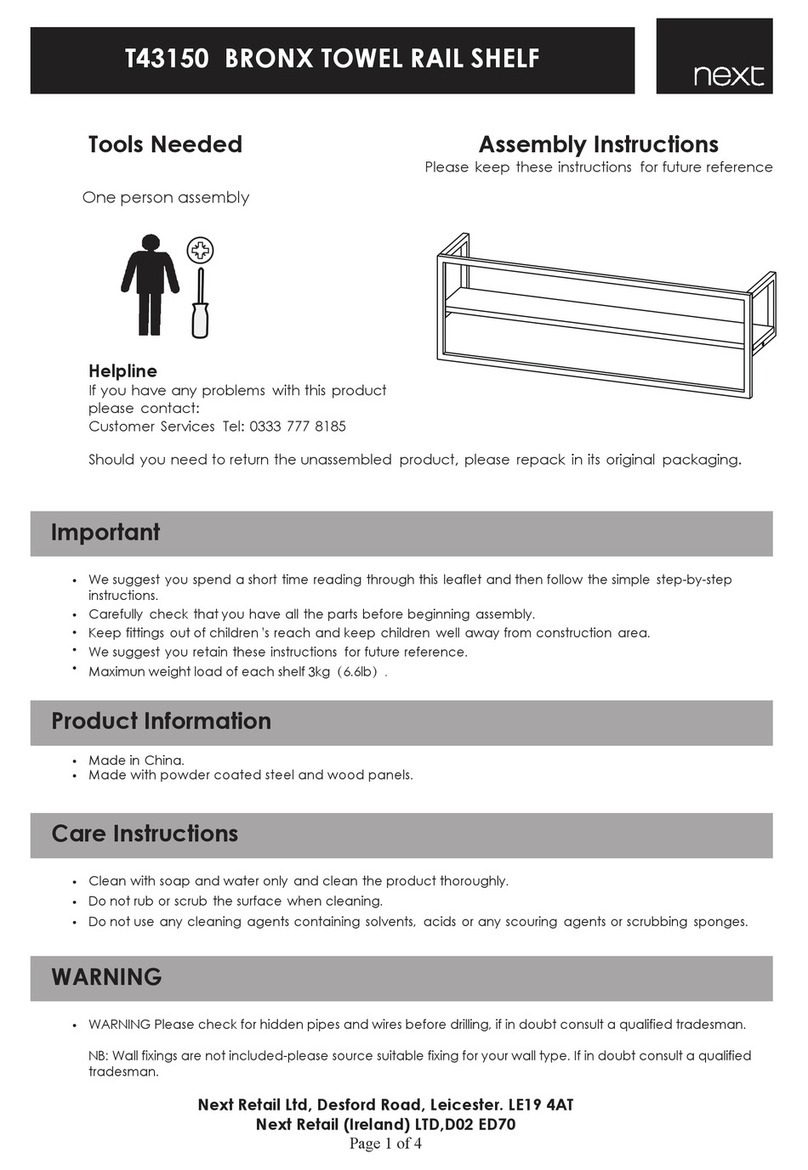
Next BRONX T43150 quick start guide

Next

Next BRONX T43150 quick start guide

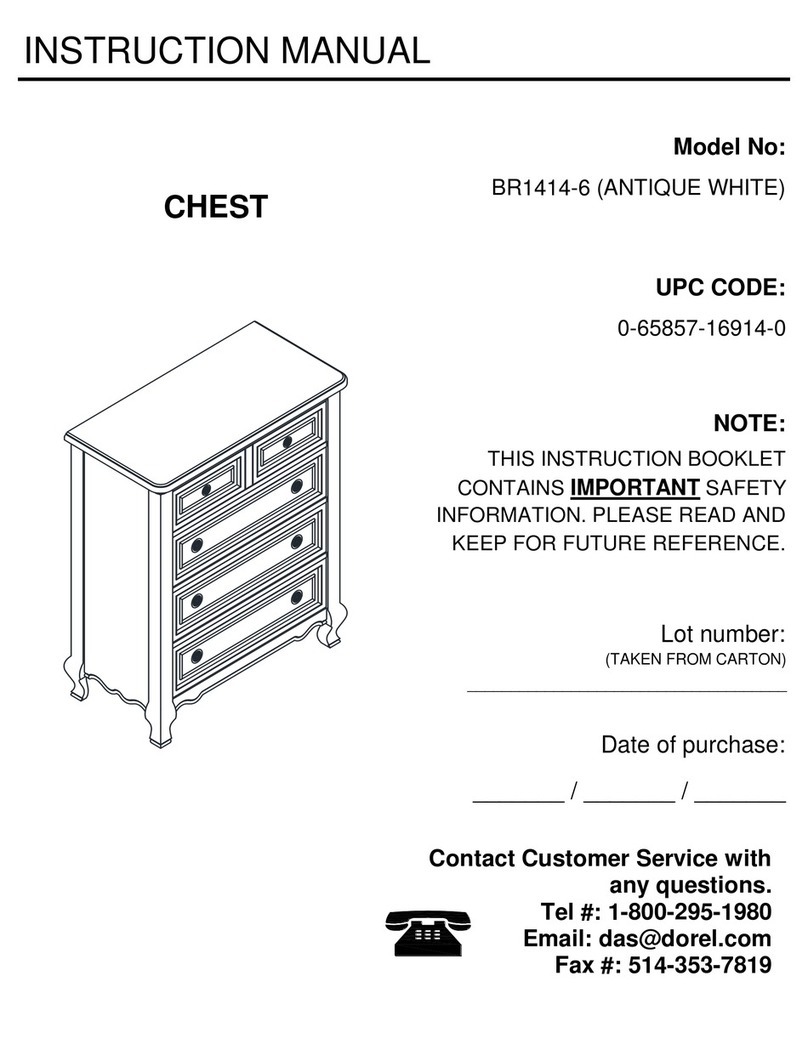
Dorel BR1414-6 instruction manual

Dorel

Dorel BR1414-6 instruction manual

Amart Furniture 62097 Assembly instruction

Amart Furniture

Amart Furniture 62097 Assembly instruction

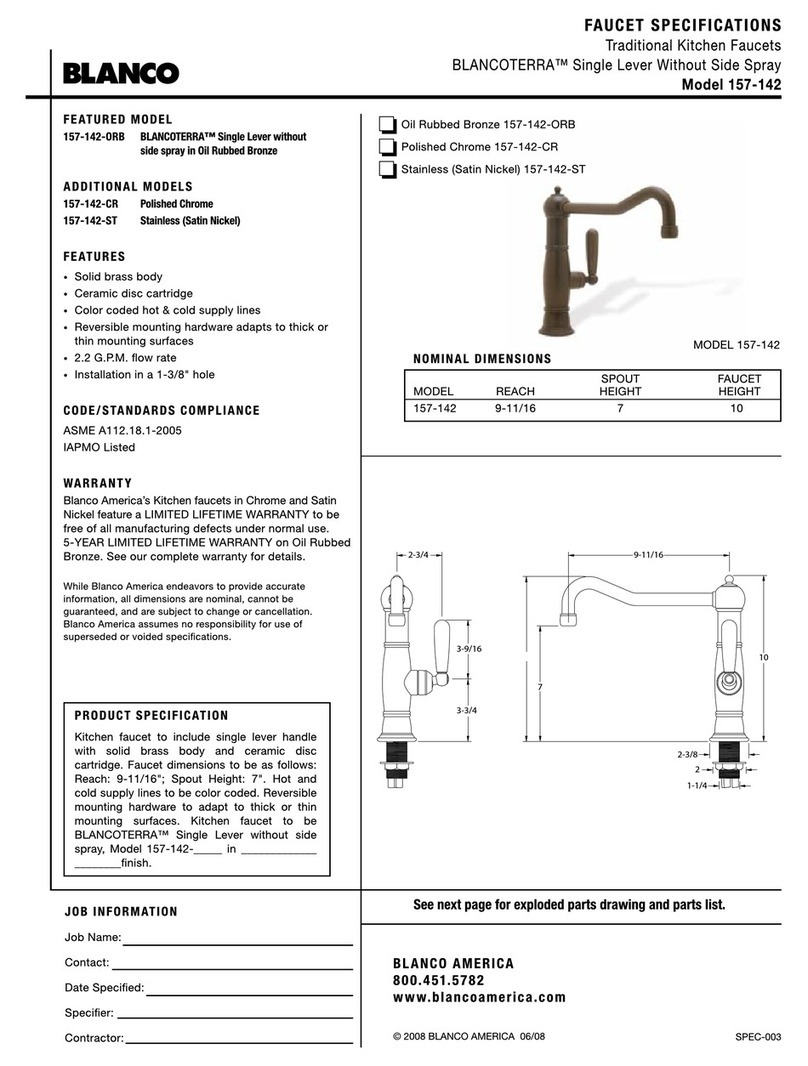
Blanco BLANCOTERRA 157-142 Specification sheet

Blanco

Blanco BLANCOTERRA 157-142 Specification sheet

Teknion Interpret Installation guides

Teknion

Teknion Interpret Installation guides

manuals.online logo
manuals.online logoBrands
  • About & Mission
  • Contact us
  • Privacy Policy
  • Terms and Conditions

Copyright 2025 Manuals.Online. All Rights Reserved.