manuals.online logo
Brands
  1. Home
  2. •
  3. Brands
  4. •
  5. BLACKHAWK!
  6. •
  7. Controllers
  8. •
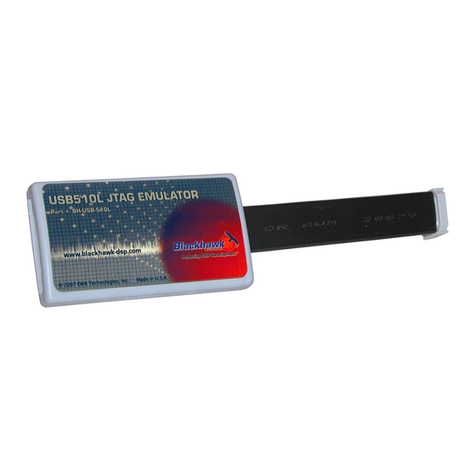
  9. BLACKHAWK! USB100 User manual

BLACKHAWK! USB100 User manual

14
Blackhawk™
USB100
JTAG
Emulator (USB100)
QUICK
START
GUIDE
Installation Requirements
• PC or Notebook computer with at least one free USB v1.1 or v2.0 port.
• Windows® 2000/XP/Vista Operating Systems (32 or 64-bit versions).
• Texas Instruments Code Composer Studio Version 4
For CCStudio 3.3, Service Release 12†or later is required.
Inventory of Items Included
1. Blackhawk USB100 Emulator.
2. USB 2.0 Compliant Cable.
3. Warranty and Product Registration
Cards.
4. Quick Start Guide.
Other Items Required
1. Target Board System — a self-
powered board with a TI DSP and
compatible JTAG header connection
conforming to IEEE 1149.1 Standard.
2. Copy of Code Composer Studio Ver-
sion 3.3 SR12†or later.
†CCStudio v3.3 SR12 is available for download from the TI web site via CCS update advisor or from
this link: https://www-a.ti.com/downloads/sds_support/CCSv3.3ServiceReleases.htm.
CCStudio v3.3
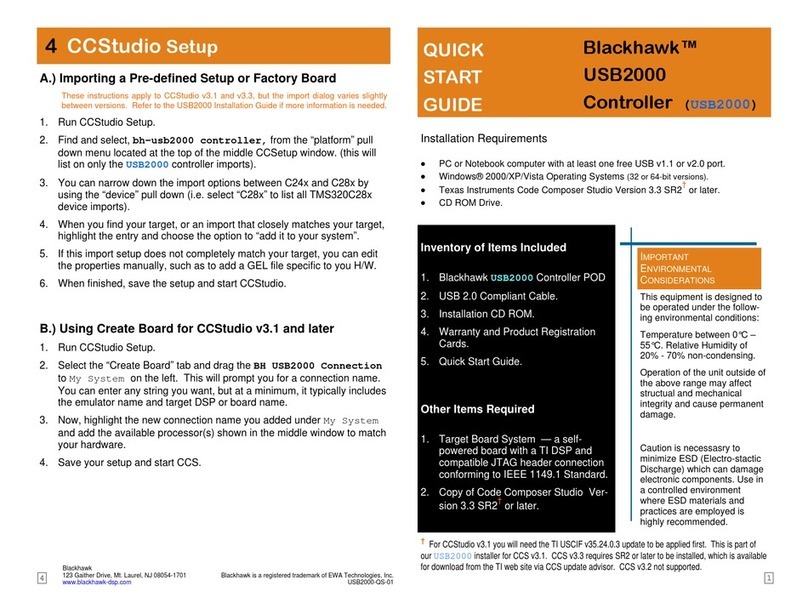
A.) Importing a Pre-defined Setup or Factory Board
1. Run CCStudio Setup.
2. Find and select, xds100 emulator, from the “platform” pull down
menu located at the top of the middle CCSetup window. (this will list
only the USB100 controller imports).
3. You can narrow down the import options between all supported DSP
families by using the “device” pull down (i.e. select “F28xx” to list all
TMS320F28xx device imports).
4. When you find your target, or an import that closely matches your target,
highlight the entry and choose the option to “add it to your system”.
5. If this import setup does not completely match your target, you can edit
the properties manually, such as to add a GEL file specific to you H/W.
6. When finished, save the setup and start CCStudio.
B.) Using Create Board
1. Run CCStudio Setup.
2. Select the “Create Board” tab and drag the TI XDS100 USB Emula-
tor Connection to My System on the left. This will prompt you for a
connection name. You can enter any string you want, but at a minimum,
it typically includes the emulator name and target DSP or board name.
3. Now, highlight the new connection name you added under My System
and add the available processor(s) shown in the middle window to match
your hardware.
4. Save your setup and start CCS.
4CCStudio Setup
This equipment is designed to
be operated under the follow-
ing environmental conditions:
Temperature between 0°C –
55°C. Relative Humidity of
20% - 70% non-condensing.
Operation of the unit outside of
the above range may affect
structual and mechanical
integrity and cause permanent
damage.
Caution is necessasry to
minimize ESD (Electro-static
Discharge) which can damage
electronic components. Use in
a controlled environment
where ESD materials and
practices are employed is
highly recommended.
IMPORTANT
ENVIRONMENTAL
CONSIDERATIONS
Blackhawk
123 Gaither Drive, Mt. Laurel, NJ 08054-1701
www.blackhawk-dsp.com
Blackhawk is a registered trademark of EWA Technologies, Inc.
USB100-QS-01
CCStudo v4.0
Follow this link for more details on XDS100 setup using CCStudio v4:
http://tiexpressdsp.com/index.php/CCSv4.
32
USB PnP Installation 3
1. Attach the USB cable to an available USB port on the PC.
2. Then attach the other end of the USB cable (Female-A connector) to the
USB-A connector of the USB100 Emulator (see Figure 1).
3. Follow the Plug and Play installation for the Windows device driver (see
section 3 on USB PnP Installation for more information).
4. You can now attach the emulator’s JTAG cable assembly (the 14-pin,
2x7 JTAG connector or the 20-pin 2x10 JTAG connector shown in figure
1) to the corresponding header on the target board. Make sure the tar-
get board is not powered when connecting!
5. Setup and start Code Composer Studio (see section 4 on CCStudio
Setup).
1Emulation Driver Installation
2Hardware Installation
W A R N I N G
Be careful to connect interface connector with the correct orienta-
tion. Pin 1 on the interface cable should match Pin 1 on the DSP sys-
tem connector. The JTAG cable assembly features a "keyed" con-
nector to minimize the chance of error.
Do not force connector into position. Forcing them may damage the
connector or the interconnected boards and systems.
FIGURE 1—USB100 JTAG Emulator (angled view)
Windows 2000/XP/Vista
1. If not already connected, connect the USB cable to the computer and to
the USB100 emulator.
2. Follow the Windows “Found New Hardware” wizard prompts.
3. You can select the “automatic” option for locating drivers.
4. If the automatic option did not locate them, you can manually specify the
location. These files were installed to your system during Code Com-
poser Service Pack 12 Installation—section 1. The typical location for
these files is folder: C:\CCStudio_v3.3\ftdi\bin.
5. When completed, Windows Device Manager will show the device under
the Universal Serial Bus controllers as TI XDS100 Channel A and TI
XDS100 Channel B.
6. Now follow the Code Composer Studio Setup—Section 4
Optional:
If the steps above do not install the drivers, run the following Batch file to complete the driver
installation for the USB100 board, “C:\CCStudio_v3.3\cc\bin\ftdi\install_ftdi.bat”
Emulator Pod
(3.0 x 1.0 x 0.6 inches)
14-pin keyed JTAG Connector
USB -A
Connector
JTAG Scan Chain Test points
20-pin keyed JTAG Connector
CCStudio v4
Drivers are installed as part of CCStudio v4. For more information on
CCStudio v4, please see following link:
http://tiexpressdsp.com/index.php/CCSv4
CCStudio v3.3 SR 12 or later
For other CCS 3.3 versions see this link:
http://tiexpressdsp.com/wiki/index.php?title=XDS100#XDS100_Installation_Instructions
The USB100 Emulator emulation drivers that are needed by Windows and
CCStudio for operation, are packaged with CCStudio SR12. SR12 can be
obtained using one of the following two methods.
1. Use the CCStudio Update Advisor, Check for Updates feature.
2. Use this link (requires a my.TI login):
https://www-a.ti.com/downloads/sds_support/CCSv3.3ServiceReleases.htm

Other BLACKHAWK! Controllers manuals

BLACKHAWK! USB100v2 User manual

BLACKHAWK!

BLACKHAWK! USB100v2 User manual

BLACKHAWK! USB2000 User manual

BLACKHAWK!

BLACKHAWK! USB2000 User manual

BLACKHAWK! USB510L User manual

BLACKHAWK!

BLACKHAWK! USB510L User manual

Popular Controllers manuals by other brands

FREE Drum Filter IoT Box Setup instructions

FREE Drum Filter

FREE Drum Filter IoT Box Setup instructions

Vex Robotics Victor SPX user guide

Vex Robotics

Vex Robotics Victor SPX user guide

Robe AT Series user manual

Robe

Robe AT Series user manual

EMKO ESM-4930 instruction manual

EMKO

EMKO ESM-4930 instruction manual

Maico EAQ 10/3 Mounting and operating instructions

Maico

Maico EAQ 10/3 Mounting and operating instructions

Fancom Aura 14 manual

Fancom

Fancom Aura 14 manual

Gefen EXT-HD-VWC-144 user manual

Gefen

Gefen EXT-HD-VWC-144 user manual

Finnleo SaunaLogic SL2 Control manual

Finnleo

Finnleo SaunaLogic SL2 Control manual

Leviton D4200 user guide

Leviton

Leviton D4200 user guide

ABB AC 800M Configuration

ABB

ABB AC 800M Configuration

Carrier TruVu VAVB3-E2 Installation and startup guide

Carrier

Carrier TruVu VAVB3-E2 Installation and startup guide

Maxon EP0S4 Disk 60/12 Hardware reference

Maxon

Maxon EP0S4 Disk 60/12 Hardware reference

CNC-Step Zero-3 operating instructions

CNC-Step

CNC-Step Zero-3 operating instructions

Apeks FSR Series Technical maintenance manual

Apeks

Apeks FSR Series Technical maintenance manual

Murphy iGUARD Installation and operation manual

Murphy

Murphy iGUARD Installation and operation manual

Honeywell THR0924 manual

Honeywell

Honeywell THR0924 manual

THORLABS BBD101 user guide

THORLABS

THORLABS BBD101 user guide

Mitsubishi Electric R32MTCPU Programming manual

Mitsubishi Electric

Mitsubishi Electric R32MTCPU Programming manual

manuals.online logo
manuals.online logoBrands
  • About & Mission
  • Contact us
  • Privacy Policy
  • Terms and Conditions

Copyright 2025 Manuals.Online. All Rights Reserved.