Blackline Safety 102140 User manual
i
INDOOR LOCATION
TECHNOLOGY
Setup Guide
ii || GETTING STARTED GUIDE
LEGAL NOTICES
Information in this document is subject to change without notice. This document is provided“as is”and Blackline Safety Corp. (“Blackline”) and its aliated companies and partners assume no responsibility for any
typographical, technical or other inaccuracies in this document. Blackline reserves the right to periodically change information that is contained in this document. However, Blackline makes no commitment to
provide any such changes, updates, enhancements or other additions to this document to you in a timely manner or at all.
Copyright © 2016 Blackline Safety Corp. All rights reserved.
Except as expressly provided herein, no part of this manual may be reproduced, copied, transmitted, disseminated, downloaded, or stored in any storage medium, for any purpose without the express prior
written consent of Blackline Safety Corp (“Blackline”). Blackline hereby grants permission to download a single copy of this manual onto some form of electronic storage medium to be viewed and to print
one copy of this manual or any revision hereto, provided that such electronic or printed copy of this manual must contain the complete text of this copyright notice. Further, any unauthorized commercial
distribution of this manual or any revision hereto is strictly prohibited.
The Blackline, Alert. Locate. Respond. families of related marks, images and symbols, including Blackline, G7, G7c, G7x, LiveResponse, Loner, Loner IS, Loner IS+, Loner M6, Loner M6i, Loner Mobile, Loner
900, and SureSafe are the exclusive properties and trademarks of Blackline Safety Corp. All other brands, product names, company names, trademarks and service marks are the properties of their
respective owners.
Warranty
Your G7 device is warranted against defects in materials and workmanship for up to two years from date of purchase. For further details regarding your Blackline warranty, please refer to your terms and conditions of
service.
More information and support visit: http://www.blacklinesafety.com
102128_R6
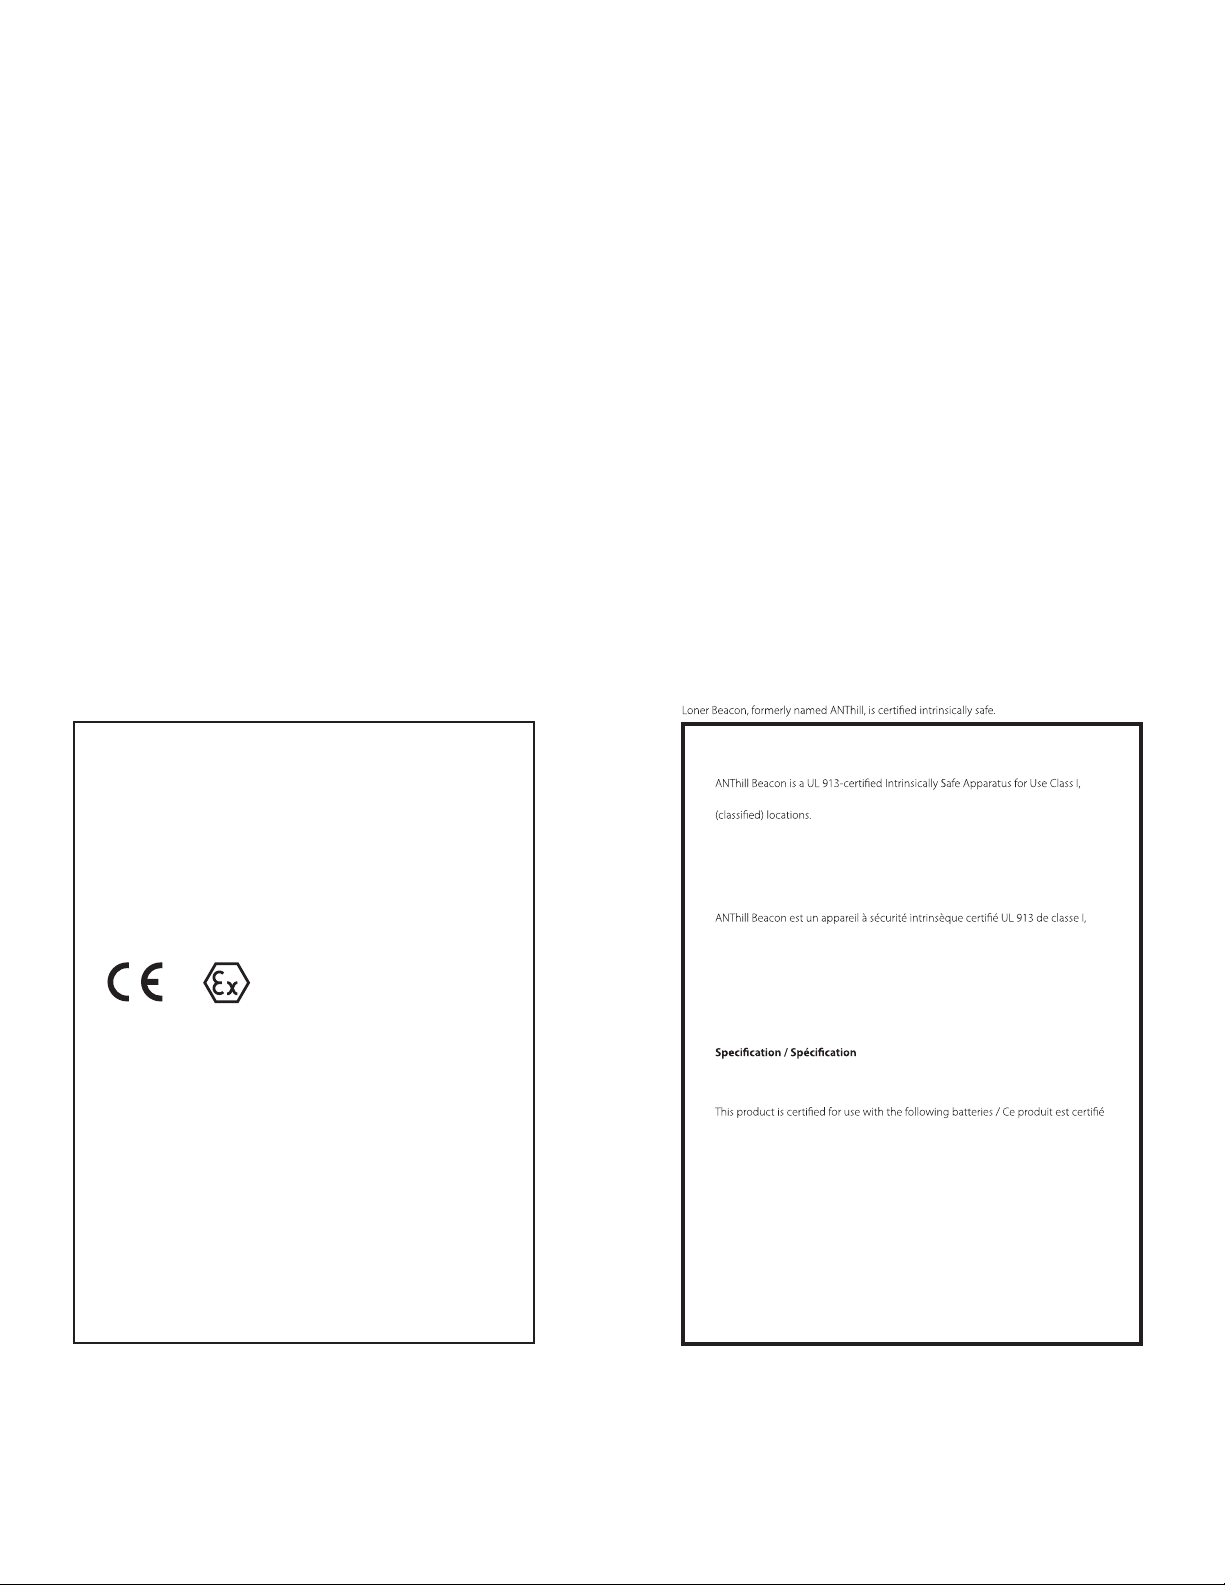
Intrinsically Safe
Loner Beacon
Model: 102140
Sira 16ATEX2232
IECEx SIR.YYYYX
This equipment complies with EN 60079-0:2011/A11:2013 and EN 60079-11:2012
Ex ia IIC T4 Ga
Ambient operating range -40°C to + 55°C
WARNING USE ONLY THE FOLLOWING BATTERIES
Duracell Procell PC1400
Energizer Industrial EN 93
Rayovac UltraPro 814
WARNING DO NOT REPLACE BATTERY WHEN AN EXPLOSIVE ATMOSPHERE IS
PRESENT, WHEN REPLACING THE CELLS, THE USER SHALL ENSURE THAT BOTH
CELLS ARE THE SAME TYPE, NEW AND UNUSED
Manufactured by:
Blackline Safety
Suite 101, 1215 – 13 St SE
Calgary, Alberta T2G 3J4 Canada
This information will be reproduced in the user manual referenced on the nameplate.
2813 II 1G
Intrinsically Safe
Division 1, Groups A, B, C, D and Class II, Division 1, Groups E, F, G in hazardous
Please consult with your organization’s safety professional for further information
regarding the topic of intrinsic safety and any policies, procedures, facilities, or loca-
tions within facilities that may be related to intrinsic safety.
Sécurité intrinsèque
division 1, groupes A, B, C, D et classe II, division 1, groupes E, F, G dans les lieux
classés comme dangereux.
S’il vous plaît consulter avec le professionnel de la sécurité de votre organisation
pour de plus amples informations concernant le thème de la sécurité intrinsèque
et les politiques, les procédures, les installations ou les lieux dans les établissements
qui peuvent être liés à la sécurité intrinsèque.
Class I, Division 1, Groups A, B, C, D and Class II Division 1, Groups E, F, G T4
Class I, Zone 0, Group IIC T4. -40°C <= Ta <= +55°C
pour une utilisation avec les piles suivantes:
Duracell PC1400
Energizer LR14DP12
Rayovac ALC-12FP
WARNING: Use only approved batteries.
AVERTISSEMENT: Utilisez uniquement des batteries homologuées.
101332_r3
INTRINSICALLY SAFE
IECEx/Atex North America

iii
CONTENTS
OVERVIEW 1
GETTING STARTED 4
SELECT LOCATION BEACON PLACEMENT 5
INSTALL LOCATION BEACONS 6
PREPARE FLOOR PLANS 8
ADD LOCATION BEACON INFORMATION TO BLACKLINE LIVE 9
TEST LOCATION BEACON 10
CHANGING BATTERIES 11
SUPPORT 11
1|| GETTING STARTED GUIDE
OVERVIEW
I
I
INDOOR LOCATION TECHNOLOGY
Why indoor location technology?
GPS can deliver very precise locations when used outdoors
and away from large buildings.
However, when working indoors GPS signals can be degraded,
resulting in a reported location that is imprecise for an
ecient emergency response.
For many cases that involve commercial or industrial buildings,
GPS signals are blocked by the building completely and no GPS-
computed location is available at all.
Blackline Safety’s indoor location technology solves this
problem, making it possible to accurately locate an employee
working indoors and around large buildings. Combined with
custom oor plans, Blackline’s Location Beacon precisely displays
an employee’s location on a Google™ map. The end result is the
fastest possible emergency response to your employee’s exact
location.
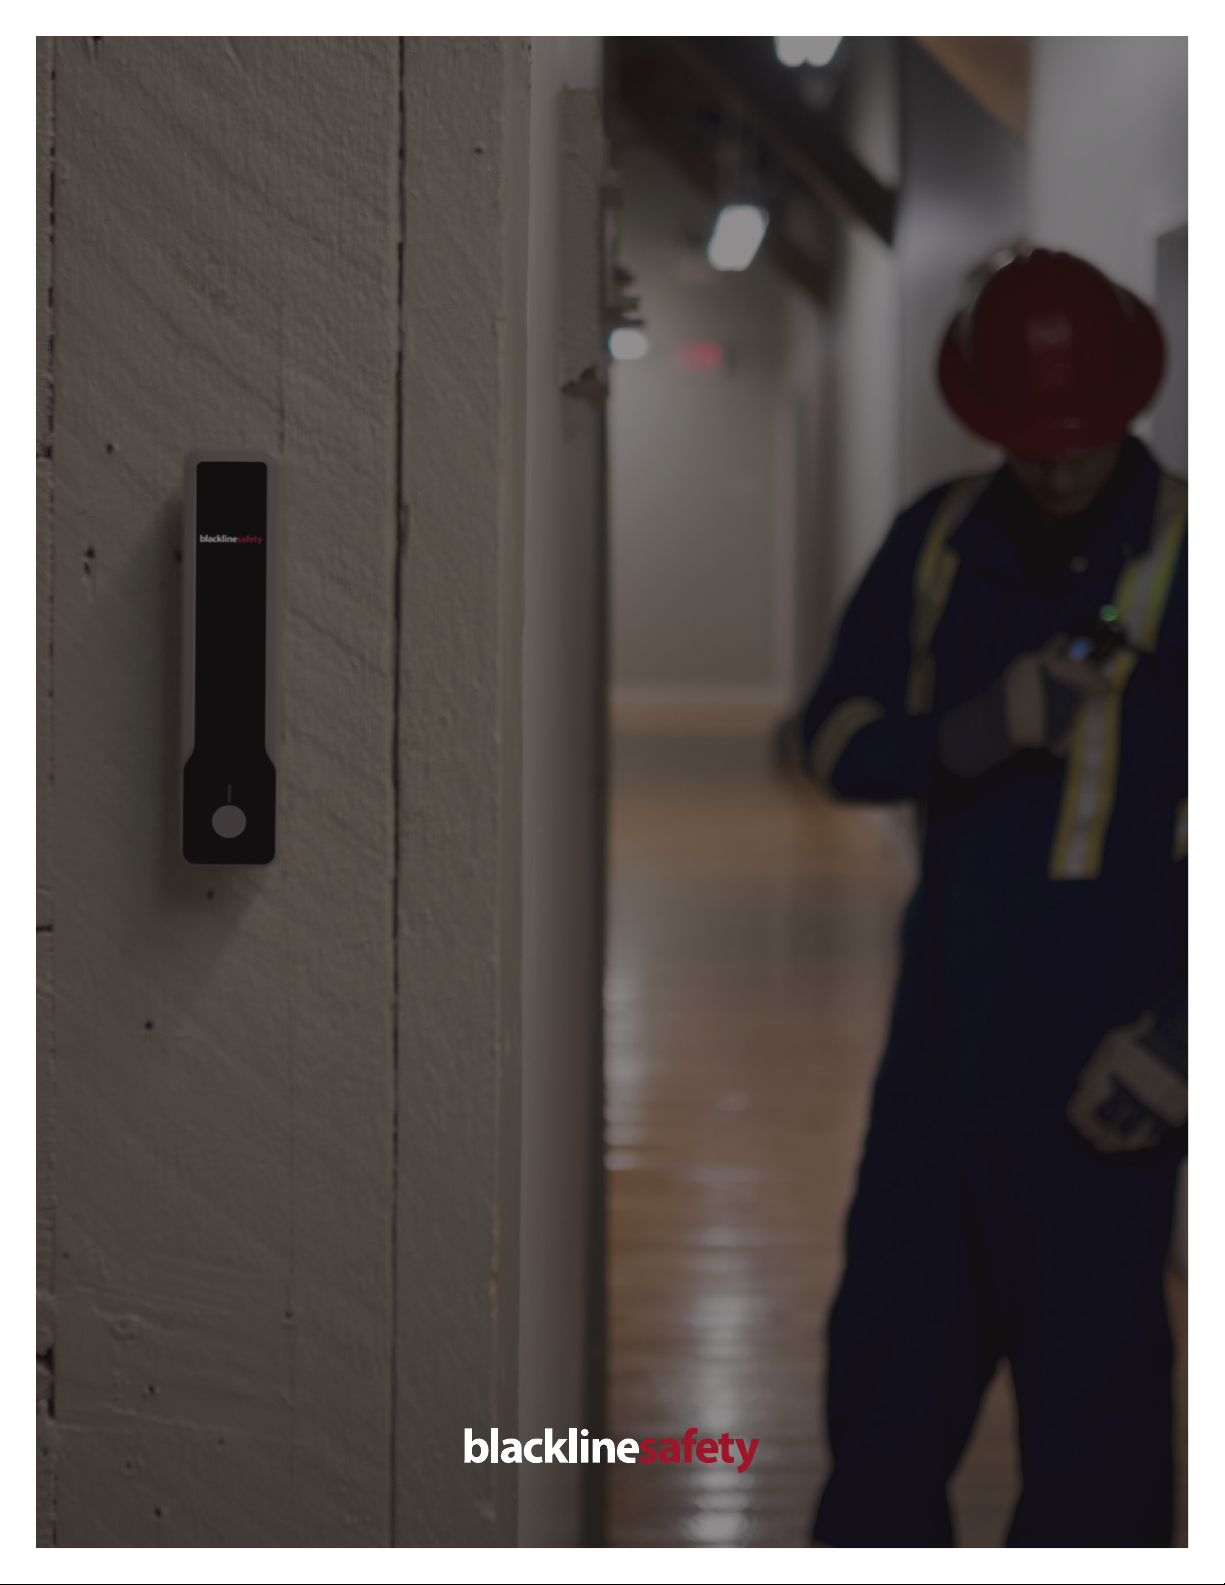
What are Location Beacons?
Location Beacons are compact, wireless positioning transmitters.
Installed throughout facilities, Location Beacon should be placed
wherever GPS signals are unreliable or unavailable.
Each beacon broadcasts a unique identity number that is
received by your Blackline device, whether that be G7c/G7x,
Loner M6/M6i, Loner 900, Loner SMD or Loner IS+.
Safety monitoring devices report the identity of each beacon
within range back to the Blackline Live portal. Blackline Live uses
associated location information to improve the accuracy of the
device user’s reported location.
2
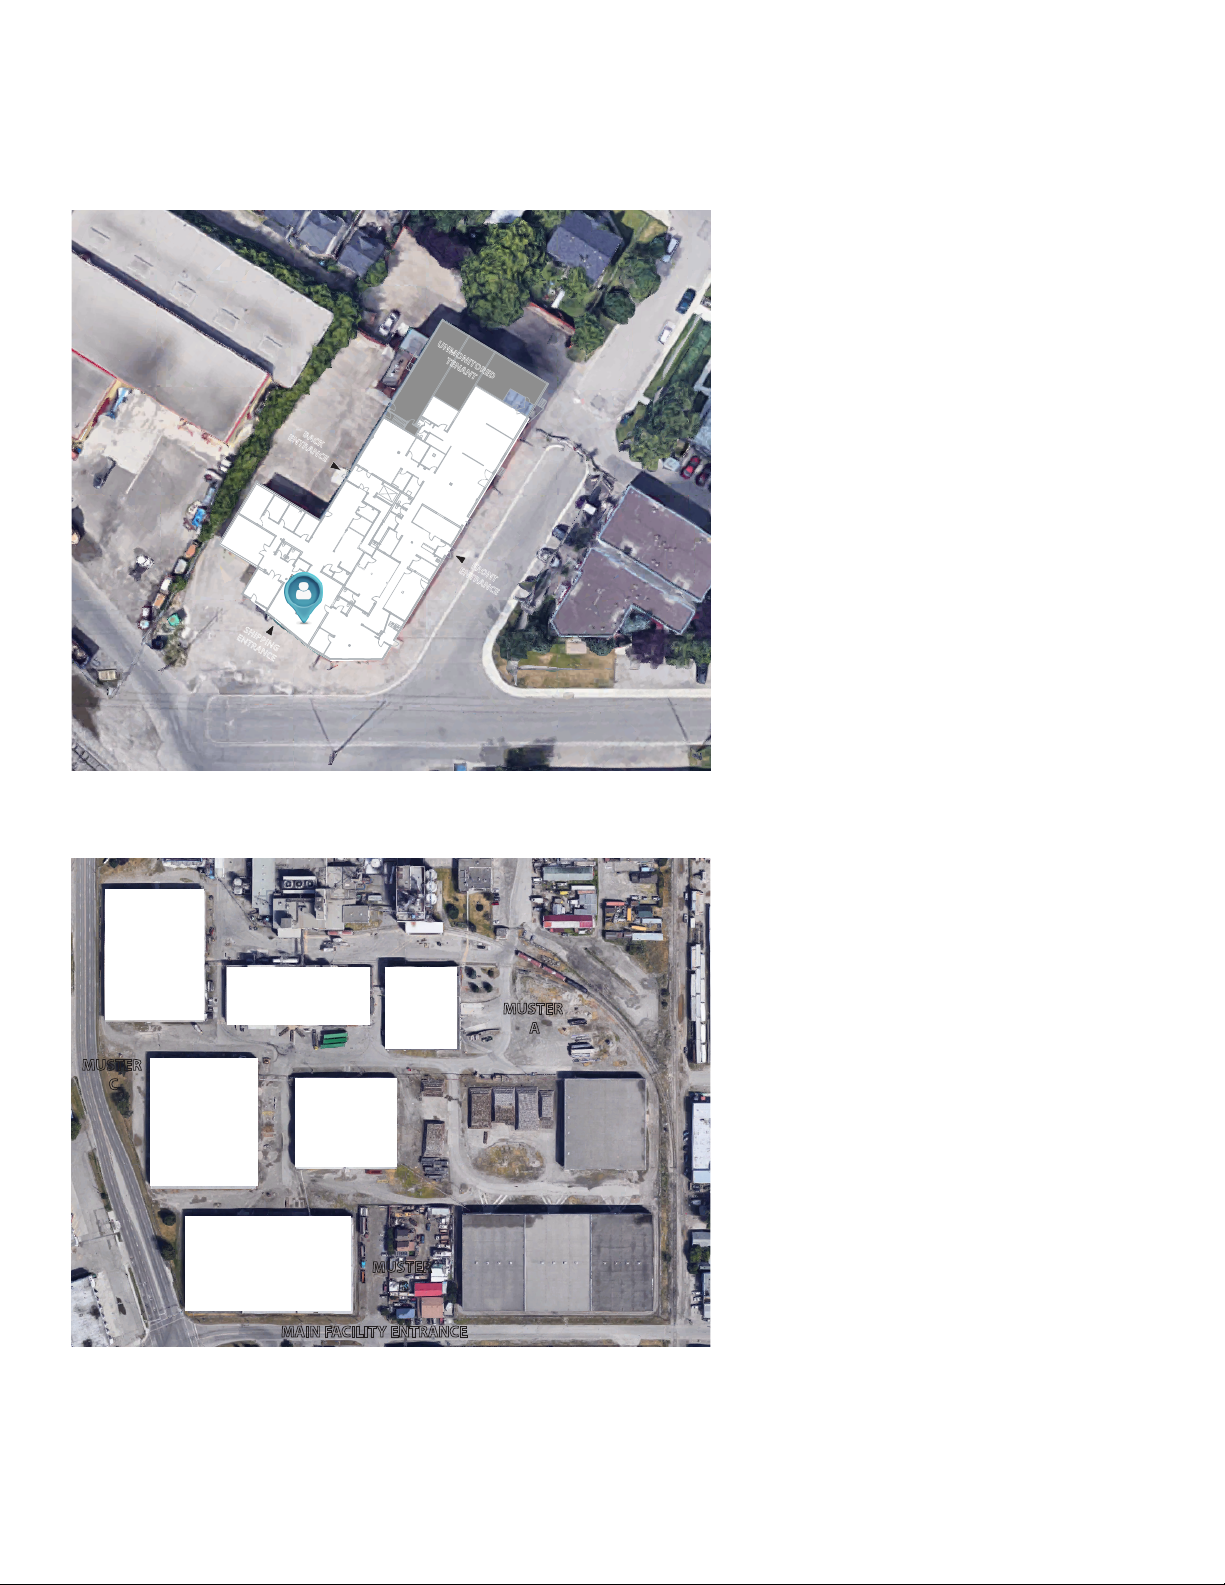
What are oor plans?
Floor plans greatly enhance indoor location
technology, maximizing your team’s capability
to respond without delays. Floor plans are added
to your Blackline Live account, with employee
locations displayed on top of the oor plan within
the Google map.
Floor plans are optional, but increase the
eectiveness of Location Beacons. They provide an
important visual layer on the Blackline Live map
that can improve response time.
Clear, legible oor plans can help emergency
responders determine the best entry point and
route through the building are for rescue.
PRODUCTION
STORAGE
OPERATIONS
UX &
MARKETING
FIRMWARE
SOFTWARE
TESTING
HARDWARE
FRONT
ENTRANCE
SHIPPING
ENTRANCE
UNMONITORED
TENANT
BACK
ENTRANCE
SALES
SOC
CUSTOMER
CARE
ACCOUNTING
MUSTER
A
MAIN FACILITY ENTRANCE
MUSTER
B
MUSTER
C
1
2 3
4
5
6
What are site plans?
Site plans are a great way to increase the level of
detail for your entire property. There may be key
features that are not included within the standard
Google Maps interface, such as muster points,
roadways and other details.
In areas where there is higher population density,
the Google satellite imagery is often high in
resolution and provides great detail. In remote
areas, satellite imagery can be blurry.
With the help of site plans, custom maps or digital
images of your property can be overlaid to ensure
that you have the appropriate level of detail to
manage emergency responses.
Table of contents
Popular Security System manuals by other brands


Secure
Secure USAB-1 operating instructions

B&B
B&B 480 SERIES Operation & maintenance manual

ADEMCO
ADEMCO VISTA-20P Series Installation and setup guide

Inner Range
Inner Range Concept 2000 user manual

Johnson Controls
Johnson Controls PENN Connected PC10 Install and Commissioning Guide

Aeotec
Aeotec Siren Gen5 quick start guide


