BLAU SCAL AH Series User manual

USER MANUAL
MANUAL DE UTILIZACION
MANUEL D´UTILISATION
SERIE / SERIES AH
Models / Modelos / Modèles
AH-150
AH-300
AH-600
AH-1200
AH-3000
VER. 6A11M10-3TPROG1.1
1

2

INDEX
Requireme ts for a optimal i stallatio 4
U packi g 4
I stallatio 5
Descriptio of display 5
Keyboard descriptio 6
Weight u it selectio 7
Reset to zero 7
Tara 7
Overload message 7
Piece cou ti g fu ctio 7
Perce tages fu ctio 8
Parameters setti g 8
Calibratio 9
Fast calibratio 9
Mai weight u it selectio 9
Seco d weight u it selectio 10
Auto power off co figuratio 10
Data tra smissio co figuratio 10
Baud rate co figuratio 10
Filter selectio 11
Zero correctio co figuratio 11
Auto-zero selectio 11
Auto-sample selectio i piece cou ti g 12
Backlight co figuratio 12
Error messages 12
Output RS-232 13
Co versio table of weight u its 14
Table of capacities 14
Tech ical characteristics 15
Guara tee 15
CE Co formity Declaratio 45
3

REQUIREMENTS FOR AN OPTIMAL INSTALLATION
To obtai the maximum performa ce a d the best results, we recomme d
i stalli g the bala ce accordi g to the followi g requireme ts:
a) I stall it o a firm a d stable surface.
b) Place it o a stable base free of vibratio s.
c) Do ´t expose it to direct su light.
d) Do ´t submit it to atmospheres with corrosive gases.
e) Keep it i a e viro me t free of dust a d dirt.
f) Work at temperatures betwee 15º a d 30º C.
g) Use the bala ce i e viro me ts with humidity lower tha 95% HR.
h) Keep the bala ce away from equipme t that produces mag etic or acoustic
i terfere ces.
i) Calibrate it i its defi itive place of use a d check it regularly with a calibratio
weight (optio al), if ecessary, recalibrate it.
Unpacking
U pack the bala ce carefully. I side the carto you will fi d the followi g
compo e ts:
1. This operatio ma ual (please, read it before usi g the bala ce).
2. A bala ce Series AH
3. A stai less steel pa
4. A AC/Adaptor of 12 V / 800 mA; do ´t use a y other adaptor, it could damage
the bala ce.
5. A CD-ROM with USB adaptor.
6. A USB cable
7. Five pieces of wi dshield.
VERY IMPORTANT Keep the origi al package. It could be useful i the future i
tra sporti the bala ce.
4

INSTALLATION
1. Remove the package from the carto .
2. Remove the pa from the cardboard.
3. Remove the AC/Adaptor (it is i side a white box).
3. Take out the bala ce from its protectio a d place it o its defi itive place of
use, which should be a flat, o -metallic, most stable a d rigid surface.
4. Put the stai less steel pa o the pa support.
5. Level the bala ce by tur i g the four adjustable feet u til the bubble level
located o left fro tal side remai s i the ce tre of the circle.
6. Co ect the AC/Adaptor to the bala ce´s co ector a d the to a outlet of
220/240 V. 50 Hz..
7. Calibrate the bala ce with a proper calibratio weight. This actio is very
importa t i order to obtai accurate weighi g results.
8. For maximum accuracy, it is ecessary to keep the bala ce co ected for about
60 mi utes before usi g it. However, the bala ce ca also be used immediately
with good results.
DESCRIPTION OF DISPLAY
Zero It lights whe the display is at zero.
Tare It lights whe a co tai er or product have bee tared.
Stable It appears whe bala ce is stable.
Modo It lights whe the “mode” key is pressed.
Setup It lights whe the “Setup” key is pressed.
Cal It appears whe the bala ce is i calibratio mode.
Battery i dicator
Use to change Used to avigate through the me u.
Press enter The display shows it whe it is eeded to co firm the fu ctio .
Press Esc The display shows it whe you ca retur to previous me u or exit.
Weight units symbols ct: Quilate lb: pou d oz: ou ce GN: grai
ozt: troy ou ce
dwt: pe yweight
5

t1.T: tael
pcs: pieces cou ti g
%: perce tages
ºC: temperature
KEYBOARD DESCRIPTION
To tur o or to tur off the scale.
MODE To select betwee weight, pieces-cou ti g or perce tage modes.
UNITS To select the weight u it. There are 8 weight u its available.
PCS To e ter the sample i pieces-cou ti g fu ctio .
To tare a co tai er or product a d the obtai the et weight.
To reset the display to zero.
ENTER To co firm data or to pri t.
SETUP To select various me us.
ESC To retur to previous me u or to exit.
To move to the right.
To move to the left.
To move up.
To move dow .
6

WEIGHT UNIT SELECTION
Press the UNITS key to select the weight u its, the display will view the optio s.
There are 8 weight u its available.
RESET TO ZERO
If the zero value varies duri g the weighi g, press the key, the display will
show zero agai .
TARE
This fu ctio allows calculati g the et weight of a product.
With display showi g “zero”, place a co tai er o the pa , the press the key,
the bala ce will subtract the co tai er´s weight, put the product i to the co tai er
a d the read the product´s weight o the display ( et weight)
To retur to ormal weighi g model, remove the co tai er a d press the
key.
OVERLOAD MESSAGE
If a object is placed o the pa a d its weight exceeds the maximal capacity of
the bala ce, the display will show the message "-----OL-----", at the same time, the
bala ce will beep. Remove the object; otherwise it may damage the mecha ism of
the bala ce.
PIECES COUNTING FUNCTION
The pieces cou ti g fu ctio is used to cou t the umber of pieces deposited o
the pa .
Place a co tai er o the pa a d press the key.
I sert a certai umber of pieces (10, 20, 50 or 100) i to the co tai er. This
umber of pieces is the i itial sample, the higher umber gra ts more accuracy i
fi al cou ti g.
Press the MODE key, select the desired sample umber usi g the or UNITS
keys. To co firm the selected value, press the PCS key.
The bala ce will accept the sample a d after a few mi utes will i dicate the pieces
cou ti g mode.
The display will show the umber of pieces placed o the pa , add the rest of
7

pieces to obtai the total of pieces.
To cou t other pieces of a differe t weight u it, repeat the procedure.
To retur to ormal weighi g mode, press the MODE key u til the sig grams “g”
appears o the right side.
PERCENTAGES FUNCTION (%)
O ce selected the perce tage mode by pressi g the MODE key, use the keys
UNITS or to choose betwee 100.0% or 100.00%.
Place the product, co sidered as 100%, o the pa a d press the PCS key. The
symbol “Modo” will flash for a few seco ds a d the the bala ce will beep
i dicati g the procedure is fi ished.
From this mome t, the bala ce is ready to use the perce tage fu ctio . Whe the
sample value is less tha 0.2d, the display shows "---or---%". It mea s that the
sample is too small, therefore, will eed to add bigger samples.
Note To exit from pieces-cou ti g or perce tages fu ctio , press the MODE key
to retur to ormal weighi g mode.
To retur to pieces-cou ti g or perce tages fu ctio , press the PCS key. The
bala ce will automatically memorize the previous data, so you ca co ti ue usi g
both fu ctio s.
The data memory will be deleted automatically whe you switch from o e mode to
the other.
PARAMETERS SETTING
Press the SETUP key to e ter to parameters setti g me u. O ce it’s pressed, the
display will show the message CAL.
Use the keys to choose the fu ctio .
8

The fu ctio s are:
CALIBRATION
Whe the display shows “CAL”, press the ENTER key to access to
Auto-Calibratio mode.
Use the keys a d to e ter the calibratio weight value, the
press the ENTER key to co firm.
Place the calibratio weight o the pa , whe the bala ce is stable, it will retur to
i itial mode of weighi g. The calibratio has bee fi ished.
FAST CALIBRATION
Keep pressed the ENTER key for 3 seco ds. The display will show “the weight
calibratio value”. Put o the pa a calibratio weight which correspo ds to the
value i dicated by the bala ce. Whe the symbol “CAL” disappears, the calibratio
will be fi ished.
9

MAIN WEIGHT UNIT SELECTION
Press the keys UNITS or to select the weight u it, the press the ENTER
key to co firm.
To retur to previous me u or to exit, press the ESC key.
(Default value: “g”)
SECOND UNIT WEIGHT SELECTION
(total: 8 weight u its available)
Press the keys UNITS or to select the weight u its a d press
to choose “ON” or “OFF”, the press ENTER to co firm.
To retur to previous me u or to exit, press the ESC key.
AUTOPOWER OFF CONFIGURATION
Press the key u til the scree shows the message “A.OFF", the press
ENTER.
Use the keys to select the auto power time, example: o, 2, 5, or 8
mi utes. To co firm the desired value, press ENTER
To retur to previous me u or to exit, press the ESC key.
(Default value: “ o”)
DATA TRANSMISSION CONFIGURATION
Press the key u til the scree shows the message “Tr ”, the press ENTER
key.
Press to select a “stable tra smissio ”. Press the ENTER key to co firm
a d the ESC key to retur to previous me u or to exit.
(Default value: “CLOSE”)
“CLOSE”:
“stb” stable tra smissio
“tb” tra smissio by pressi g the E ter key.
“ser” series tra smissio .
“disp” tra smissio to a auxiliary display (optio al)
10

BAUD RATE CONFIGURATION
Press the key u til the scree shows the message “rate”, the press the
ENTER key.
Use the keys to select the baud rate (1200, 2400, 4800 a d 9600) a d
press ENTER to co firm.
Press the ESC key to retur to previous me u or to exit.
(Default value: 2400)
FILTER SELECTION
Press the key u til the scree shows the message "FI 105 ", the press the
ENTER key.
Use the keys to select the ra ge of stability (from 1 to 15), the press
ENTER to co firm.
Press the ESC key to retur to previous me u or to exit.
ZERO CORRECTION CONFIGURATION
Press the u til the scree shows the message "ZEro1", the press the
ENTER key.
Use the key to select the zero ra ge (from 0 to 3 divisio s). To co firm,
press the ENTER key.
Press the ESC key to retur to previous me u or to exit.
ZEro1 correctio of o e divisio .
ZEro2: correctio of two divisio s.
ZEro3 correctio of three divisio s.
ZEro0 without correctio .
AUTO-ZERO SELECTION
Press the key u til the scree shows the message "trAC1", the press the
ENTER key
Use the keys to select the auto-zero tracki g.
11

Press the ENTER key to co firm.
Press the ESC key to retur to previous me u or to exit.
(Default value: “2”)
trAC0 it corrects deviatio s less tha 1/3 of divisio .
trAC1 it corrects deviatio s less tha 2/3 of divisio .
trAC2 it corrects deviatio s less tha 1 divisio .
trAC3 it corrects deviatio s less tha 4/3 of divisio .
trAC4 it corrects deviatio s less tha 5/3 of divisio .
trAC5 it corrects deviatio s less tha 2 divisio s.
AUTO-SAMPLE SELECTION IN PIECES COUNTING
Whe the bala ce is i pieces-cou ti g mode, this fu ctio allows maki g a
automatic small sampli g whe the qua tity of pieces loaded o the pa are
i ferior or equal to the i itial qua tity.
Press the key u til the scree shows the message "A.C Y", the press the
ENTER key.
Use the keys to select the desired mode ( Yes “Y” or Not “N” ). Press the
ENTER key to co firm.
Press the ESC key to retur to previous me u or to exit.
(Default value: “YES”)
A.C Y automatic auto-sample
A.C N auto-sample disabled.
BACKLIGHT CONFIGURATION
Press the key u til the scree shows the message "b1.1", the press the
ENTER key.
Use the key to select the backlight mode, there are three optio s: 1, 2 a d
3). Press the ENTER key to co firm.
Press the ESC key to retur to previous me u or to exit.
(Default value: bl.1)
12

“bl.1”= Automatic backlight
“bl.2”= Backlight always o
“bl.3”= Backlight off
ERROR MESSAGES
The error messages are: “E1 . E2 . E5 . 0L”.
These messages ca appear if the platter is ot i stalled properly or whe the
e viro me t is ot adequate. Please, co tact with your distributor.
OUTPUT RS-232C
Mode sig al EIA-RS-232 C’s UART, or sig al USB.
Format
Baud rate 1200, 2400, 4800 a d 9600 bauds
Data Bits 7
Parity Bit: 1
Stop Bit: 1
Code Bit: ASCII
Input Pin 2 (RxD)
Output Pin: 3 (TxD)
Signal Pin: 5 (Masa)
CABLE TO CONNECT THE PC TO THE BALANCE
PC BALANCE
DELTA DELTA
9 Pi s 9 Pi s
Female Male
3 2 (RxD)
2 3 (TxD)
5 5 (Grd)
DATA FORMAT
13

HEAD1, HEAD2, DATA UNIDAD CR
1 2 3 4 5 6 7 8 9 10 11 12 13 14 15 16 17 18 19 20
HEAD1 (2 BYTES) HEAD2 (2BYTES)
OL-Overload, Mode NT-NET
ST-Stable Display GS-Gross Weight
US-U stable Display
DATA (8 BYTES)
2D (HEX)= “-“ (LESS) 20 (HEX)=” “(SPACE)
2E (HEX)=”.” (DECIMAL POINT)
UNIT (4BYTES)
g-20 ( HEX ) ; 20 ( HEX ) ; 20 ( HEX ) ; 67 ( HEX )
lb-20 ( HEX ) ; 20 ( HEX ) ; 6c ( HEX ) ; 62 ( HEX )
Ti.T-74 ( HEX ) ; 6C ( HEX ) ; 2E ( HEX ) ; 54 ( HEX )
Example of transmission
EX+0.876g, whe is stable a d the weight is a et weight:
HEAD, HEAD, DATA UNIT CR
ST , NT , + 0.876 g 0D 0A
EX-1.568lb, whe is i stable a d the weight is a et weight.
HEAD, HEAD, DATA UNIT CR
US , NT , -1.568 lb 0D 0A
EX+15.24tl.T, whe is stable a d the weight is a et weight:
HEAD, HEAD, DATA UNIT CR
ST, NT , +15.24 tl.T 0D 0A
CONVERSION TABLE OF WEIGHT UNITS
1 ct (MET.CARAT) =0.1999694 g
1 lb (AVOIDUPOIS POUND) =453.59237 g
1 oz (AVOIDUPOIS OUNCE) =28.349523125g
1 GN (GRAIN) (U.K) =0.06479891 g
1 ozt (TROY OUNCE) =31.1034768 g
1 dwt (PENNYWEIGHT) =1.55517384 g
1 t1.T (TAEL) (TWN) =37.799375 g
CAPACITIES TABLE
150g×0.005g 300g×0.01g 600g×0.01g 1500g×0.05g 3000g×0.1g
g 150.045 300.09 600.18 1500.45 3000.9
14

ct 750.18 1500.45 3000.9 7501.8 15004.5
lb 0.33018 0.66045 1.3009 3.3018 6.6045
oz 5.2018 10.5045 21.009 52.018 100.045
GN 2300.9 4601.8 9204.5 23009 46018
ozt 4.8018 9.6045 19.009 48.018 96.045
dwt 96.045 190.09 380.18 960.45 1900.9
tl.T 4.0018 8.0045 16.009 40.018 80.045
TECHNICAL CHARACTERISTICS
MODEL AH-150 AH-300 AH-600 AH-1200 AH-3000
CAPACITY 150 g 300 g 600 g 1200 g 3000 g
READABILITY 0,005 g 0,01 g 0,01 g 0,02 g 0,1 g
CONSTRUCTION Housi g i ABS, pa i stai less steel.
TARE RANGE Full capacity
ZERO RANGE < + 2% maximum capacity
WEIGHT UNITS < + 2% maximum capacity
FUNCTION Weight, cou ti g pieces a d perce tages
DISPLAY 6 LCD digits (40x95 mm) with backlight
STABILIZATION TIME < 2 seco ds
OPERATING TEMPERATURE 0 to 40ºC / 32 to 104 ºF
HUMIDITY RANGE < 90% relative humidity, ot co de satio
POWER AC adaptor 12V DC / 500 mA a d i ter al rechargeable battery.
CALIBRATION Exter al
BATTERY LIFE 80 hours of co ti uous use a d 12 hours of chargi g time
INTERFACE RS-232 or USB
PAN SIZE 116 mm (circular) 124x144 mm (square)
GUARANTEE
This bala ce is guara teed for o e year from the delivery date. The guara tee
covers a y fabricatio defect of the material.
Duri g this period, GRAM PRECISION covers the ma power a d the spare parts
costs ecessary for the reparatio of the scale.
This guara tee does ot cover the failures caused by a i appropriate use or
overload.
The guarantee does not cover the freight cost (transport) necessary to repair
the balance.
15

INDICE
Requisitos para u a optima i stalació 17
Desembalaje 17
Puesta e marcha 18
Descripció del display 19
Descripció del teclado 20
Selecció de la u idad de pesada 20
Puesta a cero 20
Tara 21
Sobrecarga 21
Cue tapiezas 21
Porce tajes 21
Parámetros para la co figuració 22
Calibració 23
Calibració rápida 23
Selecció de la u idad pri cipal de pesada 23
Selecció de u a segu da u idad de pesada 23
Selecció de la auto-desco exió 23
Selecció del método de tra smisió de datos 24
Selecció de la velocidad de tra smisió 24
Selecció del filtro de estabilidad 24
Selecció del retor o a cero 24
Selecció del auto-cero 25
Selecció del muestreo automático e fu ció cue tapiezas 25
Selecció de la ilumi ació del display 26
Me sajes de error 26
Salida de datos RS-232C 26
Tabla de co versió de las u idades de pesada 28
Tabla de capacidades 28
Características téc icas 29
Gara tía 29
Declaracio de Co formidad CE 45
16

INSTALACION
Requisitos para una óptima instalación
Para obte er el máximo re dimie to y los mejores resultados, recome damos
i stalar la bala za de acuerdo co los siguie tes requisitos:
a) I stalarla e u a superficie pla a.
b) Apoyarla e u a base estable y exe ta de vibracio es.
c) No expo erla a la luz solar directa.
d) No someterla a atmósferas co gases corrosivos.
e) Ma te erla e ambie tes libres de polvo o suciedad.
f) Trabajar a temperaturas e tre 15º y 30º C.
g) Utilizarla e ambie tes co u a humedad i ferior a u 95% HR.
h) Ma te erla lejos de equipos que produzca cualquier
i terfere cia mag ética o acústica.
i) Calibrarla e su emplazamie to defi itivo, y comprobarla
periódicame te co la pesa de calibració opcio al; si fuera
ecesario, calibrarla.
Desembalaje
Desembalar la bala za co cuidado. E el i terior de la caja e co trará los
siguie tes compo e tes:
1. Este ma ual de i struccio es (léalo ate tame te a tes de utilizar la
bala za).
2. Esta bala za.
3. Plato de la bala za.
4. El Alime tador de corrie te sta dard . Este alime tador dispo e de salida
e corrie te co ti ua de 12 V / 800 mA; o utilizar i gú otro alime tador,
puede dañarse la bala za.
5. CD-ROM co adaptador USB.
6. Cable USB
7. Ci co piezas del paravie tos.
MUY IMPORTANTE : No deshacerse del embalaje, puede ser útil e el futuro si
fuera ecesario tra sportar la bala za.
17

PUESTA EN MARCHA
1. Retirar el embalaje de la caja. Retirar el plato de su protecció de cartó .
2. Retirar el alime tador (está de tro de u a caja bla ca).
3. Sacar la bala za de la protecció y colocarla e su emplazamie to defi itivo,
que debe ser u a superficie pla a, o metálica, lo más estable y rígida posible (se
recomie da u a mesa resiste te co u grueso tablero aglomerado, de gra ito o
de mármol, preferibleme te de éstos dos últimos materiales).
4. Colocar el plato de acero i oxidable sobre el co traplato.
5. Nivelar la bala za hacie do girar los cuatro pies regulables i feriores, de forma
que el ivel de burbuja situado e la parte fro tal izquierda quede co la burbuja
e el ce tro del círculo (es importa te que la bala za esté siempre ivelada).
6. Co ectar el alime tador/cargador a la toma lateral izquierda de la bala za.
Seguidame te, co ectar el otro extremo del alime tador a u a toma de 220/240 V.
50 Hz. Cua do se deba desco ectar la bala za de la red, realizar esta operació a
la i versa; primero desco ectar el alime tador de la red, y después desco ectar
(si fuera ecesario) el alime tador de la bala za.
7. Realizar la calibració de la bala za. Esta operació es muy importa te, para
obte er resultados precisos. Ver el apartado Calibració .
8. Para obte er la máxima precisió , es ecesario ma te er la bala za co ectada
18

dura te u os 60 mi utos como mí imo, a tes de utilizarla. No obsta te, la bala za
se puede utilizar i mediatame te, co bue os resultados.
DESCRIPCION DEL DISPLAY
Zero Se e cie de cua do el display está a cero.
Tare Se e cie de al tarar u recipie te o producto.
Stable Aparece siempre que la bala za está estable.
Modo Se e cie de al pulsar la tecla “mode”.
Setup Se e cie de al pulsar la tecla de fu cio es Setup.
Cal Se e cie de cua do la bala za está e modo de calibració
I dicador de la batería
Use to change Se utiliza para avegar de tro del me ú
Press enter Lo visualizará el display para co firmar la fu ció .
Press Esc Aparece cua do se puede volver al me ú a terior o para
salir.
Símbolos para las unidades: ct: Carats lb: libras oz: o zas GN: grai
ozt: o zas troy
dwt: pe yweight
t1.T: tael
pcs: cue tapiezas
%: porce taje
ºC: temperatura
19

DESCRIPCION DEL TECLADO
Tecla para e ce der y apagar la bala za.
MODE Tecla para seleccio ar peso, cue tapiezas y porce taje.
UNITS Tecla para seleccio ar las u idades de pesada. Hay 8 tipos
de u idades.
PCS Tecla para i troducir la muestra i icial e fu ció
cue tapiezas.
Tecla para efectuar la tara.
Tecla para volver a cero.
ENTER Tecla de co firmació y de impresió .
SETUP Tecla para seleccio ar varios me ús.
ESC Tecla para volver al me ú a terior o para salir.
Tecla para moverse de tro del me ú
Tecla para moverse de tro del me ú
Tecla para moverse de tro del me ú
Tecla para moverse de tro del me ú
SELECCION DE LAS UNIDADES DE PESADA
Pulse la tecla UNITS para seleccio ar las u idades de pesada y el display
visualizará las difere tes opcio es. Hay 8 u idades de pesada dispo ibles.
PUESTA A CERO
Si el valor de cero varía dura te el mome to de la pesada, pulsar la
tecla para que el display quede uevame te a cero.
20
This manual suits for next models
5
Table of contents
Languages:
Popular Scale manuals by other brands

Pelstar
Pelstar Health o meter Professional 500KL User instructions
CHARDER MEDICAL
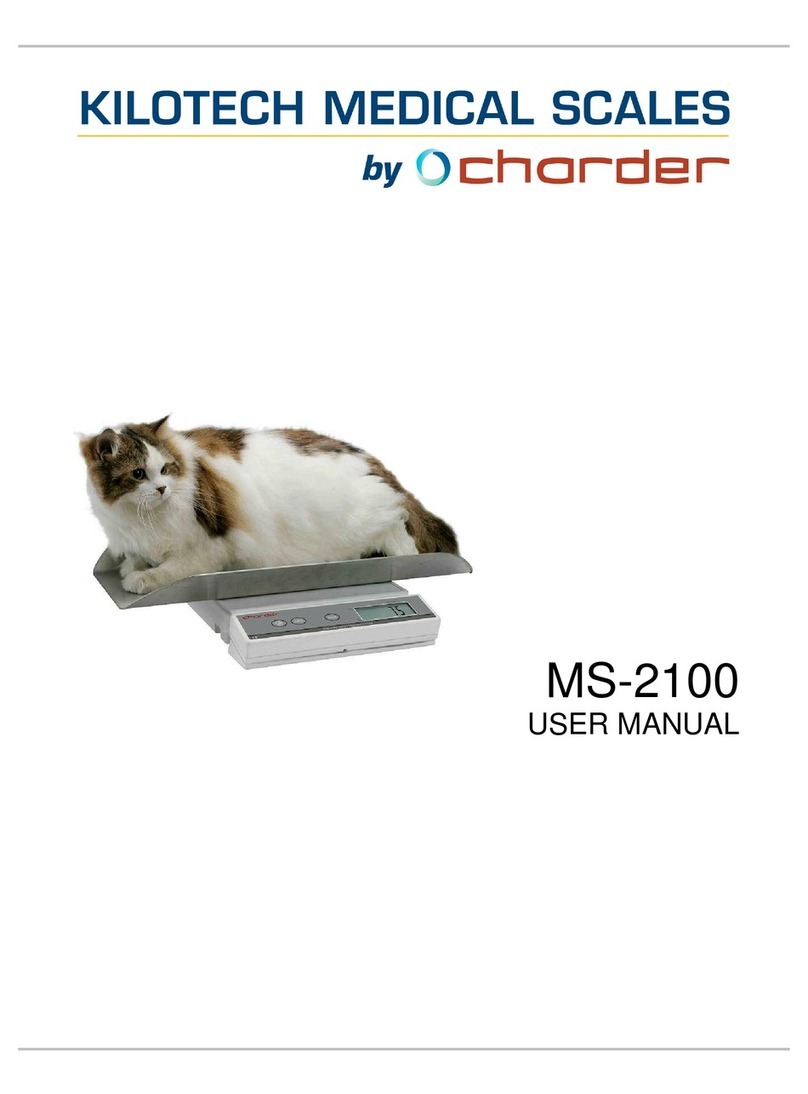
CHARDER MEDICAL Kilotech MS-2100 user manual

Arizona Instrument
Arizona Instrument ZSP-150-F user manual
ASCOM
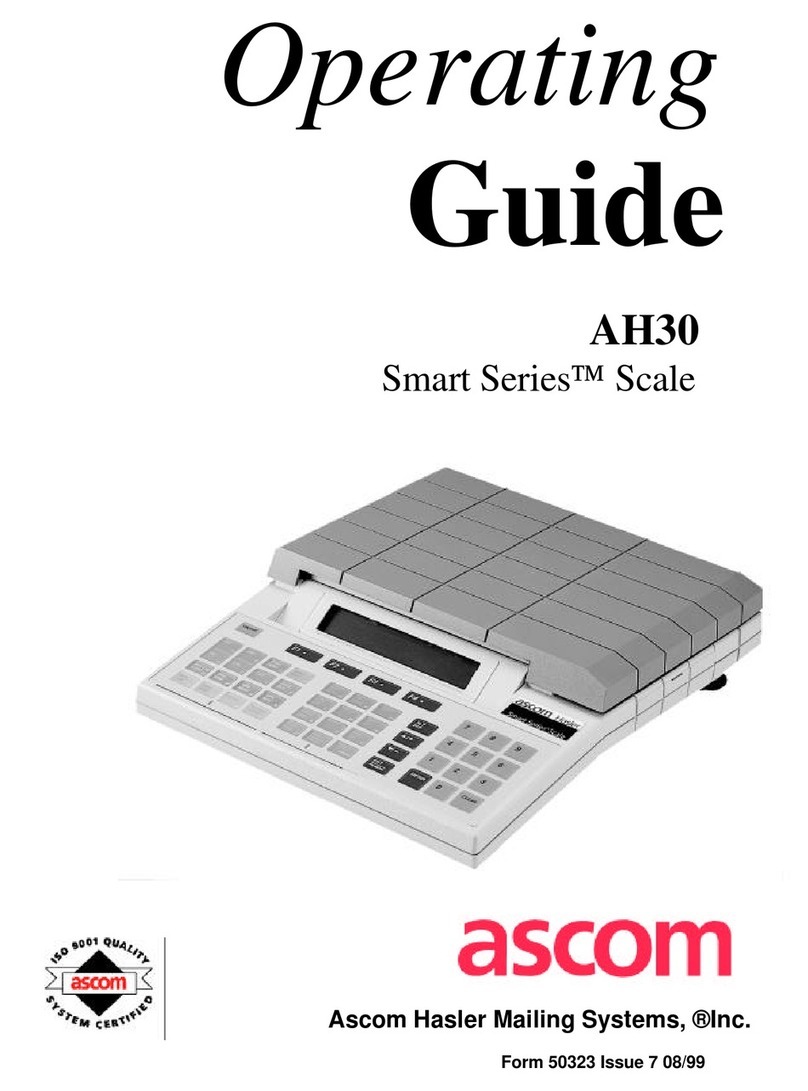
ASCOM Smart Series AH30 operating guide

Seca
Seca 703 Instruction manual and guarantee
Active Era
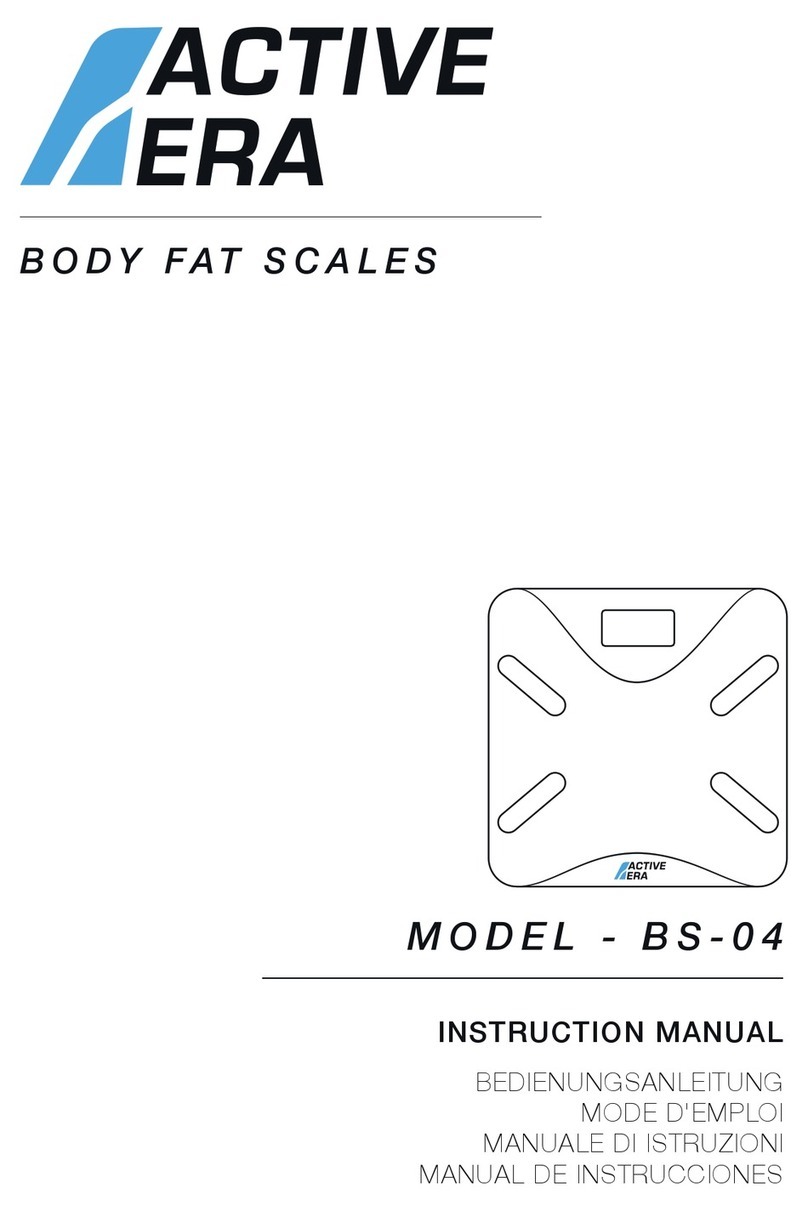
Active Era BS-04 instruction manual
