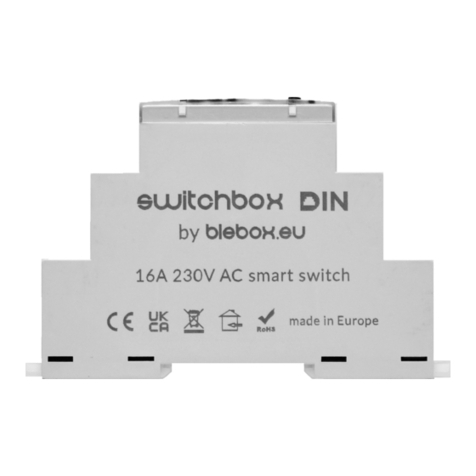
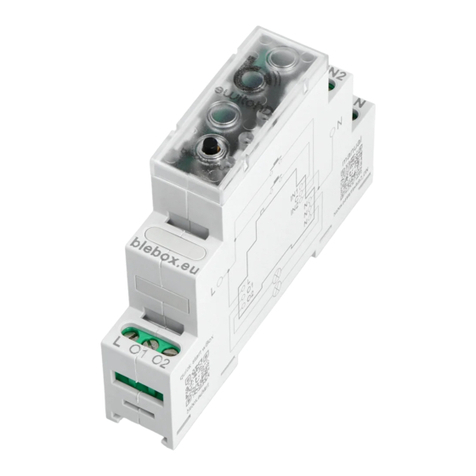
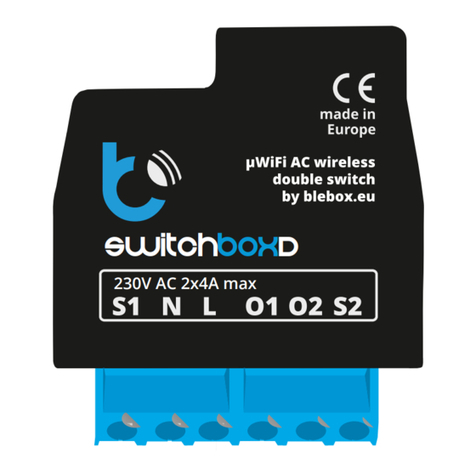
BleBox switchbox User manual

switchbox v1
intelligent device switch
in μWiFi technology
Do not connect loads with a power greater than the permissible
one.
Connect in accordance with the scheme presented in the manual.
Incorrect connecon can be dangerous, it can
result in damage to the controller and loss of warranty.
DANGER! Danger to life due to electric current (also with the de-
vice o), voltage may be present at the outputs. All assembly work
should be carried out ALWAYS with the circuit disconnected
power.
Connecng the device to the power grid without the quality re-
quirements specied in the standard
PN-EN 50160 results in the loss of warranty.
1INSTALLATION - BASICS
SAFETY RULES
CONNECTION DIAGRAM
CONTROL DEVICES FROM ANYWHERE IN THE WORLD
Before installing the driver, disconnect the power supply
perimeter. Remember that all assembly work should be carried out at
disconnected supply voltage (disconnecng the mains installaon fuse
or unplugging the power cord from the outlet).
The controller should be installed in a place protected against
unfavorable environmental condions, protected against third pares access – in
a ush-mounted box or inside the controlled housing
devices. Remember that metal parts (wires, housing parts) negavely aect the
range of the device, and thus the comfort of using. It is advisable that the device
be xed in posion
stable and staonary. Necessary due to the operang voltage of the device is that
the connectors in the controller are protected against accidental touch or short
circuit that may result in electric shock or damage to the device.
Familiarize yourself with the diagram and then proceed to the installaon of the
controller. Pay parcular aenon to the labeling of the controller connectors.
Start with connecon of the power supply wires - phase L (brown color) and neu-
tral N (blue). Then connect the load. If you decide to local control from a
wall switch, plug in also switch, according to the diagram. For control via
smartphone or tablet only, no wall switch is required.
The controller supports all types of single monostable switches (so-called
bell switches).
Aer making sure that the device has been connected in accordance with
the diagram and that there are no metal elements near the controller that
could accidentally short-circuit the contacts, turn on the device by swit-
ching on the power supply (switching on the mains installaon fuse or con-
necng the power cord to a socket).
FIRST START
2
Unlock your phone or tablet and download the free wBox applicaon.If
you have an Android device, the applicaon can be found in the Play store.
For iOS devices, the applicaon is available in the App Store. The Windows
Phone app can be downloaded from the Windows Phone Store.
Using a mobile phone or tablet, connect to the device’s wireless network.
To do this, enter the sengs of your smartphone or tablet, then to the
conguraon of the WiFi network and nd the network called “switch-
Box-xxxxxxxxxx ” where xxxxxxxxxx is the serial number of the device.
Connect with this one network.
Turn on the wBox applicaon. You will see your device at the top of the
screen. To add it to the applicaon, click “+” on the right side, next to
the name. To preliminarily congure the driver, click on the default device
name.
Test the operaon of the controller by clicking the ON / OFF buon,
paying aenon to connected load behaviour. If you connected a wall
switch, check its operaon. In the default conguraon for monostable
buons (so-called bell buons), holding the buon key should turn on the
load, releasing the buon will turn the load o. To change this behaviour,
go to sengs (buon “Sengs” in the upper right corner of the screen)
and then in the opon “set acons for input”, for the corresponding acon
(you can set up a maximum of 10 acons
for the buon) select the appropriate acon type for the given trigger. For
example, to alternately turn the light on / o with the monostable buon
each me it is pressed, select the acon type as “change state” and select
“short press” as the trigger.
Also, check the selecon in the “state aer reboot” which determines the
method behaviour of the controller aer a restart caused by e.g. a break in
the supply of electricity. You can choose if the load should stay on, o, stay
in the pre-reboot state (if it was on it should remain turned on, if it was
turned o, it must remain turned o), or take the opposite.
You can also congure it using the phone/tablet web
browser. Aer connecng with the wireless network of
the controller, turn on the browser and go to the websi-
te: hp://192.168.4.1
user manual
device
ACCESS POINT AND WIFI
NETWORK SETTINGS
3
Aer you run the controller for the rst me, you can proceed to its fur-
ther conguraon. Being connected to the WiFi network broadcast by
the device, select the device on the control panel of the wBox applicaon,
then go to sengs (“Sengs” buon in the upper right corner screen).
You can change the name of the device under which it is displayed in the
applicaon wBox. In addion, you can change the name and password of

Supply voltage 230V
Power consumpon below 1W
Number of outputs 1
Output type relay
Maximum current (total) 16A
Maximum current (channel) 16A
Maximum load 3500W
Number of inputs 1
Input type logical, short-circuited to N
Input voltage 230 V
housing
made of halogen-free polyurethane
composion, self-exnguishing for
thermal class B (130’C)
IP class IP20
Dimensions 39 x 47 x 23 mm
Transmissiom Bi-direconal,with conrmaon,
encrypted
Transmission frequency 2.4 GHz
μWiFI transmission standard compable with WiFi, 8202.11g
Communicaon mode
direct connecon (as an Access Point),
WiFi connecon via a standard router,
connecon with access from anywhe-
re in the world (only Internet access
required)
Compable devices and systems Apple iPhone, Apple iPad, iPad Mini,
Android, computer and mobile devices
supporng HTML5
TECHNICAL SPECIFICATIONS
ADDITIONAL INFORMATION
LOCATION AND TIME OF THE
DEVICE, SCHEDULE
SOFTWARE UPDATE
www.blebox.eu
made in Eurpe
for more informaon visit our website www.blebox.eu
or send us an email to: info@blebox.eu
support is available at [email protected]
The controller can work according to a given schedule. To
To do this, you need to set the device me. Go to sengs in the secon “Device
me” and click the “change zone” buon. Then select your region and locaon
from the list, conrming the selecon with the “save” buon. The device will
synchronize its me with the me server (if the controller is in the WiFi network
with Internet access) or download me from your phone/tablet. It is recommen-
ded that the controller is always connected to the WiFi network with Internet
access so that it can automacally synchronize its clock.
To be able to control devices based on local sunrise and sunset, you should also
choose a locaon for the driver. The locaon of the driver
you can dene with your smartphone or tablet. by phone/tablet. In the “device
locaon” secon, click the “set locaons” buon. The browser will ask whether
to share the locaon - allow. In the “coordinates” eld the approximate coordi-
nates of your locaon should appear. If the buon “set
locaons” ashes red with the word “error”, or the eld “coordinates” does not
change the value from “not set” to numerical data, there was a failure in geng
the locaon. You should then make sure that the phone/tablet has a GPS module
and whether the locaon sharing service is turned on on the phone.
The schedule entries are added by clicking the “add” buon in the “Schedule”
secon of the sengs. You can select the days on which the given task, type of
entry (at a specic me, or relavely to sunrise/sunset mes - only when correct
locaon) and set task parameters. Set tasks will be visible in the form of a list,
individual entries can be edited or deleted.
To update the soware in the driver, connect the driver to
the home WiFi network (see “Access point and network sengs” secon WiFi ”)
connected to the Internet. Go to sengs (buon
“Sengs” in the upper right corner of the screen) and click the “download new
soware” buon soware in the nal secon of the sengs. Wait for approx.
one minute, do not close the interface or take any other acons. The device
will download the latest soware. You can read the soware version number,
hardware version and device idener on the very boom of the sengs screen.
the generated WiFi network. Remember that changing the network
name or password will disconnect you from the device immediately
aer clicking the “save” buon, so you should reconnect to the device
using the newly assigned network name and password.
You can connect the controller to your home WiFi network to control
it with it or from anywhere in the world. For this, in the secon set-
ngs “connect”, select the network name from the list and press “con-
nect”. If required, enter the WiFi network password. When connecng
the controller to the network home, the phone/tablet may be discon-
nected from the device’s network. In this case, it will be required to
reconnect the phone/tablet to the controller’s network.
Remember that to control the device from outside the local WiFi ne-
twork, from anywhere in the world, through the wBox applicaon, the
opon “enable remote access” in the controller must be set to “yes”.
Aer compleng the WiFi network conguraon, you can disconnect
from the controller network and connect the phone/tablet directly to
the home WiFi network. Control from the wBox applicaon will work
in the same way as in the situaon when the phone/tablet is connec-
ted to the controller network. If the user leaves the local network, e.g.
when leaving home or by aaching mobile data, the wBox applicaon
will be there signalling this state as “remote mode”. In this case, devi-
ces can be controlled, but opons are not available for safety reasons.
Other BleBox Switch manuals
Popular Switch manuals by other brands
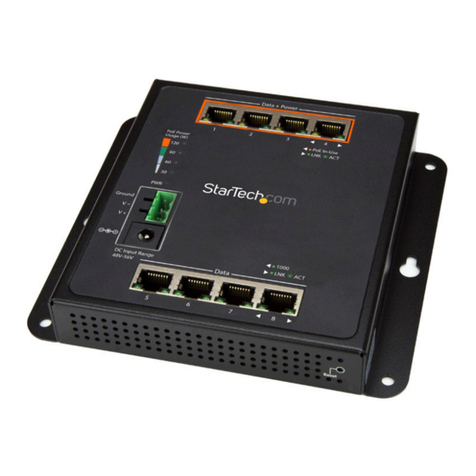
StarTech.com
StarTech.com 8STIES81GPOEW quick start guide
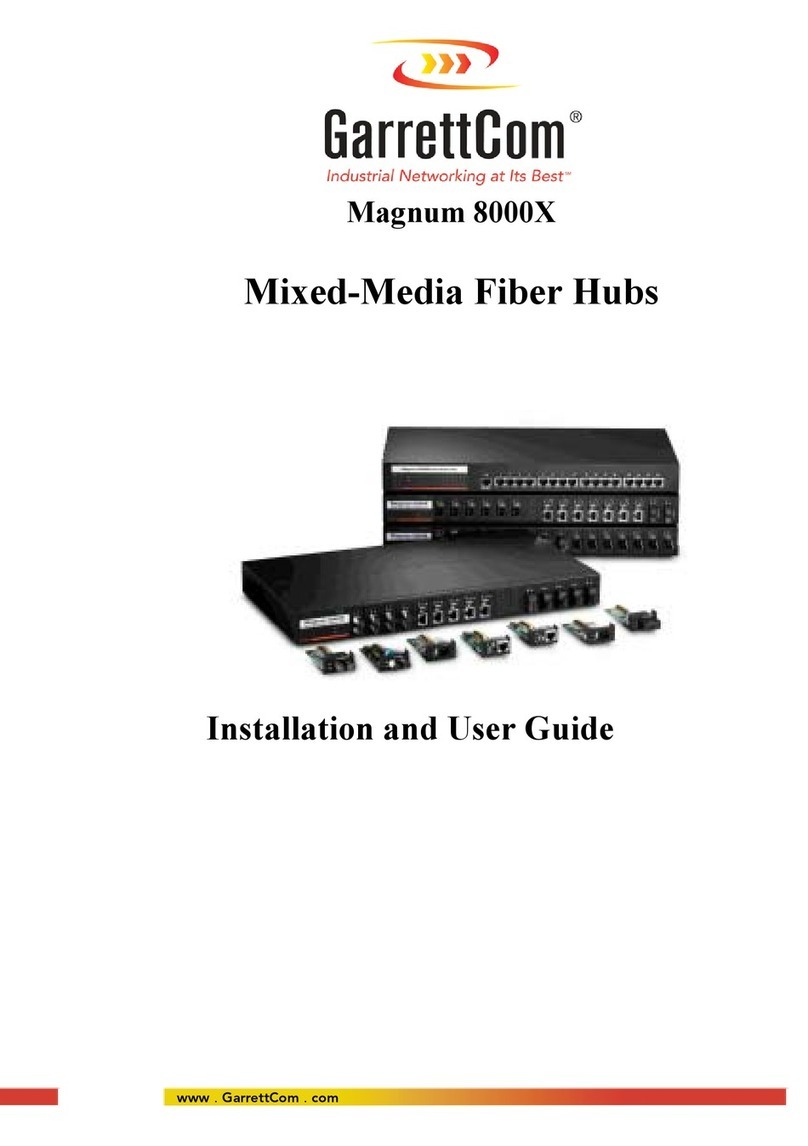
GarrettCom
GarrettCom Magnum 8000X Installation and user guide
Nobels
Nobels A/B-MASTER owner's manual
Intermatic
Intermatic Turnus operating manual
Lucent Technologies
Lucent Technologies OptiStar EdgeSwitch User's operation guide
Heltun
Heltun QUINTO HE-RS01 user manual
