Blue viper Precision 3-in-1 User manual

The Award-Winning
Battery-Powered Weed Killing Sprayer
CONVENIENT •PRECISE •ECONOMICAL
LIGHT WEIGHT • ENVIRO-FRIENDLY •CORDLESS
BLUEVIPER™ LOGOTYPE 10-10-13
(888) 243-4891
www.blue-viper.com
6323 N 150 E, Monon, IN 47959
• • •
QUICK START GUIDE,
PRECISE SPRAYING TIPS
& MAINTENANCE MANUAL
6323 N 150 E, Monon, IN 47959 •(888) 243-4891 •www.blue-viper.com
ADDITIONAL HELP & INFORMATION
PHONE: (888) 243-4891 (Consumer care line open 9 am - 4 pm Monday - Friday)
For Warranty service and questions about assembling or using your sprayer
we suggest you check our online FAQ section rst, but please feel free to call
us if you are not certain or have any other questions. We welcome your call.
ONLINE: www.blue-viper.com Complete catalog of all company products and
helpful spraying and gardening information. Downloadable parts descriptions,
diagrams and more.
WRITE: Blue Viper, 6323 North 150 East, Monon, IN 47959
(888) 243-4891
www.blue-viper.com
6323 N 150 E, Monon, IN 47959
BLUE VIPER DISAPPEARING DYE (OPTIONAL)
The Blue Viper Disappearing Dye is designed to save you money, minimizing
the amount of chemical used. You see how much you have sprayed, as well as
where you have sprayed. This ensures you spray only the bad guys and keep
the good. The dye also minimizes the chance of stepping in the chemical and
tracking it through your yard. It is important to note that, after spraying onto
your weeds, the dye will disappear in just a few hours.
• HOW TO USE: Mix with herbicides to temporarily mark sprayed areas.
• MIX RATE: 1 oz. Blue Viper Disappearing Dye with 16 oz. of water/chemical mixture.
TIPS & WARNINGS:
• Blue Viper disappearing dye is a patented, non-hazardous, non-staining colorant.
• Keep Out Of The Reach Of Children. Avoid contact with eyes and skin.
• May be harmful if swallowed .
• Do not release concentrated color directly into the environment.
• See MSDS for additional information.
• Emergency Contact: ChemTrec (800) 424-9300.
DANGER
This sprayer operates with liquid under pressure from the pump to the spray nozzle
(The tank is not pressurized). Failure to observe CAUTIONS and follow instructions for
use and maintenance could result in INJURY or PROPERTY DAMAGE from discharge of
spray material.
DO NOT USE ANY FLAMMABLES IN THIS SPRAYER as it is not designed nor intended
for such use. Some spray materials can ignite or explode. Do not spray in an enclosed
space, near an open ame such as found in a BBQ grill or water heater, near an electric
motor or open switch, or any source of heat. DO NOT SMOKE while spraying. Use of
ammables could result in SERIOUS INJURY or PROPERTY DAMAGE from unintended
ignition or explosion.
DO NOT USE ANY CAUSTICS OR ACIDS IN THIS SPRAYER, since these can damage or
weaken the sprayer and its parts, resulting in SERIOUS INJURY or PROPERTY DAMAGE
from unintended discharge.
CAUTION
• Before using any pesticide or any other spray material in your sprayer, READ
THE LABEL ON THE SPRAY MATERIAL CONTAINER AND FOLLOW EXACTLY ITS
INSTRUCTIONS FOR MIXING AND USE INCLUDING THE NEED FOR PROTECTIVE
CLOTHING. Some spray materials are dangerous and should not be used in this
sprayer as they can damage the sprayer or its parts, or may be harmful to the user.
This could result in SERIOUS BODILY INJURY or PROPERTY DAMAGE.
• BEFORE USING YOUR SPRAYER, thoroughly INSPECT the sprayer. Be sure there are
no loose parts.
• DO NOT USE if any parts appear to be damaged, discolored, brittle, loose.
• DO NOT use sprayer when point towards your head or body. Never allow any of
the spray to land on your skin.
• DO NOT use hot or boiling liquids in sprayer since this may weaken or damage tank,
pump or hose.
• Wear a long-sleeved shirt, pants, gloves, goggles or similar protective clothing
when spraying.
• Do not leave residue or spray material in sprayer after use. It may harden and clog
the sprayer or its parts.
• Empty, clean and drain sprayer tank and hose at end of each season according
to directions.
• Do not smoke or eat while mixing spray materials or spraying, and wash up afterwards.
• Do no attempt to replace any parts on your sprayer. Other parts may not t properly
or may be weakened by spray materials and fail, resulting in SERIOUS INJURY by
unexpected discharge of spray material.
• Do not submerse in water or allow staying wet.
• Do not remove screws in handle control end or sprayer end. No user service parts.
WARNING: Keep sprayer and all spray materials away from children and pets.
Note: While batteries can remain in the unit normally, for long term storage (ex: winter
months) remove the batteries to prevent any chance of corrosion.
BLUE-VIPER LIMITED WARRANTY
DURATION OF THIS WARRANTY: Product is warranted for ve years from date of
purchase against manufacturer or workmanship defects. Blue Viper warrants to the
original purchaser of this product at retail that it is free from problems in materials and
workmanship for the period specied above from the original date of purchase. This
warranty does not apply to damage to the product resulting from accident, misuse,
neglect, alteration, modication, tampering, or failure to follow instructions supplied with
the product. This warranty does not cover normal wear and tear. The warranty shall be
void if the product is used commercially.
If the product or any party of it should malfunction within the warranty period, telephone
our CUSTOMER SERVICE DEPARTMENT at (888) 243-4891. We will repair or replace any
part found to be defective upon our examination, but will not pay shipping costs or any
other expenses. You must retain your sales receipt as proof of the date of purchase and
include it with any return of the product. This warranty is valid only in North America.
ANY IMPLIED WARRANTIES, INCLUDING ANY IMPLIED WARRANTY OF
MERCHANTABILITY OR FITNESS FOR CONSUMER USE, ARE LIMITED TO 1 YEAR.
BLUE VIPER COMPANY EXCLUDES LIABILITY UNDER THIS WARRANTY FOR ANY AND
ALL INCIDENTAL AND CONSEQUENTIAL LOSS OR DAMAGES.
Please do not return the sprayer to the retailer.
If you have a problem or questions, contact our consumer help line: (888) 243-4891
info@blue-viper.com • www.blue-viper.com • 6323 N 150 E, Monon, IN 47959
Please do not ship your sprayer or parts to our ofce unless you are specically
requested to do so. Unsolicited returns to Blue Viper will not be accepted or
acknowledged. Call (888) 243-4891 for assistance.
©2013 Blue Viper™ All rights reserved.
VISIT WWW.BLUE-VIPER.COM FOR TIPS & TRICKS
ON USING YOUR BLUE VIPER
VISIT WWW.BLUE-VIPER.COM FOR TIPS & TRICKS
ON USING YOUR BLUE VIPER
VISIT WWW.BLUE-VIPER.COM FOR TIPS & TRICKS
ON USING YOUR BLUE VIPER
VISIT WWW.BLUE-VIPER.COM FOR TIPS & TRICKS
ON USING YOUR BLUE VIPER

VISIT WWW.BLUE-VIPER.COM FOR TIPS & TRICKS
ON USING YOUR BLUE VIPER
VISIT WWW.BLUE-VIPER.COM FOR TIPS & TRICKS
ON USING YOUR BLUE VIPER
VISIT WWW.BLUE-VIPER.COM FOR TIPS & TRICKS
ON USING YOUR BLUE VIPER
VISIT WWW.BLUE-VIPER.COM FOR TIPS & TRICKS
ON USING YOUR BLUE VIPER
VISIT WWW.BLUE-VIPER.COM FOR TIPS & TRICKS
ON USING YOUR BLUE VIPER
VISIT WWW.BLUE-VIPER.COM FOR TIPS & TRICKS
ON USING YOUR BLUE VIPER
Pressure Switch
Battery
Compartment
Fill Cap
Handle
Tank
Spray Hood
Nozzle
Shaft
QUICK START GUIDE
1. INSERT BATTERIES (not included)
• Insert 4 AA batteries into the battery
compartment located on the underside of the
tank (see diagram).
• Test batteries by briey pressing the Pressure
Switch and listen for the pump tank.
2. FILL THE SPRAYER
• Remove the Fill Cap.
• Inspect tank and tank lter, insuring they are free of debris.
*To protect the pump system, a ne meshed screen lter is located under the tank
*cap. Always insure the screen is in place before lling the tank.
• Carefully pour preferred liquid herbicide solution into 16 oz tank.
• Replace Fill Cap and hand tighten.
TIPS & WARNINGS:
• Only use weed killers approved for use in spraying systems.
• Make sure you follow all instructions for mixing and safety precautions found on the
weed killer packaging or website.
• Inspect the screen lter regularly and remove to clean if debris is noticed.
TIPS & WARNINGS:
• There is always going to be some trial and error when rst learning to use your Blue
Viper. After you have sprayed a small area, stop and check to see where the product
was applied.
• Remember to regularly inspect the nozzle for accumlated debris. Flush with water to
clear if needed.
• Weather conditions and terrain must be considered when using the Blue Viper.
• Do not spray on windy days.
• Protective clothing must be worn in some cases.
• Be sure to read and follow all chemical labels.
DONE SPRAYING, BEFORE YOU PUT IT AWAY
CLEANING THE SPRAYER
• Pour out any remaining liquid and drain the tank completely
• Add clean water to the tank and swish around for a few seconds, then pour out
• Add a small amount of water to the tank and spray to remove residual materials from
the pump and nozzle. Spray until all liquid is out of the tank
• If necessary, repeat steps 2 and 3 to insure the sprayer is clean
TIPS & WARNING
• Some chemicals might damage the pump valves if allowed to soak untreated for a long
period of time. Always ush the pump with water after use.
• Follow chemical manufacturers instructions on disposal of all waste from the sprayer
• If nozzle, valve or other parts seem clogged, remove the nozzle from under the spray
shield and ush the entire line with water by lling tank with clean water and letting
pump run. If your sprayer continually clogs, dirt or debris may have gotten into the tank.
If so, empty the contents of the tank into a bucket and then rinse the tank clean. Then
ll with clean water and run through system by activating the pump.
WINTER STORAGE
Follow cleaning instructions, then make sure to run
the pump dry (until nothing comes out of the nozzle)
prior to storing. Liquid left in the sprayer will freeze
and damage the sprayer.
Battery
Compartment
3. START SPRAYING
3. … this is where the fun begins
Couple of things you should know about your Blue
Viper before starting to spray. It has been designed
to deliver the optimum amount of weed killer using a
xed rate ne mist and a 2” wide swath. This saves
you money by using less weed killer since over
spraying or soaking weeds is eliminated.
The xed rate sprayer utilizes a self priming pump.
The pump is activated by pressing and holding the
pressure switch located on the handle. To get familiar with the misting spray pattern,
we recommend lling the tank with water and practice spraying on a concrete surface.
To begin, hold the pressure switch down for a continual ow. Walking at a slow to
normal pace, holding your arm and wrist in a comfortable manner to the side of your
body, allowing the spray hood to move parallel and close to the ground. Spray just
enough to make the area wet on top. Remember… you do not have to soak the area.
3 SPRAYING PATTERNS:
• SPOT SPRAYING (Precise placement of weed killer with
• no overspray. Reach between plants in mulch beds and gardens.)
Place the Blue Viper hood on the ground over the weed
that is to be killed. Press and release the pressure switch.
Move and repeat as needed.
• CONTINUOUS EDGING (No stopping necessary with battery
powered operation. Ideal for edging sidewalks, mulch beds, fence
lines, patios and around trees): Place the Blue Viper hood
1”-2” from the ground. Press and hold the pressure switch
while starting to walk. Follow the edge of the area to be
sprayed. Release switch when nished.
• BROADCAST SPRAYING (Covers larger areas. Perfect for gravel
drives, walking paths, mulch beds, etc.): Place the Blue Viper
hood 6”-8” from the ground. Press and hold the pressure
switch. While walking backwards, move the hood left to
right, to evenly cover the area. Release the switch when
nished. Remember with weed and grass killers, you do not
need to soak the ground for an effective kill.
Thank you for purchasing the Blue Viper™ Weed Sprayer.
The Blue Viper provides a fast and easy way to spray your weeds with your
favorite weed killer. You are going to be amazed with its precision and ease of use.
Every Blue Viper is pre-assembled and tested on our farm in Indiana, so you can
get started spraying right away. We have included a quick start section with 3
simple steps. Take a minute to read the quick start section, check out the spraying
tips, and of course, make sure you read over the warnings and cautions.
If you have a spare moment, visit our website: www.blue-viper.com. You will
be able to nd information on how to use your new sprayer, the history behind
the Blue Viper, short videos and our 5-Year Warranty Registration.
If you ever have any questions, our dedicated customer service staff will be
happy to help! Phone: (888) 243-4891.
Sincerely,
Danielle Paluchniak
President
P.S.: Our kids love using it to write on the concrete — just add clean, clear
water and let them go for hours of fun!
WARRANTY REGISTRATION
• To activate your warranty please go to www.blue-viper.com/warranty
or call (888) 243-4891.
• Complete the warranty information
• Keep your sales receipt. You will need this in case of a warranty issue.
ACTIVATE YOUR BLUE VIPER
5-YEAR WARRANTY TODAY!
Spray
Hood
Nozzle
Popular Lawn And Garden Equipment manuals by other brands
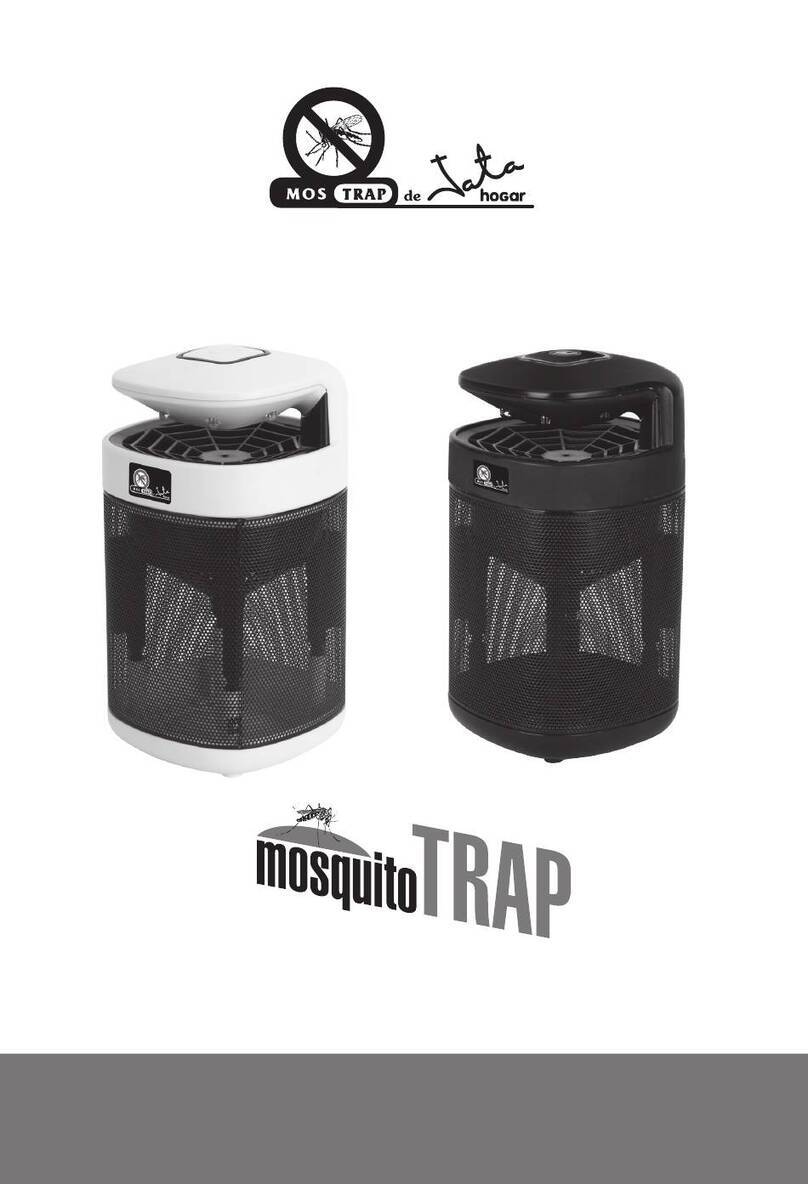
Jata hogar
Jata hogar mosquitoTRAP MT12B manual
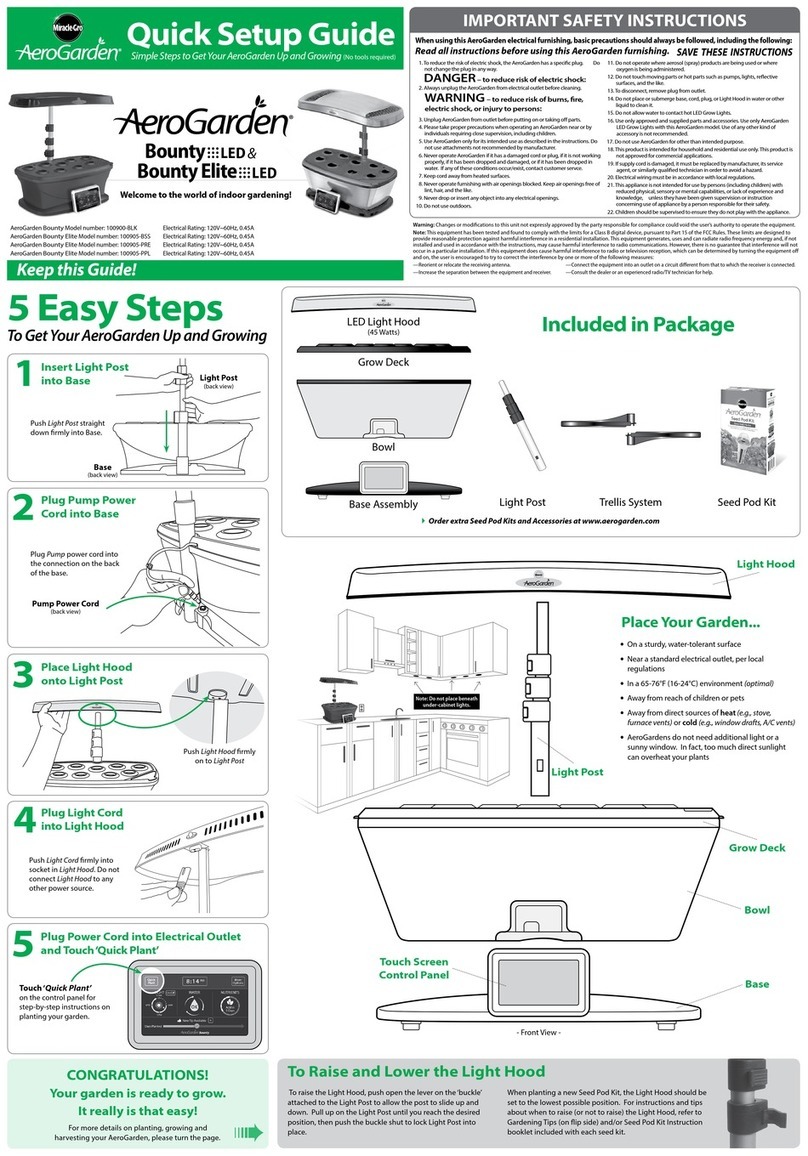
Miracle-Gro
Miracle-Gro AeroGarden Bounty Elite Quick setup guide

Autopot
Autopot easy2Propagate Simple care guidelines

VIRDI
VIRDI PLANTER MODULA Assembly instructions

COSMO Bully
COSMO Bully BPF 180 Operator and parts manual
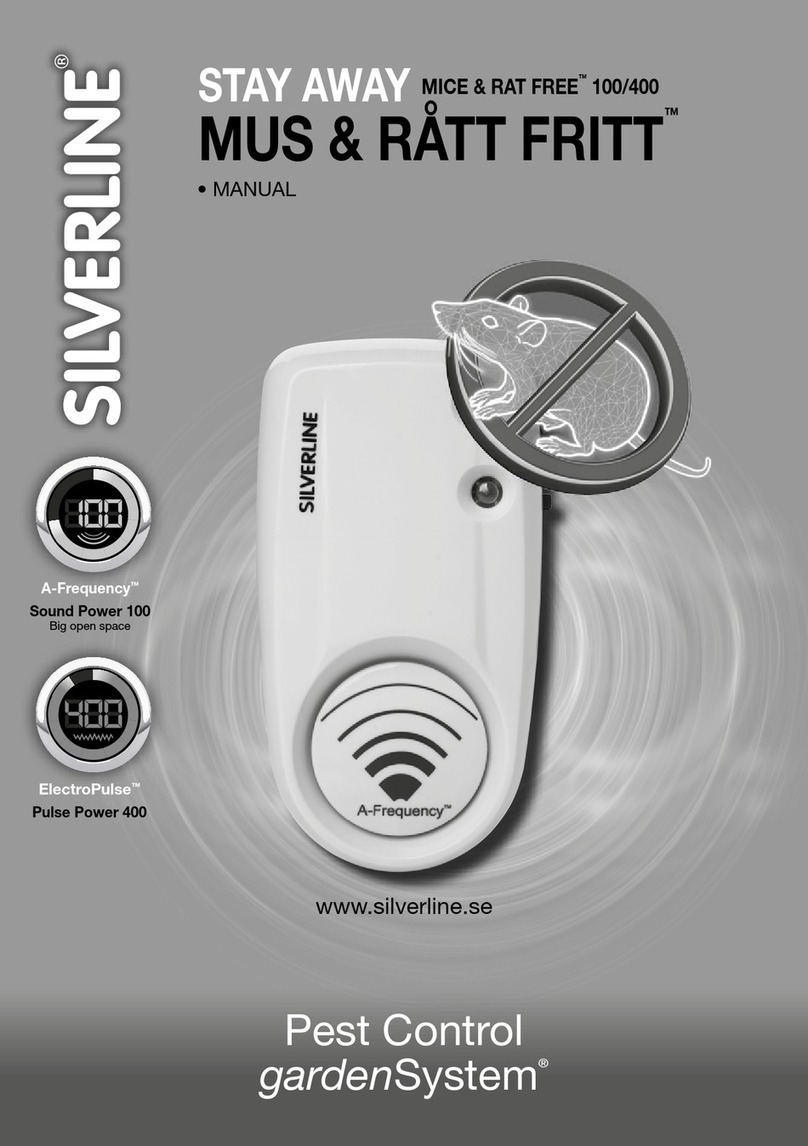
Silverline
Silverline Pest Control gardenSystem Mice & Rat Free... manual

