Creekvine Designs FT1204-2CVD User manual

Step 1: Join two beams together using included stainless steel splicer plate
and (8) 2” carriage bolts. Make sure the plate is attached to the same
side of the beam as the cutout notch.
Hardware
NOTE: Each bridge ships with the
appropriate number of screws
required for assembly.
Parts List
Tools Required for Assembly
Power Screwdriver or Drill
Socket Set
Hammer
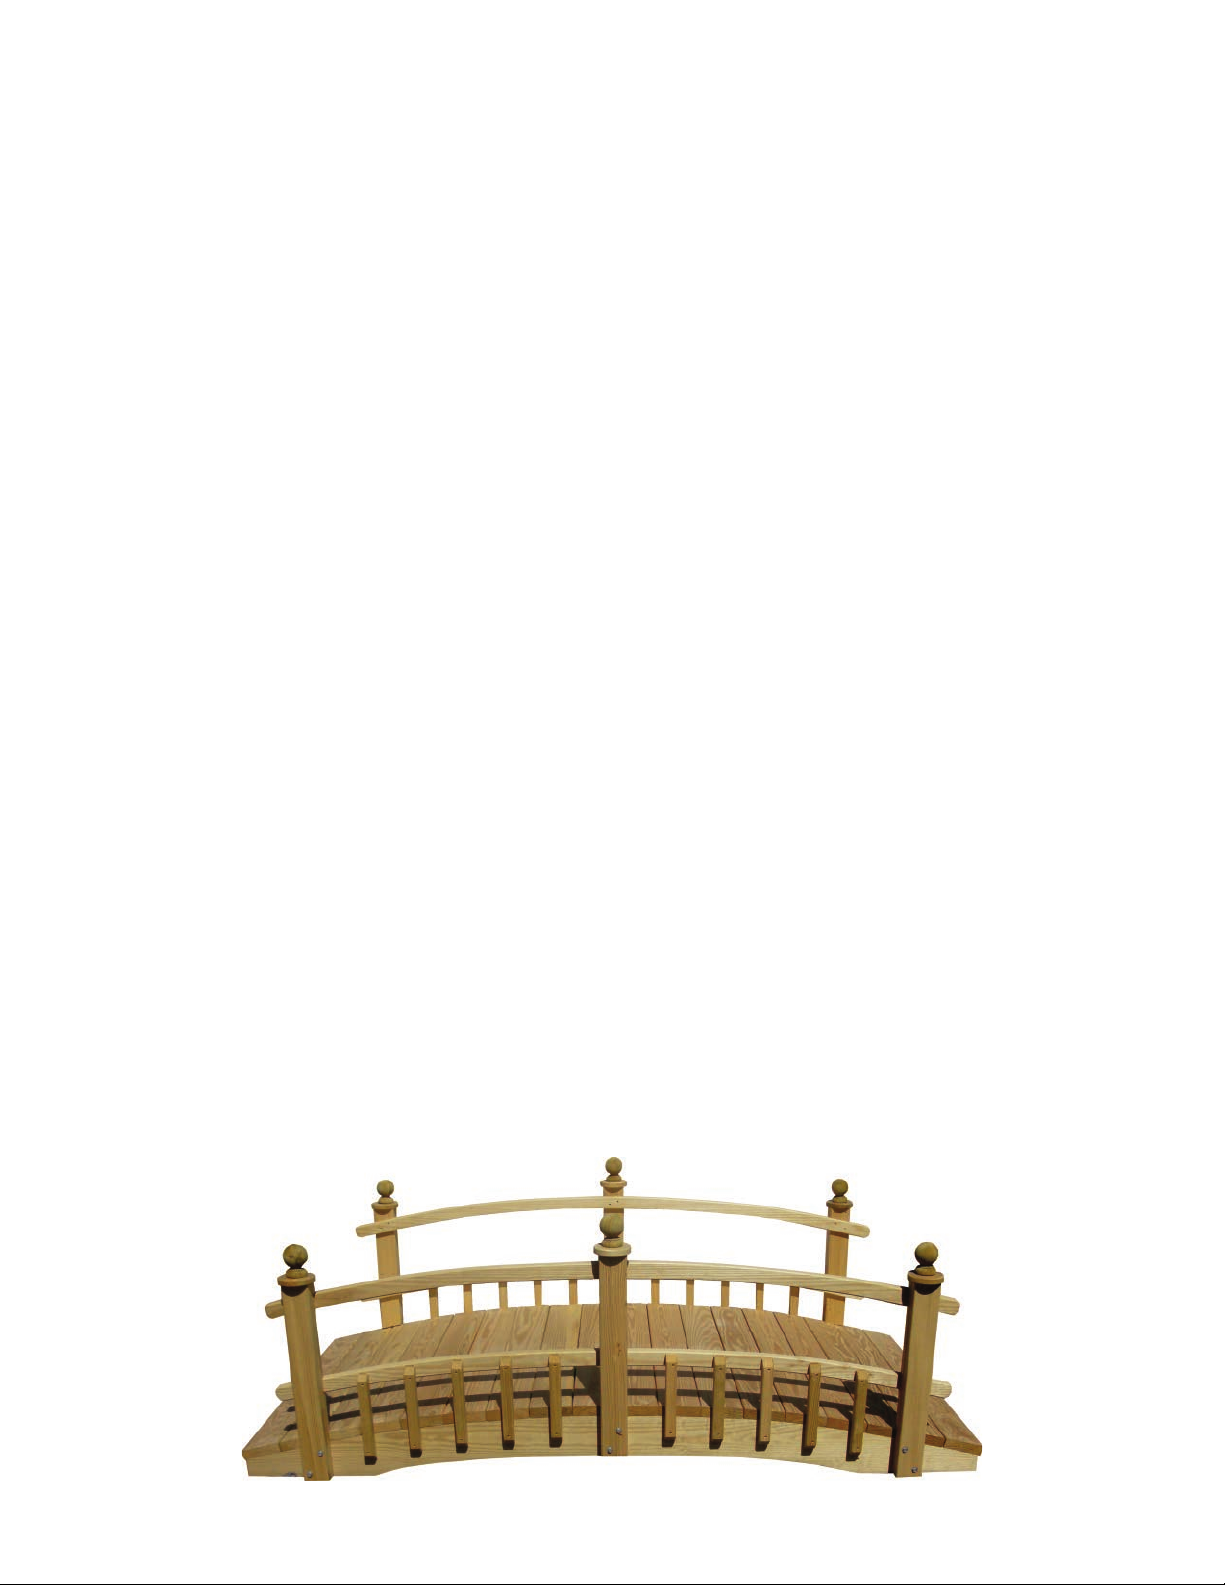
Treated Pine Garden Bridges shown. Your bridge may differ from the above images.
NOTE: Beams are shipped in two pieces for bridges 8’ long and over.
For 4’ and 6’ Bridges, please skip Step 1 and proceed to Step 2 on the next page.
Treated Pine Garden Bridge Assembly Instructions
4’ Long 6’ Long 8’ Long 10’ Long 12’ Long
Number of Beams
Number of Posts
Number of Deck Boards
Number of Pickets
2
4
9
6
2
4
14
12
2
6
18
20
2
6
23
28
2
6
27
36
Step 2:
Step 3:
1/2 Picket Rail Bridge shown.
Place the cross braces in the notch in the beams and attach using
2-1/4” screws.
Note: braces will be 2“x4” for 4’ and 6’ long bridges, and 2“x6” for larger sizes.
Lay all decking boards on beams with the counter-sunk hole facing
up. Attach with 2-1/4”screws.
Step 4:
Step 5:
Step 6:
Attach posts to the beams using 1/4” x 2-1/2“ washer head lag bolts.
Beams will be marked where the post should be attached.
Attach railings to the posts using 2-1/4” screws.
Attach wooden discs to the post tops using (2) 2-1/4”screws. Turn
wooden ball nial into center hole of the discs to secure.
Step 7: Evenly space the pickets across the railings, positioned so that the
tops are even with the top of the railing. Start the rst picket using
the post as a guide, making sure each picket remains plumb (straight
up and down).
Treated Pine Garden Bridge Assembly Instructions
Bridges with no rail are complete at this point. Continue for bridges with railings.
Bridges with no pickets are complete at this point. Continue for bridges with pickets.
Rev. 1/2020
This manual suits for next models
1
Table of contents
Other Creekvine Designs Lawn And Garden Equipment manuals


