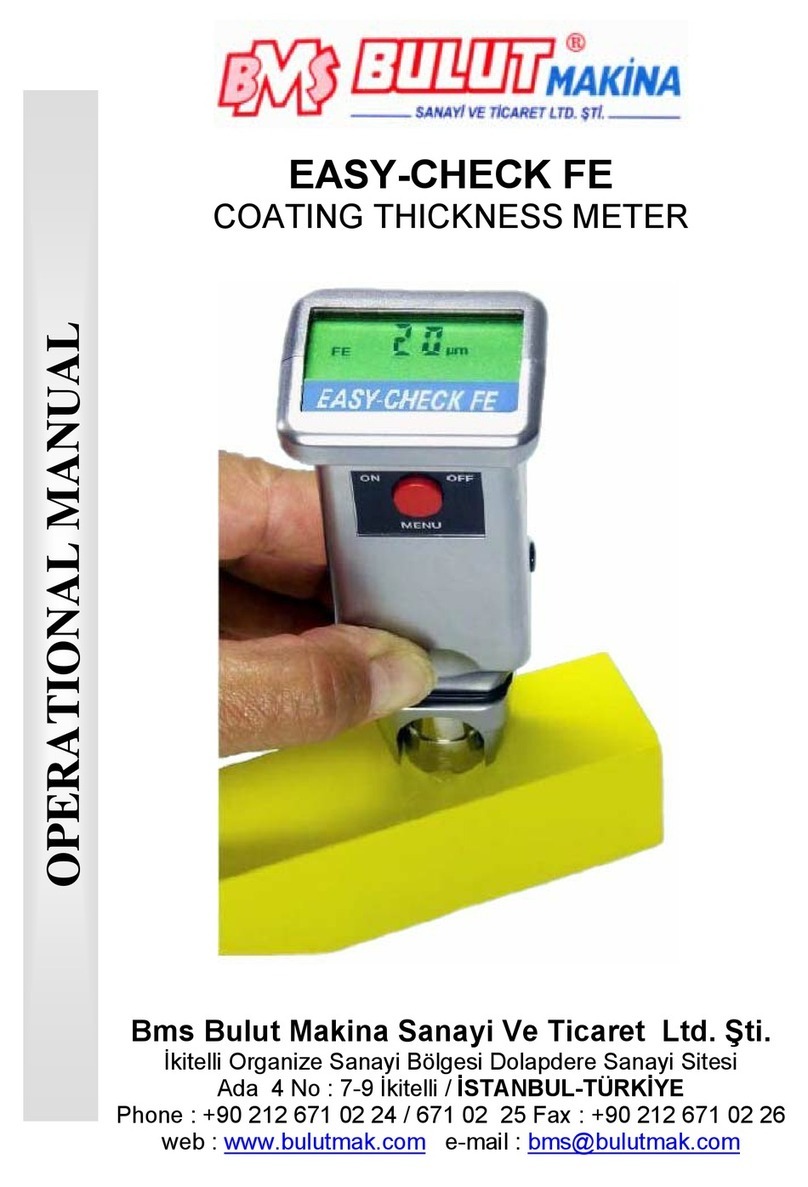
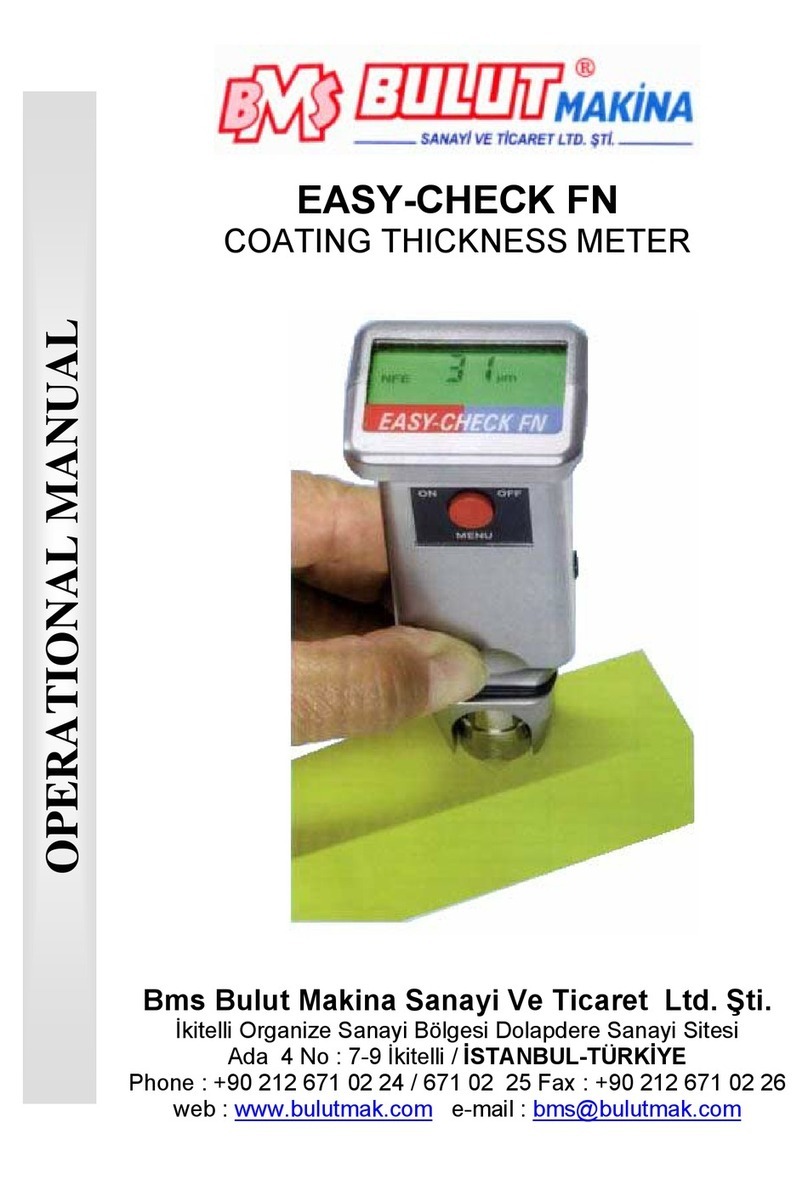
BMS ETA-0832 Quick start guide

OPERATIONAL MANUAL
ETA-0832
COATING THICKNESS METER
BMS Bulut Makina Sanayi Ve Ticaret Ltd. Şti.
İkitelli Organize Sanayi Bölgesi Dolapdere Sanayi Sitesi
Ada 4 No : 7-9 İkitelli / İSTANBUL-TÜRKİYE
Phone : +90 212 671 02 24 / 671 02 25 Fax : +90 212 671 02 26

1.Brief Introduction.............................................................................................3
2.Characteristic...................................................................................................3
3.Display Instruction ...........................................................................................3
4.Technology Parameter......................................................................................3
4.1 Standard Delivery.......................................................................................3
5.Measuring Procedure........................................................................................5
6.Calibration.......................................................................................................5
7.Battery Replacement ........................................................................................5
8.Considerations.................................................................................................6
9.Restore Factory Setting.....................................................................................6
10.Notes ............................................................................................................6
Operation
ETA-0832 Manual Rev:00 2 / 6

1.Brief Introduction
* It meets the standards of both ISO2178 and ISO-2361 as well as DIN, ASTM and
BS. Suitable for the laboratory and for use in harsh field conditions.
* The gauge can measure the thickness of non-magnetic coating layers on magnetic
substrate.Such as: (aluminum, chrome, copper, enamel, rubber, paint) on magnetic
substrate (steel, iron, alloy and magnetic stainless steel)..
* The gauge can measure the thickness of non-metals coatings layers covered on
non-magnetic metals substrate. Such as: (enamel, rubber, paint, vanish, plastic
anodic-oxide layer) covered on non-nagnetic metals substrate (aluminum, brass, zinc
and nonmagnetic stainless steel).
2.Characteristic
* Small style design, conveniently carry
* Complete intelligentized design, easily operate
* Rapid measure, excellent repeated performance
* Zero adjustment, second point adjustment
* LCD digital display
* The metric system /English system unit transform
* There is bee ring song prompt during operation
* Two types of probe heads design, which is applicable to different test situations
3.Display Instruction
* μm indicate value unit (1 μm=1/1000mm)
* CAL O ZERO Adjustment
* Fe Magnetism substrate measure state
* NFe Non-magnetism substrate
Measure state
* 9999 restore factory setting
4.Technology Parameter
* Range : 0-1000um
* Accuracy : ±[(1%~3%)]H±1.5um
* Resolution : 0.1um (0~99.9um)
1um (over 100um)
* Environment temperature : 0-40°C
* Relative humidity : ≤85%
* Power supply : 1.5V×2
* Weight : 98g
* Dimension : 102×66×24mm
4.1 Standard Delivery
Main unit(1000um) 1pc
Instruction manual 1pc
Substrate 2pc
Carrying case 1pc
Measuring foil set 1set
Operation
ETA-0832 Manual Rev:00 3 / 6

KEYPAD
SUBSTRATE (NFE)
MEASURING FOIL DIGITAL SCREEN
MAI
N
UN
IT SUBSSTRATE (FE)
PROBE
CARRYING CASE
…Figure 1…
ON-OFF KEY
VALUE INCREASING KEY
ZEROING KEY
MICRON-MICROINCH UNIT TRANSFORM KEY
VALUE DECREASING KEY
Operation
ETA-0832 Manual Rev:00 4 / 6

5.Measuring Procedure
5.1 Press the"POWER" key to start the gauge The gauge will restore the state
of last operation itself. The gauge will display "Fe / 0um"or"NFe / 0um" , if you want
change the state of "Fe or NFe"press the"ZERO"key and the "POWER" key at the
same time, and then release "POWER" key firstly, 2 seconds later release the
"ZERO" key, the translation of "Fe or Nfe" finished.
5.2 Place the probe on the substrate or an uncoated standard steadily. Press
the "ZERO" key and "CAL0 OK" will be on the Display before lifting the probe. If
pressing the "ZERO" key but the probe is not placed on the substrate or an uncoated
standard, the zero adjustment is invalid.
5.3 Place the probe onto a coating layer to be measured. The reading on the
Display is the thickness of the coating layer.
5.4 To take the next measurement, just lift the probe to more than 1
centimeter and then repeat the step 5.3.
5.5 If suspecting the accuracy of measurement , you should calibrate the
gauge before taking the measurements. For the calibration procedures, please refer
to the calibration part 6.
5.6 The gauge will power itself off about 20 seconts after the last operation. It
can not be switched off by pressing the "POWER" key.
5.7 Pressing the "um/mil" key can change the measurement unit um or mil.
6.Calibration
6.1 Zero adjustment
Zero calibration for 'Fe' and 'NFe' should be carried out separately. Take the iron
substrate if 'Fe' on the Display and take the aluminium substrate if 'NFe' on the
Display. Place the probe on the substrate steadily. Press the "ZERO" key and "CAL0
OK" will be on the Display before lifting the probe. If pressing the "ZERO" key but the
probe is not placed on the substrate or an uncoated standard, the zero adjustment is
invalid.
6.2 Select an appropriate calibration foil according to your measurement
range.
6.3 Place the standard foil selected onto the substrate or the uncoated
standard.
6.4 Place the probe mildly onto the standard foil and lift. The reading on the
display is the value measured. The displayed reading can be corrected by pressing
the plus key or minus key while the probe is away from the substrate or the measure
body.
6.5 Repeat step 6.4 until the result is correct.
7.Battery Replacement
7.1 It is necessary to replace the battery, when the display reading changes
darkly.
7.2 Slide the Battery Cover away from the gauge and remove the batteries.
7.3 Install the batteries (2*1.5V) correctly into the case.
7.4 If the gauge will not to be used for a long time, remove batteries.
Operation
ETA-0832 Manual Rev:00 5 / 6

8.Considerations
8.1 In order to weaken the influence of the measured material on the
accuracy of measurement, it is recommended that the calibrations should be done on
the uncoated material to be measured.
8.2 Probe will eventually wear. Probe life will depend on the number of
measurements taken and how abrasive the coating is. Replacement of a probe can
be fitted by qualified persons only.
9.Restore Factory Setting
9.1 When to restore?
It is recommended to restore factory setting in the one of following cases.
A. The gauge does not measure any more.
B. Because misoperation "+"key or "-"key causes the gauge not normally to
measure.
C. Measurement accuracy is degraded caused by environmental conditions
changed greatly.
9.2 How to restore?
9.2.1 Press the "um/mil" key and the "POWER" key at the same time,
and then release the "POWER" key firstly, 2 seconds later release the "um/mil" key
9.2.2 When the "9999" appears on the display, press the "POWER" key,
the factory setting is restored.
10.Notes
It is strongly recommened that no changes should be made to the value of Ln.
Generally, the larger the value of Ln, the smaller the reading on a same thickness. A
little variation of value of Ln will cause a great change in reading at high end (e.g. at
515um). The rules to adjust the value of Ln are as follow:
A. Reading at low end can be adjusted to the
exact value by the plus or minus key.
B. To enlarge the Ln if readings at low end (e.g.at 50 um) is ok but reading at
high end (e.g.at 388um) is too large. On the contrary, to decrease the Ln if reading at
low end (e.g. at 51 um) is ok but reading at high end (e.g. at 388um) is too small.
C. Repeat procedures from A to B till the readings on the every standard foil
are satifying the accuracy.
Operation
ETA-0832 Manual Rev:00 6 / 6
Table of contents
Other BMS Measuring Instrument manuals
