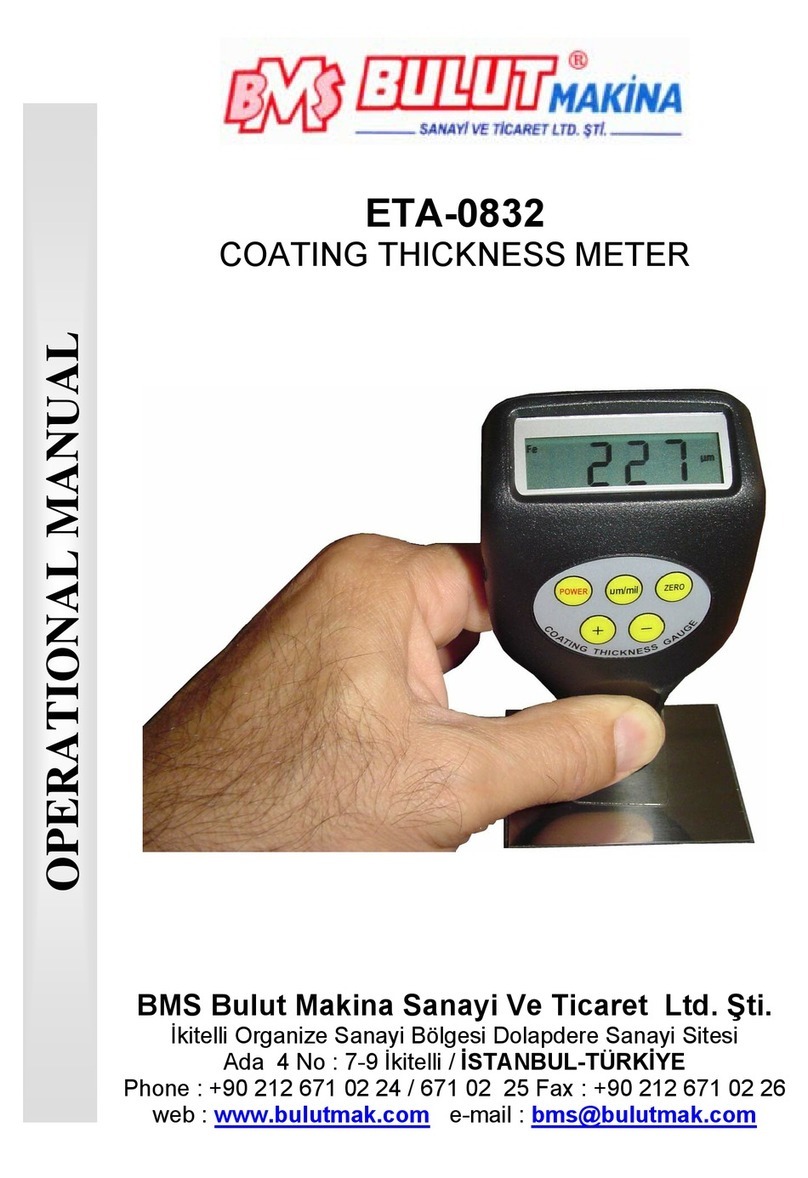
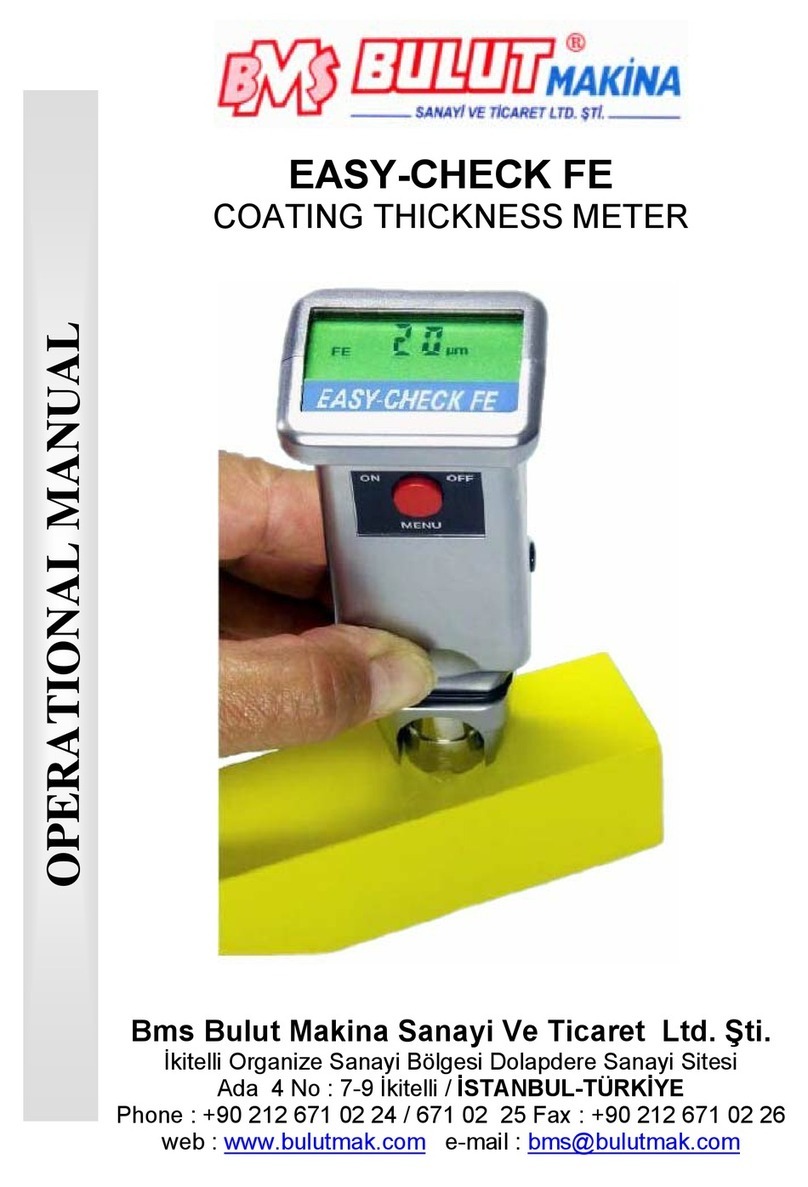
BMS EASY-CHECK FN Quick start guide

EASY-CHECK FN
COATING THICKNESS METER
OPERATIONAL MANUAL
Bms Bulut Makina Sanayi Ve Ticaret Ltd. Şti.
İkitelli Organize Sanayi Bölgesi Dolapdere Sanayi Sitesi
Ada 4 No : 7-9 İkitelli / İSTANBUL-TÜRKİYE
Phone : +90 212 671 02 24 / 671 02 25 Fax : +90 212 671 02 26

Operation
EASY- CHECK FN Manual Rev:00 2 / 10
Introduction ...............................................................................................................3
Easy-Check FN ........................................................................................................3
And This Is Really Unique............................................................................................3
Short Instructions......................................................................................................3
Function Modes ..........................................................................................................4
Operation Of The Function Modes ................................................................................4
<Sto> Store readings in the Data Memory.................................................................4
<StA> Display Statistics...........................................................................................4
<Prn> Print or activate the RADIO CONTROL function................................................5
<IcL> Clear the last reading.....................................................................................5
<cLr> Clear the whole Data Memory.........................................................................5
<nFE> Base material recognition..............................................................................5
<Un> Change unit of measurement (µm / mils).........................................................5
<rES> Resolution....................................................................................................6
Calibration..................................................................................................................6
General Remarks ........................................................................................................7
Exchange Of The Battery..........................................................................................7
Charge The 1.2v Rechargeable Battery With The Line-Charging Unit...............................7
Technical Data............................................................................................................8
Optional Accessories ...................................................................................................8
Software Incl. Operation Instructions ........................................................................8
Radio-Control .............................................................................................................9
Data Printer Mega-Print............................................................................................9
Data Printer Mega-Print..............................................................................................9
Technical Data: .......................................................................................................9
Operating Instructions .............................................................................................9
Insert a new paper roll...........................................................................................10

Operation
EASY- CHECK FN Manual Rev:00 3 / 10
Introduction
Congratulation ! You really made a good choice to decide for
Easy-Check FN, because this device is not only designed and manufactured according
to the latest level of technology, but also is extremely comfortable and easy to operate.
We tried our best to write this manual as clear and short as possible. For any further in-
formation you may need, please contact our Service Department. Our technicians are al-
ways ready to help you.
What can you measure with EASY-CHECK FN ?
On iron and steel (FE) all non-magnetic coatings, such as varnish, paint, plastics,
enamel, rubber, ceramics and galvanization (except niquel) up to 5,0 mm.
On non-ferrous metals (aluminium, brass, bronze, zinc, lead, copper and non-
magnetic steel) all non-conductive coatings, such as varnish, paint, plastics, rubber
and anodizing up to 2,5 mm.
And in addition you can also measure paint coatings on zinc plated steel without
considering the zinc thickness.
In addition EASY-CHECK FN includes the following features
•Store up to 1000 readings in the data memory
•Display statistics
•Transfer all readings and statistics to a printer or computer by means of the
interface, or just
•Transfer the data by RADIO.
All these functions can be performed with the red key.
And This Is Really Unique
The device recognizes by itself on which base material the measurement is taken, whether
on steel (FE) or on non-ferrous metal (NFE) and displays the symbol with each reading.
EASY-CHECK FN can measure up to 80 hours with only one 1.5V Mignon battery.
Worldwide the only device with a swinging measuring probe allowing to measure inside
pipes and in other inaccessible places.
Short Instructions
To make it as easy as possible for you and to be able to start taking measurements imme-
diately, we have already calibrated the device.
You receive the instrument ready for operation and do not need to perform any ad-
justments.
You just switch on the device with the red key. In the display
appears <on>.
That´s all and now you can start taking measurements.

Function Modes
Switch on the device by pressing the key until <on> is displayed. Release the key.
While switching on and pressing the key for a longer time the software version and the
status of the Lock Function for calibration (from software 13.1) are displayed.
When you now press the key once again for a longer time the following functions will ap-
pear one after another:
Sto = Store readings in the Data Memory
StA = Display Statistics
Prn = Print or activate the Serial Interface
IcL = Clear the last reading
cLr = Clear the whole Data Memory
nFE = Base material recognition
NFE = recognizes exclusively non-ferrous metals
un = Change the unit of measurement (µm / mils)
rES = Switch over the resolution from 1.0 µm to 0.1 µm
By pressing the key the mode selected is confirmed.
Operation Of The Function Modes
<Sto> Store readings in the Data Memory
To store readings in the memory for further evaluation press the key until <Sto> is dis-
played.
Now release the key and wait until <on> is flashing. Confirm by pressing the key again.
The data memory is activated and all subsequent measurements will be stored. The sym-
bol <STORE> is displayed to make evident that the memory is switched on.
Capacity of the data memory : 1000 readings
When the memory has reached its capacity limit the symbol <FUL> is displayed.
As soon as the device is switched off the memory mode is deactivated.
<StA> Display Statistics
The readings stored in the data memory are evaluated as follows:
No. - Number of readings stored
MIN - Lowest reading stored
MAX - Highest reading stored
MEAN - Mean value
STD.DEV. - Standard deviation
Press the key until the symbol <StA> appears. Now wait until <StA> is flashing and con-
firm by pressing the key again. The statistics values are displayed one after another.
Operation
EASY- CHECK FN Manual Rev:00 4 / 10

Operation
EASY- CHECK FN Manual Rev:00 5 / 10
<Prn> Print or activate the RADIO CONTROL function
When EASY-CHECK FN is connected to the printer MEGA-PRINT or operated with the
RADIO CONTROL module, press the key until <Prn> is displayed and wait until <Prn> is
flashing. Start the data transfer by pressing the key.
This is not necessary when working with the interface cable and the software
selected. As soon as the interface cable is connected, the data transfer starts by
itself without pressing the key.
<IcL> Clear the last reading
Press the key until the symbol <IcL> is displayed and wait until <IcL> is flashing. Confirm
by pressing the key again.
Now the last reading is cleared.
<cLr> Clear the whole Data Memory
Press the key until the symbol <cLr> is displayed and wait until <cLr> is flashing. Confirm
by pressing the key again.
Now the whole Data Memory is cleared.
<nFE> Base material recognition
This mode is necessary when you want to measure paint or other insulating coatings on
zinc plated steel.
In the Standard mode (FE + nFE) the device would measure the paint and the zinc coating
together, because it is not able to recognize the thin zinc coating as non-ferrous base ma-
terial nFE.
To measure only the paint coating on the zinc plating the device must be switched over to
the nFE mode.
To avoid wrong measurements the following requirements should be met:
•The zinc plating should have a thickness of at least 20 µm.
•The zero adjustment should be performed on a similar zinc plated object without
coating.
The nFE Mode should also be used when measuring on slightly magnetic stainless steel.
From factory the device is adjusted to the FE + nFE recognition mode. To switch over to
the nFE mode press the key until the symbol <nFE> is displayed. As soon as <NFE on> is
flashing confirm by pressing the key again.
As soon as the device is switched off the nFE recognition is deactivated and the
device will measure again in the FE + nFE mode.
<Un> Change unit of measurement (µm / mils)
In its basic setting the instrument measures in µm.
To measure in “mils” (American unit of measurement) press the key until the symbol <un>
is displayed. Release the key and wait until <on µm> is flashing. Press the key again to
switch over to <on mils>.
When you switch on again the device it measures in “mils”.
To change over to “µm” proceed in the same way.

Operation
EASY- CHECK FN Manual Rev:00 6 / 10
<rES> Resolution
From factory the device is adjusted to the resolution 1.0 µm.
To switch over to the resolution 0.1 µm press the key until <rES> is displayed.
Release the key and wait until <r 1µm> is flashing. Press the key again to switch over to
0.1 µm.
Calibration
You receive the device already calibrated. Nevertheless from time to time it is
necessary to check or correct the calibration. This is especially recommended when you
measure on small or curved objects or when the surface of the test object is rough.
To calibrate the device you should always use the shim with the higher value
(approx. 300 µm). The shim with the lower value (approx. 100 µm) is only
supplied to verify the accuracy after calibration.
With the new software V.20 it is possible to calibrate the device at 1 mm to get even
more precise readings in the upper range.
The device must be calibrated separately on both base plates (FE and NFE)!
1. Switch on the device. (<on>)
2. Set the device with the probe on the base plate FE (blue) and press the key for
about 2 sec until <0.0> is displayed stable. Then release the key and zero setting is per-
formed and confirmed by a beep signal
3. Take off the device, the foil value entered previously is flashing.
4. To enter the value of the shim press the key as long as the value scrolls up.
Pressing the key shortly the value goes down by 1, pressing it continuously the value
scrolls up.
From > 320 µm on the value jumps up to 950 µm and increases by 10 µm steps. This ma-
kes it possible to calibrate the device in the upper range with even more accuracy than the
tolerance fixed. From > 1050 µm on the value jumps down again to 280 µm.
When measuring below 1000 µm do not calibrate the device at 1000 µm !!!
5. Once the correct calibration value is set, place the shim (approx. 300 µm) on the
base plate FE (blue) and set the device on the shim and wait until the beep sounds.
Now repeat the same calibration procedure (Item 1– 5) on the base plate NFE (red)
The device is calibrated.
To perform just a zero point adjustment (one-point calibration) wait until <on> appears
while the calibration value is indicated.

Operation
EASY- CHECK FN Manual Rev:00 7 / 10
•
•
•
•
•
General Remarks
The probe should not be drawn across the testing surface but reset at dif-ferent
spots, i.e. after each measurement hold the instrument in the air for about 1 sec.
In doing so the stored calibration is automatically checked and corrected if nec-
essary.
Make sure that the probe surface and the base plate are kept clean and
polished at all times.
When measuring on small or curved objects it is advisable to perform
calibration on a bare test object with the same geometry of the object to be meas-
ured and not on the base plate supplied with the device.
The device switches off automatically one minute after the last measurement. The
instrument can also be switched off with the red key.
Thickness of the base material:
Base material steel FE: > 300 µm
Base material non-ferrous metal NFE: > 50 µm
Exchange Of The Battery
As soon as the symbol <BAT> is flashing the battery must be exchanged by a new one.
When the voltage of the battery is less than 0.8 V the device switches off by itself.
Please insert only leak proved batteries !
Charge The 1.2v Rechargeable Battery With The Line-Charging Unit
As soon as the symbol <BAT> is flashing the rechargeable 1.2V Mignon battery must be
charged.
Important: Before inserting the charging connector into the interface plug of EASY-
CHECK FN the device must be switched off.
The charger must not be connected when the 1.5V battery is inside the device. The
battery may run out and destroy the device !
With the device switched off the charging connector is inserted into the interface plug of
EASY-CHECK FN. The device switches on by itself and a bar diagram with the battery
symbol is displayed. With the charger connected you can go on taking measurements.
After approx. 20 sec the state of charge is displayed again provided no measurement is
taken. When the charger is connected the automatic switch off is deactivated.
The rechargeable battery needs approx. 8 hours to be charged completely. A constant bar
diagram is flashing together with the battery symbol and the charger can be removed.

Operation
EASY- CHECK FN Manual Rev:00 8 / 10
Technical Data
Measuring Technique : Magnetic induction on iron and steel
(ISO 2178)
Eddy current on non-ferrous metals and
non-magnetic steels
(ISO 2360)
Switch over
Measuring Technique : Automatic or manual (NFE)
Measuring Range : Magnetic Induction: 0 – 5000 µm (FE)
Eddy current: 0 – 2500 µm (NFE)
Indication : LCD 3½ digits with floating decimal point
and guides for operation
Resolution : selectable 1.0 µm or 0.1 µm
Accuracy : below 100 µm: ±1 µm
100 - 1000 µm: ±1 %
1000 - 2000 µm: ±3 %
> 2000 µm: ±5 %
Memory : max. 1000 readings
Statistics : Indication of No.-MIN-MAX-MEAN-STD.DEV.
Power Supply : 1,5V Mignon battery
(1.2V rechargeable battery with charger available)
Recording Data : on steel (FE): one long beep
on non-ferrous metals (NFE):two short beeps
Measuring Probe : swinging by 90°
Dimensions : 108 x 48 x 38 mm
Weight : approx. 100 g
Interface : serial RS 232 C (5 V TTL level)
Baudrate : Printer + PC: 1200 baud
Data/Stop bits : Printer + PC: 7/2
Warranty : Indication unit: 12 months
Measuring probe: 3 months
Optional Accessories
Software Incl. Operation Instructions
•Software TRANSFER
Sends the data and statistics to the computer.
•Software TRANSFER-EXCEL
Transfers the data directly in an existing Excel file.
•Graphic Statistics Software STAT-6
Sends the data and statistics to the computer.
Limit values can be set which are evaluated as line and bar diagrams.

Operation
EASY- CHECK FN Manual Rev:00 9 / 10
Radio-Control
With the Transmitter / Receiver and the Software STAT-6 the data and statistics can be
sent to the computer by RADIO without any cable connection.
Data Printer Mega-Print
Print out all the data and statistics.
Line-Charger with 1.2V rechargeable Mignon battery
Data Printer Mega-Print
Technical Data:
Type of Printer : Thermo printer
Characters/Line : 20
Data Transfer Rate : 1200 baud
Printing Velocity : max. 20 lines/sec.
Interface : serial
Paper : Thermo paper
57 mm wide, max. 10 m long
Power Supply : Rechargeable NiCad battery
(approx. 60 hours operation/charge)
Size : 110 x 80 x 45 mm
Weight : approx. 240 g
Charging Unit : 230 V/50 Hz / 6.0 V – 0.5 A
Charging the built-in NiCad Battery
Before using MEGA-PRINT for the first time the built-in NiCad battery must be
charged.
The built-in NiCad battery is charged with the charging unit supplied with the printer. The
cable of the charging unit is connected at the right-hand socket of MEGA-PRINT.
The charging time should be at least 4 hours.
Operating Instructions
1. The operation of MEGA-PRINT together with the Coating Thickness Meter EASY-
CHECK FN is explained in the operating instructions of EASY-CHECK FN
(Page 5).
2. When the printer MEGA-PRINT is connected to the Coating Thickness Meter EASY-
CHECK FN, MEGA-PRINT switches on automatically (the green LED flashes every 2
sec). When switching off EASY-CHECK FN, the printer is switched off automatically (the
green LED remains switched off).
3. The manual paper feed is performed with the key „Paperfeed“. When the printout is fin-
ished the paper stripe is transported out of the casing by pressing this key and can be
neatly turned off.
4. Faulty print out
Incorrect printed lines mean that the printer should be recharged.

Insert a new paper roll
•Open the lid
•Insert the paper roll
•Pull out the end of the paper
•Close the lid
Operation
EASY- CHECK FN Manual Rev:00 10 / 10
Table of contents
Other BMS Measuring Instrument manuals
