Boema Caffe Series Quick start guide


Page 1
Contents
Diagram .................................................................................................................................................. 2
Installation.............................................................................................................................................. 3
Checklist –prior to installation of espresso machine .......................................................................... 3
Installation Instructions........................................................................................................................ 4
Volumetric Touch Pad........................................................................................................................... 5
Pre-Infusion Set-up.............................................................................................................................. 5
Pre-Infusion removal ........................................................................................................................... 5
Touch Pad Operation .......................................................................................................................... 6
Daily care of espresso coffee machines............................................................................................. 7
Start of the day.................................................................................................................................... 7
End of the day ..................................................................................................................................... 7
Steaming Milk...................................................................................................................................... 7
Group Care.......................................................................................................................................... 7
Cleaning & Maintenance Procedure.................................................................................................... 8
Back-washing and Cleaning................................................................................................................ 8
Shower Removal ................................................................................................................................. 9
Group Handles .................................................................................................................................... 9
Steam Arms......................................................................................................................................... 9
Drip Tray and under the machine........................................................................................................ 9
General Servicing –Recommended every 6 months.......................................................................... 10
General Service Procedure............................................................................................................... 10
Service Kits.......................................................................................................................................... 11
Machine Warranty................................................................................................................................ 12
Contents Checklist.............................................................................................................................. 14
Technical Specifications..................................................................................................................... 15

Page 2
Diagram
Page 3
Installation
Checklist –prior to installation of espresso machine
1. Required bench space:
Machines:
Grinders:
Minimum Depth:
550mm
360mm
Width (varies):
1 Group: 490mm
220mm
2 Group: 680mm
3 Group: 910mm
Height:
600 mm
650mm
2. Remove the top lid and water inlet hose (braided), which is located at the back of the
machine
3. Ensure holes are drilled through a bench or wall as required (minimum 50mm)
4. The power point must be within 1 meter of the machine
1 Group –10amps Grinders –10amps
2 Groups –15amps
3 Groups –20amps
5. Cold water 1/2 inch male stop cock fitted within 1 meter of machine
6. Drainage –via bucket or into plumbing (gravityfed)
7. Water connected / Power connected
Recommended:
350 KPA Pressure Limiting valve be fitted in line by your plumber with a half inch male fitting.
Your warranty requires you to fit the appropriate water filter to suit your local conditions. Boema has a
complete range of water filters to suit all conditions. The supplied filter may not be suitable in regional
areas.
Installations by Technicians include
- Connection to water and power services, which are already provided
- Commissioning of the machine
- Demonstration of the use of the machine
- Operator maintenance demonstration
Hole 50mm
300mm
300mm front left –Operating Side

Page 4
Installation Instructions
1. Check that the mains water pressure does not exceed 450Kpa. (65psi). If the pressure is too
high, fit a pressure reducing valve to the water inlet before the water filter (a 350kpa Pressure
Limiting Valve is recommended).
2. Screw the legs on to the machine and adjust to the desired height and level.
3. Connect the braided hose and install the fittings.
Very important: Flush the water filter
4. Point the water filter into a bucket or a drain, and then turn on the water tap to flush the loose
carbon from the water filter (approximately 15 Litres of water).
5. Connect the braided hose between the water filter and the Coffee Machine water inlet using the
fittings.
6. Turn the water tap on and check for water leaks (stop leaks if any).
7. Make sure the power switch on the Coffee Machine is switched off.
8. Plug the coffee machine power cord into an appropriate power point and switch it on.
9. Push the Coffee Machine Main power switch on.
10. Refer General Care and Group Maintenance instructions found on the lid of machine and in this
manual.

Page 5
Volumetric Touch Pad
Please ensure you have read the General Care Instructions first
Pre-infusion is when a jet of water is first sprayed onto your ground coffee prior to commencement of
the main brewing cycle. The objective is to enhance the flavour of the brew. As the experts advise,
there is also a minimum and maximum brewing time to optimise your flavour. Pre-infusion is most
commonly thought to be useful for the shorter deliveries of coffee.
The machine may already be in Pre-infusion mode. If not, you will need to set this up.
Pre-Infusion Set-up
1. Turn the machine off
2. Press and hold the (short black)
3. Turn the machine back on
4. The lights will come on above the (short black) and (two short blacks) button. These will
be the only deliveries that will engage the Pre-Infusion mode.
5. Switch the power off and then on again. The lights on the Touch Pad display will not remain
on and the touch pad will be in operation mode with Pre-infusion.
Pre-Infusion removal
1. Turn the machine off
2. Press and hold the (long black) button
3. Turn the machine back on
4. The light will then come on above the (long black) button
5. Switch the machine off then turn it back on. Normal operation will now be resumed.
❶
Short Black
❷
Long Black
❸
Two Short Blacks
❹
Two Long Blacks
❺
Programming Key / Continuous flow
❶
❷
❸
❹
❺

Page 6
Touch Pad Operation
Boema machines are delivered with programmed deliveries for Short Black, Long Black,
Two Short Blacks and Two Long Blacks. Delivery commences once you press the desired button
for your selection and will automatically stop once the programmed level has been achieved. Should
you wish to halt delivery prior to full delivery from the programmed cycle, simply press the same
selection button again.
The symbol on the touch pad is operated for manual delivery. Press the key to commence
delivery; press it again to stop delivery.
To change settings:
1. Put the cup underneath the group from which you wish to deliver
2. Hold the button pressed until the lights above the selection buttons all come on –signifying
programming mode
3. Press the button representing the delivery you wish to alter –delivery commences with the
light remaining on only above the button being programmed and above the button
4. When the desired delivery is achieved, press the same button again. The delivery stops and
the light goes out above the button now reprogrammed
The lights reappear above the buttons that have not had their deliveries reset and remains on
above the key, signifying programme mode
5. While the lights remain on signifying programming mode, you may move to another selection
or readjust the same selection, even though the light does not appear above that selection
button
6. When the light goes out above the key and above the keys which have not had their
settings altered, the machine has returned to normal operation mode.
Note: Return to Step 2 if you wish to continue with programming.
Warning:
The programme allows only a very short time to proceed to the next setting prior to going out of
programme mode. Should this happen, the settings you have achieved will remain. To adjust those
deliveries not yet set by you, you need to go back to Step 2, and then proceed directly to the button
that you wish to set.
Handy Hint
Have at hand the number of empty cups to suit the number of deliveries you wish to do or simply stick
to re-entering programme mode for adjustment of one delivery at a time.

Page 7
Daily care of espresso coffee machines
Start of the day
1. Turn on the machine’s water and power supply.
2. Open at least one steam arm
3. Allow steam to escape from steam arm with some pressure before closing (allow 5-10 minutes
for this to occur).
4. Pressure will now build up quickly. By doing this, you have ensured that you do not have a
negative pressure vessel nor a false pressure reading. If you have a false pressure reading,
you may find that when you go to make a cappuccino you will not have the required steam.
End of the day
It is recommended that the machine is turned off at the power source at the end of the day to save on
electricity and to allow you to turn off the water to the machine. Turn the machine’s water supply off. If
mains pressure builds up overnight you could end up with a flood.
Take approximately 1 litre of water from the machine through the hot water spout. This allows a
fresh supply of water to circulate through the machine and helps flush out elements that may
otherwise build up in the boiler.
Note: The water from the groups, (where coffee is made), does not come from the boiler, and thus
making coffee does not allow circulation of the water inside the boiler.
Steaming Milk
Purge steam pipe after foaming milk; this will make sure there is no milk resting inside the steam
nozzle. Milk can build up inside the nozzle and cause bad smell. It is also then likely to be sucked up
into the boiler.
IMPORTANT: Soaking nozzle and pipe overnight is not recommended. Do not use knives
or steel wool to clean the steam arm.
Group Care
1. When making coffee ensure any coffee around the rim of the group cup is brushed off before
fitting into the group. This will prolong the life of the seal.
Note: We recommend using Group Brushes to clean the groups and Knock Tubes to discard of
the coffee.
2. The group seals should be clean at all times. If necessary clean with soft brush or cloth to ensure
proper sealing
3. Cleaning internals of Group Head should be done with Mr. Boema –Refer to Group Maintenance.
Important note
The red light (if it has a 3-part switch, it is a yellow light) is a warning light, which indicates that there is
not enough water in or going into the machine. If the light remains on, the machine will not heat up as
the electricity will be cut off from the heating element. This is a precautionary measure to stop the
element from burning out.

Page 8
Cleaning & Maintenance Procedure
As coffee is the stone of the coffee fruit, which contains oils, this oil from the coffee bean remains in
the machine after heating. This can quickly make it rancid, causing the fresh coffee being extracted to
smell and taste offensively.
To remove oil build-up from the group heads, backwashing is required
on a regular basis (at least every day).
Back-washing and Cleaning
Using the Blind Filter (EK642.1B)
Remove existing filter and replace it with the blind filter, then add ½ teaspoon of Mr. Boema. Proceed
to activate the cleaning cycle as follows:
Boema Deluxe/Caffe - Volumetric (black/silver touch pads)
1. Turn the machine off
2. Press and hold the two short blacks button
3. Turn the machine on to start the cleaning cycle
4. Repeat the cleaning cycle without Mr. Boema to rinse the group
5. Make and discard two shots of coffees before resuming normal operation
Boema Deluxe/Caffe –Semi Automatic
1. Turn the rocker switch on for approx. 5 seconds
2. Turn the rocker switch off for approx.5 seconds
3. Repeat the first two steps 10 times
4. To rinse the machine, repeat steps 1 to 3 without Mr. Boema
For Boema Maestro (blue touch pads)
1. Press and hold the star and the short black buttons for the cleaning cycle to begin
1
Remove the filter basket and
place the blind filter in the
handle
4
Repeat the same cycle but without
Mr. Boema. This is to rinse the
machine
2
Put in ½ a teaspoon (3g) of
Mr. Boema into the blind filter
5
Replace the blind filter with the
standard filter basket
3
Run the cleaning cycle (as
instructed above)
6
Make and discard two shots
before resuming normal operation

Page 9
Regular cleaning will result in less maintenance being required by a Technician and prolong the life of
group parts, including the 3-Way Solenoid Valve. It will also maintain the quality of coffee you produce.
We would suggest commencing the procedure below once a week for a period of 3 weeks; after which
time you will be best able to gauge for yourself the regularity of maintenance that best suits your
machine.
Shower Removal
1. Remove the shower
2. Hold it to the light to ensure you can see through all the holes
3. Thoroughly clean the shower using steel wool. All holes in the shower should be clean for best
results
4. For
s
t
ubborn s
tai
ns,
soak the shower in Mr. Boema for 15 minutes then scour to remove the
stains.
Alternatively, you may need to purchase new showers and replace.
5. Replace the shower
Note: For machines with serial numbers pre B08200, the shower is fitted with a screw.
Group Handles
Group handles (aka: filter holders or porta filters) should be cleaned daily by removing the filter basket
and soaking it in Mr. Boema overnight.
Steam Arms
NEVER soak the steam arms in a glass of water, soda or any other detergent not specially designed to
clean steam arms.
1. Wipe the steam arms with a clean wet cloth after each use
2. If a build-up does occur
a. wrap a clean wet cloth around steam arm direct it into the drip tray
b. Turn on the steam tap for 10 seconds
c. Leave it for a further 10 minutes.
d. The milk build up should soften and remove easily.
Drip Tray and under the machine
Carefully remove inner and outer drain trays and wash each item with hot soapy water. Clean under
the machine then replace the trays.
Warning:
After each five-second operation, pressure relief through the exhaust must occur each time. If pressure
is not relieved, do not continue five-second operations as pressure build up could cause handle to
explode off from the group.
Reminder:
A friendly reminder before and after frothing of milk, give your steam tap a quick blast of steam –this
can prevent tank contamination and the possibility of a tank clean which could be a very expensive
procedure.
When starting your machine in the morning leave your steam tap open until steam comes out, this
prevents vacuum pressure.

Page 10
General Servicing –Recommended every 6 months
General Service Procedure
1. Replace the water filter cartridge, hose-tail and clamp.
Note: When replacing water filter make sure the water outlet hose has been disconnected from
the machine in order for the water filter to be flushed. Flush around ½ bucket of water.
2. Remove the cup washer, shower and clean with steel wool to unblock all the holes.
3. Remove any coffee left inside the group head and clean inside the group head with steel wool.
4. Replace the following parts:
O ring for Capping Nut
Mesh Filter
Jet
Mid to Group Bell
Cup Washer
Shower
Note: Refer to Service Kits
5. Replace o rings located under the 3-way Solenoid
6. Back-flush the group head with Mr. Boema
Note: Refer to Cleaning Procedure
7. Flush the hot water out of the boiler through the hot water spout
8. Replace the vacuum valve
9. Check all pipe connections for leaks
Boema highly recommends having your machine serviced every 6 months.
Page 11
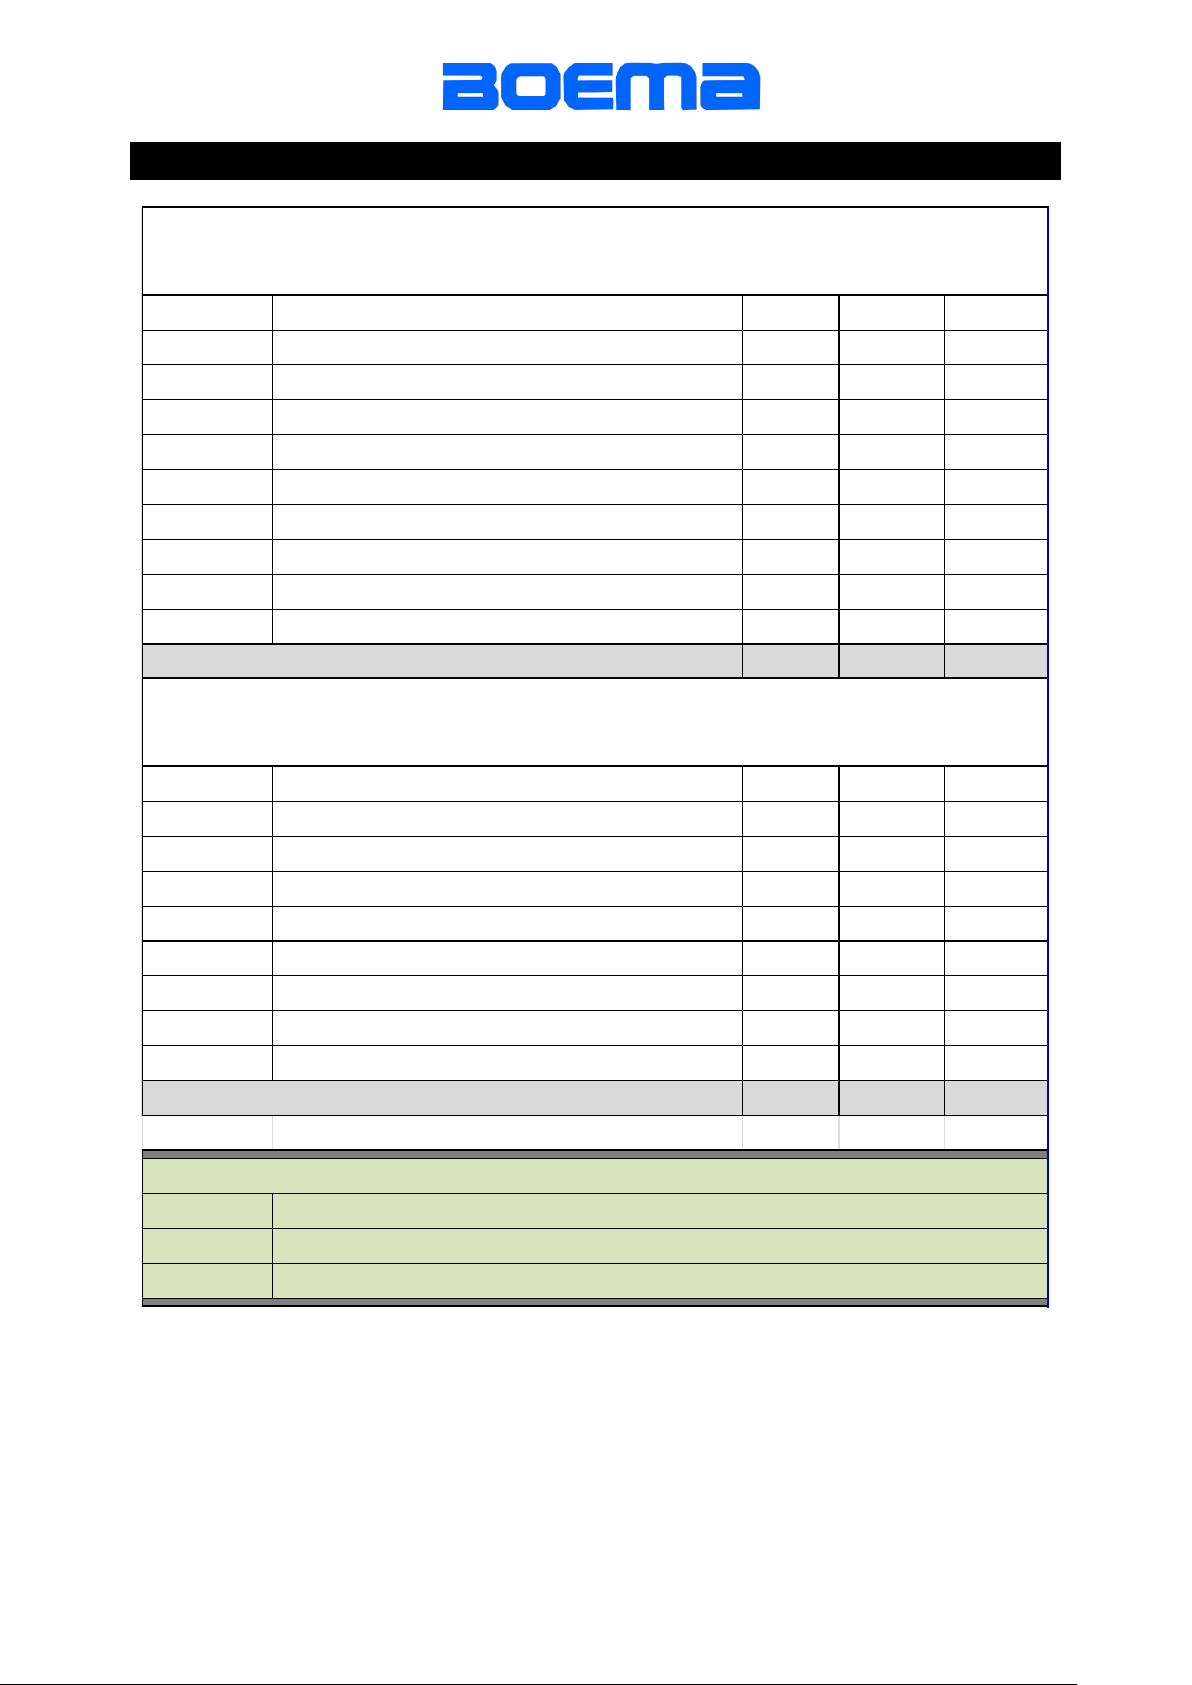
Service Kits
Item Code Description
1 group 2 groups 3 groups
EC360-1A
Anti Vacuum Valve 1 1 1
EC403-1A
O'ring (Red) CWRH To Non Return 1 1 1
EG600-1C
O'Ring for capping nut 1 2 3
EG600-1D
Mesh filter 1 2 3
EG600-1E
Jet 1 2 3
EG600-1H
O'ring - mid top group bell 1 2 3
EG600-1K
Shower for group head 1 2 3
EG600-1M
Cup washer for group head 1 2 3
EG600-1N1
O-ring 3-way Solenoid 2 4 6
BOE.100.1 BOE.100.2 BOE.100.3
Item Code Description 1 group 2 groups 3 groups
EC360-1A
Anti Vacuum Valve 1 1 1
EC403-1A
O'ring (Red) CWRH To Non Return 1 1 1
EG600-1D1
Mesh filter 1 2 3
EG600-1E1
Jet 1 2 3
EG600-1K1
Shower for group head 1 2 3
EG600-1C1
Capping Nut Teflon Gasket 1 2 3
EG600-1M1
Cup washer for group head 1 2 3
EG600-1N1
O-ring 3-way Solenoid 2 4 6
BOE.101.1 BOE.101.2 BOE.101.3
EK650-2A
EK650-1A
F-AX5-TSR
Mr Boema Espresso Cleaner 1kg
Mr Boema Espresso Cleaner 500g
AX5 Cartridge - Triple Action System
Code:
Code:
Boema Caffe/Deluxe Series
Standard Grouphead - (Serial numbers pre B08200)
Boema Caffe/Deluxe Series
E61 Grouphead - (Serial numbers post B08200)
We recommend the following optional extras

Page 12
Machine Warranty
SOLD BY: ……………………………………….
UNIT SERIAL NO.: ……………………………………….
PURCHASE DATE: ……………………………………….
MODEL: ……………………………………….
Espresso Machines Australia Pty Limited, ABN 98 169 764 952, T/as Boema, warrants this
product to be free from defects in materials and workmanship under normal use and condition. If
within 12 months of purchase date, any part which our examination shows to be defective, will be
replaced at no cost to the purchaser provided that the machine is either returned to our premises
(freight cost to be covered by purchaser) or alternatively is accessible / available for inspection in
the Sydney metropolitan area or through one of our approved or authorised Service Agents/
Dealers / Suppliers in other states.
This warranty excludes certain electrical parts and perishable components such as rubber rings or
water filters and will only cover parts which are proved to be defective according to our technical
examination. The cost of dismantling, freight and / or travelling expenses is to be borne by the
purchaser. Please refer to “Parts Warranty” section for more details.
CONDITIONS OF THE ABOVE WARRANTY
1. This warranty does not apply to the product(s) if it has been subject to misuse, neglect,
alteration, accident, fire or damage how so ever caused.
2. These warranties do not extend to cover consequential loss, damage, claims or liabilities of
any kind arising from any cause whatsoever, liability for which is hereby expressly excluded,
and they are in lieu of any warranties and conditions expressed or implied by law or any
persons to act on our behalf, all of which are hereby expressly excluded.
3. It is a condition of the warranties that the installation of any product(s) be carried out by
competent and qualified installers authorised by Boema or an authorised Agent, Dealer or
Supplier, and no responsibility is accepted by Espresso Machines Australia Pty Limited or any
of their distributors or agents, for damages caused through incorrect installation or any misuse
whatsoever.
4. These warranties shall be considered void if any repairs or alterations are carried out at any
time by persons other than those specified or working with the permission and authority of
Espresso Machines Australia Pty Limited.
5. Warranty work is to be performed inside our normal business hours i.e. Monday to Friday
7:30AM to 4:00PM excepting Public Holidays. A surcharge is payable outside these times.
Travel expenses are not covered under warranty and are to be borne by the purchaser.
6. Parts covered under warranty will be supplied on a charge basis with a credit given on return
of the faulty part.
7. Should the unit purchased not be plumbed into a water supply, be it a non-fixture or
detachable item, it should be returned to the point of purchase before warranty work will be
performed.
8. Inadequate or lack of water filtration system may void warranty
9. Where required the customer may need to install, at their own cost, a 350 KPA Pressure
Limiting Valve.
10. Boiler cleanouts necessary due to dirty water inside the tank are the result of incorrect use
and not covered by warranty.

Page 13
Parts warranty:
Parts are covered by Boema for 12 months limited warranty from date of purchase, and exclude the
following:-
- Seals and O rings
- Showers and filter baskets
- Water filter cartridges
- Parts damaged or failing as a result of inadequate or lack of water filtration, and / or operator
error or negligence
- Installations carried out by unauthorised personnel
- Replacement of faulty parts to be replaced by Boema or one of Boema’s authorised Dealer /
Supplier / Agent.
Labour warranty:
Service warranty is valid for 6 months either by Boema or their Dealers/Suppliers/Agents. This is
determined at the time of purchase and any additional agreements which took place during the selling
process.
Boema does not cover at any time the following:-
- Travel time/expenses to and from the location of the machine
- Other warranties which are covered by the Dealer / Supplier / Agent without the Boema explicit
concern
- Incomplete or improper installation or set-up of the machine(s)
Boema reserves the right to determine based on the product service history (if available), and
also previous experiences, whether the service charges are adequate and within the industry
standards norms and may, at their own discretion, choose a different “Service Contractor /
Agent” to deal with the warranty issues at any time.
Warranty parts to be replaced by Boema after checking the faulty parts by a Boema authorised
Technician.

Page 14
Contents Checklist
Please ensure the below items have been delivered with your
machine prior to installation
Description
Code
Quantity
1 Group
2 Group
3 Group
Mr. Boema
EK650-1A
1
1
1
Group Handle (single)
EK630-3A
1
1
1
Group Handle (double)
EK630-4A
1
2
3
Blind Filter
EK642-1B
1
1
1
AX5 Water Filter
F-AX5-TS
1
1
1
Braided Hose
EK627-1D
1
1
1
Outlet Hose
EK628-1A
1
1
1
Page 15
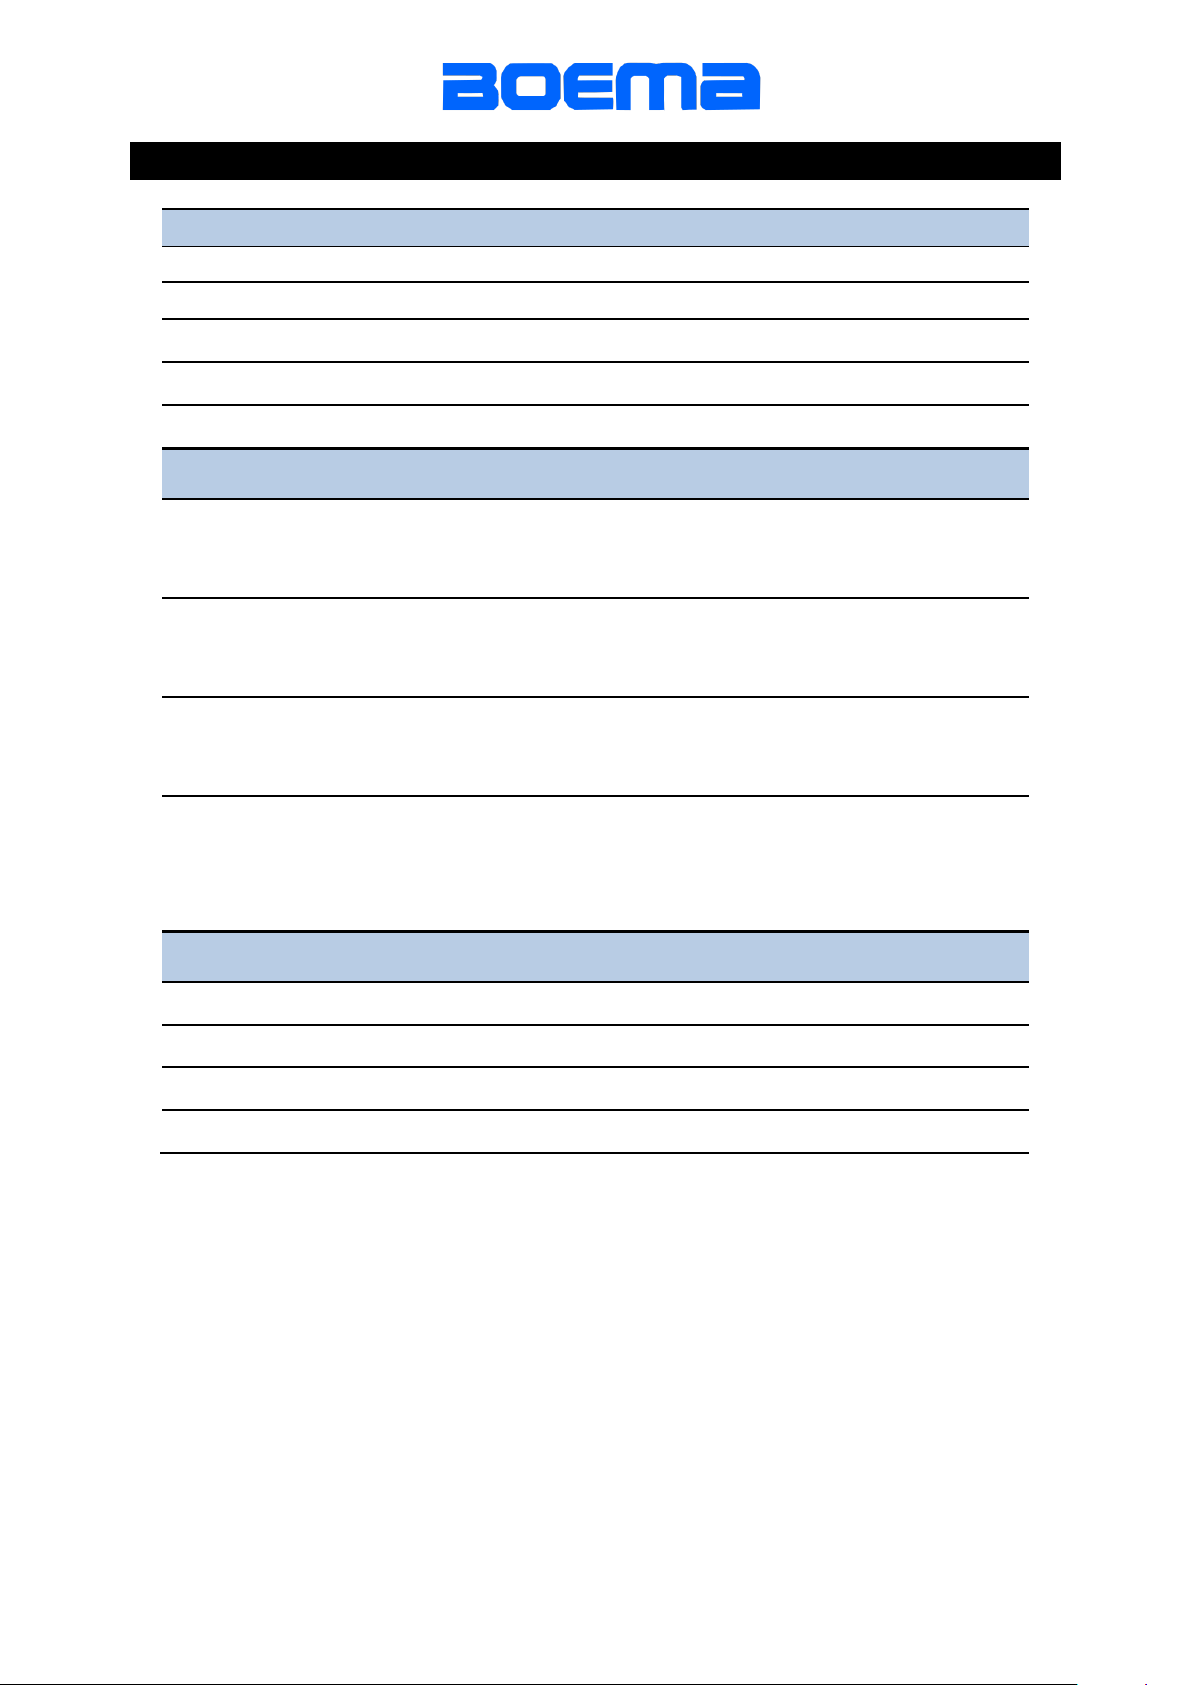
Technical Specifications
Basic Configuration
1 Group
2 Group
3 Group
Group Head
1
2
3
Hot Water Spout
1
1
1
Steam Wand
1
2
2
Group Handles
2
3
4
Boiler tank
4L
6L
9.5L
Connections
1 Group
10 Amp Power Point, 240 Volt, 50/60 HZ
2400 Watts, Cold water 3/8 female fitting
2 Group
15 Amp Power Point, 240 Volt, 50/60 HZ
3600 Watts, Cold water 3/8 female fitting
3 Group
20 Amp Power Point, 240 Volt, 50/60 HZ
4800 Watts, Cold water 3/8 female fitting
* Recommended: 350KPA pressure limiting valve to be fitted in line with a ½ inch
male fitting on the left hand side of the machine
Dimensions
Height
Depth
Width
Weight
1 Group
525mm
520mm
490mm
48kg
2 Group
525mm
520mm
650mm
60kg
3 Group
525mm
520mm
920mm
75kg


Notes:
Boema Coffee Machines
A: 107 - 109 Newton Rd, Wetherill Park | T: 02 9756 4744 | F: 02 9756 3989 | E: sal[email protected]om.au

Espresso Machines
Automatic Machines
Vending Machines
Grinders
Service & Support
Coffee, tea, chai etc.
Barista Training
Accessories
Water filters
This manual suits for next models
1
Table of contents


