manuals.online logo
Brands
  1. Home
  2. •
  3. Brands
  4. •
  5. Boff
  6. •
  7. Indoor Furnishing
  8. •
  9. Boff Vertical Simple Wallbed User manual

Boff Vertical Simple Wallbed User manual

ASSEMBLY
INSTRUCTIONS
INSTRUCTIONS
D’ASSEMBLAGE
Vertical Simple
Wallbed from B.O.F.F.
Lit escamotable simple
vertical de B.O.F.F.
3D instructions Powered by Synode.
Instructions 3D propulsées par Synode.
Hardware & Tools Required
Matériel et outils requis
Description
Allen key
Clé Allen
Clamp
Serre-joints
Drill
Perceuse
Gloves
Gants
Hammer
Marteau
Nail
Clou
Stud finder
Détecteur
de montant
Tape Measure
Ruban à mesurer
Wrench
Clef
Description Description Description
Tools the assembler needs to have • Outils dont l’assembleur aura besoin
Safety glasses
Lunettes
de sécurité
Pencil
Crayon
B.O.F.F. 2
Code Description Dimensions (in/po) Qty • Qté
1 Top Panel Panneau de dessus 15 1/4 X 45 3/8 1
2, 3 Side Panels Panneaux de côté 16 X 81 2
4, 6 Valence & bottom panel Valence et panneau de bas 10 X 45 3/8 2
5 Headboard Tête de lit 12 X 45 3/8 1
7 Jonction pieces Pièces de jointage 75 5/8 X 4 1
8, 9 Doors Panels Panneaux de porte 22 7/16 X 78 1/4 2
11 Bed head and feet Tête et pied de lit 41 1/4 X 8 2
12 Bed side panels Côtés de lit 75 3/4 X 8 2
13 Support slats Lattes de support 75 3/4 X 2 1/2 1
14 Side slats Lattes de côté 72 1/2 X 1 1/2 2
16 Slats Lattes 39 7/8 X 2 1/2 13
Wood cutting list • Liste des composantes de bois à couper
Wood thickness: 5/8 in • Épaisseur du bois : 5/8 po
Code Qty • Qté
Bed leg 2
Patte du lit
Bolt 4
Boulon
Bolt 10
Boulon
Handle 2AC21
Poignée AC21
Cap 4
Cap
Corner brace 51
Renfort d’angle
Mechanism 2
Mécanisme
Rubber legs 4Pieds en
caoutchouc
Support
mechanism 2
Mécanisme
de support
Wall brace 2Équerre
murale
Code Qty • Qté Code Qty • Qté Code Qty • Qté
Parts & Hardwares
Pièces et quincailleries
Parts • Pièces
Code Qty • Qté
1 1
2 1
3 1
4 1
Code Qty • Qté
5 1
6 1
7 1
8 1
Code Qty • Qté
9 1
11 2
12 2
13 1
14 2
16 13
Code Qty • Qté
Hardwares • Quincailleries
B.O.F.F. 3
1/4 in/po
(7 mm)
7/16 in/po
(11 mm)
7/16 in/po
(11 mm)
Code Qty • Qté Code Qty • Qté
9/16 in/po 204
(14 mm)
5/8 in/po 36
(16 mm)
1 in/po 10
(25 mm)
1 1/8 in/po 36
(29 mm)
1 1/4 in/po 4
(32 mm)
1 1/2 in/po 2
(38 mm)
For handles • Pour les poignées
1 3/4 in/po 39
(44 mm)
2 1/2 in/po 4
(64 mm)
1 5/8 in/po 12
(41 mm)
3/8-16 x 7/8 in/po 2
(22 mm)
Screws (Real Size) • Vis (Tailles réelles)
B.O.F.F. 4
This paper guide will assist you with the assembly of the Vertical Simple Wallbed from B.O.F.F.
Note: For other B.O.F.F wallbed products, please refer to the corresponding paper guides for the measures.
Ce guide papier vous assistera dans l’assemblage du lit escamotable simple vertical de B.O.F.F.
Note: Pour les autres produits de lit escamotable B.O.F.F, veuillez vous référer aux guides papier correspondants pour les mesures.
1
32
6
5
4
1
B.O.F.F. 5
This guide will begin with assembling the bed frame.
You can see here the elements that will constitute the frame of the bed.
Ce guide va commencer avec l’assemblage du cadre du lit.
Vous pouvez apercevoir ici les éléments qui vont constituer le cadre du lit.
2
B.O.F.F. 6
By following the measurements displayed, pre-drill Panel #3 using a nail and a hammer.
Note: nail and hammer are not provided.
En suivant les mesures achées, pré-percer le panneau numéro 3 en utilisant un clou et un marteau.
Note : Le clou et le marteau ne sont pas fournis.
3
Finished edge
Bordure finie
Borde acabado
16 11/16 in/po16 11/16 in/po
2 5/8 in/po
12 3/4 in/po
3
B.O.F.F. 7
Repeat the same procedure as Step #3 for Panel #2.
Répéter la même procédure que l’étape numéro 3 pour le panneau numéro 2.
4
Finished edge
Bordure finie
Borde acabado
16 11/16 in/po16 11/16 in/po
2 5/8
in/po
12 3/4 in/po
2
Code
Qty • Qté
Corner brace
Renfort d’angle
x 6
B.O.F.F. 8
By following the measurements displayed, set 6 corner braces into Panel #4.
En suivant les mesures achées, placer 6 renforts d’angle dans le panneau numéro 4.
5
4 1/2 in/po
1 1/8 in/po 20 in/po
4
20 in/po
1 1/8 in/po
Code
Qty • Qté
9/16 in/po
(14 mm)
x 12
B.O.F.F. 9
Insert twelve 9/16 in screws to screw corner braces on Panel #4.
Insérer 12 vis 9/16 po pour visser les équerres dans le panneau numéro 4.
6
4 1/2 in/po
1 1/8 in/po
4
20 in/po
1 1/8 in/po
Code
Qty • Qté
Corner brace
Renfort d’angle
x 6
B.O.F.F. 10
By following the measurements displayed, set 6 corner braces on Panel #5.
En suivant les mesures achées, placer 6 équerres sur le panneau numéro 5.
7
5
1 1/16 in/po
2 15/32 in/po
2 15/32 in/po
B.O.F.F. 11
Insert twelve 9/16 in screws to fix the corner braces on Panel #5.
Insérer 12 vis de 9/16 po pour visser les équerres avec le panneau numéro 5.
8
5
Code
Qty • Qté
9/16 in/po
(14 mm)
x 12
Code
Qty • Qté
Corner brace
Renfort d’angle
x 4
B.O.F.F. 12
By following the measurements displayed, set 4 corner braces on Panel #6.
En suivant les mesures achées, placer 4 équerres sur le panneau numéro 6.
9
6
2 1/32 in/po
2 1/32 in/po
2 1/32 in/po
6
Code
Qty • Qté
9/16 in/po
(14 mm)
x 8
B.O.F.F. 13
Insert eight 9/16 in screws to screw corner braces on Panel #6.
Insérer 8 vis de 9/16 po pour visser les équerres avec le panneau numéro 6.
10
2
B.O.F.F. 14
Install 2 nylon nail glides at the bottom of Panel #2.
Installer les 2 sous-pattes de nylon sous le panneau numéro 2.
11
Code
Qty • Qté
Rubber legs
Pieds en caoutchouc
x 2
3
B.O.F.F. 15
And now do the same for Panel #3.
Et maintenant faire la même chose pour le panneau numéro 3.
12
Code
Qty • Qté
Rubber legs
Pieds en caoutchouc
x 2
4
1
B.O.F.F. 16
Bring together the Panels #2 and #3 with Panel #1.
Mettre ensemble les panneaux numéro 2 et 3 avec le panneau numéro 1.
13
5
6
23
B.O.F.F. 17
By following the measurements displayed, insert two 1 5/8 in screws to attach Panels #3 to Panel #1.
Note: Before adding the screws we need to make sure the front of Panel #1 is perfectly aligned with the front of Panels #3.
Note 2: If you only purchased the mechanism please use 1 3/4 in self-drilling wood screws for this step.
En suivant les mesures achées, insérer 2 vis de 1 5/8 po pour attacher le panneau numéro 1 au panneau numéro 3.
Note :
Avant d’insérer les vis s’assurer que le devant du panneau numéro 1 est parfaitement aligné avec le devant du panneau numéro 3.
Note 2 : Si vous avez seulement acheté le mécanisme veuillez utiliser des vis à bois auto-perçante de 1 3/4 po pour cette étape.
14
31
5/16 in/po
5/16 in/po
1 3/4 in/po
2 1/2 in/po
Code
Qty • Qté
1 5/8 in/po
(41 mm)
x 2
B.O.F.F. 18
Repeat the same procedure as step #14 to attach the other side of Panel #1 to Panel #2.
Répéter la même procédure qu’à l’étape numéro 14 pour fixer l’autre côté du panneau numéro 1 au panneau numéro 2.
15
5/16 in/po
5/16 in/po
1 3/4 in/po
2 1/2 in/po
12
Code
Qty • Qté
1 5/8 in/po
(41 mm)
x 2
B.O.F.F. 19
Move up the Panel #4 between the Panels #2 and #3.
Déplacer le panneau numéro 4 vers le haut entre les panneaux numéro 2 et 3.
16
1
3 2
4
Code
Qty • Qté
9/16 in/po
(14 mm)
x 12
B.O.F.F. 20
Insert twelve 9/16 in screws to screw the corner braces of Panel #4 with Panels #1 and #2.
Insérer 12 vis de 9/16 po pour visser les équerres du panneau numéro 4 avec les panneaux numéro 1 et 2.
17
1
2 3
4

Other Boff Indoor Furnishing manuals

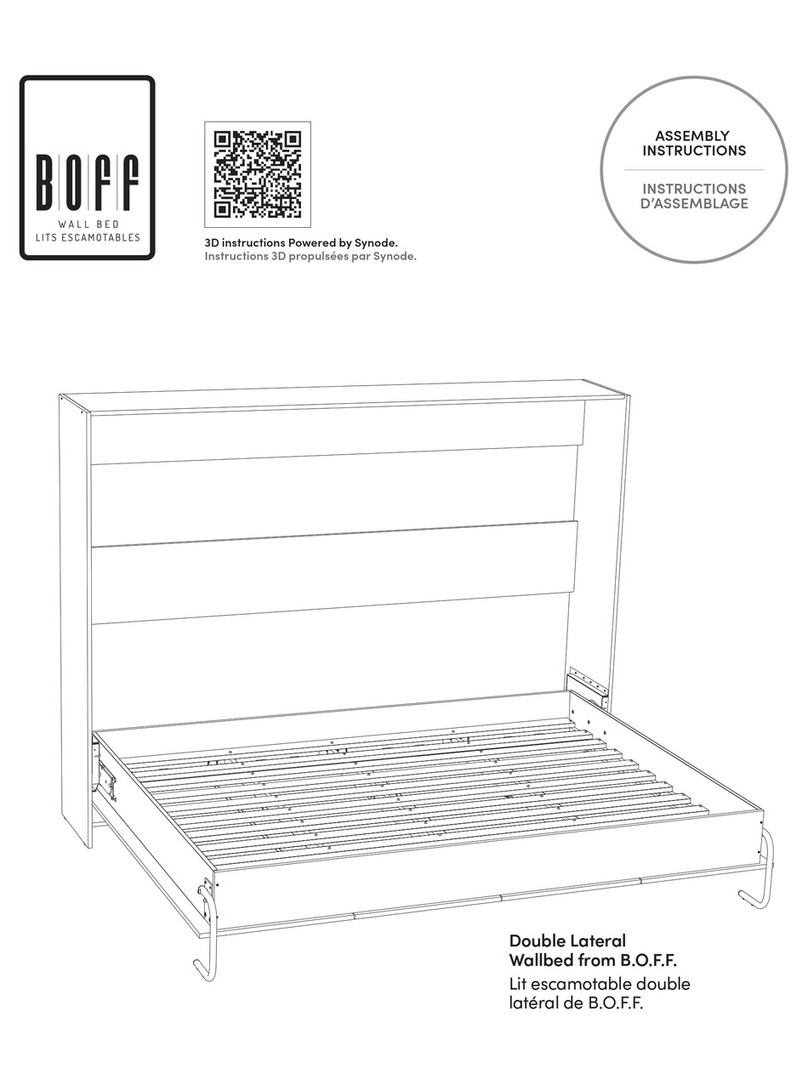
Boff Double Lateral Wallbed User manual

Boff

Boff Double Lateral Wallbed User manual

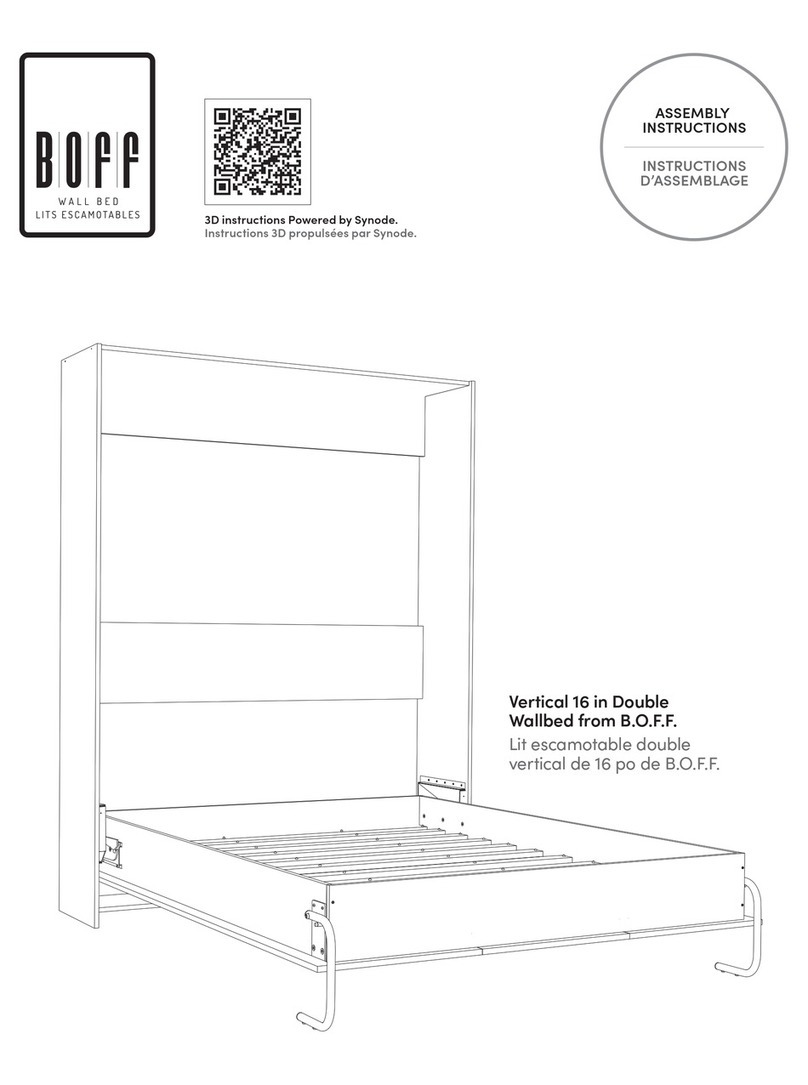
Boff Vertical Queen Wallbed User manual

Boff

Boff Vertical Queen Wallbed User manual

Boff Double User manual

Boff

Boff Double User manual

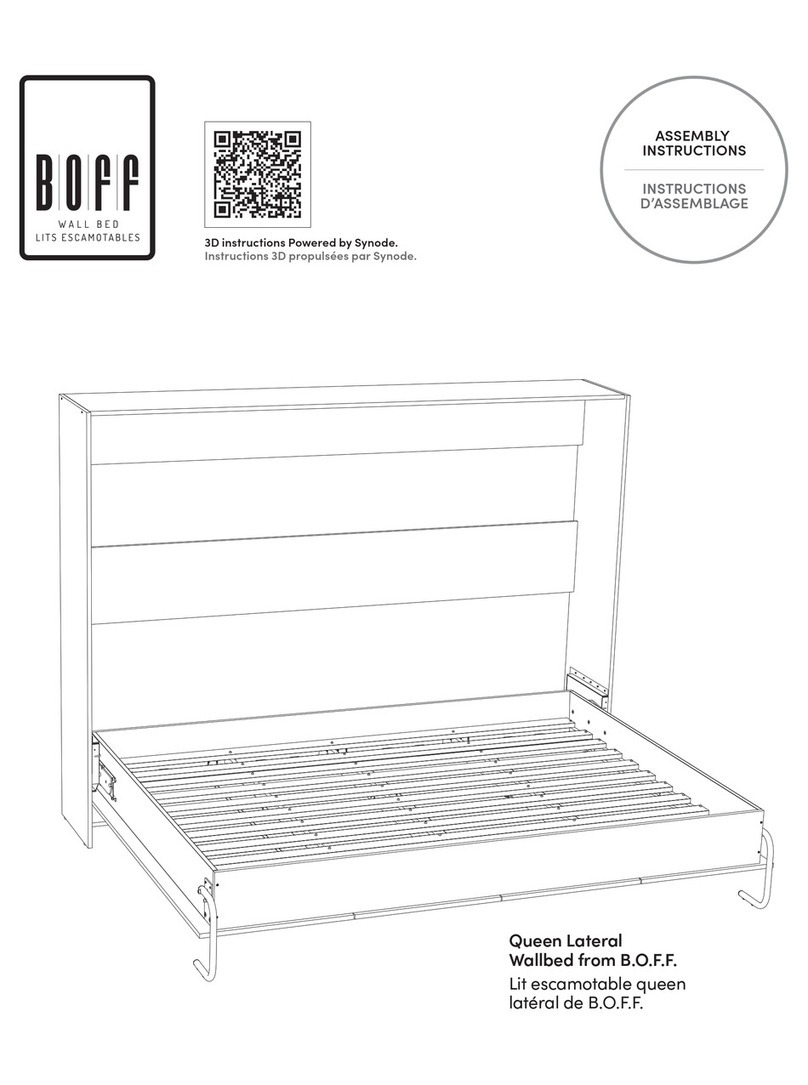
Boff Queen Lateral Wallbed User manual

Boff

Boff Queen Lateral Wallbed User manual

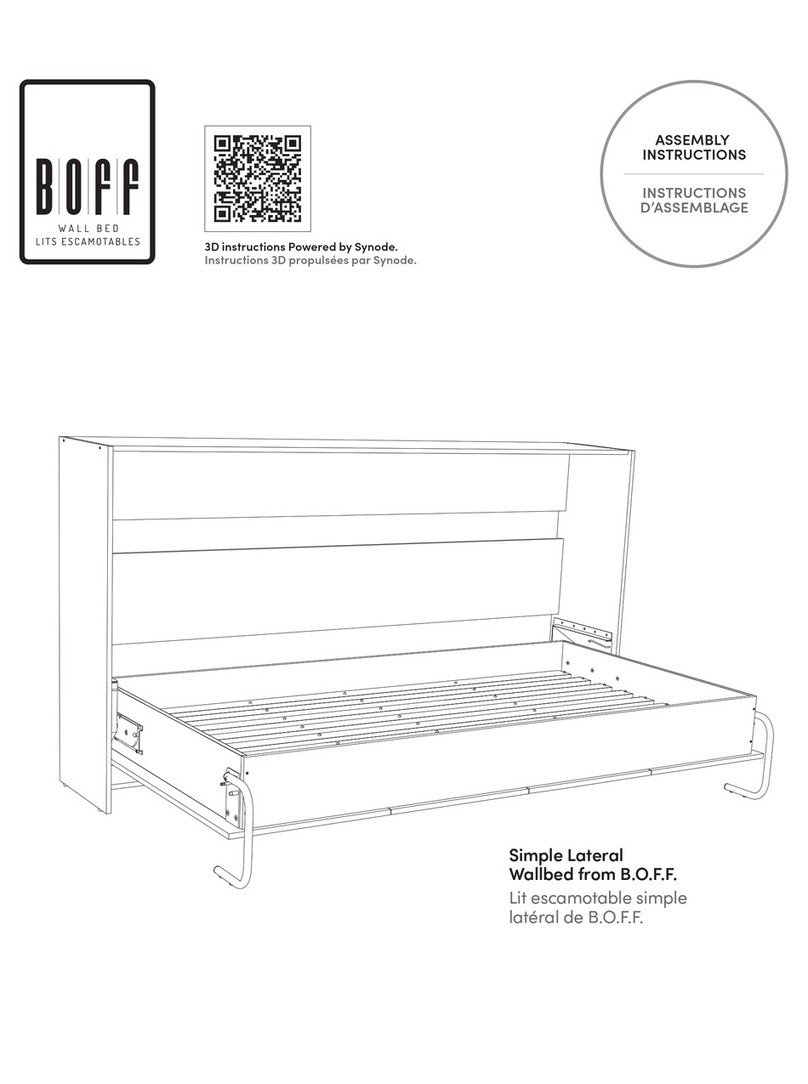
Boff Simple Lateral Wallbed User manual

Boff

Boff Simple Lateral Wallbed User manual

Popular Indoor Furnishing manuals by other brands

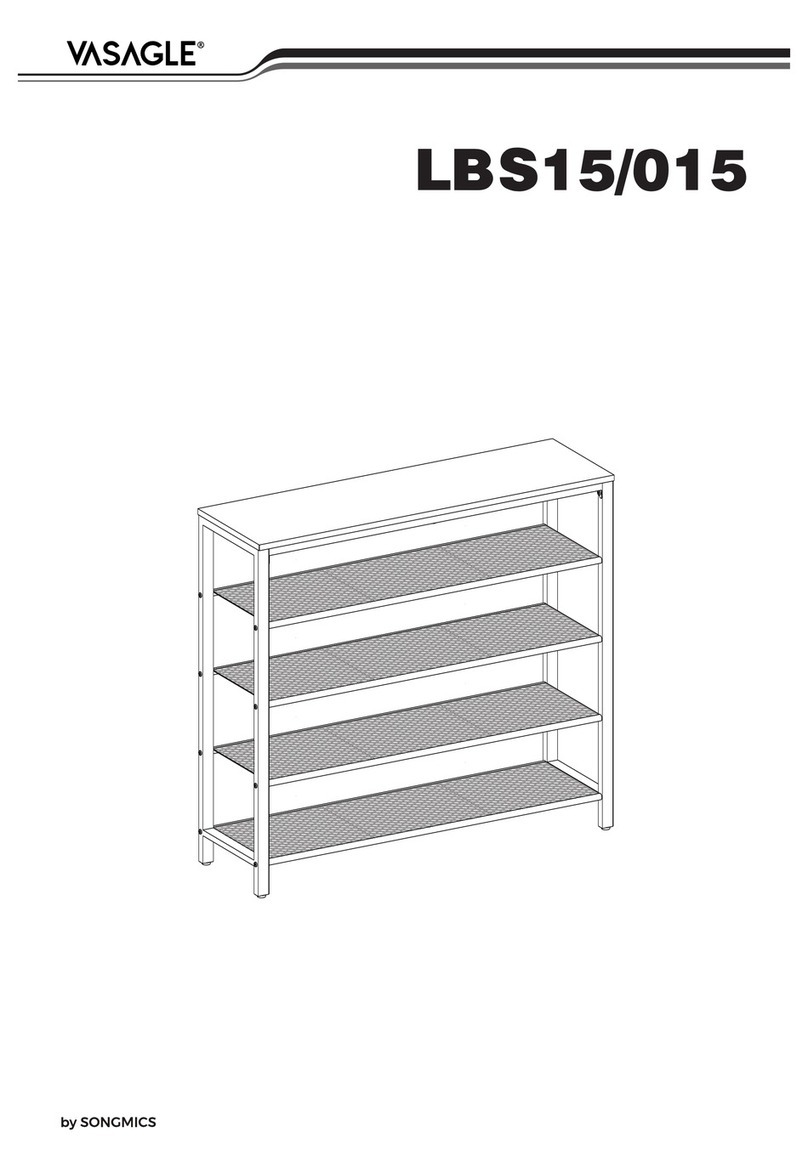
Songmics Vasagle Indus LBS15/015 manual

Songmics

Songmics Vasagle Indus LBS15/015 manual

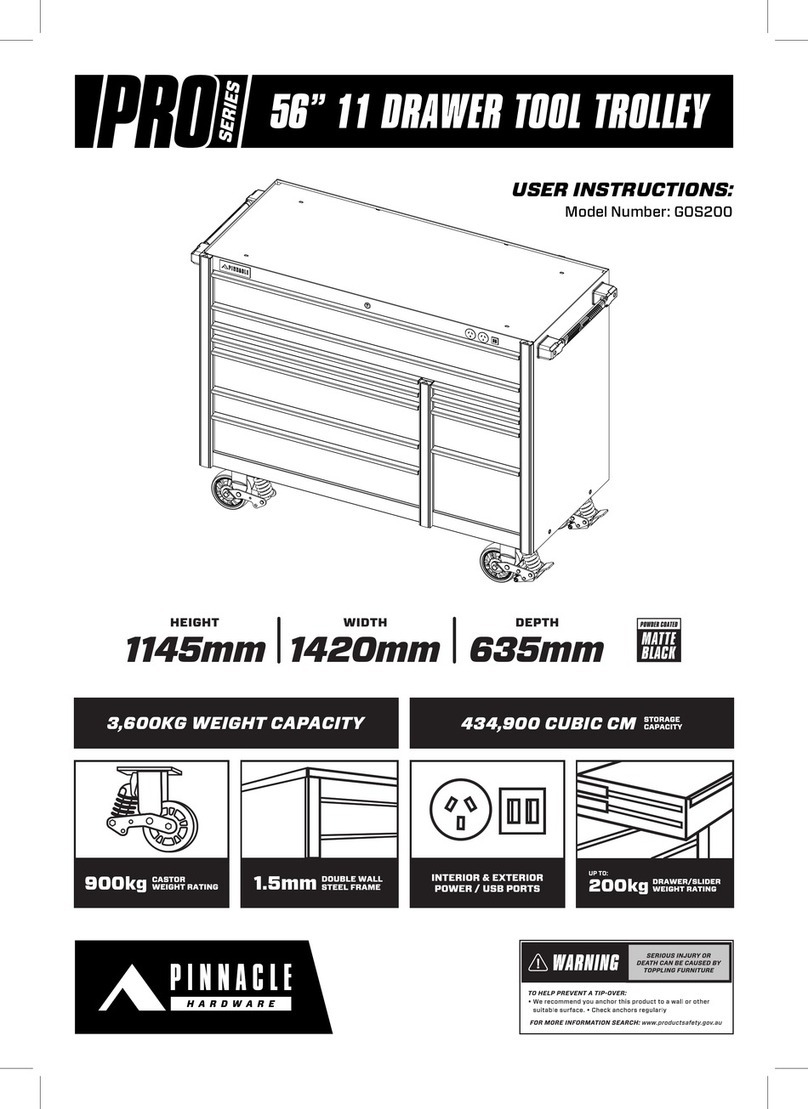
Pinnacle PRO Series User instructions

Pinnacle

Pinnacle PRO Series User instructions

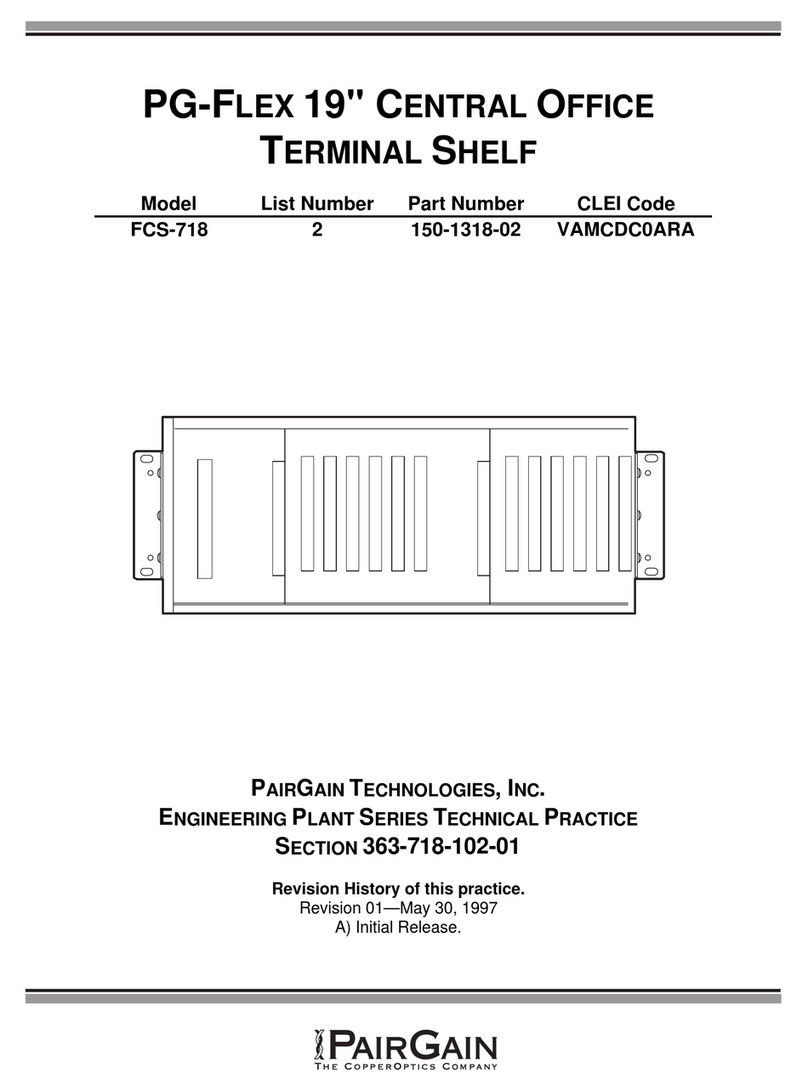
CopperOptics PairGain PG-Flex FCS-718 manual

CopperOptics

CopperOptics PairGain PG-Flex FCS-718 manual

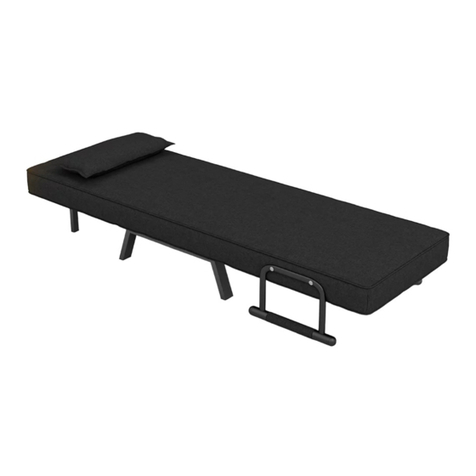
Costway HW66326 user manual

Costway

Costway HW66326 user manual

Robert Juliat JALOUSIE 2 manual

Robert Juliat

Robert Juliat JALOUSIE 2 manual

BLACK RED WHITE S320-LOZ90x200 Assembly

BLACK RED WHITE

BLACK RED WHITE S320-LOZ90x200 Assembly

Furniture of America CM7009Q Assembly instructions
Furniture of America

Furniture of America CM7009Q Assembly instructions

CONCORD Elevation Assembly instructions
CONCORD

CONCORD Elevation Assembly instructions

Tech Craft BAY6028B Assembly instructions
Tech Craft

Tech Craft BAY6028B Assembly instructions

HJH office BUILDER XXL Assembly instructions
HJH office

HJH office BUILDER XXL Assembly instructions

American Bedding 4500 quick start guide
American Bedding

American Bedding 4500 quick start guide

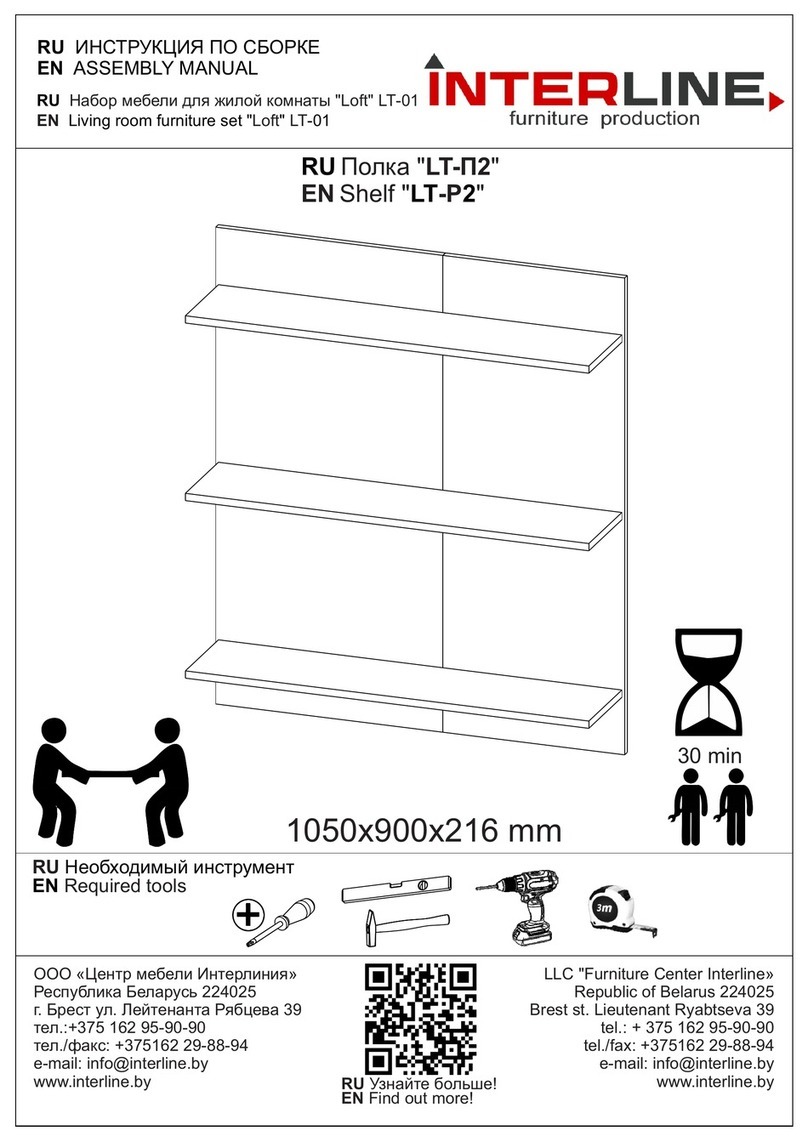
Interline LT-P2 Assembly manual

Interline

Interline LT-P2 Assembly manual

fantastic furniture Tivoli Sofa 1 Seater quick start guide
fantastic furniture

fantastic furniture Tivoli Sofa 1 Seater quick start guide

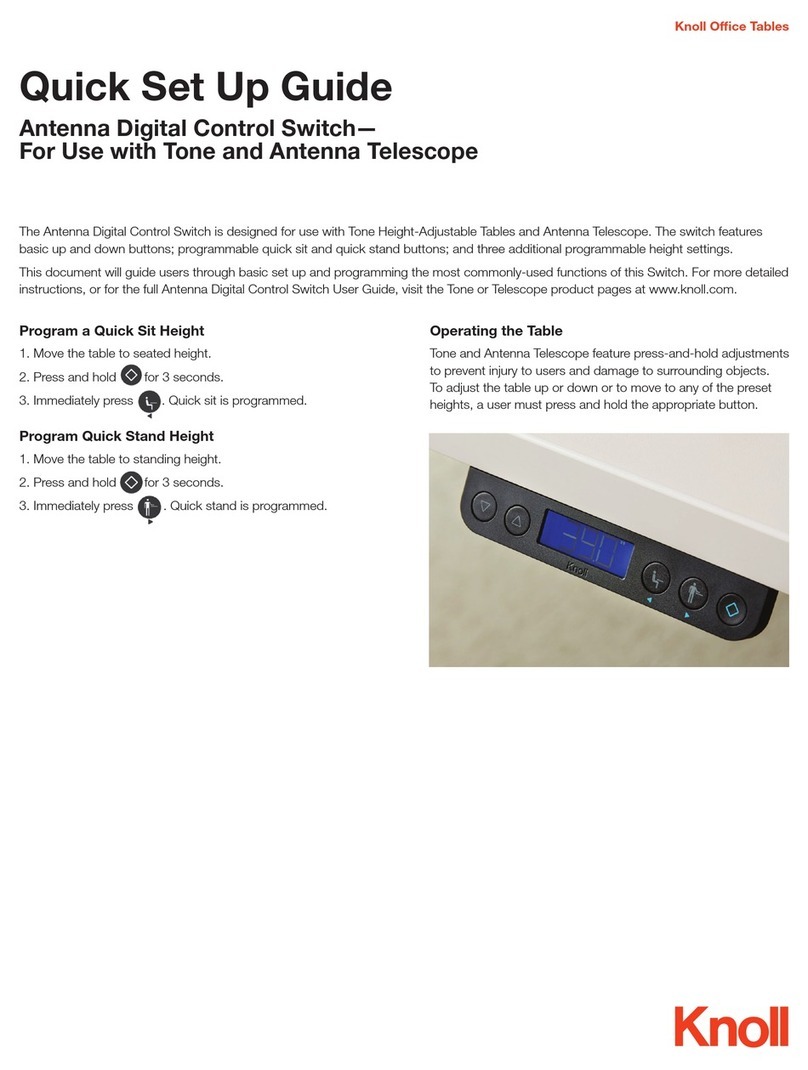
Knoll Antenna Digital Control Switch Quick setup guide

Knoll

Knoll Antenna Digital Control Switch Quick setup guide

Furn Mill HOCHR00316 Assembly instruction

Furn Mill

Furn Mill HOCHR00316 Assembly instruction

Glasdon Electra Bin Operator instructions

Glasdon

Glasdon Electra Bin Operator instructions

Kesseböhmer COMFORT II Mounting instructions

Kesseböhmer

Kesseböhmer COMFORT II Mounting instructions

Atlantic Furniture WINDSOR HUTCH Assembly instructions

Atlantic Furniture

Atlantic Furniture WINDSOR HUTCH Assembly instructions

manuals.online logo
manuals.online logoBrands
  • About & Mission
  • Contact us
  • Privacy Policy
  • Terms and Conditions

Copyright 2025 Manuals.Online. All Rights Reserved.