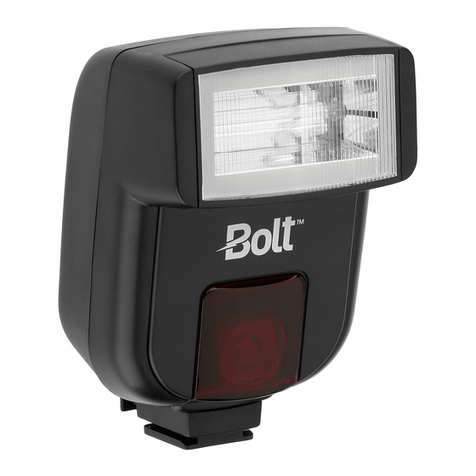
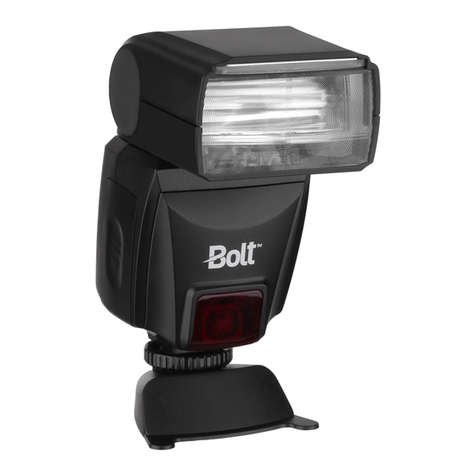
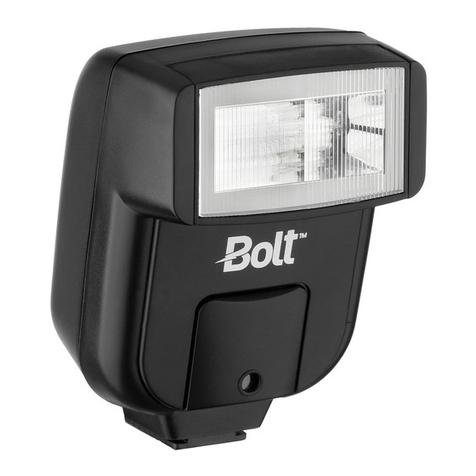
Bolt VC-310C User manual

Inspiration strikes
Inspiration strikes
VC-310C
COMPACT ON-CAMERA TTL FLASH
User’s Manual

2 |
Copyright © 2016 Gradus Group.
Bolt and other names of Bolt products are trademarks of Gradus Group. Other product and corporate names mentioned herein are trademarks of their respective holders.

Introduction |3
Introduction
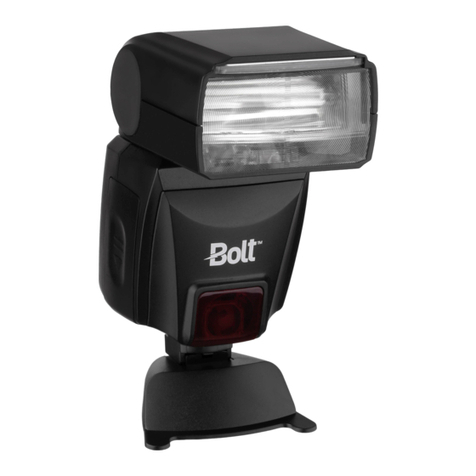
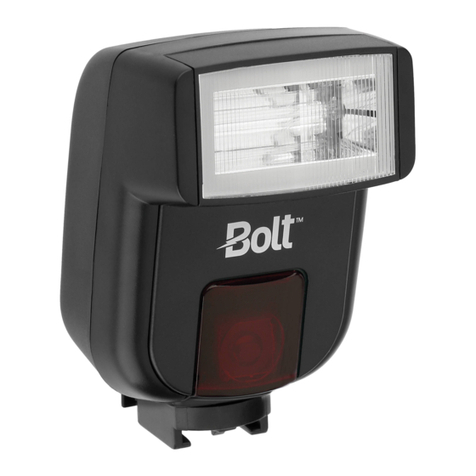
Thank you for choosing Bolt. The Bolt VC-310C is a compact, full-featured shoe-mount ash for your Canon camera.
This advanced digital ash puts creative control in your hands with a broad range of automatic and manual features. It
can be used as both an on-camera ash and a wireless slave ash. Among the benets you’ll enjoy:
• Full compatibility with Canon’s E-TTL metering system
• Wireless TTL control with multiple ash units and groups
• Eight manual ash levels: full to 1/128 power, plus ne-tuning by 1/3 increments
• Multi (stroboscopic) mode
• Tilt and swivel head: -7° down, 90° up, 90° right, and 60° left
• Backlit LCD
• Autofocus assist for low-light photography
• Rear-curtain sync
• Clip-on diffuser
• Automatic power-saving function
• Overheating protection
• Upgradeable rmware

4 |Contents
Contents
Overview ......................................................................................................................................................6-7
Warnings ......................................................................................................................................................8-9
Installing Batteries ......................................................................................................................................... 10
Mounting the Flash ........................................................................................................................................ 11
Turning On the Flash and Firing a Test Shot...............................................................................................12-13
Extended Interface......................................................................................................................................... 14
Automatic E-TTL Flash Mode ....................................................................................................................15-16
Using Flash Exposure Compensation.........................................................................................................16-17
Flash Exposure Bracketing............................................................................................................................. 17
Manual Flash Mode ..................................................................................................................................18-19
Diffusing the Flash......................................................................................................................................... 19
Bouncing Your Flash....................................................................................................................................... 20
Multi (Stroboscopic) Mode ........................................................................................................................21-22
Advanced Features ........................................................................................................................................ 23
Second-Curtain Synchronization .................................................................................................................... 23

Contents |5
Using Your VC-310C as a Wireless Master or Slave....................................................................................24-25
Using Your VC-310C as a Wireless TTL Master ..........................................................................................26-27
Using Your VC-310C as a Wireless TTL Slave.............................................................................................28-29
Using the VC-310C as a Wireless Manual Master .....................................................................................29-30
Manual Optical Slave Modes S1/S2...........................................................................................................30-31
Positioning the Slave and Remote Flash Units ................................................................................................ 32
Using the VC-310C as a Master in the Wireless Multi (Stroboscopic) Mode................................................33-34
Specications ................................................................................................................................................ 35
Troubleshooting ........................................................................................................................................36-37
FCC Compliance ............................................................................................................................................ 37
Stroboscopic Reference ................................................................................................................................. 38
One-Year Limited Warranty ............................................................................................................................ 39

6 |Overview
1
2
3
413
9
10
11
12
5
14
6
15
1616
17
7
8

Overview |7
Overview
1. Flash head
2. Flash test button
3. Mode button
4. Flash ready indicator
5. Left arrow
6. Set button
7. Right arrow
8. F1 function button
9. F2 function button
10. Power button
11. LCD panel
12. Flash head position
indicator (tilt)
13. Micro USB port
14. Mounting foot
15. Locking wheel
16. Optical sensor
17. Battery compartment
with cover
18. Flash stand
19. Diffuser
20. Carrying pouch
18
19
20

8 |Warnings
Warnings
Before using your VC-310C, please read the following safety notices thoroughly to ensure safe use and to help
prevent damage to your ash or injury to yourself or others.
• Do not re the ash at close range directly into the eyes of people or animals.
• To avoid overheating and damaging your ash unit, please wait for at least ten minutes after twenty-ve
continuous ashes at full power (see page 13).
• Do not disassemble or attempt to repair this product yourself. There are high-voltage components inside
that can produce a hazardous electric shock.
• Keep this product and its batteries out of the reach of children.
• Use only the power sources specied in this manual.
• Always switch the ash off before changing the batteries.
• Always install AA batteries of the same type, brand, and age. Do not combine different types or brands, or
old and new batteries. Install the batteries in the proper orientation, according to the indicator in the
battery chamber.
• Do not use or store the VC-310C in ammable conditions (such as environments containing ammable
gases or liquid chemicals).

Warnings |9
• Do not clean the VC-310C with agents containing corrosive or ammable substances such as paint thinner,
benzene, or nail polish remover.
• This product is not water resistant. Keep it away from rain, snow, humidity, and general moisture.
• Should the VC-310C sustain physical damage, do not touch any exposed interior metal parts. If touched,
they may generate an electric shock or cause a malfunction. Promptly remove the batteries and take the
product to an authorized service center for repair.
• If you detect excessive heat, smoke, or a burning smell coming from the ash, immediately stop operation
and remove the batteries to prevent the product from igniting or melting. Take the product to an authorized
service center for repair.
• Do not drop or otherwise cause a strong physical impact to the VC-310C.
• For long-term storage, remove all batteries from the VC-310C.
• Do not store or use this product at temperatures above 104°F (40°C).
• Keep the metal contacts in the battery compartment clean and free of corrosion and dirt. Contacts may be
cleaned with isopropyl alcohol on a cotton swab.
• Dispose of used batteries properly.
• All images are for illustrative purposes only.

10 |Installing Batteries
Installing Batteries
The VC-310C can be powered by two AA batteries of several types:
• Lithium (1.5 V)
• Nickel-metal hydride (NiMH) (1.2 V)
• Alkaline (1.5 V)
1. Turn the ash upside down.
2. Press the button on the battery compartment cover so the cover ips
open.
3. Insert two AA batteries (not included) according to the diagrams inside
the battery compartment.
4. Close the battery compartment cover until it clicks.
When the battery power is low, the battery indicator [ ] will ash on
the LCD.
Important! Replace both batteries at the same time. Do not mix battery
types or brands, or use old and new batteries together.
3
2

Mounting the Flash |11
Mounting the Flash
To mount the ash on your camera, make sure the VC-310C is turned off
and follow these steps:
1. Rotate the locking wheel counterclockwise to loosen it.
2. Slide the mounting foot all the way into your camera’s hot shoe.
3. Rotate the locking wheel clockwise until secure.
To dismount the ash from your camera, make sure the VC-310C is
turned off and follow these steps:
1. Rotate the locking wheel counterclockwise to release the ash.
2. Slide the mounting foot out of your camera’s hot shoe.
Mounting the VC-310C on the included stand adapter:
You can mount the VC-310C on the included stand adapter in the same way you would mount it on your
camera. This allows you to set the ash up on a at surface or attach it to a tripod head, light stand, or clamp
that has a compatible 1/4"-20 screw mount.
VC-310N
for Nikon
2
1

12 |Turning On the Flash and Firing a Test
Turning On the Flash and Firing a Test Shot
To turn the ash on, press the power button. To turn the ash off, hold the power button for approximately
two seconds.
Flash ready indicator: The ash ready indicator lets you know when the ash is ready to re again. The
indicator will blink red when charging and remain lit when the ash is ready to re.
To re a test ash, press the Test [ ] button.
Depending on your camera model, a ash icon may also appear in the viewnder when the VC-310C is
mounted on your camera.
Sleep mode: After approximately two minutes of inactivity, the ash will automatically enter sleep mode to
conserve the battery life by turning off the LCD and ash ready light. To reactivate the VC-310C, press the
power button on the ash unit or press your camera’s shutter-release button halfway. During long periods of
inactivity, use the power switch to turn the ash off completely.
LCD illumination: When you turn the ash on, the LCD illuminates for approximately ten seconds before
turning off to save battery life. Press any button on the ash to light up the display when you need to view the
LCD in a low-light environment.

Turning On the Flash and Firing a Test |13
Overheating protection mode: If the operating temperature of the VC-310C is too high after several
full-power ashes, the ash will enter the overheating protection mode. The thermal warning indicator [TP-HI]
will appear on the LCD, and you should let the ash cool down for a period of 2–5 minutes.
Default setting: You can restore the ash to its original settings. To do this, rst make sure the ash is off.
Press and hold the Set and Power buttons for 3 seconds, then release.
LED preview and focusing: There are three LEDs built into the ash head that can be used as a preview light
to illuminate the subject for reference, or as an autofocus assist light.
To use the LEDs as a preview light, press the power button while the ash is on. To turn the preview light off,
press the power button again.
The LEDs will function as an autofocus assist light whenever you press the camera’s shutter release halfway.

14 |Extended Interface
Extended Interface
Micro-B USB: This ash supports rmware upgrades through the micro USB port on the side of the ash. In
order to ensure compatibility with future cameras, the VC-310C’s rmware may be updated. This can be done
to ensure proper communication with new cameras or to add new features.
Visit www.boltashes.com/rmware to check if a new rmware version has been released. Follow the online
instructions to upgrade.

Automatic E-TTL Flash Mode |15
Automatic E-TTL Flash Mode
When the VC-310C is mounted on a compatible Canon E-TTL camera, it can set the appropriate ash level
automatically, in conjunction with the camera’s through-the-lens (TTL) metering system.
To use E-TTL ash mode, mount the ash on the camera and follow these steps:
1. Turn the ash on and press the Mode button repeatedly to cycle through the ash modes until the E-TTL
mode indicator appears on the LCD.
2. Make sure your camera is set to a programmed or automatic mode, or on a priority mode such as
aperture priority.
ETTL
+1.7
SYNC FEB
2.7
1
2
3
Overview
1. E-TTL ash mode
2. Flash exposure compensation value
3. High-speed sync (HSS)
4. Function button options
5. Flash exposure bracketing
5
4

16 |Using Flash Exposure Compensation
3. Press the shutter release button on your camera halfway to ensure that the camera is communicating
with the ash. A ash icon will appear in the camera’s viewnder.
4. Press your camera’s shutter release button to take the picture. With select camera models, the camera's
aperture settings will appear on the ash LCD.
Using Flash Exposure Compensation
Flash exposure compensation allows you to adjust and optimize your ash’s automated setting by increasing
or decreasing its light output without affecting the exposure as a whole.
In automatic TTL mode, you can use ash exposure compensation to incrementally alter the VC-310C’s ash
output, just as you would change exposure with the exposure compensation function on your camera.
To apply ash exposure compensation, follow these steps:
1. Press the F2 function button so that the ash exposure compensation value is highlighted and appears on
the LCD.

Flash Exposure Bracketing (FEB) |17
2. Use the left or right arrows to adjust the exposure compensation from -3 to +3 stops, in increments of
one-third.
3. Press the Set button to conrm the value.
Flash Exposure Bracketing (FEB)
Flash exposure bracketing (FEB) lets you take three continuous pictures while automatically changing the ash
exposure compensation between -3 and +3 stops, in increments of one-third. FEB is useful for shooting in
situations in which it is difcult to determine the appropriate ash exposure.
To apply ash exposure bracketing, follow these steps:
1. Press the F2 function button repeatedly until the FEB [ ] indicator appears at the top of the LCD.
2. Use the left or right arrows to set the FEB value.
3. Press the Set button to conrm.

18 |Manual Flash Mode
Manual Flash Mode
• Manual ash mode
• Manual ash output
You can set the VC-310C’s ash output level manually, for greater creative control over your images. The 1/1
setting is the full-power ash, and each successive setting halves the light output, all the way down to 1/128.
You can also ne-tune the ash output in 1/3 increments.
To use the manual mode, turn the ash and camera on and follow these steps:
1. Press the Mode button repeatedly to cycle through the ash modes until the manual mode icon [M] and
the ash output level appear on the LCD.
2. Set the exposure settings you want to use on your camera.
Overview
1. Manual ash mode
2. Manual ash output
3. S1/S2 indicator
1
S1
M
1/128+0.3
SYNC
23

Diffusing the Flash |19
3. Press the Set button to highlight the ash output level.
4. Press the right or left arrows to set the desired ash
output level.
5. Press the Set button again to conrm settings.
6. Press your camera’s shutter release button to take the picture.
7. Adjust your camera’s exposure settings and the light output level of the ash as needed.
When setting exposure settings on your camera, the highest shutter speed available will be your camera’s
ash sync speed.
Tip: For best results when shooting in manual ash mode, use a handheld light meter.
Diffusing the Flash
Use the included diffuser to soften the light from the ash.
To attach the diffuser, t the diffuser onto the ash head and make sure it is secure.

20 |Bouncing Your Flash
Bouncing Your Flash
The VC-310C ash head can tilt down to -7° and up at 45°, 60°, 75°, and 90° angles to the lens. It can also
swivel horizontally 90° to the right and 60° to the left.
Using ash to directly illuminate a subject often creates harsh, unnatural, and unattractive shadows. The
ash can be tilted or swiveled, allowing you to aim your ash at a large white or neutral-colored surface,
such as a ceiling, wall, or reector. The light will bounce off the larger surface before striking your subject to
provide softer, more natural illumination. In addition, the ash can tilt down by seven degrees in order to fully
illuminate your subject when shooting close-up photography.
When bouncing your ash, you may need to adjust your exposure settings, since there will be less light falling
on your subject. The farther away the bounce surface and your subject are, the less illumination there will be.
Tip: Bouncing your ash off colored surfaces can create a color cast in your images. Bouncing off a white or
neutral-colored surface will not alter the color of the light, while bouncing off a gold-toned surface can give
portraits a warmer look. Other colors, while usually not desirable, can be used for creative effects.
Table of contents
Other Bolt Camera Flash manuals
Bolt
Bolt VS-570N FOR NIKON User manual
Bolt
Bolt VS-570F Operating instructions

Bolt
Bolt VM-1000 User manual
Bolt
Bolt VS-510OP User manual
Bolt
Bolt VS-260F User manual
Bolt
Bolt VB-11 User manual
Bolt
Bolt VC-310 User manual
Bolt
Bolt VX-760C User manual

Bolt
Bolt VM-1000C User manual
Bolt
Bolt VS-510P User manual
Popular Camera Flash manuals by other brands
Canon
Canon 430EX - Speedlite II - Hot-shoe clip-on... instruction manual
Canon
Canon 580EX - Speedlite II - Hot-shoe clip-on... Service manual
Metz
Metz mecablitz 64 AF-1 digital operating instructions
Lowel
Lowel Pro-light Instructions for the user

Rollei
Rollei HS Freeze 4s instructions

Pentax
Pentax AF260Sa manual
