BOOM CLOVERMIST User manual
Boom Concrete, Inc.
220 Girard Avenue
PO Box 437
Newell, SD 57760
Toll Free: 800-464-2600
Telephone: 605-456-2600
Fax: 605-456-6060
Website: ww.boomcon.com
Concrete, Inc.
Replace this…
with a BOOM!
August 1, 2014
BOOM CLOVERMIST OWNERS MANUAL
WELCOME -
Thank you for the purchase of a BOOM Clovermist precast concrete vault
toilet. This owner’s manual will provide guidance in the start-up and
maintenance of your new vault toilet. Expect trouble free, odor free ser-
vice from your BOOM vault toilet for many years to come. All of our
products are designed and built with high quality components in a climate
controlled facility located in Western South Dakota. Should you have any
questions concerning your BOOM vault toilet please see the above contact
information.
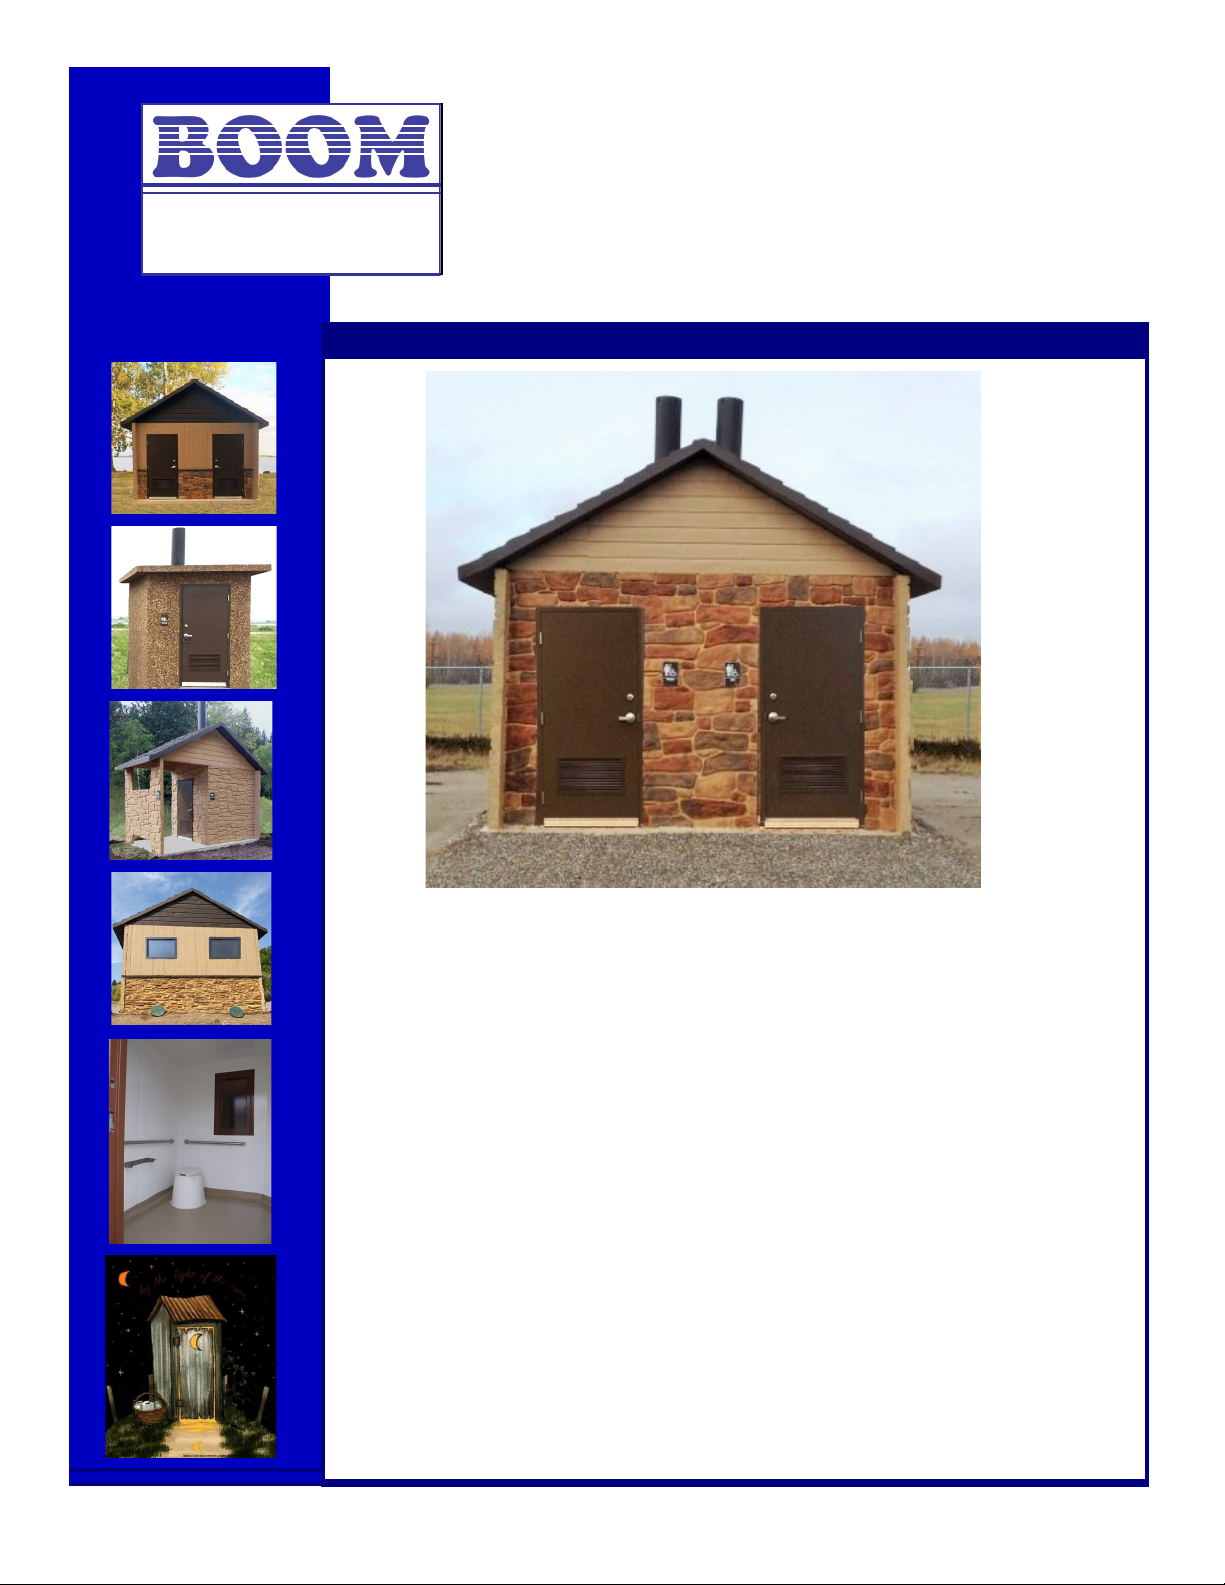
BUILDING STYLES -
This manual covers the BOOM Clovermist vault toilets. The three build-
ing styles available are the STD, PLUS, and Double. The toilets are pre-
cast in several sections, assembled, off-loaded into your excavated site and
are ready to use in just minutes.
CONTENTS -
Start-up Procedures
Maintenance
Replacement Parts

Boom Concrete, Inc.
220 Girard Avenue
PO Box 437
Newell, SD 57760
Toll Free: 800-464-2600
Telephone: 605-456-2600
Fax: 605-456-6060
Website: ww.boomcon.com
Concrete, Inc.
Replace this…
with a BOOM!
August 1, 2014
OWNERS MANUAL
START-UP PROCEDURES
1. Vault Preparation
Add 125 gallons or about 5 inches of water to the vault. This pre-charged water
will help to delay the forming of the cone of waste that forms under the toilet
riser, will deter flies from using your toilet as a breeding ground, and help con-
trol odor in the vault.
2. Door Adjustment
Check to see that the door swings freely and the hinges slowly close the door.
ADA guidelines state that the door should take at least 3 seconds to close. In-
spect the door sweep to verify that it does not bind and light contact is made
with the floor when the door is closed.
3. Keys & Padlocks
Check the doors keys making sure they work properly. Padlocks are not includ-
ed but should be used to secure the toilet paper dispenser and clean-out cover.
4. Toilet Paper
Remove the bolt or padlock on the toilet paper dispenser and fill with up to
three rolls of standard toilet paper making sure they roll freely.

Boom Concrete, Inc.
220 Girard Avenue
PO Box 437
Newell, SD 57760
Toll Free: 800-464-2600
Telephone: 605-456-2600
Fax: 605-456-6060
Website: ww.boomcon.com
Concrete, Inc.
Replace this…
with a BOOM!
August 1, 2014
OWNERS MANUAL
MAINTENANCE -
1. Sweet Smelling Toilet Technology
Sweet Smelling Technology was invented by the US Forest Service to reduce or
eliminate odors in vault toilets. BOOM vault toilets incorporate this technology
which creates a positive airflow through the toilet with odor discharged through
the stack. To maintain an odor free toilet it is important the door makes a tight
seal, the vent in the door is clean with no air flow obstructions, and the roof stack
is open and kept clean. Located on the roof of the Clovermist STD is a
cleanout/inspection hole with either a PVC or concrete cover. Periodically this
cover may be removed to make sure that there is no blockage in the vent and heat
chamber.
2. Pumping the Vault
The vault capacity is sufficient for 15,000 uses. As waste builds up a cone of
waste will eventually form under the riser. Pumping may be delayed if when this
cone builds it is moved or dispersed in the vault. This can be accomplished
through the clean out using a long handled hoe. When pumping becomes neces-
sary the clean out cover is removed to access the vault. The pumper should re-
move as much waste as possible, add more water and finally pump the vault
clean. After pumping is completed, 5 inches of water then can be added to the
vault and the cleanout cover replaced and locked.
3. Changing the Toilet Paper
The number one reason for vandalism of restroom facilities is a lack of toilet pa-
per, so be sure to refill when needed. The toilet paper dispenser is equipped for a
lock to prevent theft. To place fresh rolls on the dispenser simply remove the
lock, add up to three rolls of standard toilet paper and replace the lock.
4. Cleaning the Interior of the Building
The interior walls and floor of your BOOM vault toilet are designed with easy
cleaning in mind. Simply use a good disinfectant cleaning solution with a brush,
mop, or sponge to clean the walls, outside of the toilet riser, and floor. To clean
the inside of the riser use a long-handled brush with a good disinfectant cleaning
solution. The interior of the Boom vault toilet may be hosed out upon comple-
tion.

Boom Concrete, Inc.
220 Girard Avenue
PO Box 437
Newell, SD 57760
Toll Free: 800-464-2600
Telephone: 605-456-2600
Fax: 605-456-6060
Website: ww.boomcon.com
Concrete, Inc.
Replace this…
with a BOOM!
August 1, 2014
OWNERS MANUAL
5. Biological and Chemical Additives
It is not necessary to add any chemicals to the vault. The BOOM vault toilet is
designed to be odor free without the use of additives.
6. Removing Interior and Exterior Graffiti
In many cases Graffiti can easily be removed using Xylene solvent which is avail-
able at your local paint or hardware store. Simply pour some Xylene on a clean
cloth and wipe the graffiti clean. For more stubborn graffiti it may be necessary to
paint over the vandalized area using the same paint that was initially used on the
toilet. BOOM Concrete has touch-up kits available to repair these areas like new.
7. Repairing Interior Paint that has Cracked or Peeled.
If the interior paint cracks or peels, sand-off the old paint and repaint the area with
a touch-up kit that is available from BOOM Concrete. Touch-up kits are also
available for floors, doors, windows, and trim.
8. Adjustment of the Door Sweep
The door sweep should make light contact with the floor when the door is closed.
To adjust loosen all the screws, move the sweep to the desired position and re-
tighten the screws.
9. Adjustment of the Door
The closing of the door is controlled by spring tension in the hinges. To meet
ADA guidelines the door should take 3 seconds or more to close. Adjustment of
the hinges can be done in the following manner:
A. Place door in the closed position.
B. Insert hex wrench in hex hole. Remove locking pin.
C. To increase tension rotate hex wrench clockwise(while viewing from the
adjustment end of hinge) and insert locking pin loosely in adjusting hole.
D. Release hex wrench until locking pin contacts side of adjusting hole.
E. Remove hex wrench and check the door closing force. If closing force is
not satisfactory, repeat the above steps.
Table of contents
Popular Toilet manuals by other brands


American Standard
American Standard CONCEPT Cube TF-2704 installation manual

BIOLAN
BIOLAN ECO Instructions for installation, use and maintenance

Thetford
Thetford C260 Series user manual

KELISS
KELISS T162A Series instruction manual

Silent Venus
Silent Venus SVP600 Installation & maintenance

Kohler
Kohler K-22241K Installation and care guide