manuals.online logo
Brands
  1. Home
  2. •
  3. Brands
  4. •
  5. Boss Audio Systems
  6. •
  7. Marine Audio
  8. •
  9. Boss Audio Systems B6ABT User manual

Boss Audio Systems B6ABT User manual

0622
B6ABT
6.5” (165 mm )
Poly injection cone
1” (25 mm) PEI dome tweeter
Rubber surround
Built-in
4 Ohms
140Hz - 20kHz
93dB (1 watt/1 meter)
7.19” x 9.88” x 7.31”
(182 x 250 x 186 mm)
10.7 lbs (4.85 kg)
(2) Speaker pods
(4) 130x14x2mm rubber mounting strips
(4) 120x14x1mm rubber mounting strips
(2) 48x30x2mm rubber mounting pads
(4)
M6x60mm screws
(4) 2" mounting aluminumbands for 2" and 1.875" installation.
(4) 1.75" mounting aluminumbands for 1.75" and 1.5" installation.
(4) M6 locknuts
(4) M6 flat washers
6.5” (165 mm) 2-Way Marine/
Powersports Roll Cage/
Waketower Speaker Pods
Congratulations on your
purchase of a product.
It has been engineered to bring you
the highest level of performance.
Its quality will afford you years of
listening pleasure.
Thank you for making
your choice for audio
entertainment!
Specifications
Mid Bass Driver:
Tweeter:
Impedance:
Frequency Response:
Crossover network:
Sensitivity:
Weight (in gift box):
Dimensions (W x H x D):
Input Impedance: 10kΩ
Frequency Response: 20Hz - 20kHz
Version: 5.0 w/ EDR
A2DP
Range: 33ft (10m)
Network Name: BOSS Audio Systems B6ABT
Bluetooth:
Amplifier:
Introduction
What is included?
Safety considerations when installing
Your new B6ABT waketower speakers are high-power,
fully-waterproof 2-way systems featuring 6.5” drivers and
a 1” PEI dome tweeter.
understands that wake tower speakers are used in many
different types of installations. Our versatile mounting solutions give
you the ability to attach our wake tower speakers to mounting tubes
with diameters of 1.5” - 2” (38 - 51mm).
Before you begin installation, please check that your product contains
the following contents:
Please remember that these are heavy products that will be installed in a
boating environment. These vehicles can travel at high speeds and be unstable.
So please consider this and use extreme caution.
Some safety considerations include:
1- Do not mount the speakers in a location where someone may either walk
into or strike their head. During a turbulent ride, please make sure that you do
not loosen footing and fall or hit the unit, or it may cause injury.
2- Secure the wires to the speakers in multiple locations along their route to
your audio source, so that there are no hanging loops of wire. Having unsecure
wires in any hanging conditions can cause entanglement and injury.
3- Tighten the aluminum bands with rubber inserts using care. Do not over
compress the rubber inserts. After installation is complete, please recheck all
bolts and tighten them further if needed before taking your boat or vessel out
for an audio adventure.
4- Do not install these speakers where they may block the view of the pilot and
prevent safe operation of the vessel or vehicle.
All specifications are subject to
change without notice.
(1)
Power/speaker wire harness
(1)
3.5 mm audio cable

STEP3
STEP2
B6ABT
STEP1
STEP4
6.5” (165 mm) 2-Way Marine/Powersports
Roll Cage/Waketower Speaker Pods
Installation instructions
It is strongly recommended that you work with an assistant to install these speakers.
To adjust the mounting angle, loosen the metal
base of the mounting band by unbolting the two
screws.
Make sure to put all components of the mounting
hardware in a safe location.
Metal base
48 x 30mm rubber pad Aluminum band
Rubber strip
Mounting cage bar
(part of your marine
boat or powersports
vehicle)
Metal base
Twist the metal base to determine the
optimal mounting angle for the speaker on the
cage bar. Then secure the metal base
by tightening the two screws.
Place a supplied rubber pad (48 x 30 mm) on the
metal base of the mounting band to prevent
abrasion and secure clamping.
Place two supplied rubber strips around the cage bar
to prevent abrasion and secure clamping.
Then push two supplied aluminum bands over the
cage bar, and align the aluminum bands with the
metal base on the speakers.
B6ABT
6.5” (165 mm) 2-Way Marine/Powersports
Roll Cage/Waketower Speaker Pods
As illustrated, secure the aluminum bands to the
metal base using a pair of M6 x 60mm screws,
M6 flat washers, and M6 locknuts. The locknuts
must be installed into the hex shaped recess on
one end of each aluminum band.
Hand-tighten the screws to the degree which
allows just enough freedom to rotate the speaker
around the cage bar.
Speaker installation now completes.
AUX input
Using the supplied 3.5mm audio cable, connect the speaker to your mobile phone for audio input to the
speakers. Make sure Bluetooth connection is not made to enable AUX input.
Bluetooth
Product dimensions
Through Bluetooth connection, you can stream music from a Bluetooth device (e.g. a mobile phone) to the
speakers. Make sure Bluetooth is enabled on the device. When the device is in Bluetooth range, it will
connect Bluetooth automatically and will be disconnected when it is out of Bluetooth range.
9.88”
(250mm)
7.19”
(182mm)
7.31”
(186mm)
mounting tube
diameter:
1.5” - 2”
(38-51mm)
B6ABT
6.5” (165 mm) 2-Way Marine/Powersports
Roll Cage/Waketower Speaker Pods
Wiring
1) Connect the RCA plugs (red/white) to an external amplifier
for audio output.
2) Connect the ACC wire (red) to the accessory power of the
vehicle as ON/OFF switch of the speakers.
3) Connect the remote out wire (blue) to an external amplifier
as ON/OFF switch of the amplifier.
12V wire harness connection
Black -
Gray +
AUX input
1)
Audio output
2)
ACC wire
(red)
3)
Remote out
wire (blue)
Ground wire
(black)
Battery wire
(yellow)
DC12 (-) grounded to
metal chassis, or directly
to negative polarity of battery
DC12 (+) extention
power cable with fuse
holder (not included)
B6ABT
6.5” (165 mm) 2-Way Marine/Powersports
Roll Cage/Waketower Speaker Pods
FCC compliance statement
This device complies with Part 15 of the FCC Rules. Operation is subject to the following two conditions:
(1) This device may not cause harmful interference, and
(2) this device must accept any interference received, including interference that may cause undesired
operation.
FCC rules
This equipment has been tested and found to comply with the limits for a Class B digital device, pursuant to
Part 15 of the FCC Rules.
These limits are designed to provide reasonable protection against harmful interference in a residential
installation. This equipment generates, uses and can radiate radio frequency energy and, if not installed and
used in accordance with the instructions, may cause harmful interference to radio communications.
However, there is no guarantee that interference will not occur in a particular installation. If this equipment
does cause harmful interference to radio or television reception, which can be determined by turning the
equipment off and on, the user is encouraged to try to correct the interference by one or more of the
following measures:
●Reorient or relocate the receiving antenna.
●Increase the separation between the equipment and receiver.
●Connect the equipment into an outlet on a circuit different from that to which the receiver is connected.
●Consult the dealer or an experienced radio/TV technician for help.
FCC RF radiation exposure statement
This equipment should be installed and operated with minimum distance 20cm between the radiator and
your body.
FCC Caution: Any changes or modifications not expressly approved by the party responsible for compliance
could void the user's authority to operate this equipment.

Other Boss Audio Systems Marine Audio manuals

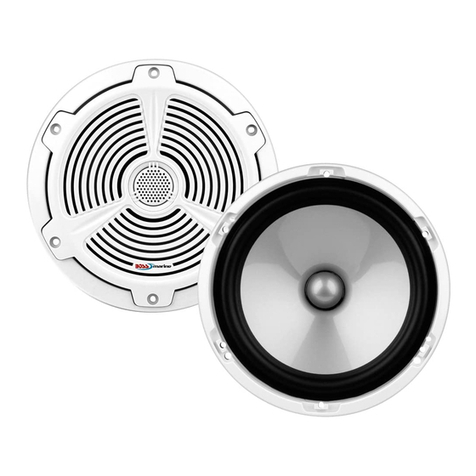
Boss Audio Systems MR1560DI User manual

Boss Audio Systems

Boss Audio Systems MR1560DI User manual

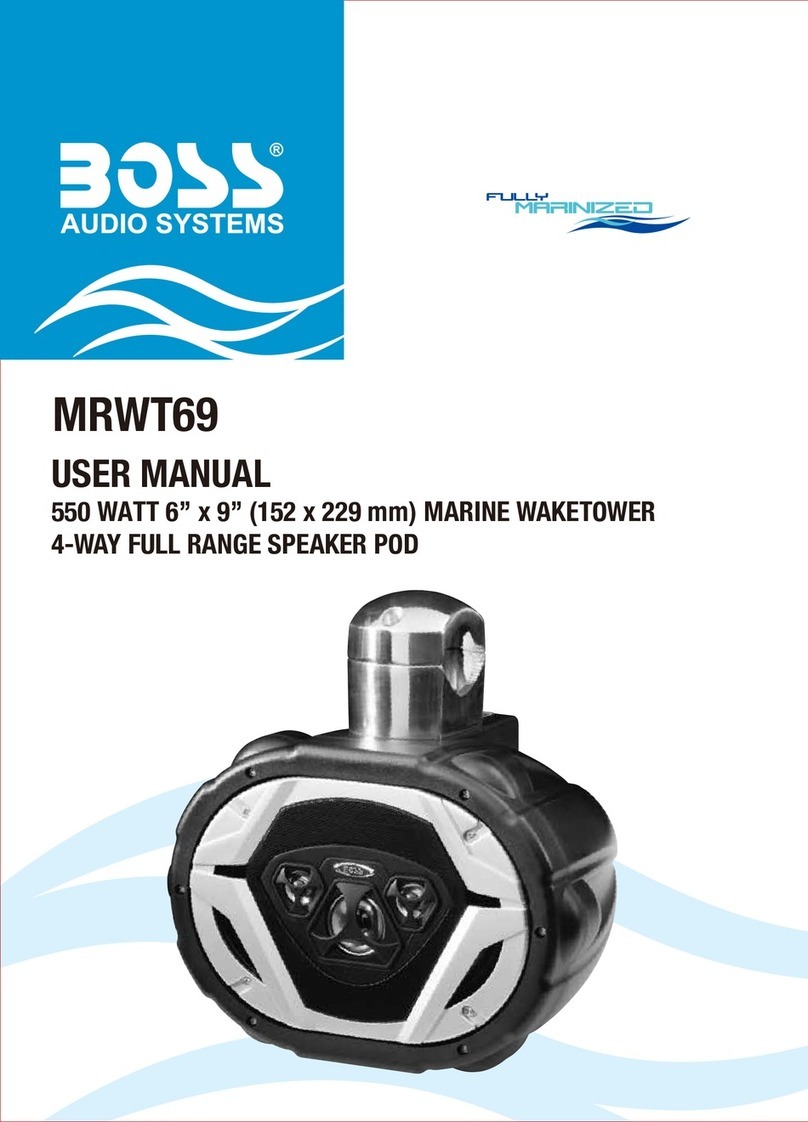
Boss Audio Systems MRWT69 User manual

Boss Audio Systems

Boss Audio Systems MRWT69 User manual

Boss Audio Systems MR752C User manual

Boss Audio Systems

Boss Audio Systems MR752C User manual

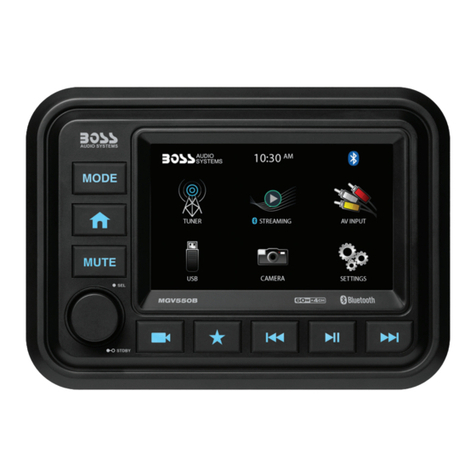
Boss Audio Systems MGV550B User manual

Boss Audio Systems

Boss Audio Systems MGV550B User manual

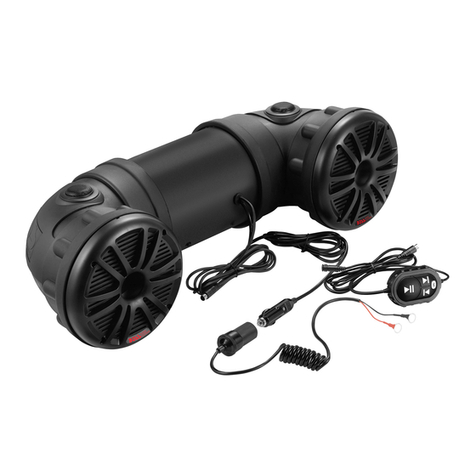
Boss Audio Systems ATV25B User manual

Boss Audio Systems

Boss Audio Systems ATV25B User manual

Popular Marine Audio manuals by other brands

Sony XS-HF137 Installation/connections

Sony

Sony XS-HF137 Installation/connections

JBL MR-17.3 Operation manual

JBL

JBL MR-17.3 Operation manual

Garmin Fusion APOLLO RV-RA770 owner's manual

Garmin

Garmin Fusion APOLLO RV-RA770 owner's manual

OWL USB CONNECT user guide

OWL

OWL USB CONNECT user guide

GME G-DEK instruction manual

GME

GME G-DEK instruction manual

VoiceGear CONFERENCE VOICE MATE user manual

VoiceGear

VoiceGear CONFERENCE VOICE MATE user manual

Speco SP-150T Specifications

Speco

Speco SP-150T Specifications

Harman JBL PRV-175 manual

Harman

Harman JBL PRV-175 manual

Electro-Voice PRO-12 engineering data

Electro-Voice

Electro-Voice PRO-12 engineering data

Fusion MS-UD/AV750 owner's manual

Fusion

Fusion MS-UD/AV750 owner's manual

WHD QB 300-8 manual

WHD

WHD QB 300-8 manual

Saga The Pawns SAG0203CC user manual

Saga

Saga The Pawns SAG0203CC user manual

Fusion 650 Series MS-UD owner's manual

Fusion

Fusion 650 Series MS-UD owner's manual

Audiovox MS-407 owner's manual

Audiovox

Audiovox MS-407 owner's manual

Monoprice 12209 user manual

Monoprice

Monoprice 12209 user manual

Dual illumiNITE DMS165L Installation & owner's manual

Dual

Dual illumiNITE DMS165L Installation & owner's manual

Ground Zero IRIDIUM SERIES owner's manual

Ground Zero

Ground Zero IRIDIUM SERIES owner's manual

PRESONUS Eris Series E8 owner's manual

PRESONUS

PRESONUS Eris Series E8 owner's manual

manuals.online logo
manuals.online logoBrands
  • About & Mission
  • Contact us
  • Privacy Policy
  • Terms and Conditions

Copyright 2025 Manuals.Online. All Rights Reserved.