manuals.online logo
Brands
  1. Home
  2. •
  3. Brands
  4. •
  5. Bouclair
  6. •
  7. Indoor Furnishing
  8. •
  9. Bouclair 9401240 User manual

Bouclair 9401240 User manual

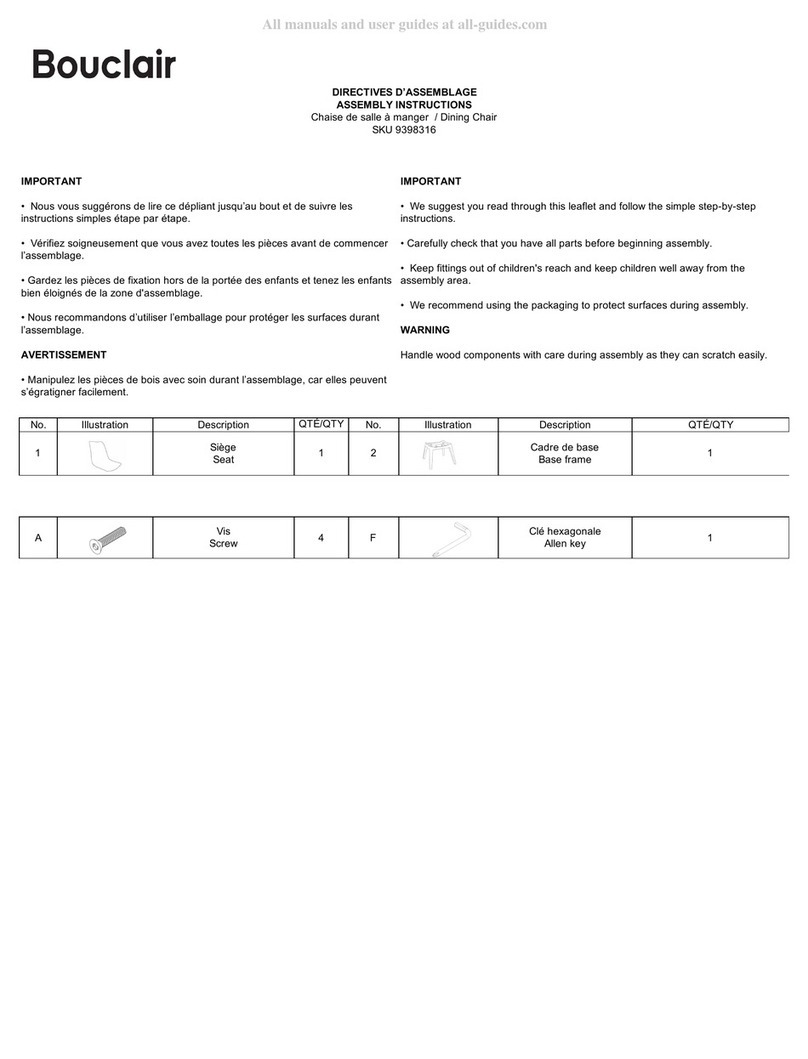
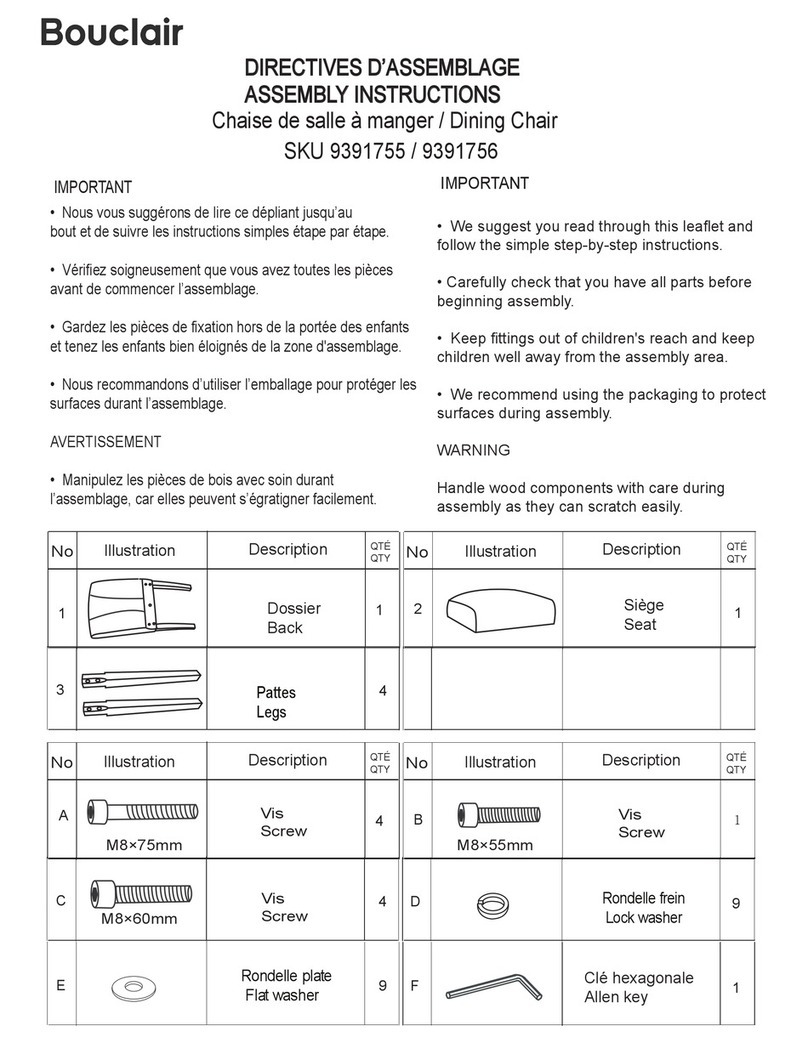
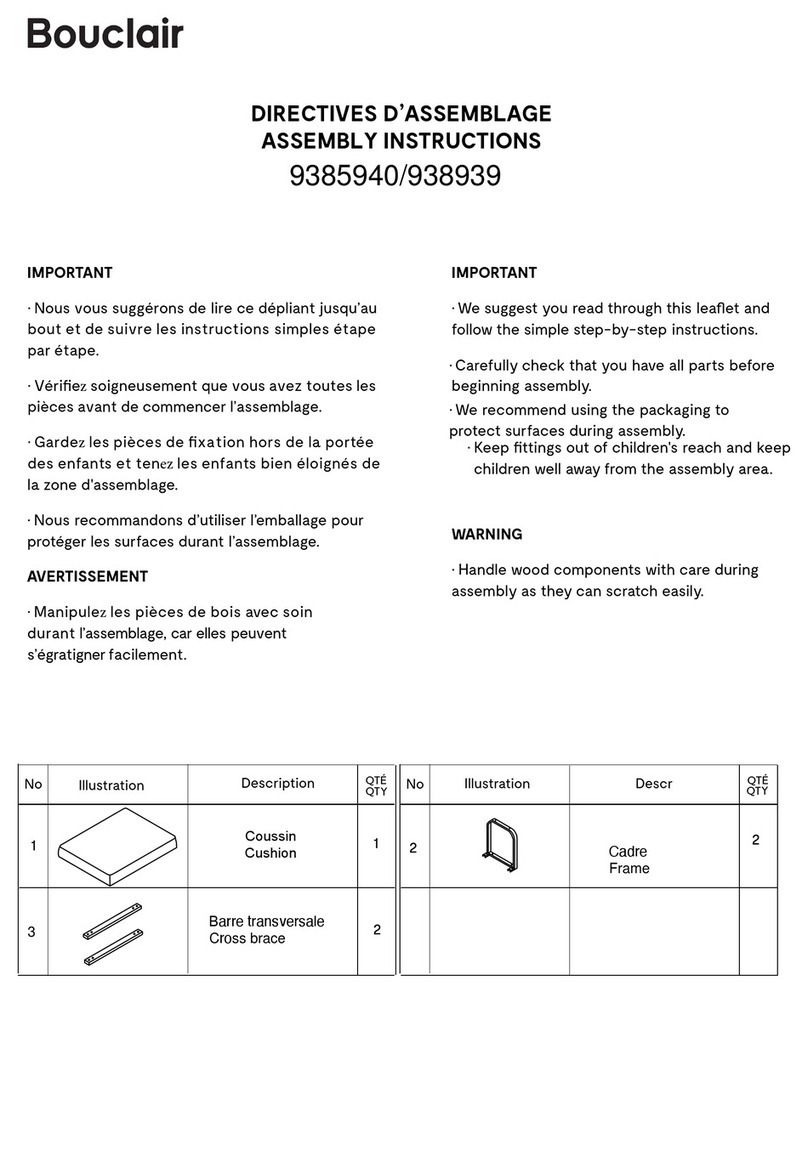
DIRECTIVES D’ASSEMBLAGE
ASSEMBLY INSTRUCTIONS
BUFFET
SKU 9401240
IMPORTANT
• Nous vous suggérons de lire ce dépliant jusqu’au bout et de suivre les instructions simples étape par étape.
• Vérifiez soigneusement que vous avez toutes les pièces avant de commencer l’assemblage.
• Gardez les pièces de fixation hors de la portée des enfants et tenez les enfants bien éloignés de la zone
d'assemblage.
• Nous recommandons d’utiliser l’emballage pour protéger les surfaces durant l’assemblage.
AVERTISSEMENT
• Manipulez les pièces de bois avec soin durant l’assemblage, car elles peuvent s’égratigner facilement.
IMPORTANT
• We suggest you read through this leaflet and follow the simple step-by-step instructions.
• Carefully check that you have all parts before beginning assembly.
• Keep fittings out of children's reach and keep children well away from the assembly area.
• We recommend using the packaging to protect surfaces during assembly.
WARNING
Handle wood components with care during assembly as they can scratch easily.
No.
Illustration
Description
QTÉ/QTY
No.
Illustration
Description
QTÉ/QTY
A
Panneau supérieur
Top panel
1
E
Tablette
Shelf
2
B
Panneau inférieur
Bottom panel
1
F1
Panneau de porte gauche
Left door panel
1
C1
Panneau latéral gauche
Left side panel
1
F2
Panneau de porte droit
Right door panel
1
C2
Panneau latéral droit
Right side panel
1
G
Patte
Leg
4
D
Panneau de séparation
Partition panel
1
H
Panneau arrière
Back panel
2
!
Came
Cam
12
"
Coussin en feutre
Felt pad
4
#
Goujon
Dowel
30mm
16
$
Charnière
Hinge
4
%
Goujon
Dowel
50mm
2
&
'()*+,-+.)/,0
1..)02*/23,)
2
④
Serrure à came
Cam lock
12
4
56782*799,)7,0
:*);<*),
2
⑤
Boulon
Bolt
8
=
Vis
Screw
5#*12mm
25
⑥
Rondelle plate
Flat washer
8
>
Vis
Screw
3#*12mm
8
⑦
Rondelle ressort
Lock washer
8
?
Tournevis Philips
Philips screwdriver
1
⑧
Clé hexagonale
Allen key
1
1
a
Support en plastique
Plastic bracket
2
c
Cheville en plastique
Plastic anchor
1
b
Vis
Screw
5#*25mm
2
d
Sangle anti-basculement
Anti-tipping strap
1
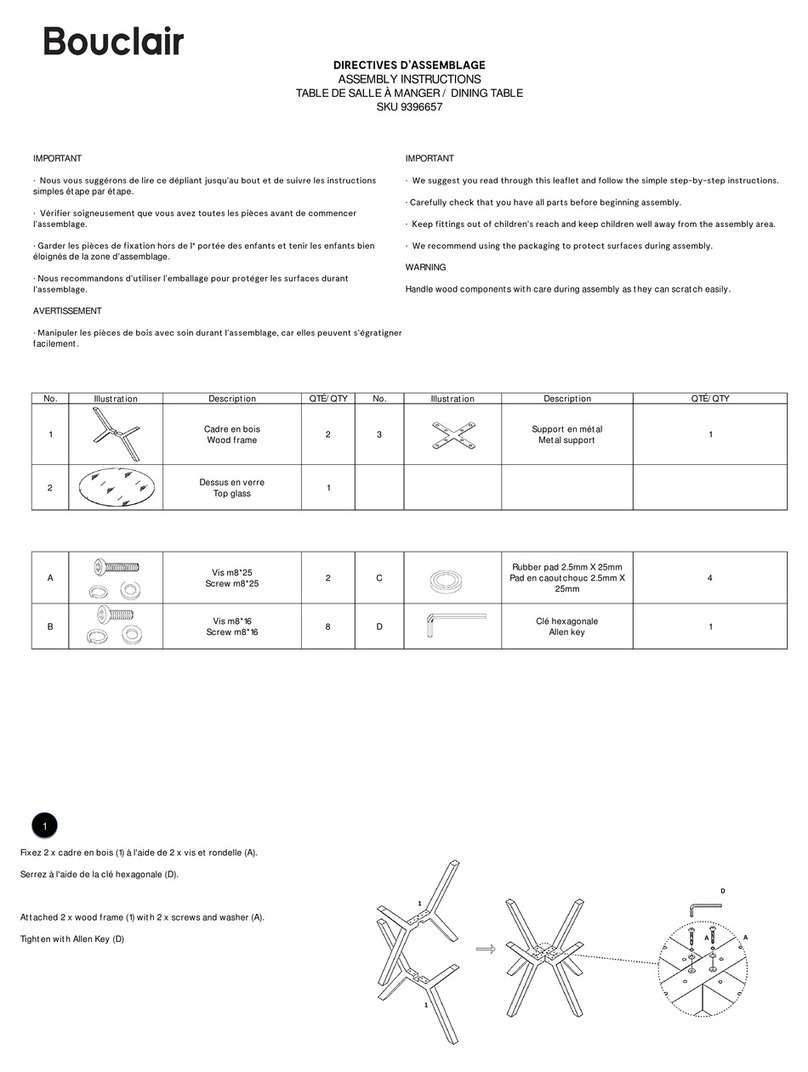
Fixez 4 x patte (G) au panneau inférieur (B) à l'aide de 8 x vis (5), 8 x rondelle ressort (6) et 8
x rondelle plate (7). Serrez avec la clé hexagonale (8).
Attach 4 x leg (G) to the bottom panel (B) using 8 x screw (5), 8 x spring washer (6) and 8 x
flat washer (7). Tighten with the Allen key (8).
Collez 4 x coussin en feutre (10) sur les pattes.
Stick 4 x felt pad (10) to the legs.
Fixez 2 x étagère (E) aux panneaux latéraux (C1 et C2) et au panneau de séparation (D) à
l'aide de 4 x goujon (2) et 2 x goujon (3).
Attach 2 x shelf (E) to side panels (C1 and C2) and to the partition panel (D) using 4 x dowel
(2) and 2 x dowel (3).
image
image
1
2
3
2
1. Fixez l'unité assemblée au panneau inférieur avec 6 x came (1) et 6 x goujon (2). Tournez les cames en
place à l'aide du tournevis Philips (16). Fixez les panneaux latéraux (C1 et C2) et le panneau de séparation
(D) au panneau inférieur à l'aide de 6 x serrure à came (4). Serrez les verrous à came à l'aide du tournevis
Philips (16).
2. Faites glisser le panneau arrière (H) dans les rainures des panneaux latéraux (C1 et C2) et du panneau de
séparation (D).
3. Fixez le panneau supérieur (A) à l'unité assemblée à l'aide de 6 x came (1) et 6 x goujon (2). Tournez les
cames en place à l'aide du tournevis Philips (16). Fixez les panneaux latéraux (C1 et C2) et le panneau de
séparation (D) au panneau inférieur à l'aide de 6 x serrure à came (4). Serrez les serrures à came à l'aide
du tournevis Philips (16).
1. Attach the assembled unit to the bottom panel with 6 x cam (1) and 6 x dowel (2). Twist the cams in place
with the Philips screwdriver (16). Fasten the side panels (C1 and C2) and partition panel (D) to the bottom
panel using 6 x cam lock (4). Tighten the cam locks with Philips screwdriver (16).
2. Slide down the back panel (H) into the grooves of the side panels (C1 and C2) and partition panel (D).
3. Attach the top panel (A) to the assembled unit using 6 x cam (1) and 6 x dowel (2). Twist the cams in place
with the Philips screwdriver (16). Fasten the side panels (C1 and C2) and partition panel (D) to the bottom
panel using 6 x cam lock (4). Tighten the cam locks with Philips screwdriver (16).
1. Fixez la quincaillerie (13) à la porte (F1) avec 2 x vis (15), puis serrez avec le tournevis Philips (16). Fixez
2 x charnière (11) à la porte (F1) avec 4 x vis (14), puis serrez-les avec le tournevis Philips (16).
2. Répétez l'étape 1 pour les autres quincailleries de porte (F2).
3. Fixez la porte (F1) à l'unité assemblée avec 4 x vis (14), puis serrez avec le tournevis Philips (16).
4. Répétez l'étape 3 pour l'autre porte (F2).
5. Fixez 2 x attrape-porte (12) au panneau supérieur avec 4 x vis (15), puis serrez avec le tournevis Philips
(16).
1. Attach the hardware (13) to the door (F1) with 2 x screw (15), then tighten with the Philips screwdriver (16).
Attach 2 x hinge (11) to the door (F1) with 4 x screw (14), then tighten with the Philips screwdriver (16).
2. Repeat step one for other door hardware (F2).
3. Attach door (F1) to the assembled unit with 4 x screws (14), then tighten with the Philips screwdriver (16).
4. Repeat step 3 for other door (F2).
5. Attach 2 x door catcher (12) to the top panel with 4 x screw (15), then tighten with the Philips screwdriver
(16).
image
4
5
3
@ABC0DEFGHC05BH0IJ'CGFKIH0LH0M'NKBIHO0EHBFIIHP0BGFIFNHC0IH0QFG0'LGF-M'NKBIHRHLGS0
BGFIFNHP0BL0KC'TAL0@ABC0U'FCH0BLH0R'C5BH0NBC0IH0RBCS0@HCKHP0BL0GCAB0V0IJHL1CAFG0
R'C5BDS0FLNDCHP0W0X0K:HEFIIH0HL0@I'NGF5BH0Y2Z01'LN0IH0GCAB0@HCKDS0
UF[HP0W0X0NB@@ACG0Y*Z0NBC0IH0RBC0HL0RHGG'LG0W0X0EFN0Y\Z01'LN0I'0K:HEFIIH0HL0@I'NGF5BH0Y2ZS00000000000000000000000000000000000
UF[HP0W0X0NB@@ACG0Y*Z0V0IJ'CCF]CH01B0RHBMIH0V0IJ'F1H01H0W0X0EFN0YW^ZS0
UFIHP0W0[0N'L_IH0'LGF-M'NKBIHRHLG0Y;Z0V0GC'EHCN0IHN0NB@@ACGN0Y*ZS000000000000000000000000000000000000
NHCCHP0I'0N'L_IH0Y;Z0HL0GFC'LG0NBC0IH0MABG0V0GC'EHCN0IH0GCAB0'BG'LG05BH0@ANNFMIHS0000000000000000000000000000000000000000000000000000000000000000000000000000000000000
'NNBCHP-EABN05BH0I'0N'L_IH0HNG0MFHL0'GG'K:DH0'E'LG01`BGFIFNHC0IJ'CGFKIHS0
GA0'EAF10G:'G0G:H0FGHR0GF@N0AEHCO0@IH'NH0BNH0G:H0GF@-CHNFNG'LKH0QFGS0
BNH0'0@HLKFI0GA0R'QH0'0R'CQ0FL0G:H0a'IIS01CFII0'0:AIH0AL0G:H0R'CQH10N@AGS0FLNHCG0W0X0
@I'NGFK0'LK:AC0Y2Z0FLGA0G:H01CFIIH10:AIHS0
UF[0W0X00MC'KQHG0Y*Z0ALGA0G:H0a'II0aFG:0W0X00NKCHa0Y\Z0FLGA0G:H0@I'NGFK0'LK:AC0Y2ZS00000000000000000000000000000000000
UF[0W0X00MC'KQHG0Y*Z0GA0G:H0M'KQ0AU0G:H0UBCLFGBCH0BNFL_0W0X0NKCHa0YW^ZS0
G:CH'10W0[0'LGF-GF@@FL_0NGC'@0Y;Z0G:CAB_:0G:H0MC'KQHGN0Y*ZS000000000000000000000000000000000000
U'NGHL0G:H0NGC'@0Y;Z0MT0@BIIFL_0G:H0HL10G:CAB_:0G:H0:AIH0'N0U'C0'N0FG0K'L0_AS0000000000000000000000000000000000000000000000000000000000000000000000000000000000000
R'QH0NBCH0G:H0NGC'@0FN0NHKBCHIT0U'NGHLH10MHUACH0BNHS
Ques%ons? customerservice@bouclair.com / 1-800-268-2524
6
4

Other Bouclair Indoor Furnishing manuals

Bouclair 9401786 User manual

Bouclair

Bouclair 9401786 User manual

Bouclair 9400970 User manual

Bouclair

Bouclair 9400970 User manual

Bouclair 9387752 User manual

Bouclair

Bouclair 9387752 User manual

Bouclair 9393598 User manual

Bouclair

Bouclair 9393598 User manual

Bouclair 9399425 User manual

Bouclair

Bouclair 9399425 User manual
Bouclair 9403343 User manual

Bouclair

Bouclair 9403343 User manual

Bouclair 9397520 User manual

Bouclair

Bouclair 9397520 User manual

Bouclair 9400935 User manual

Bouclair

Bouclair 9400935 User manual

Bouclair 9400337 User manual

Bouclair

Bouclair 9400337 User manual

Bouclair 9396925 User manual

Bouclair

Bouclair 9396925 User manual

Bouclair 9398525 User manual

Bouclair

Bouclair 9398525 User manual

Bouclair 9399585 User manual

Bouclair

Bouclair 9399585 User manual

Bouclair 9397728 User manual

Bouclair

Bouclair 9397728 User manual

Bouclair 9399702 User manual

Bouclair

Bouclair 9399702 User manual

Bouclair 9403154 User manual

Bouclair

Bouclair 9403154 User manual

Bouclair 9396571 User manual

Bouclair

Bouclair 9396571 User manual

Bouclair 9365376 User manual

Bouclair

Bouclair 9365376 User manual

Bouclair 9403340 User manual

Bouclair

Bouclair 9403340 User manual

Bouclair 9397631 User manual

Bouclair

Bouclair 9397631 User manual

Bouclair 9400454 User manual

Bouclair

Bouclair 9400454 User manual

Bouclair 9400341 User manual

Bouclair

Bouclair 9400341 User manual

Bouclair 9397619 User manual

Bouclair

Bouclair 9397619 User manual

Bouclair 9401788 User manual

Bouclair

Bouclair 9401788 User manual

Bouclair 9397192 User manual

Bouclair

Bouclair 9397192 User manual

Popular Indoor Furnishing manuals by other brands

Forte MXCT022 Assembling Instruction

Forte

Forte MXCT022 Assembling Instruction

Courtyard Creations TGS38CW Assembly instructions

Courtyard Creations

Courtyard Creations TGS38CW Assembly instructions

John Lewis Ivybridge Le Bedstead 80344001 instructions

John Lewis

John Lewis Ivybridge Le Bedstead 80344001 instructions

ACTIU STAY Series Assembly

ACTIU

ACTIU STAY Series Assembly

Onespace 50-612ES Assembly instructions

Onespace

Onespace 50-612ES Assembly instructions

Next BRONX T90933 Assembly instructions

Next

Next BRONX T90933 Assembly instructions

Whittier Wood 1503GBCHb Assembly instructions

Whittier Wood

Whittier Wood 1503GBCHb Assembly instructions

Costway HW64317 user manual

Costway

Costway HW64317 user manual

Atlantic 38435887 Instruction booklet

Atlantic

Atlantic 38435887 Instruction booklet

Northbeam WINDSOR BCH0401720800 Care Instructions

Northbeam

Northbeam WINDSOR BCH0401720800 Care Instructions

Bensons for Beds CAMILO STK777701 Assembly instructions

Bensons for Beds

Bensons for Beds CAMILO STK777701 Assembly instructions

LO Cockpit Basic User handbook

LO

LO Cockpit Basic User handbook

Leick Home 11404 Assembly instructions

Leick Home

Leick Home 11404 Assembly instructions

Kring Provence Assembly instructions

Kring

Kring Provence Assembly instructions

Monarch I 1076 Assembly instructions

Monarch

Monarch I 1076 Assembly instructions

meubar KUTA TV7 Assembly instruction

meubar

meubar KUTA TV7 Assembly instruction

Ballard Designs Dani Outdoor LL315 Important safety instructions

Ballard Designs

Ballard Designs Dani Outdoor LL315 Important safety instructions

Euroseats TORINO NPR 1813 NET user guide

Euroseats

Euroseats TORINO NPR 1813 NET user guide

manuals.online logo
manuals.online logoBrands
  • About & Mission
  • Contact us
  • Privacy Policy
  • Terms and Conditions

Copyright 2025 Manuals.Online. All Rights Reserved.