bouh SR600 User manual

USER
MANUAL


IN THE
BOX
PRECISION
SCREWDRIVER
CHARGING
CABLE
PHILIPS
SCREWDRIVER
RUBBER
SEAL X2
SR600
ALARM
ALARM
COVER
SR600
TORCH
TOP TRAY
BOTTOM TRAY

STATUS LED
SR600 OVERVIEW
TOP BUTTON
SIDE BUTTON
SR600 TORCH
STATUS
LED
SR600 ALARM
USB PORT
CONCEALED PART
VISIBLE PART
METAL
CLAMP
RUBBER
SEAL
SECURITY
PLATE
BIG
SCREW

MAINTENANCE GUIDELINES
Charging Practice
The alarm battery is recharged when the torch is connected. To allow the alarm to last
KPFGƒPKVGN[VJGVQTEJUJQWNFDGEQPPGEVGFVQVJGCNCTOHQTCVNGCUVJQWTURGTYGGM
6JGJQWTUQHEQPPGEVGFVKOGECPDGFWTKPICP[NKIJVKPIOQFGJKIJNQYQHHGVE
Torch Side Button
If the side button on the torch is pressed whilst undocking the torch, the alarm will not
engage. Pressing the side button will also illuminate the blue LED on the alarm. This
indicates the battery level of the alarm. If the battery is less than 40% the blue LED
will be flashing, otherwise it will be solid.
Tilt Alignment
The SR600 is designed to be robustly mounted to the front handlebar. As such we
advise to avoid manually tilting the torch as this will compromise the strength of the
clamping mechanism. We recommend tightening the big screw once every few months
to ensure maximum clamping force is maintained. We advise to not regularly remove
the alarm as this will weaken the clamp mechanism.
What if I lose my torch?
As the torch is the key to the alarm, there is no means of deactivating the alarm
without the torch. In the event of a lost torch, we advise to wait for the alarm battery
VQFGRNGVGVJKUOC[VCMGWRVQOQPVJ1PEGFGRNGVGF[QWECPRCKTCPGYVQTEJVQ
the base. If you have friends or family who use an SR600 you can pair their torch to
your alarm, as this can act as a spare key in emergencies.

M1. Measure the length of rubber needed by placing
the provided rubber piece around the handlebar
and cutting (see diagram).
M2. Remove security plate with
the precision screwdriver,
this will expose the screw
that loosens the clamp
RUBBER
SEAL
MOUNTING ALARM

M3. Loosen the big screw with crosshead
screwdriver until clamp has been released.
Note: the screw will not come out of the
socket, the clamp will release when
the screw becomes easy to turn
M4. Release the clamp from the alarm
(this may require some force). Slide
the rubber piece onto the clamp,
with open edge facing outward
PULL TO
RELEASE
LOOSEN
SLIDE
PAGE 2

M5. Bend the clamp
around the handle-
bar and align to insert
clamp into the alarm.
M6. Press the clamp into the alarm and apply force whilst tightening the screw.
If the screw becomes tight as it is turned the clamp has been correctly inserted.
If not, release the clamp and align it again ensuring it is FULLY inserted.
Pressing the top of the cradle will help ensure contact is maintained.
INSERT &
APPLY
FORCE
HANDLEBAR
SCREW
PRESS
THIS CAN BE
TRICKY, SEE
ONLINE VIDEO
FOR HELP
PAGE 3

HANDLE
BAR
M7. Before fully tightening, insert the torch and align the beam angle to point
VQYCTFUVJGITQWPF6JKUKUVQGPUWTGVJGVQTEJFQGUPQVFC\\NGQPEQOKPIVTCHƒE
Once happy with the beam angle, tighten the big screw until tight, and then
replace the security cover plate.
WARNING! Do not over tighten the clamp on carbon handlebars
as this may damage the handlebar. Do not point beam directly
VQYCTFUCRRTQCEJKPIVTCHƒE
ALIGN
PAGE 4

FIRST CHARGE, PAIRING & SIDE BUTTON
P1. Charge the torch with supplied
USB lead until the green LED on
the power button turns solid.
This will take about 4 hours
if completely flat.
SOLID
GREEN
INSERT
P2. Slide the torch into the alarm and leave connected
until the status LED flashes blue. The flashing blue
LED means the alarm is ready to pair.
FLASH
BLUE
SLIDE
PAGE 5

PRESS
P3. To pair the torch, hold the main and
side button at the same time whilst
keeping the torch docked. After 3
seconds the alarm will beep and
the LED will fast flash blue.
You can now use the torch
to activate the alarm.
PRESS
HOLD FOR
3 SECONDS
FAST
BLUE
FLASH
To prevent the alarm activating,
keep hold of the side button
whilst removing the torch
CAUTION!
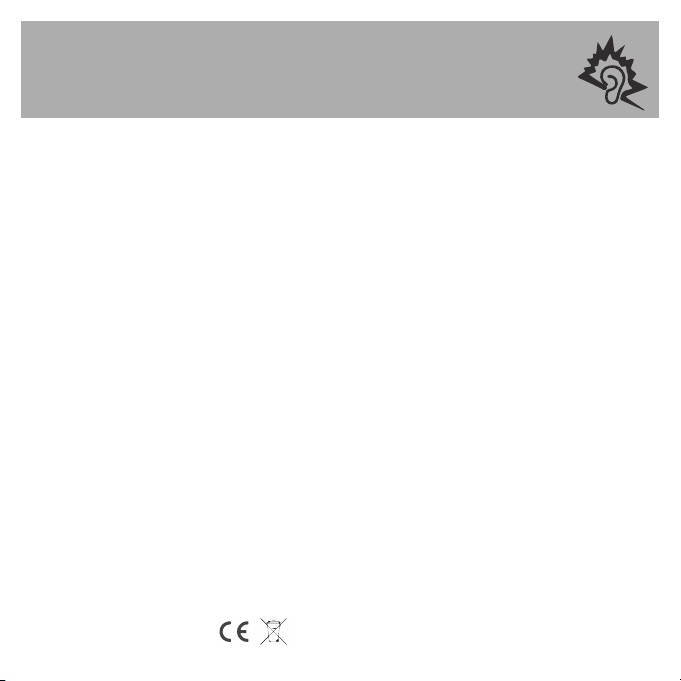
EXPOSURE TO PROLONGED ALARM SOUND CAN CAUSE HEARING DAMAGE.
SAFETY ADVICE
YOU MUST CONFORM TO ANY LEGAL REQUIREMENTS OF YOUR COUNTRY WHEN
CYCLING. THIS MAY REQUIRE THE USE OF OTHER LIGHTING EQUIPMENT IN
CONJUNCTION WITH THE SR600. YOU MUST ENSURE THE SR600 BEAM IS NOT
POINTING DIRECTLY TOWARDS ONCOMING TRAFFIC. DO NOT USE DAYTIME RUNNING
MODE AT NIGHT. YOU AGREE TO TAKE FULL RESPONSIBILITY FOR THE CORRECT USE
OF THIS PRODUCT AND TO TAKE FULL LIABILITY IN ANY CASE THIS PRODUCT MAY
BE MISUSED.
NOTES
Always use a lock in conjunction with the SR600. After arming the SR600 insert the red
warning cover to warn any preying thieves.
Please see our online support section for more information: www.bouh.co.uk/support
'TTQTEJGEMYJGPVJGCNCTOKUƒTUVRQYGTGFWRKVYKNNUGNHFKCIPQUGVQGPUWTGVJGTGCTGPQ
errors with the motion sensor and processor. If the red LED on the alarm is permanently
illuminated after boot this means there is an error - contact us to resolve this.
Torch charge: the green charging indicator has 3 states and turns solid when the torch
is 90% charged. A full charge will take about 6 hours. Please see online for a detailed
overview of the lighting modes.
6JG54KU%'EGTVKƒGF
Table of contents
Popular Bicycle Accessories manuals by other brands


Specialized
Specialized Elite CylcoComputer user manual

Sigma
Sigma BC 16.16 manual

Playcore
Playcore Dero Setbacks installation instructions

VDO Cyclecomputing
VDO Cyclecomputing x3dw instruction manual

Cateye
Cateye RAPID X2 manual

buratti meccanica
buratti meccanica Clorofilla Trail Use and maintenance manual


